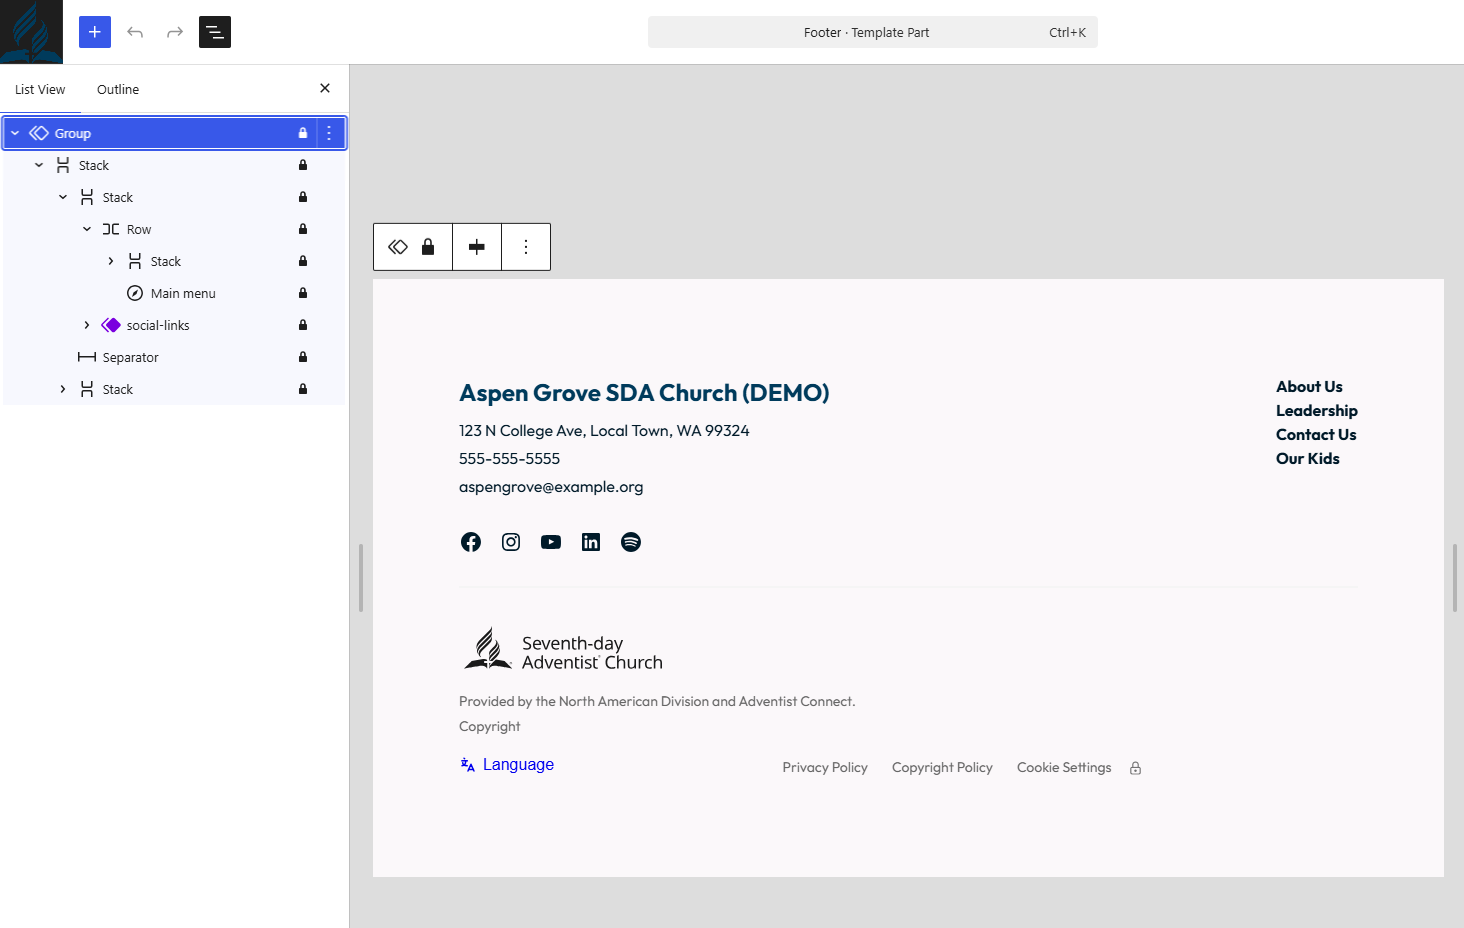
In Frame you have the ability to customize or change certain aspects of the Header, the Page Templates and the Footer section. This article will briefly touch on how to do this for your website.
Note: Editing these features is best suited for advanced WordPress users, since changes to the Page Templates, Header and Footer can sometimes be affected when platform updates roll out.
It's also worth knowing that changes here can have a site-wide impact on features that are part of Frame, so we recommend proceeding thoughtfully!
Page Templates
You'll find the Page Templates under Dashboard > Appearance > Editor > Design > Templates > All Templates.
Here are the steps to make changes to Page Templates in Frame: Editing Page Templates
If you do change Page Templates there is a possibility that when there are updates that the changes made will correctly follow that update. If there are issues with other features of the platform there may also need to revert to a previous revision.
Our support team is happy to help find another solution that will work within the Frame Platform.
Header Section
You'll find the Header section as a pattern under Dashboard > Appearance > Editor > Patterns > Header.
In this pattern you can edit the "Design" under the Settings sidebar. You can also change the number of pages shown from 5 (default) to 7, here is how to display more pages, How to Display More Items in the Main Menu. If there are more pages by default they fall under the Hamburger feature (3 lines on the right hand side, see screenshot below, for items right of the Giving button).
If you do need a secondary menu you can also create one to link to specific page or pdf files (see screenshot below). Here is how, Create a Secondary Menu
Tied into this section are Social Media Links that are listed for the website. To manage these go to Social Media Link Settings
You will see the "Giving" button on the right side. This is tied into AdventistGiving, there is a flexible option to link to another URL that fits your church or school needs. Here is how to make those changes: Edit Donate/Giving Button

Footer Section
You'll find the Footer section as a pattern under Dashboard > Appearance > Editor > Patterns > Footer.
The information on the left side originally came from eAdventist and can be updated through your Contact Info found in Dashboard > Settings. This article walks you through the steps: Contact Information Settings.
Tied into this section are Social Media Links that are listed for the website (they also appear in the Header section). To manage these go to Social Media Link Settings
The information on the right side is a list of your published pages and is tied to the site's navigation, site wide. We recommend leaving this as-is and avoiding any deletions or changes. To reorder the published pages this article shows you how: Change Menu Order. This function changes site wide both in the the Header and the Footer.
Note: the Adventist logo, disclaimer, copyright notice, privacy policy, cookie settings, and any other legal disclaimers from Adventist Connect or the North American Division cannot be changed or removed.