

Just a heads-up: Editing these pages is best suited for advanced WordPress users, since template changes can sometimes be affected when platform updates roll out.
It's also worth knowing that changes here can have a sitewide impact on features that are part of Frame, so we recommend proceeding thoughtfully!
In this guide, you'll learn how to edit templates in Frame. Let's look at the steps:
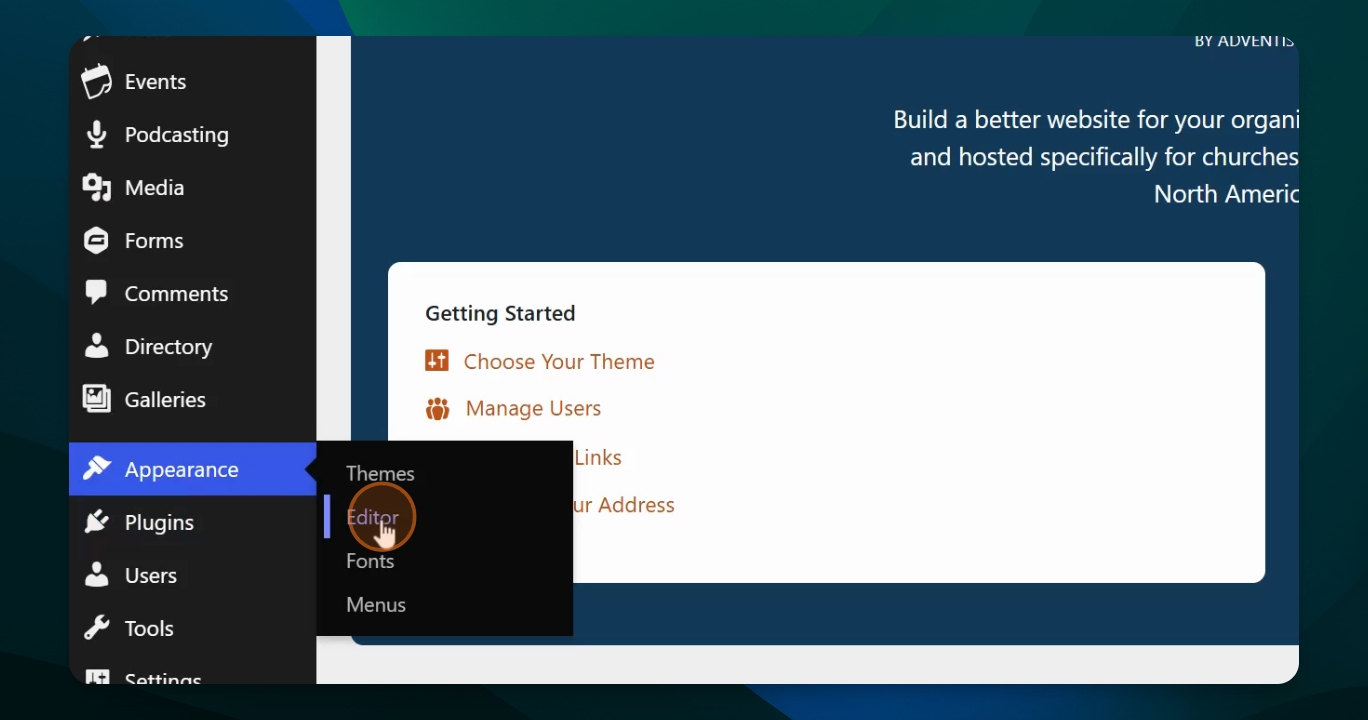
Step 1: Open Appearance Editor
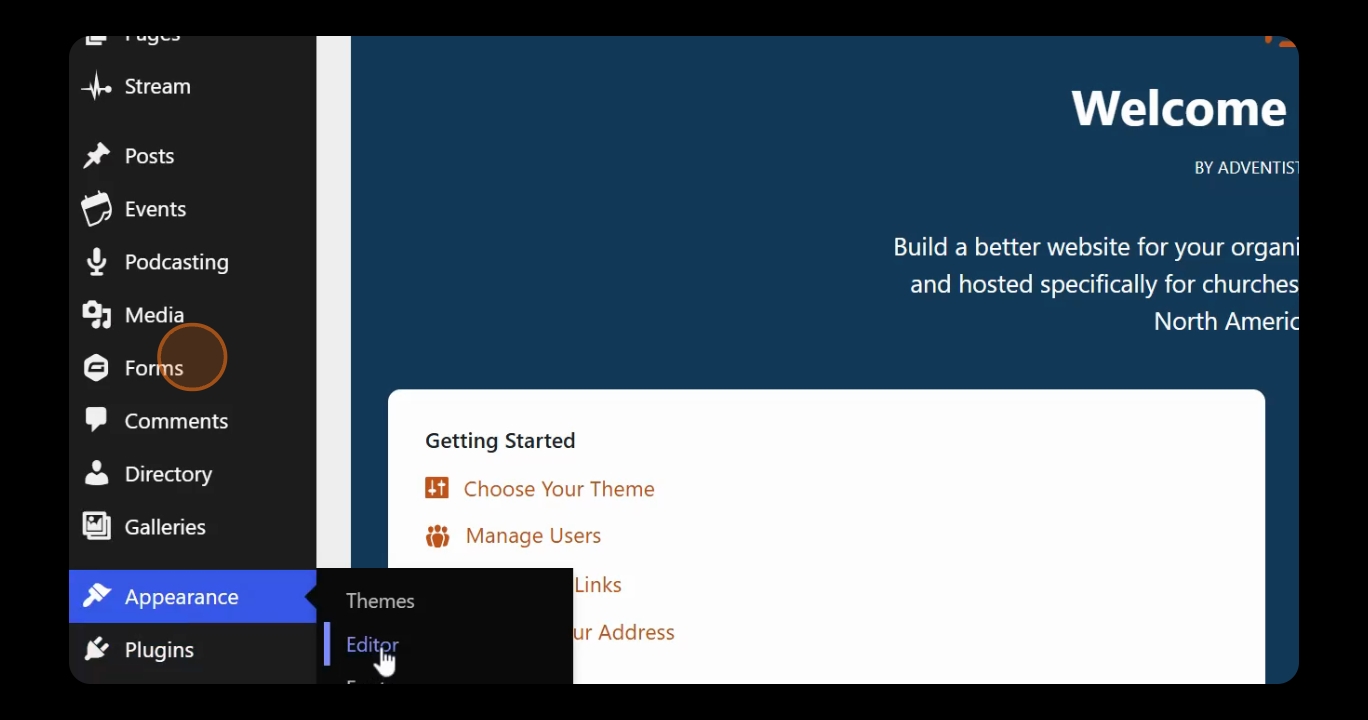
From your dashboard, go down to Appearance Editor.
Step 2: Access Templates Section
Scroll down in the design section and choose Templates.
Step 3: View Available Templates
All site templates will appear in the window. These represent the templates for your site.
Step 4: Open Template Actions
To edit or change a template, click the three dots in the upper right corner of the template. This opens the Actions menu.
Step 5: Edit or Revert Templates
If no changes have been made, you will see an option to edit. If changes exist, you can choose to revert to a previous version.
Step 6: Edit Template Sections
When you open the edit window, you will see sections like the header, hero, and content block. The content block must remain so you can add content in editor mode for that page.
Step 7: Identify the Frame Group Container
The content block is called the frame group container and must stay underneath its section.
Step 8: Add Additional Blocks
If you want to add more blocks, use the block inserter to insert additional blocks as needed.
Step 9: Save Your Changes
After making changes, click Save to apply them.
Step 10: Adjust Block Settings
Use the settings menu to adjust block properties, similar to editing a page in the Editor.
Step 11: Save and Exit
Once finished, make sure to save again. Exit the edit window by clicking OK in the upper left corner. Arrow back to return and preview your changes.
Be aware that editing templates requires advanced WordPress knowledge and understanding of how WordPress works.
That is how you edit your templates within Frame.