
Some pages may require a custom menu for easy access to related content. While buttons will often be the easiest way to accomplish this, you may also use a Navigation Block. Let's explore how to use the Navigation Block to add a menu to your page.
Buttons are the easiest and most flexible way to add links to a page or post.
TL;DR
From the editor, add a Navigation Block to your page.
Choose an existing menu to display or create a new one.
If creating a new menu, add pages to display.
Adjust settings so you menu is readable and displays correctly.
Save your work and review your changes on the site.
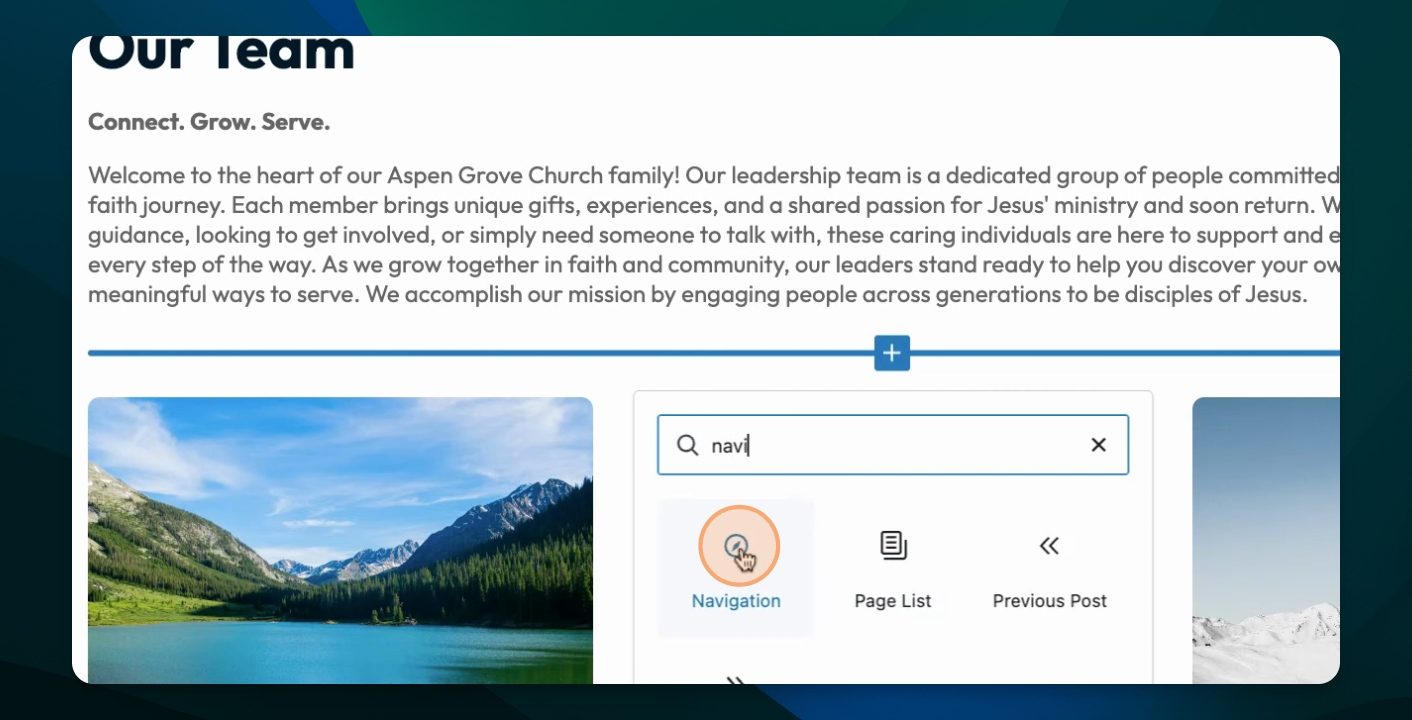
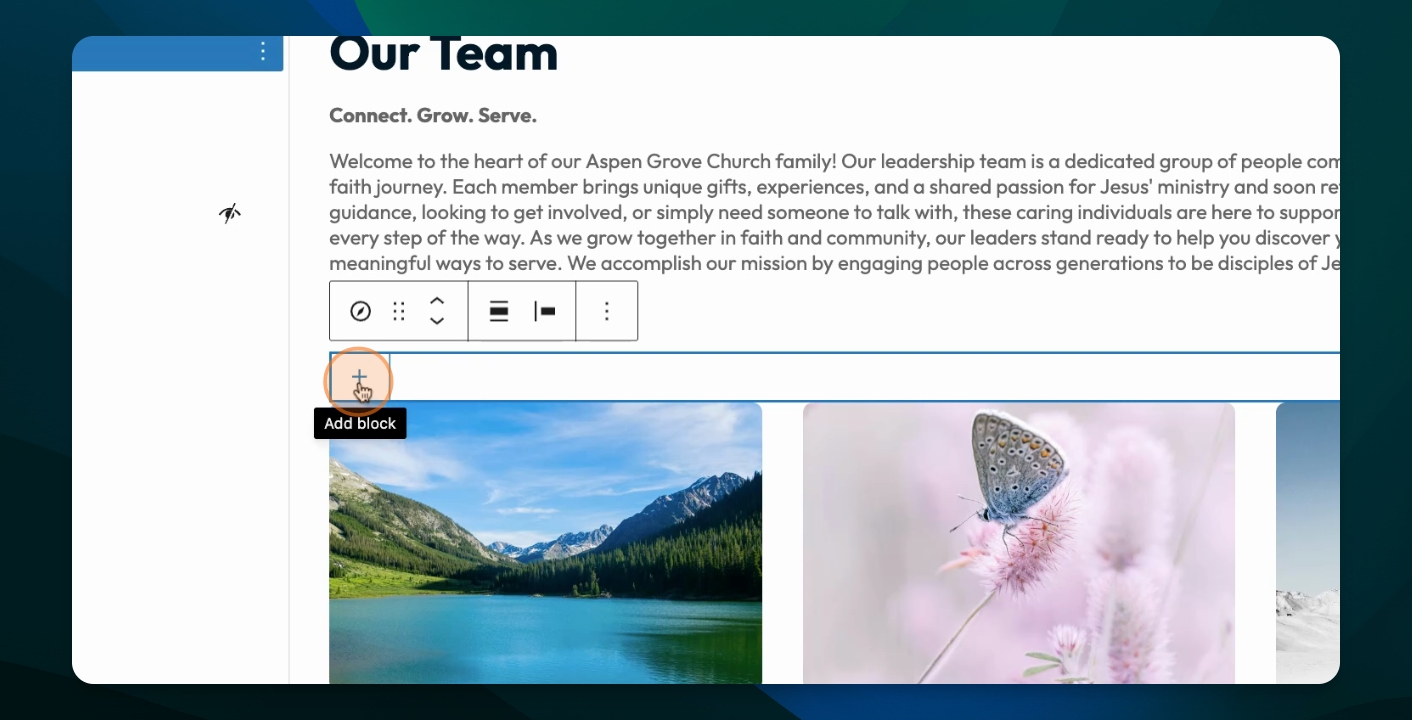
Step 1: Add the Navigation Block
First, use the Block Inserter or place your cursor in the content area and type /navigation to add the block.
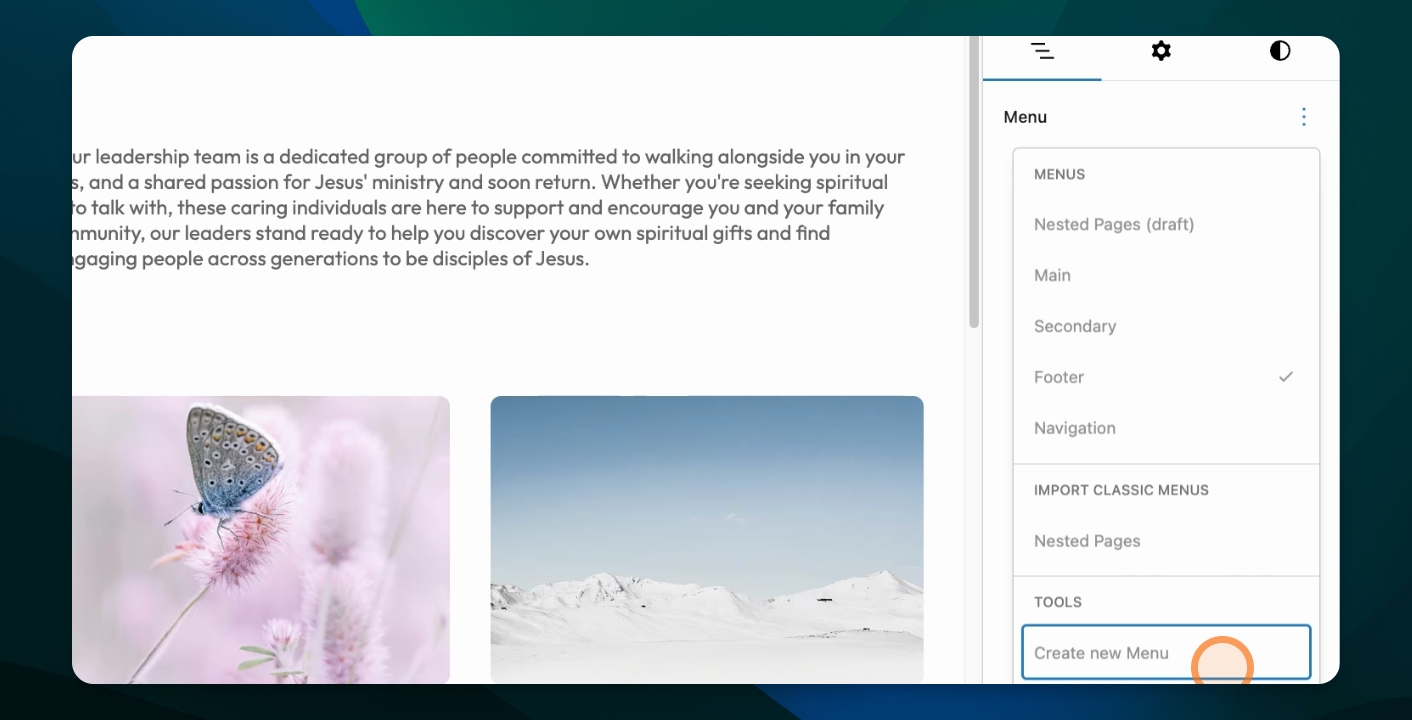
Step 2: Select or Create a Menu
In Block Settings, select an existing menu (eg. footer menu or secondary menu). If you want a new menu with different pages, click create new menu.
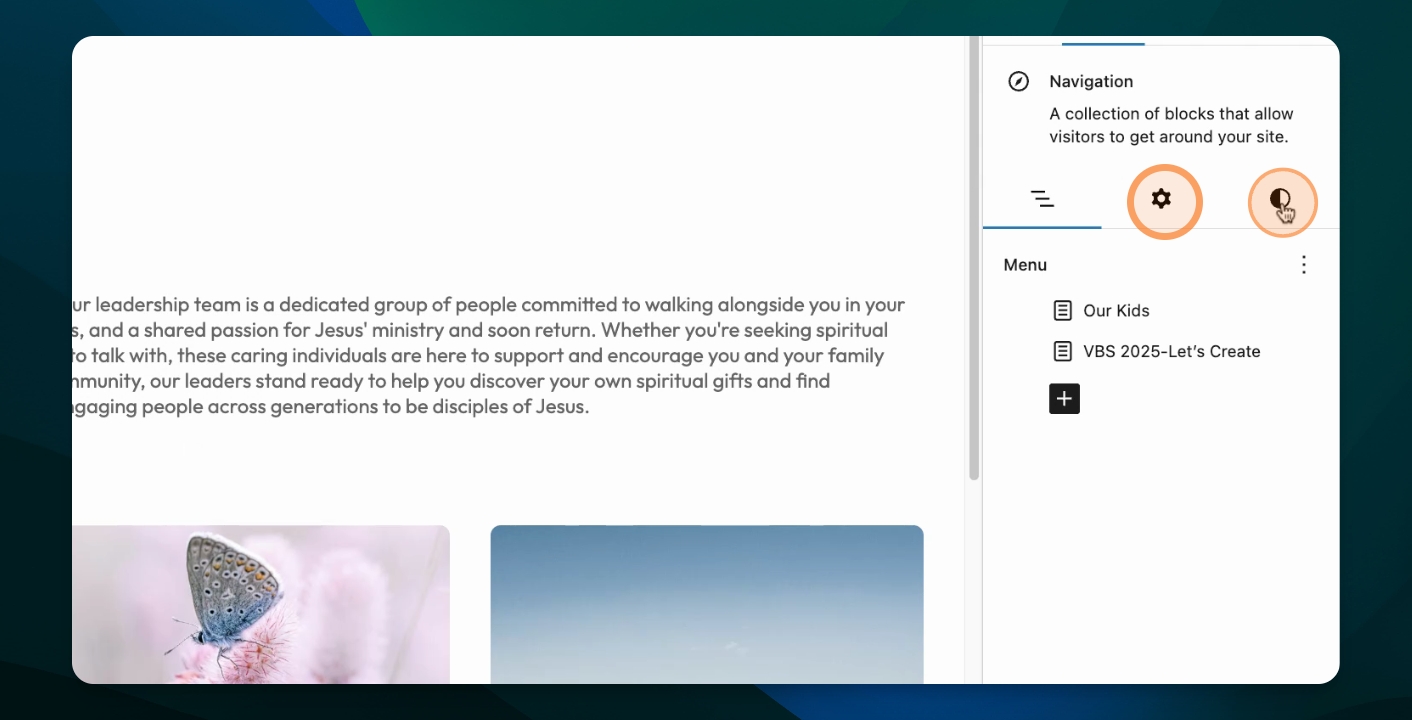
Step 3: Add Pages
Add pages by searching for their names and selecting them.
Step 4: Adjust Settings
Go to Styles and Settingsto adjust block spacing and layout options for mobile views.
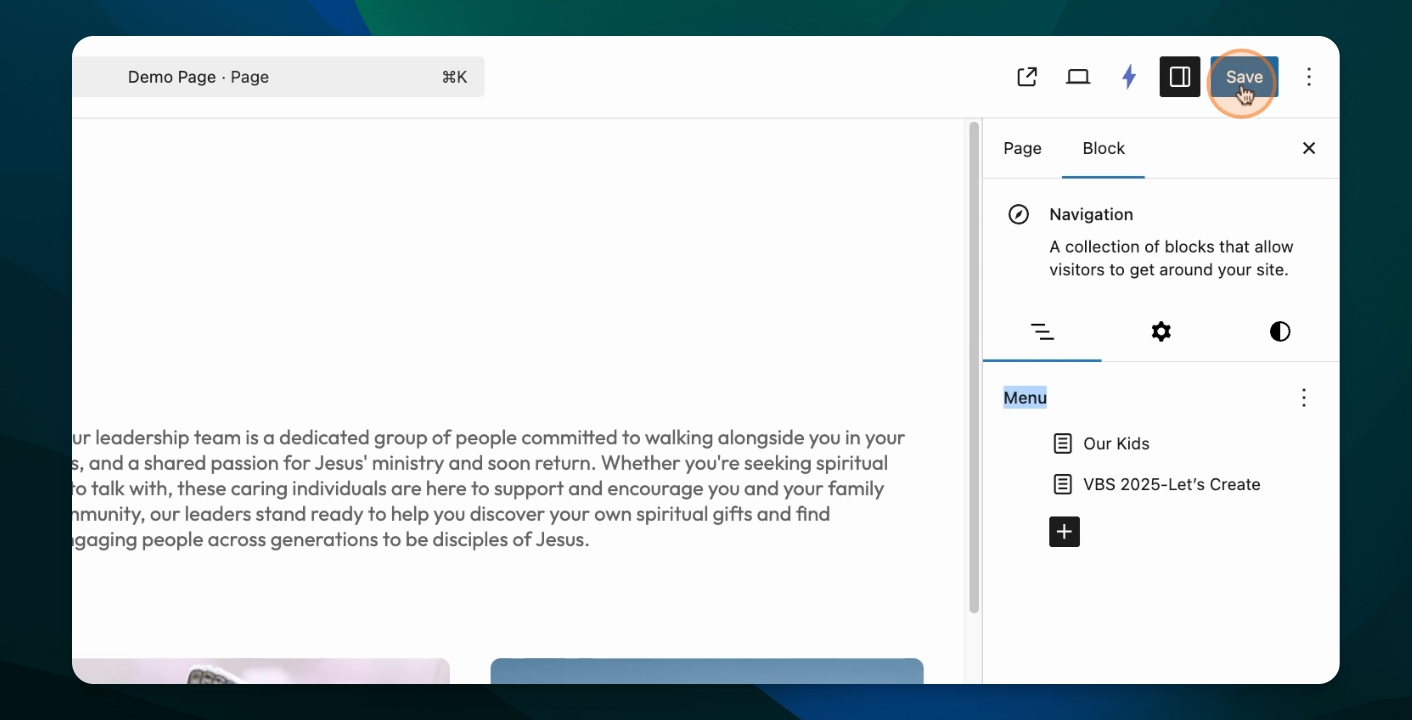
Step 5: Save Changes
Finally, save and view your changes.
Optional: Rename the Menu
Return to the dashboard, then go to appearance and editor, then select navigation. Find the menu you just created and rename it for easier identification.
Like other secondary menus, menus built for the navigation block with not automatically update if pages change. In order to keep the menus working, its important to keep them up to date with any page changes.
In general, using Buttons is better practice for limited menus as they provide more design options and customizations and are easier to configure from the editor.