
TL;DR
1
Open WordPress Dashboard
Navigate to the editor of a post or page.
2
Add Button Element
Type /buttons and input button text.
3
Insert Button Link
Paste the desired URL for the button.
4
Style the Button
Open settings to adjust styles and colors.
5
Customize Dimensions
Set typography, padding, and border radius.
Let's Do It Together!
Step 1: Access the Editor
Go to your WordPress dashboard and select a post or page you want to edit.
This opens the editor for the selected post or page.

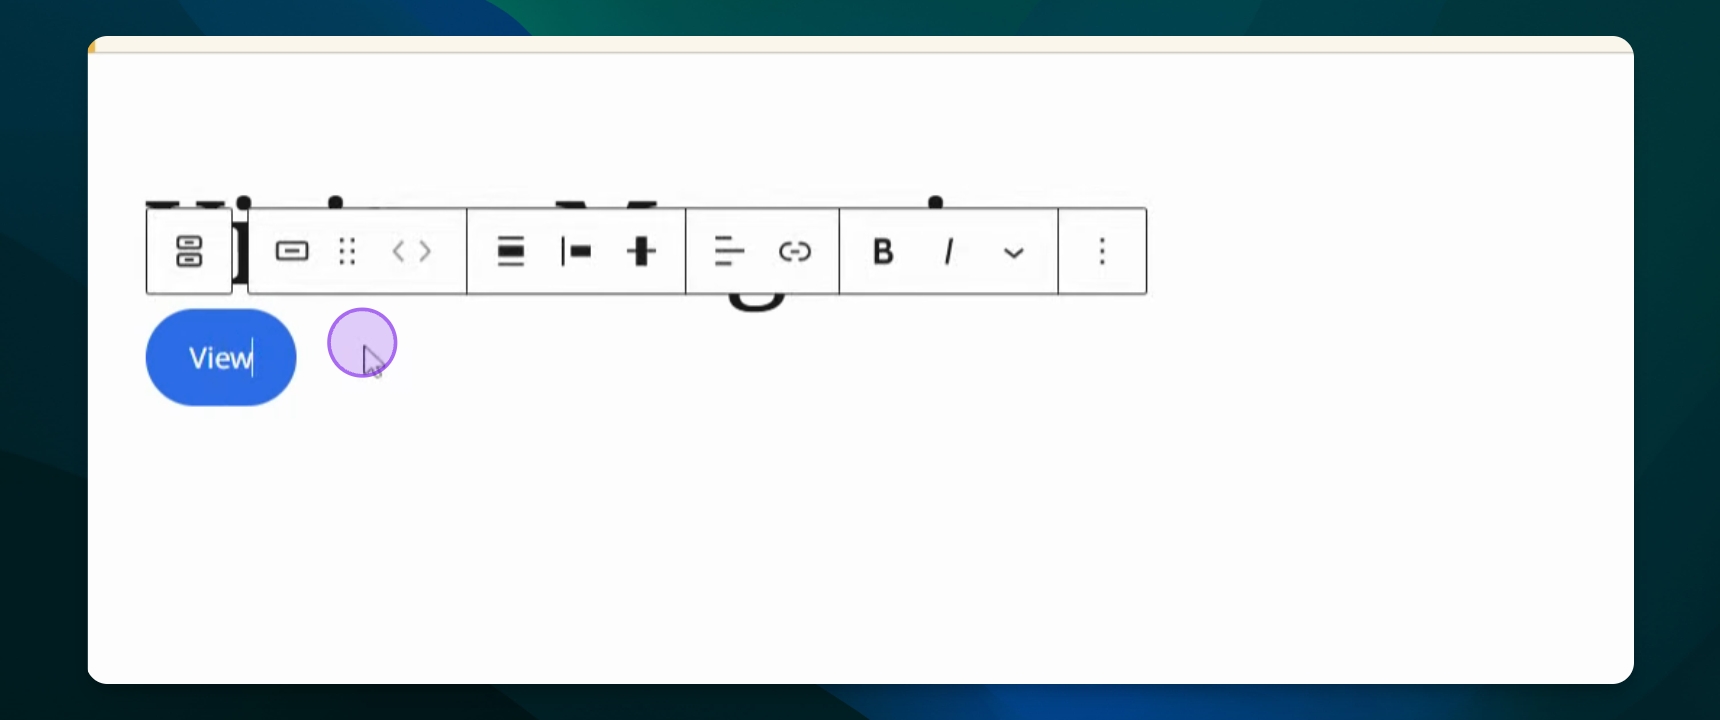
Step 2: Add a Button
Type /buttons in the editor and add text for the button, such as View.
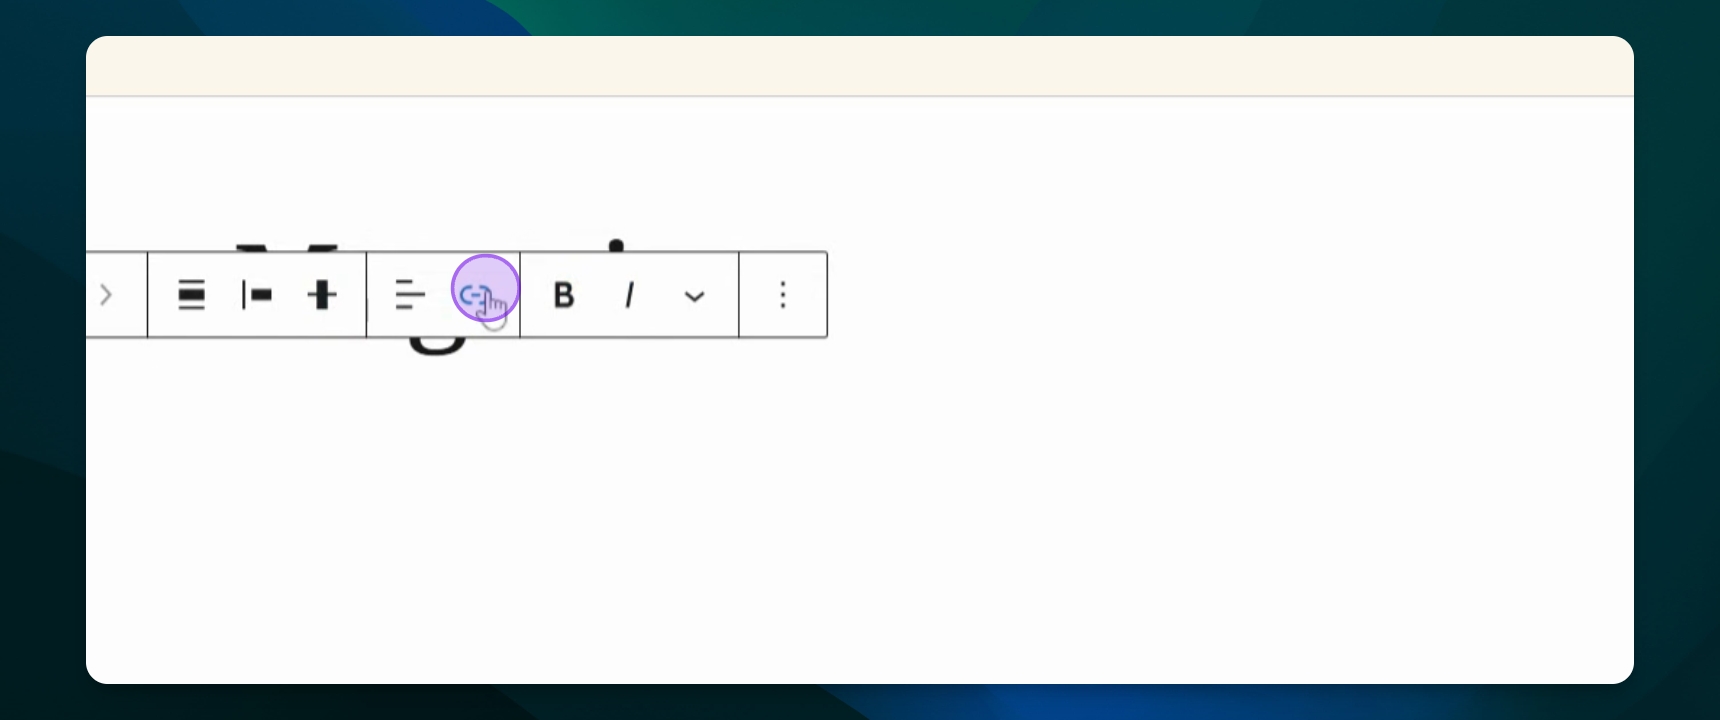
Step 3: Insert a Link
Paste a URL for the button link to ensure functionality.
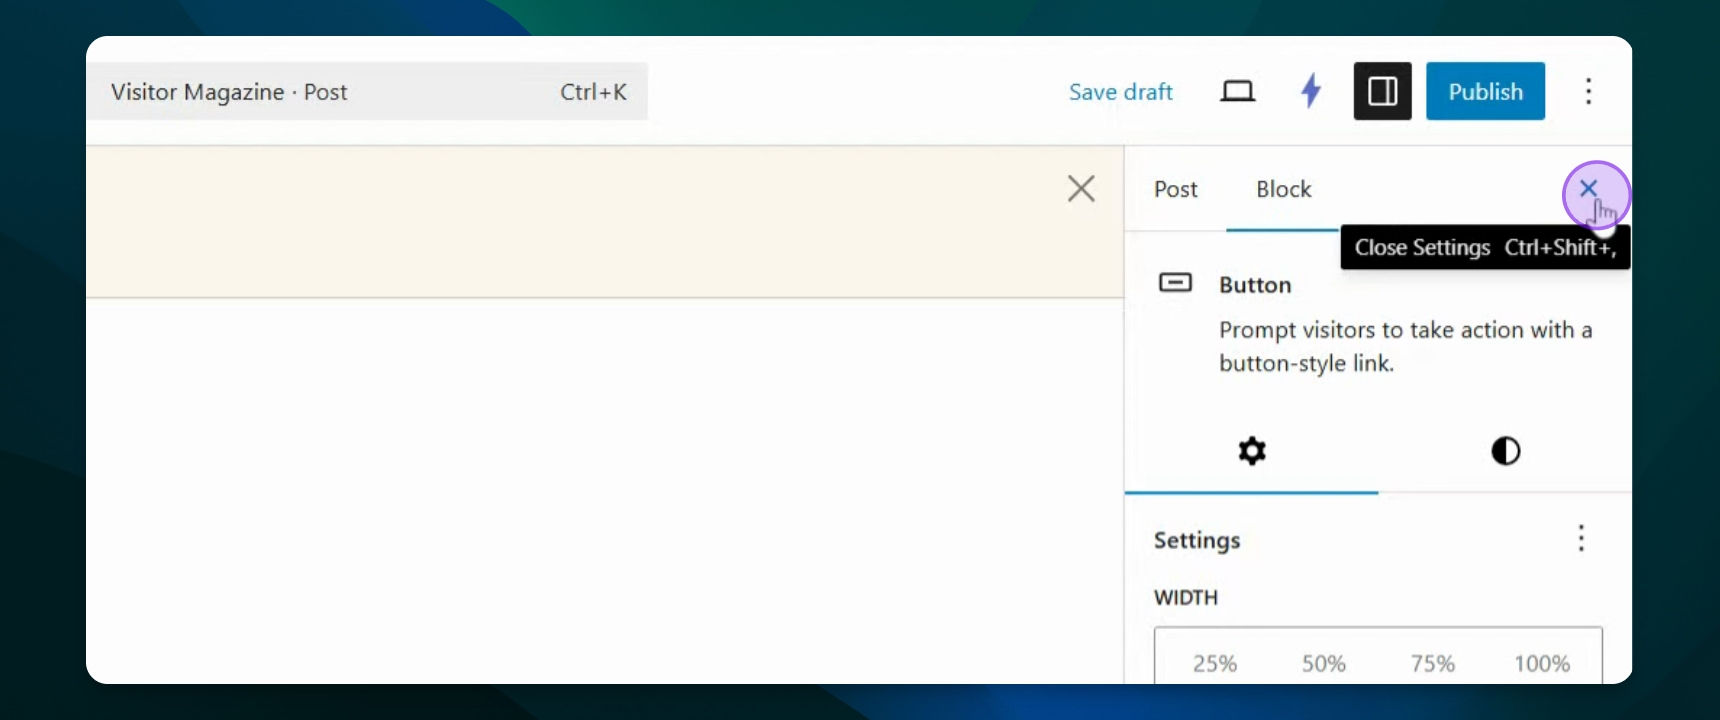
Step 4: Style the Button
Open the settings panel on the right side to adjust styles.
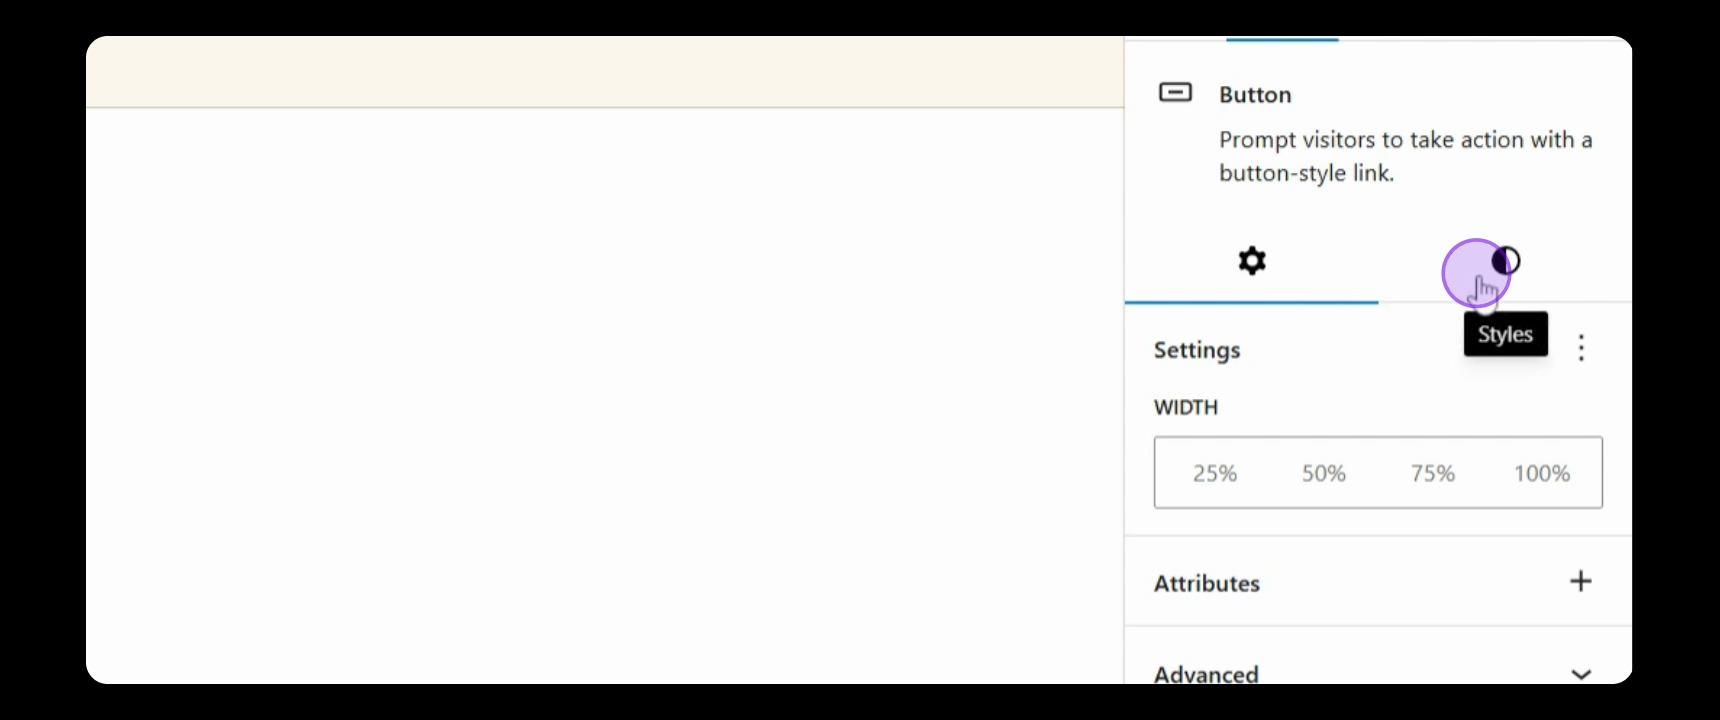
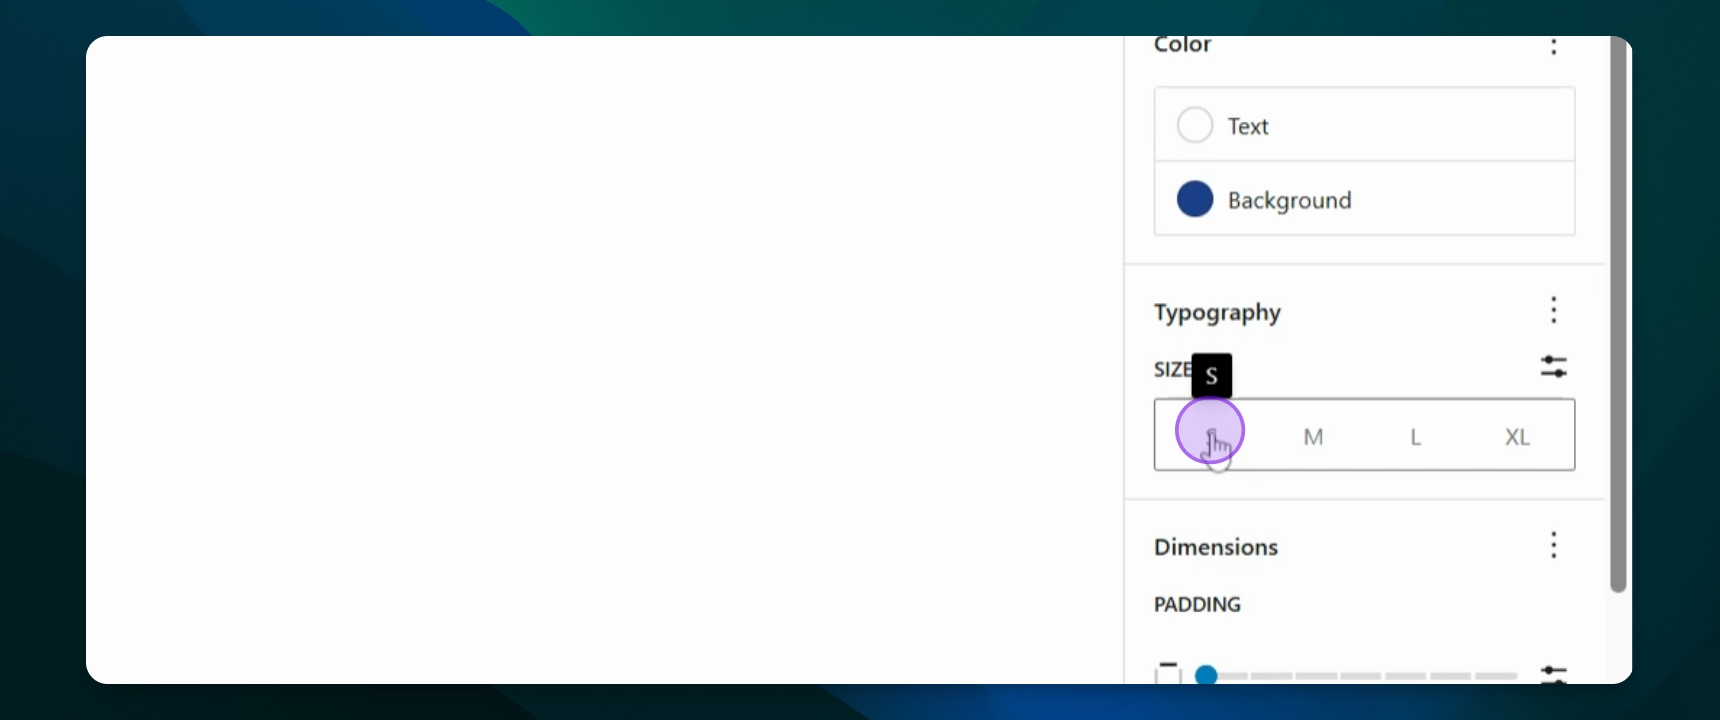
Step 5: Change Text and Background Color
Under styles, change the text color and background color as desired.
Step 6: Adjust Typography and Dimensions
Change the button size and padding by selecting typography and dimensions.
Step 7: Set Border and Radius
Change the border color and radius to customize the button's appearance.
