In this video we're going to talk about your media library from your dashboard. Let's look at the steps:
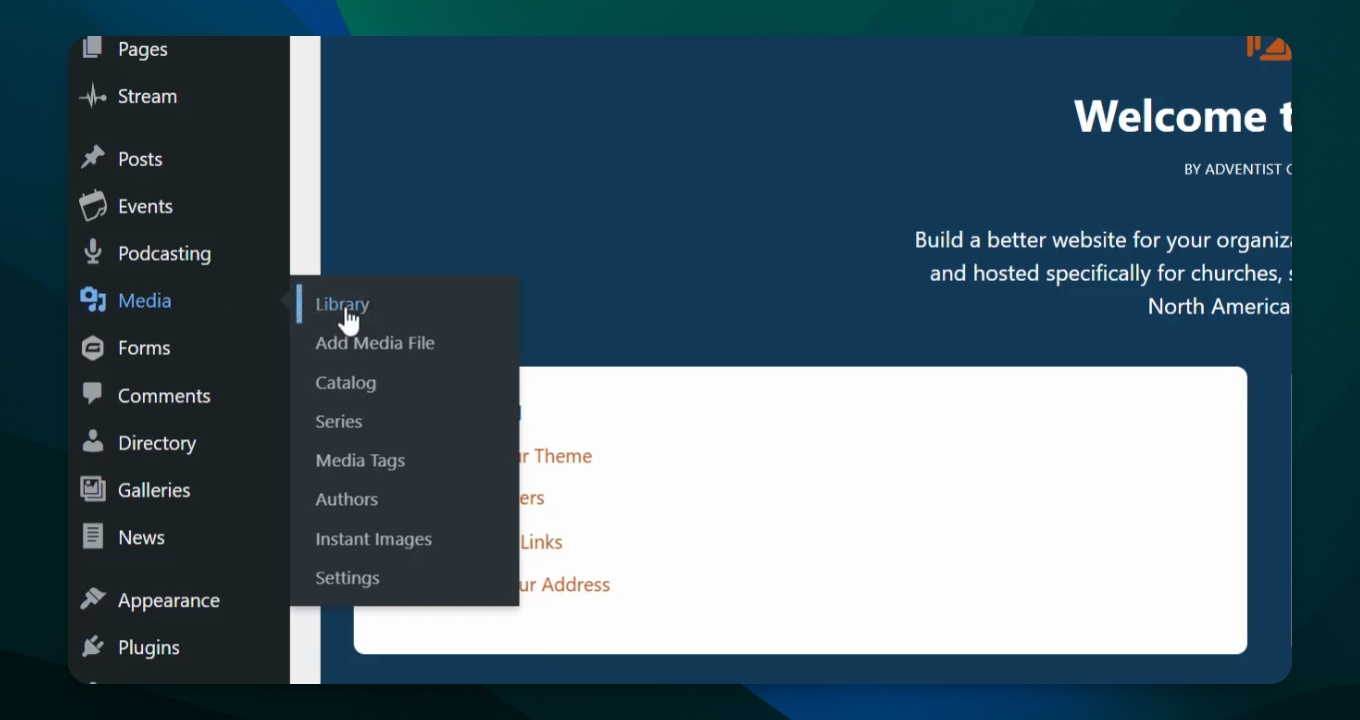
Step 1: Go to Media
Go to Media in the flyout window and pick Library.
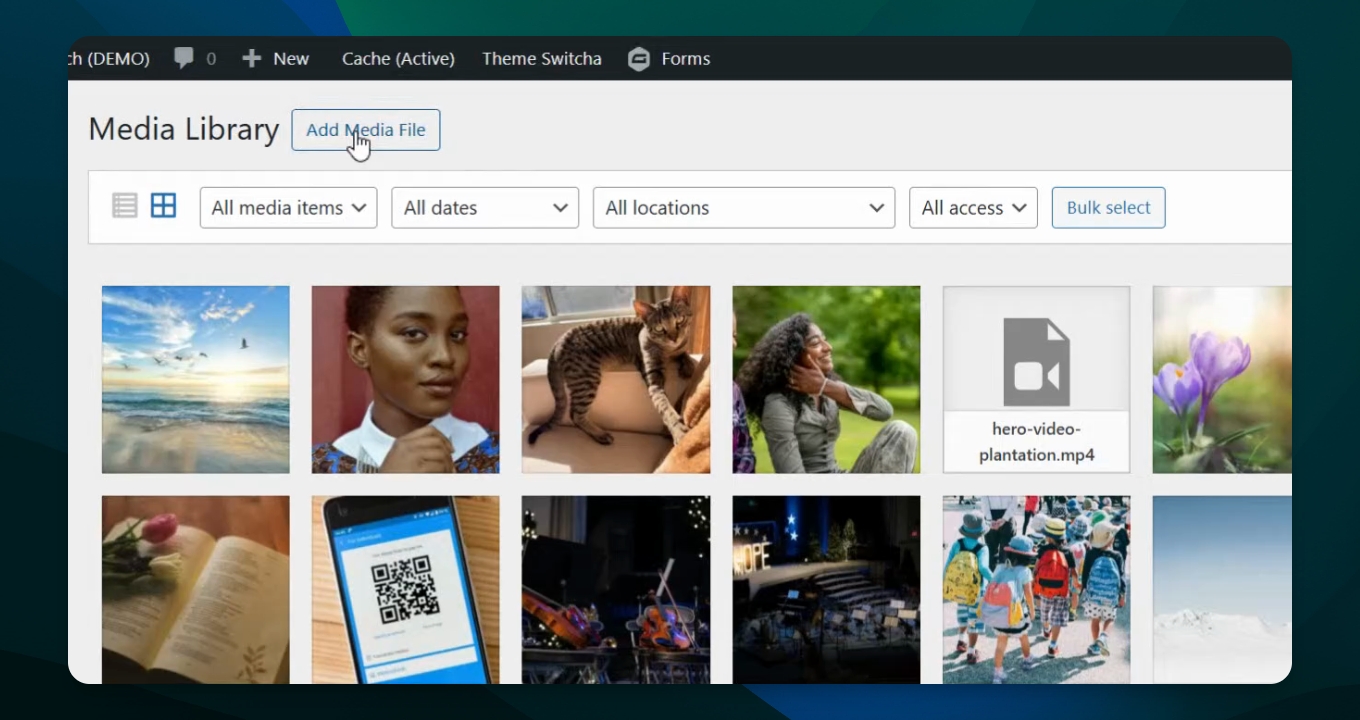
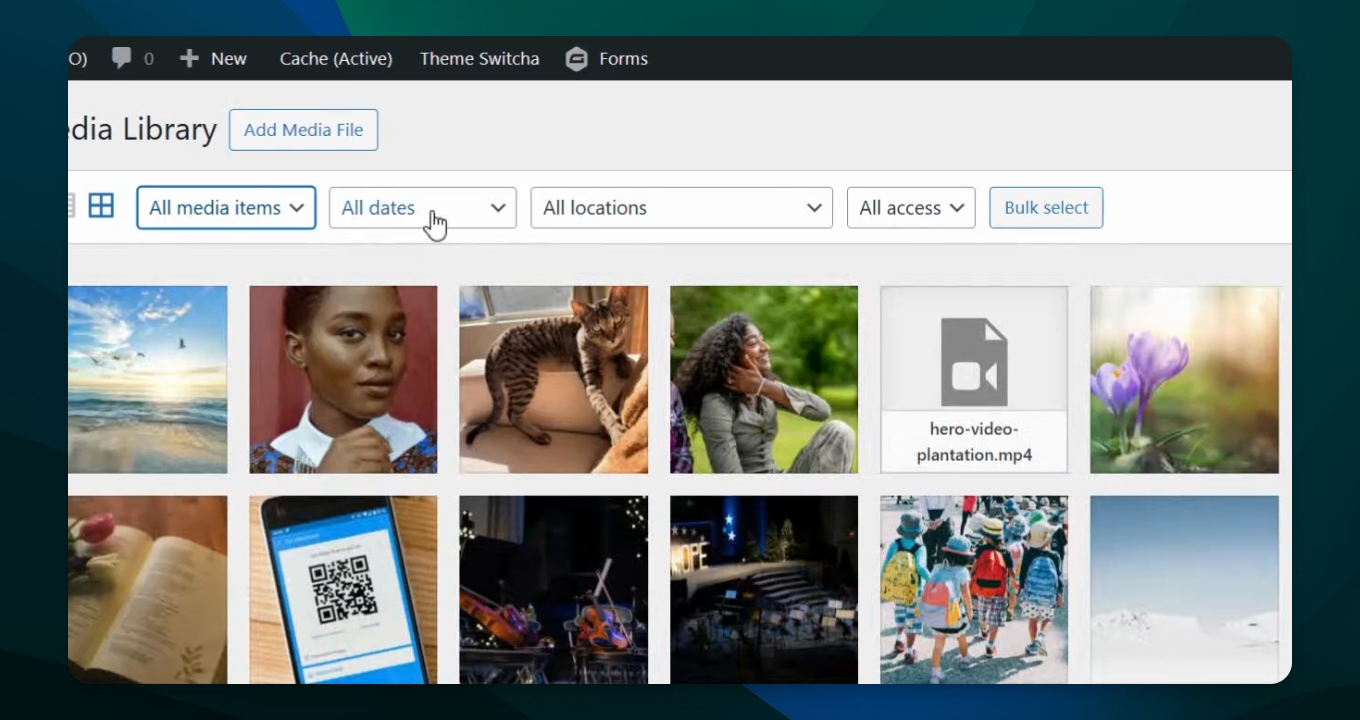
Right now we have all media items listed, including your photos, PDFs, videos, and audio files for your entire site.
In this window, you have the opportunity to add a media file by uploading something from your computer.
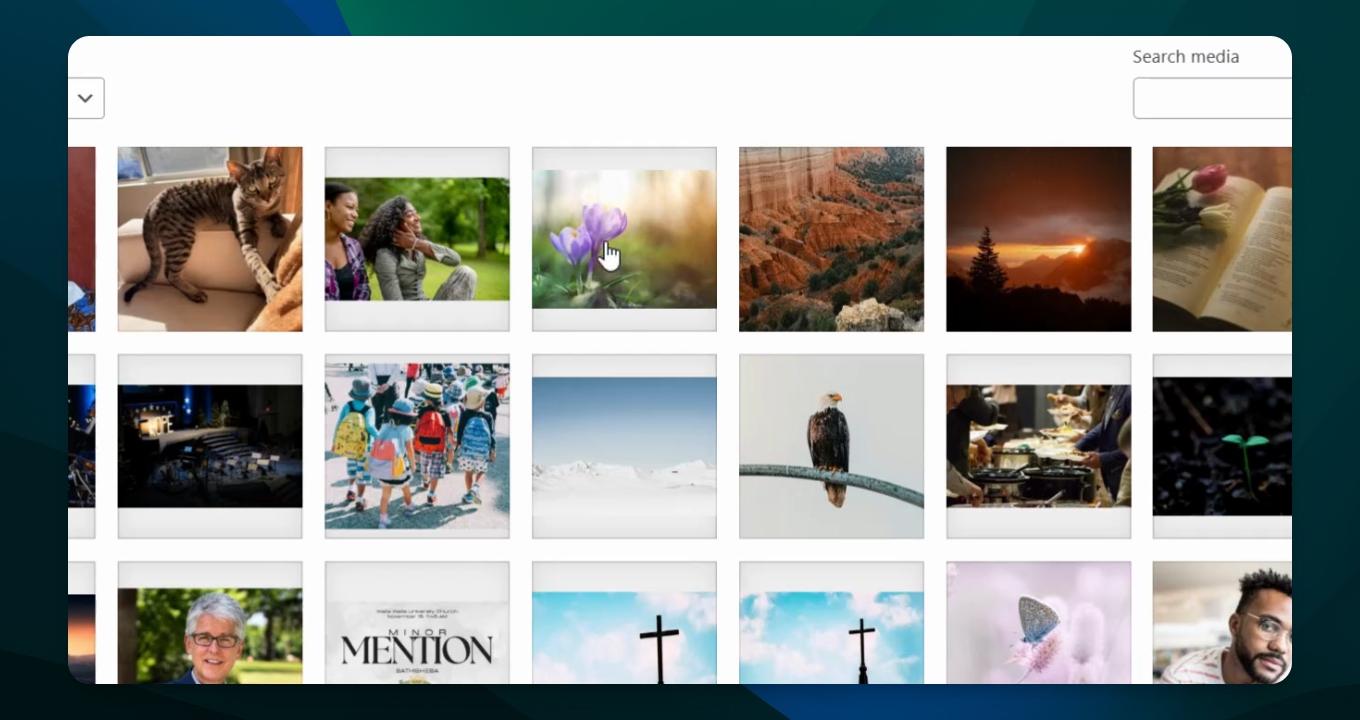
You can also search media items to filter by specific types, such as just your images.
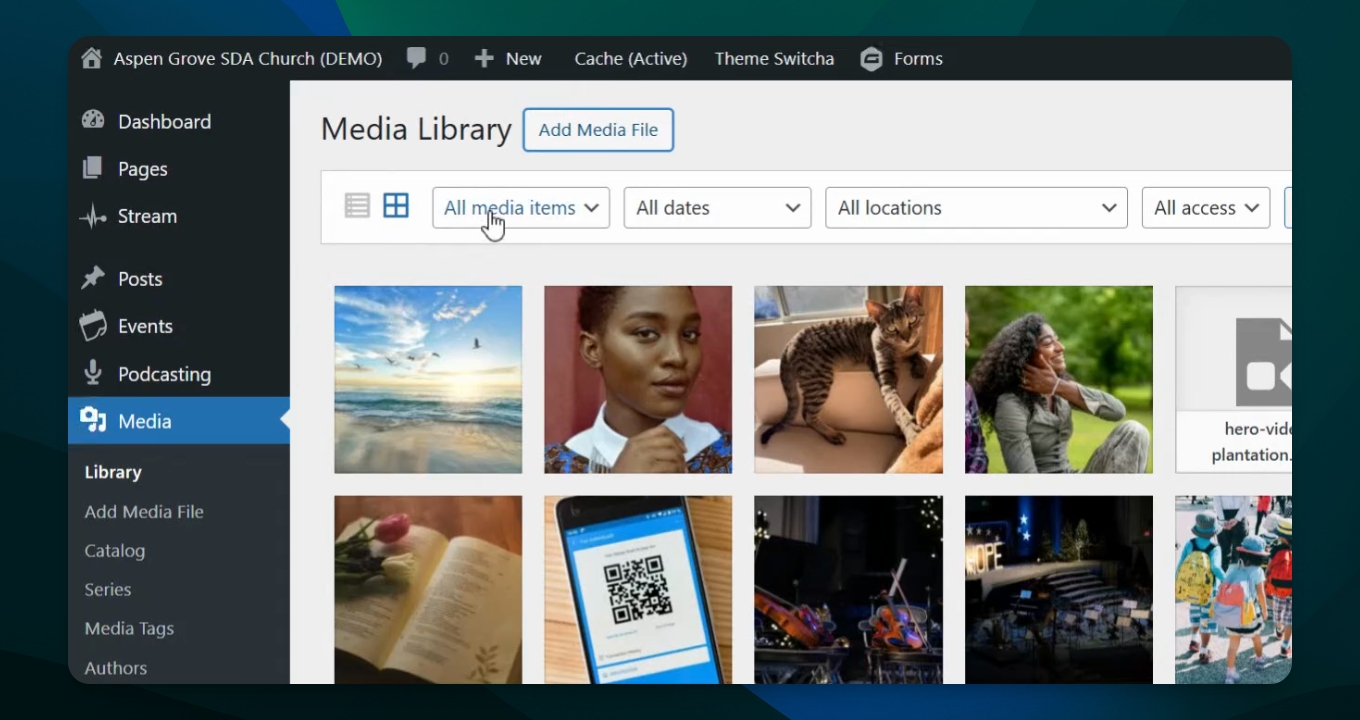
Step 2: Return to All Media
If you want to go back, simply click All Media Items.
You can also search by date to see specific uploads, like those from June of 2025.
Step 3: Bulk Select Media
If you want to bulk select media items, you can highlight or delete certain ones.
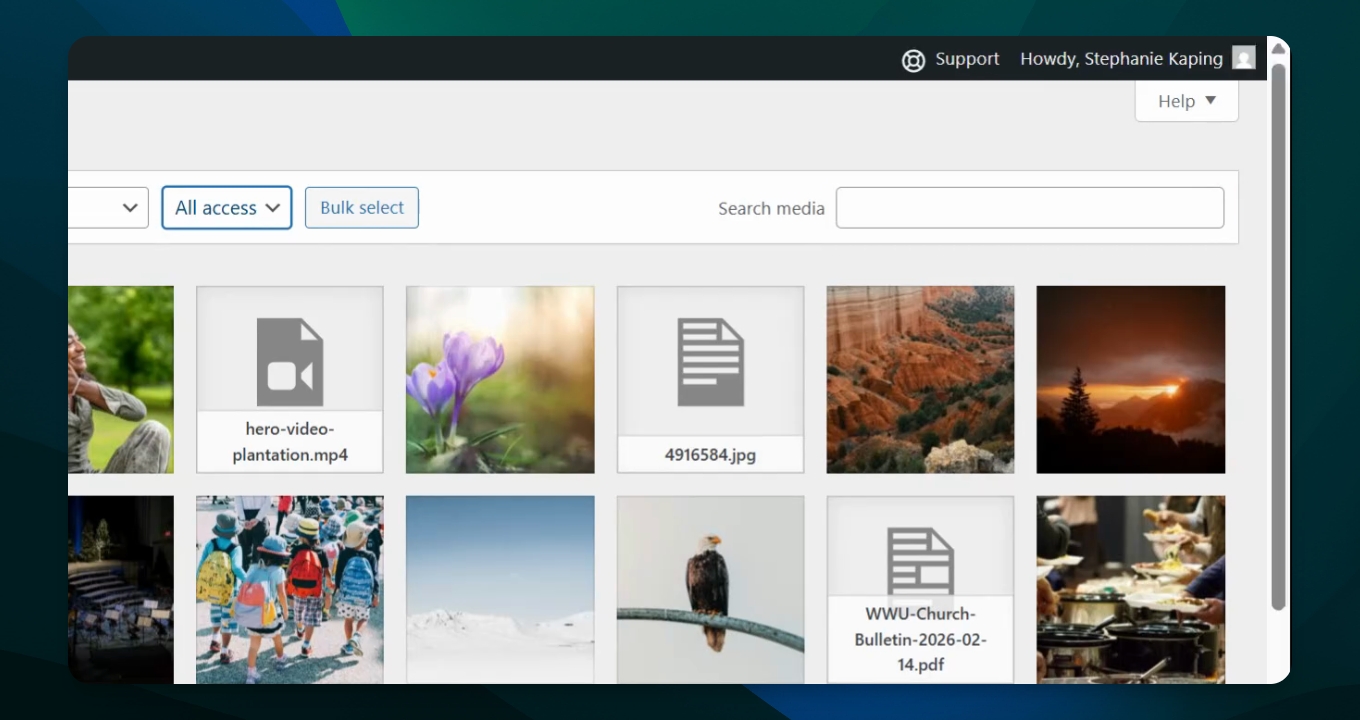
This is a search bar where you can type in a name or something included in the file name to filter results.
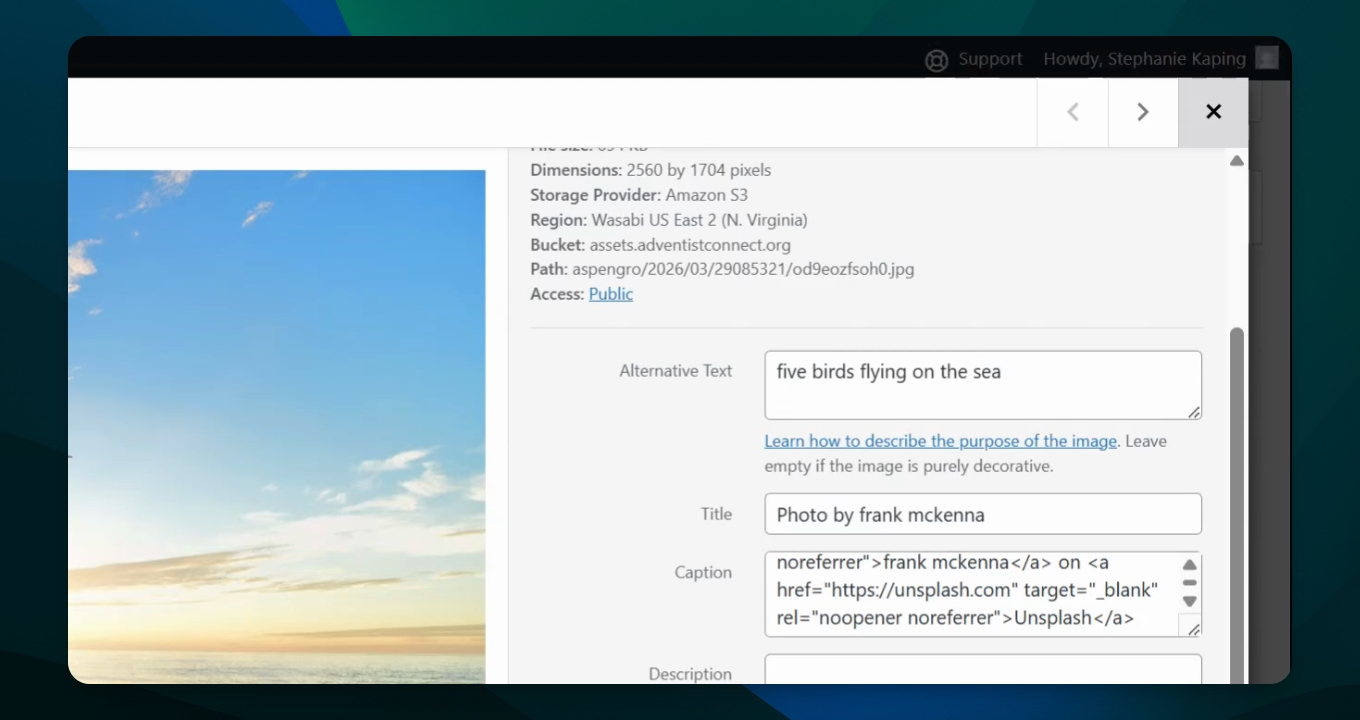
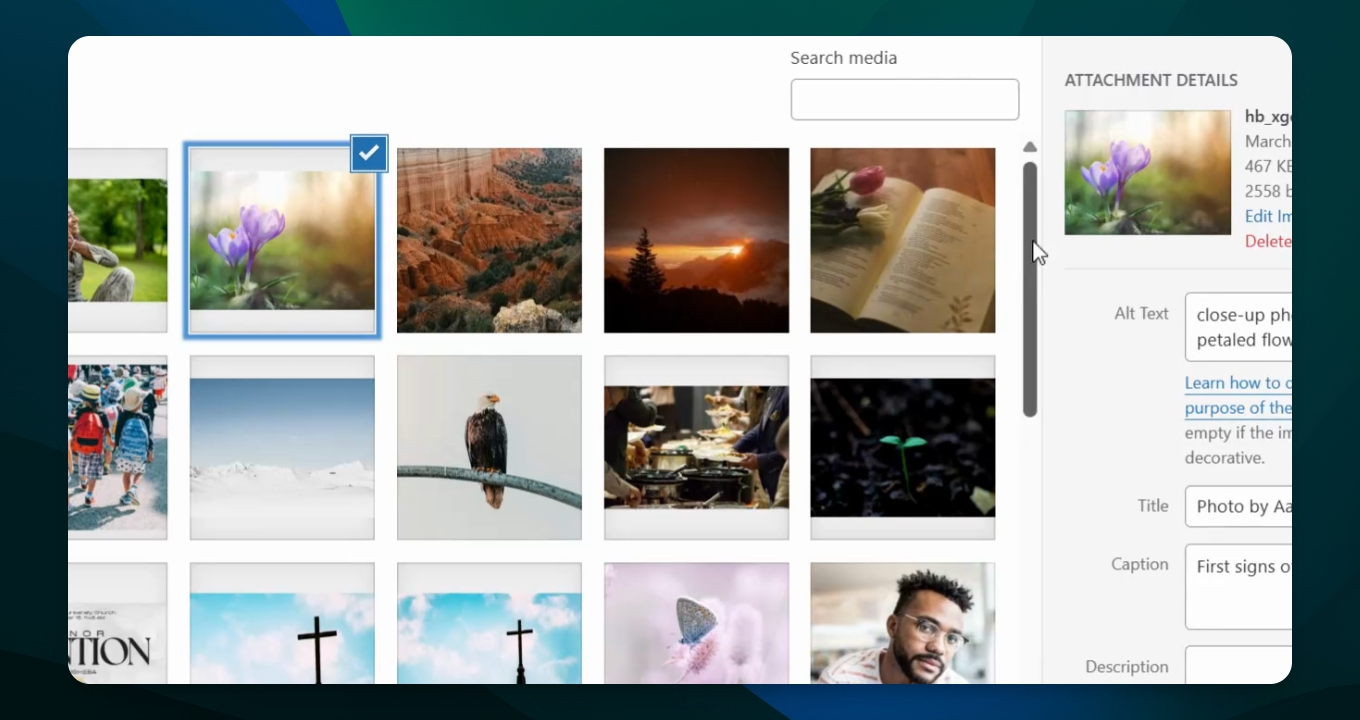
Clicking on a photo opens a larger thumbnail with options and information about that photo.
Here you can change the caption, focus point, and access settings for the photo.
Step 4: Return to Library
If you are done viewing a photo, hit the X to return to your library.
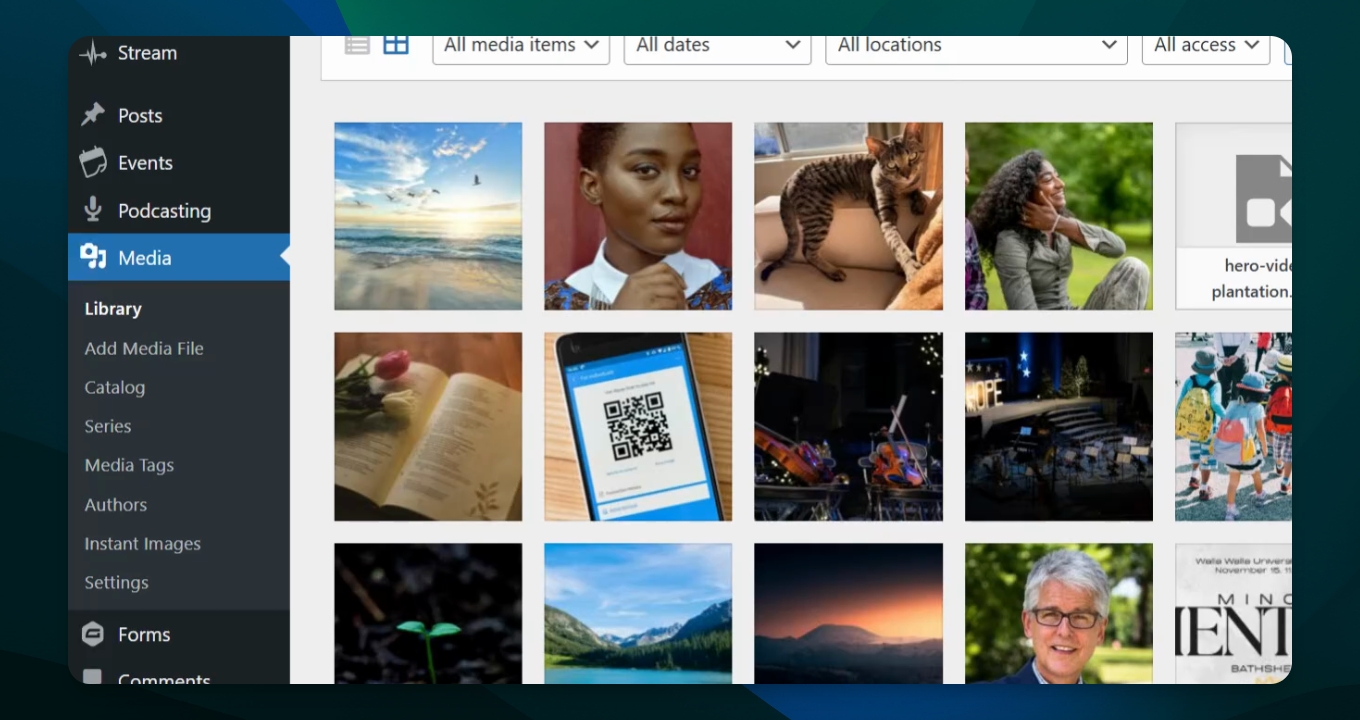
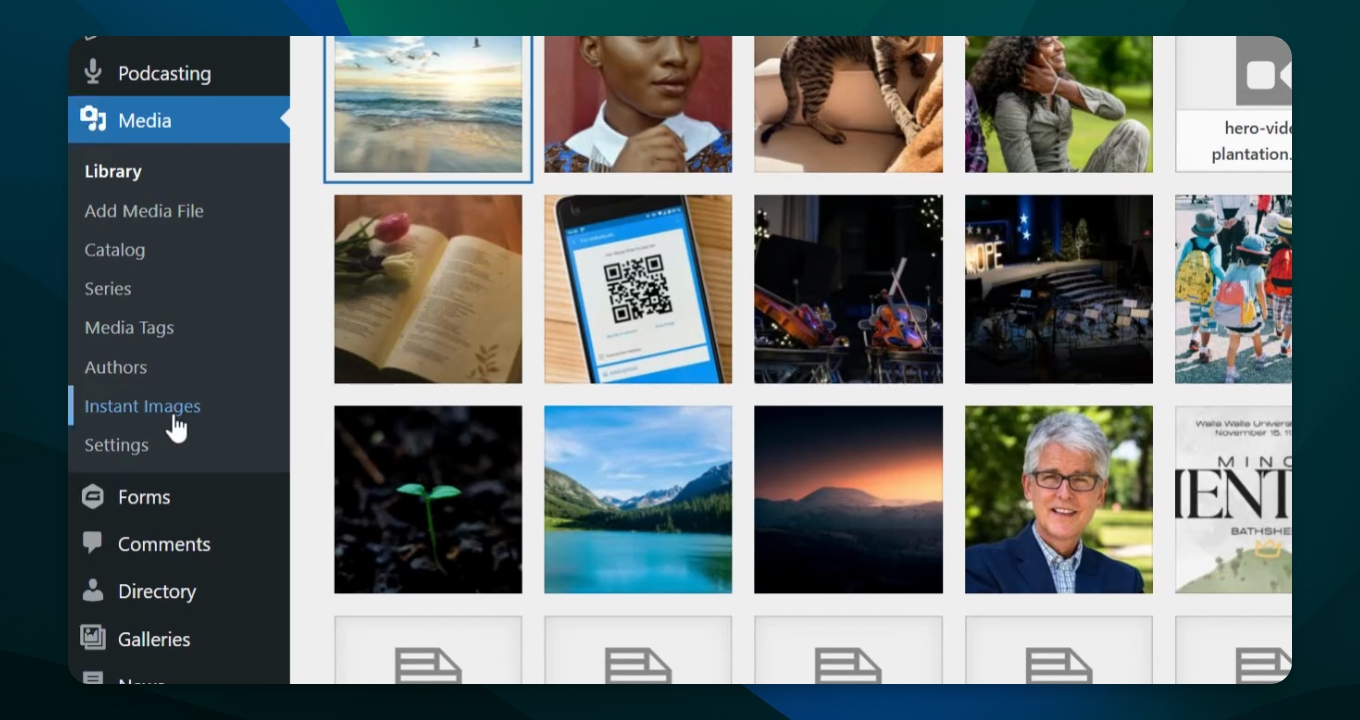
You can also access instant images from the dropdown window in your library.
Step 5: Upload Photo
To find a photo, pick one and upload it to the library.

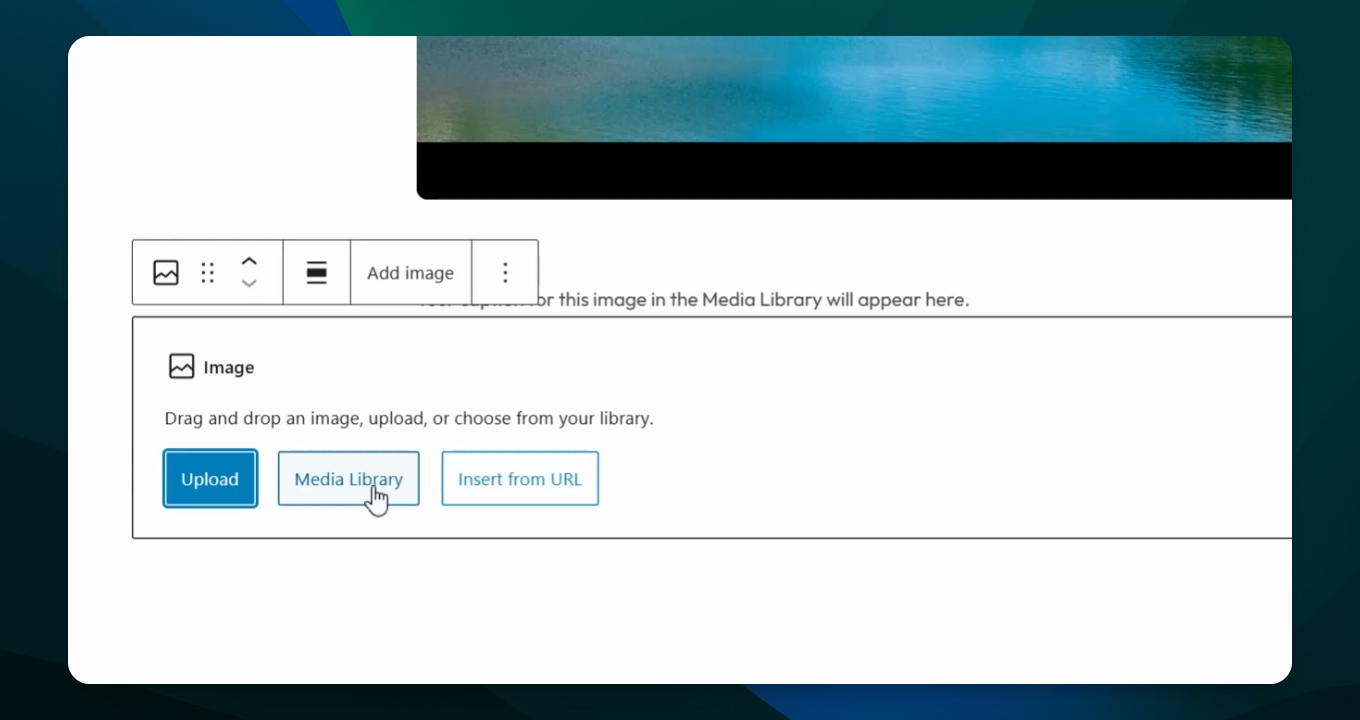
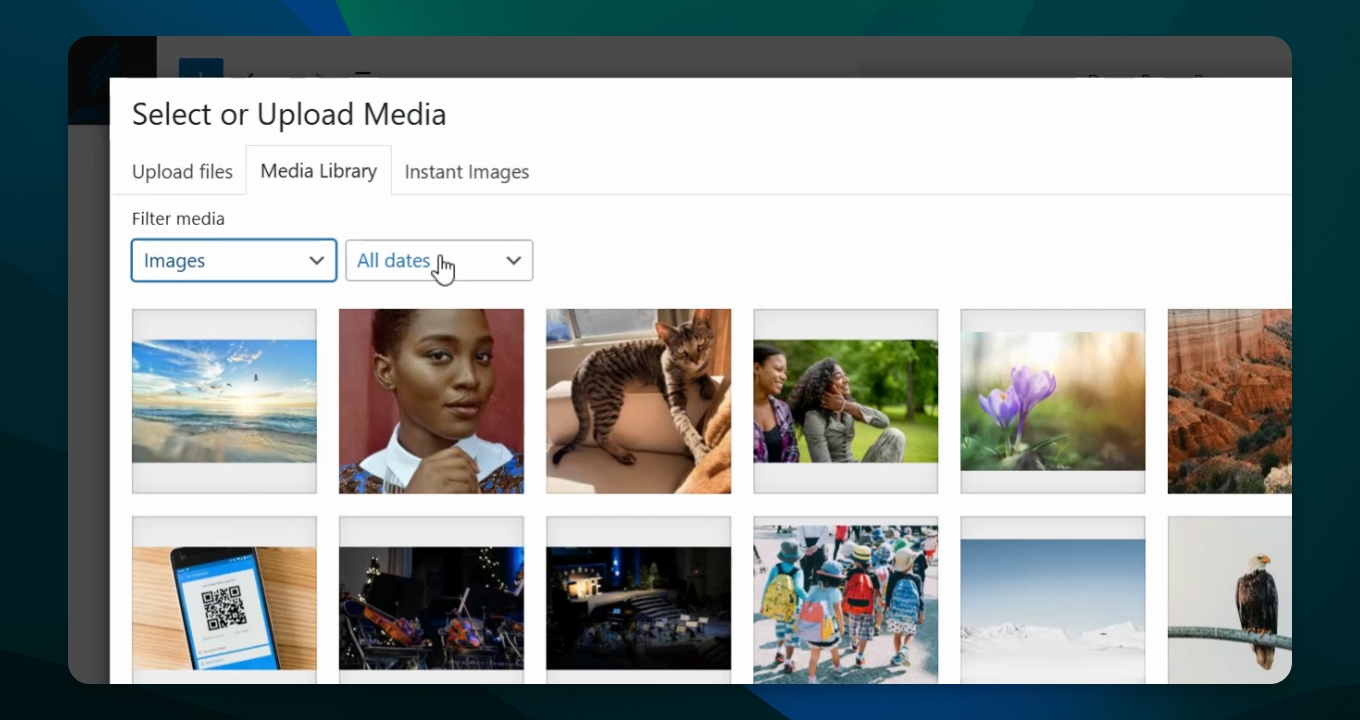
When adding an image to a page, you have options for uploading from your desktop or media library.
You can change the upload date and search from within the page editor.
Clicking on a photo in the editor shows similar information and editing options.
This allows you to manage and search your media library effectively.
If you want to see photos from a specific date, this feature can help you find the right photo.

Adding Bulk Images to Media Library
If you need to upload multiple photos to the Library. This is a simple process to achieve. Simply go the the Dashboard > Media > Library > Click "Add Media File" > select the files and drop files into window (see below).

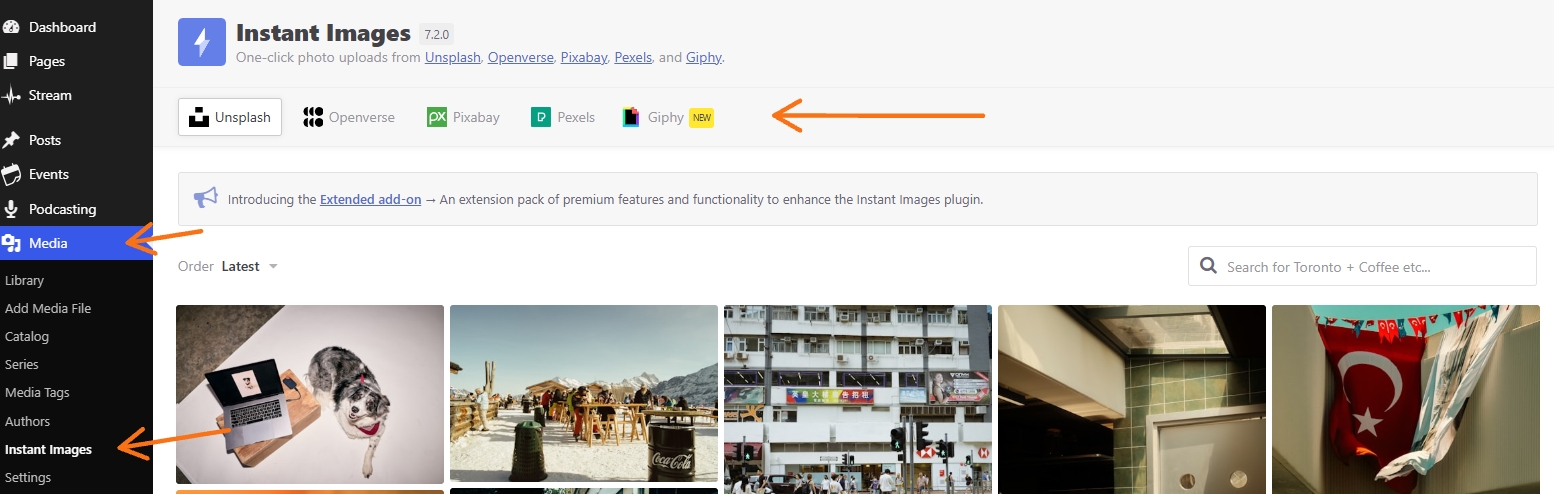
Instant Images
From the Media tab in the dashboard you can also access the Instant Images feature. From this feature you can search from five commercial royalty-free sites and select the image you wish to use on your website. (See Related Articles for details, on how to access while in Editor mode, when updating content.)
To use simply click on a specific photo and it will be loaded into the media library. You will see a green checkmark on photo, which means it has been added to the library.
To access go Dashboard > Media > Instant Images