
How to Use Instant Images
Log into your WordPress dashboard.
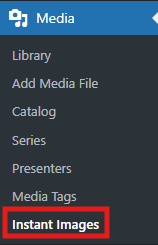
Go to Media > Instant Images in the left-hand navigation menu.
Use the search bar to find the image you want by typing in a keyword (for example: "church," "school," or "nature").
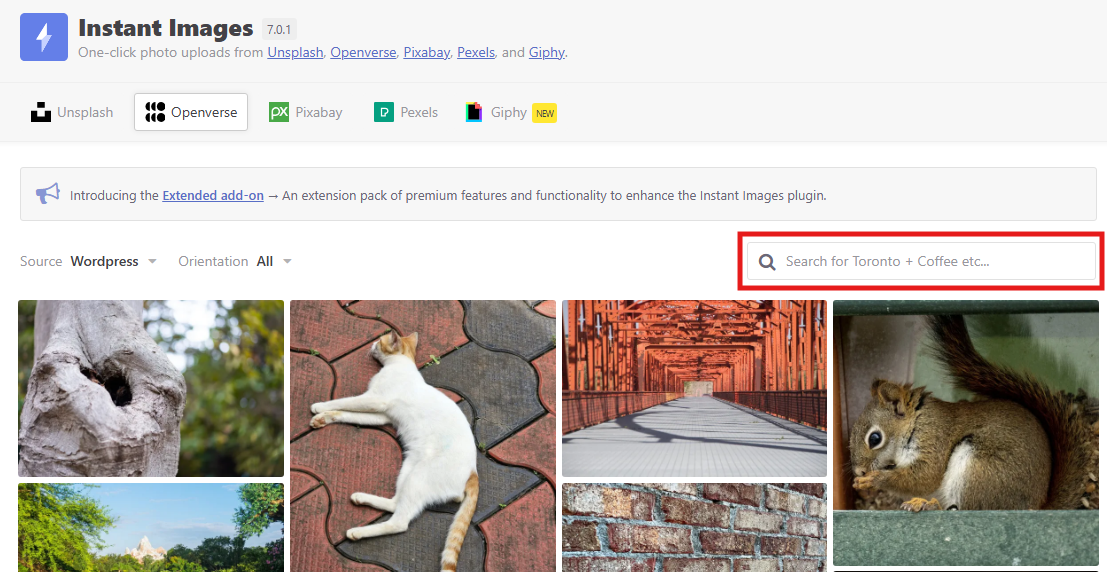
Browse the results from Unsplash, Openverse, Pixabay, Pexels, and Giphy.
Click on the image you want to import.
The image will automatically be added to your Media Library, ready for you to insert into your pages or posts.
What You Can Do After Importing
Edit the Image Details:
Once the image is in your Media Library, you can click on the image to to update the:Title
Caption
Alt Text
Description
Updating this information helps with site organization, SEO, and accessibility.
View Important Information:
You can also see helpful file details such as:File Size
Image Dimensions
This can help you manage your media files more effectively and make smart choices about image sizes for your pages.
Why This Is Useful
Save time — You don't need to download images to your computer and re-upload them into Frame.
Find high-quality photos — Instantly access thousands of royalty-free images perfect for your ministry website or school.
Stay organized — Images you import are saved directly into your Frame Media Library for easy access later.