
This guide explains how to edit galleries you have already created. You'll learn how to remove unwanted photos and add new ones to your gallery.
When editing a gallery an you are wanting to add or replace photos you must upload those images first into you Media Library.
Dashboard > Media > Library
Let's look at the steps:
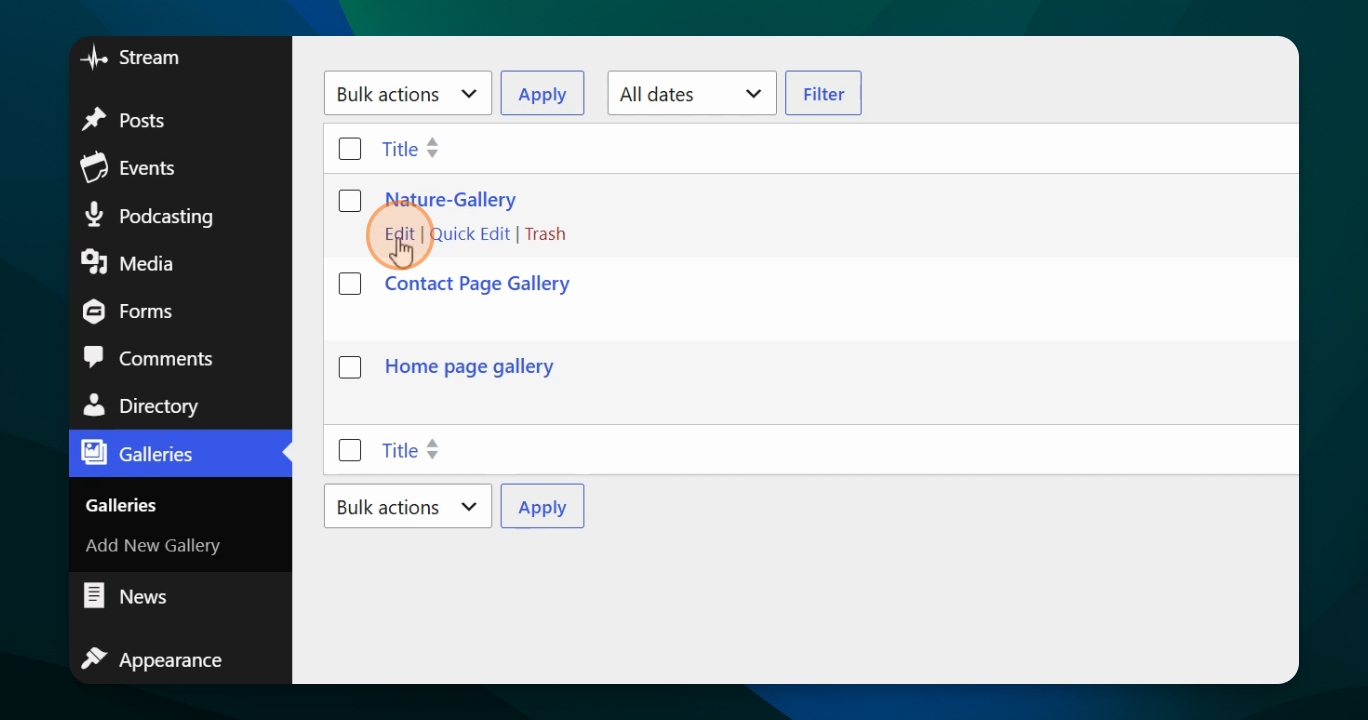
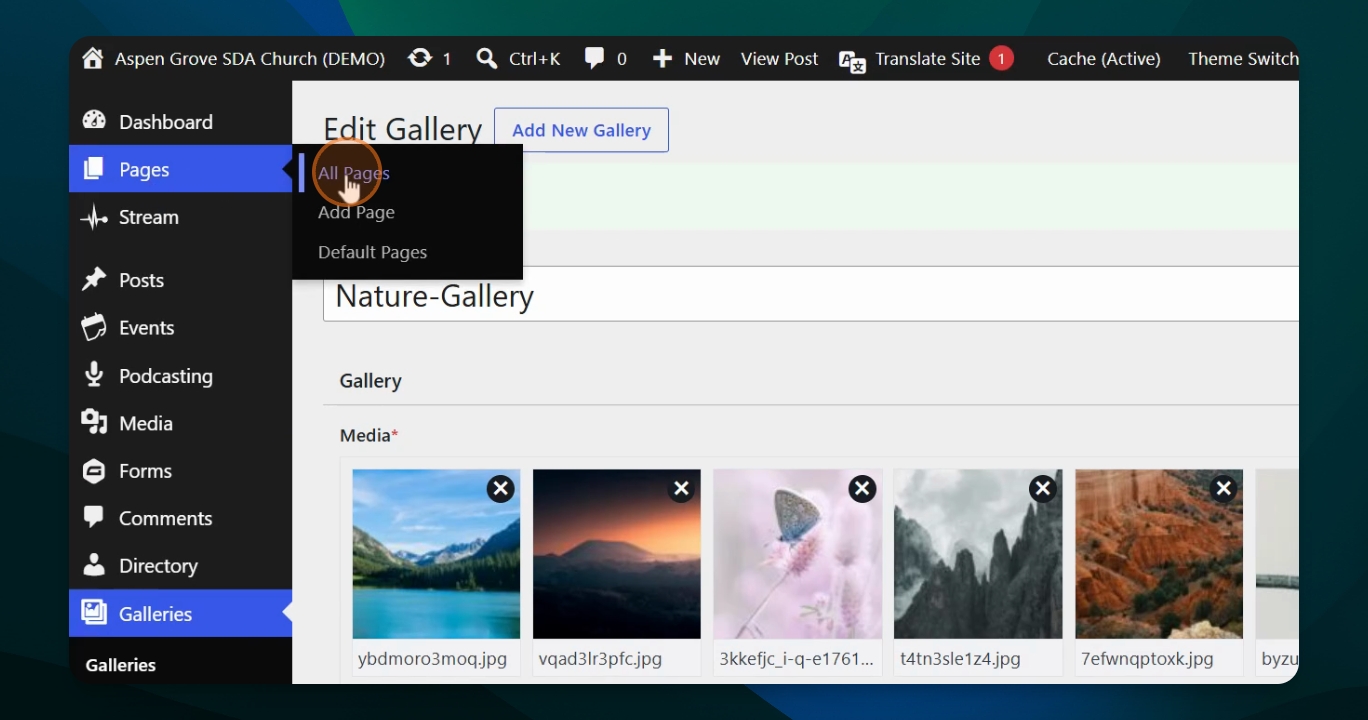
Step 1: Go to Galleries in Dashboard
Navigate to your dashboard. Select galleries and click the Galleries option to see the list of all existing galleries.
Step 2: Edit the Desired Gallery
Hover over the name of the gallery you wish to edit, then click Edit. This will display all photos currently in the gallery.
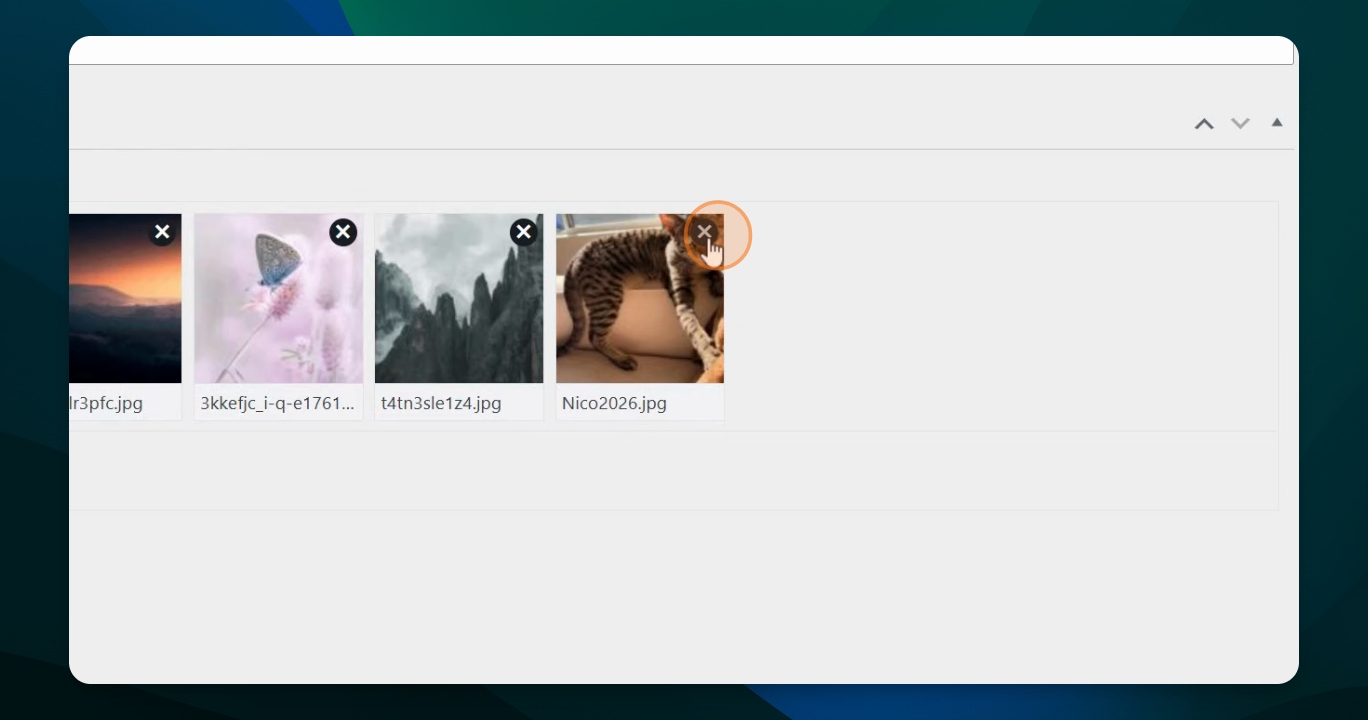
Step 3: How to Remove Unwanted Photos
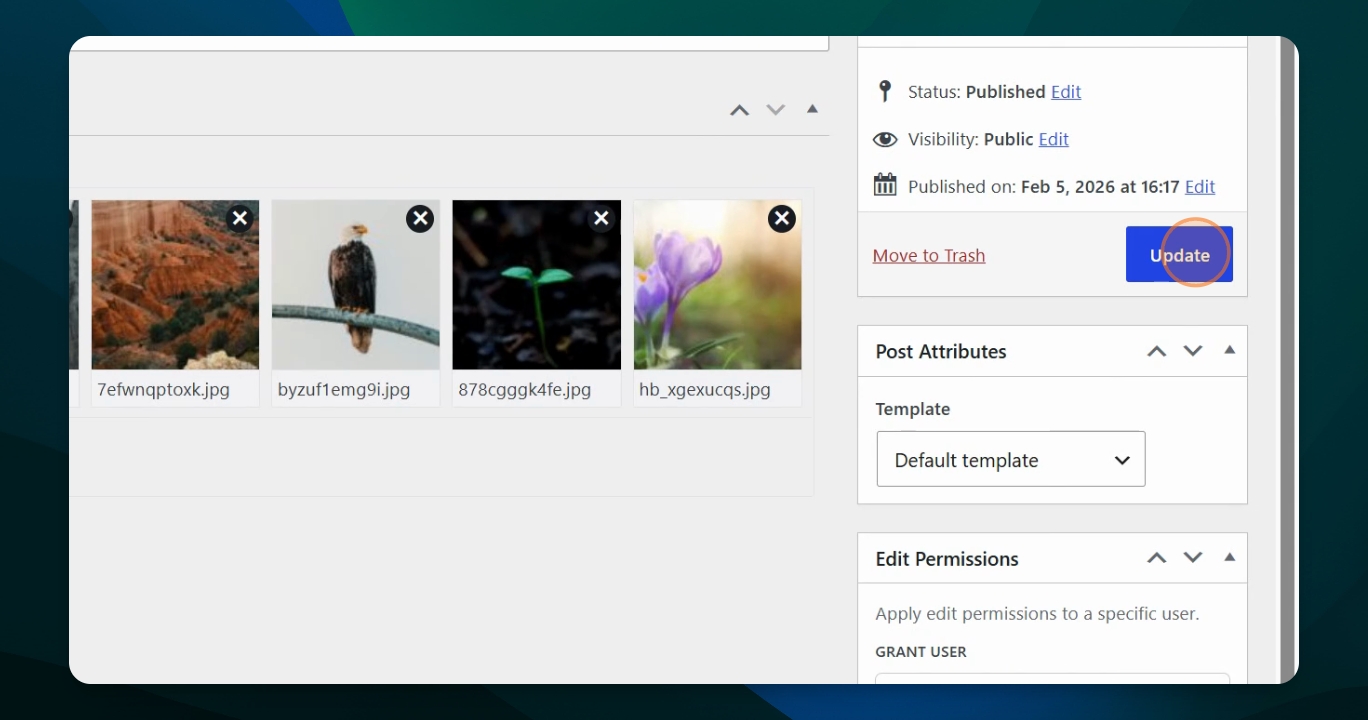
To delete a photo, click the X on the photo you want to remove. This will delete it from the gallery.
Step 4: How to Add New Photos
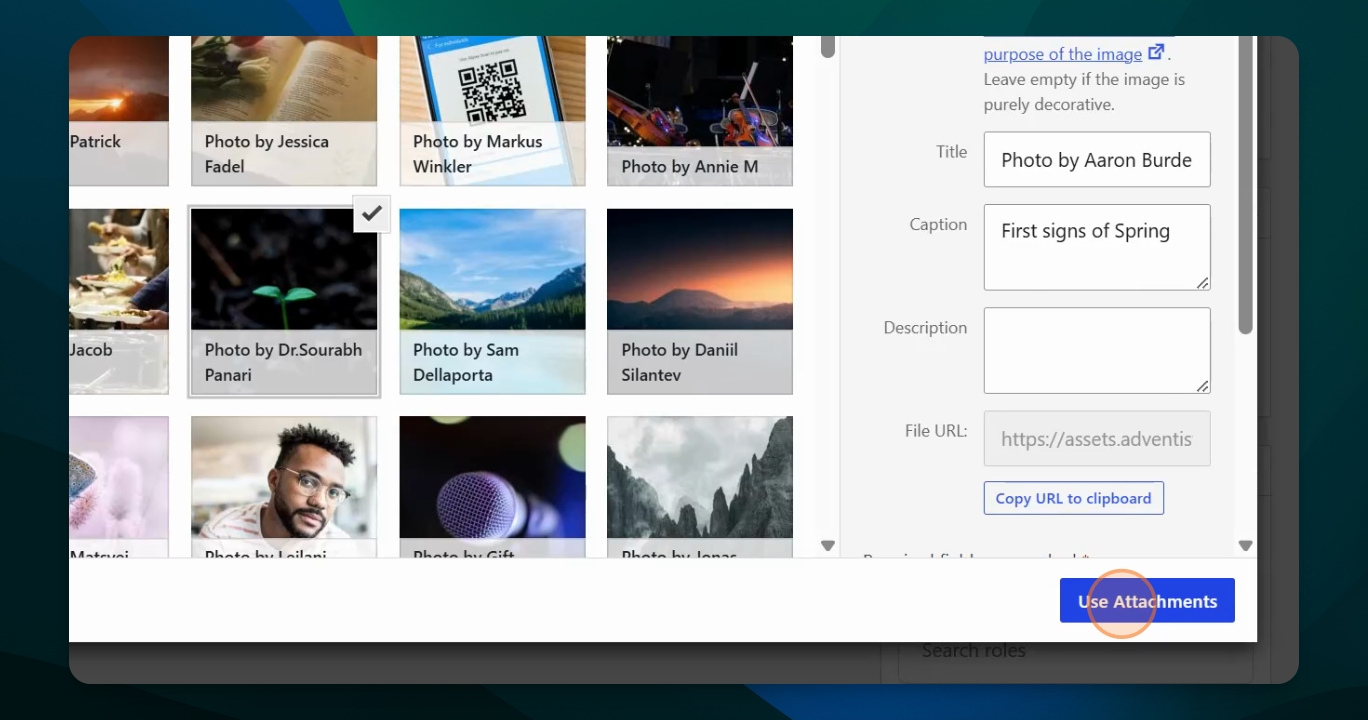
To add new or different photos, click Select Attachments. Click on the photos you want to add. Use the Shift key to select multiple photos right next to each other, or the Control key to select individual photos. Selected photos will show check marks.
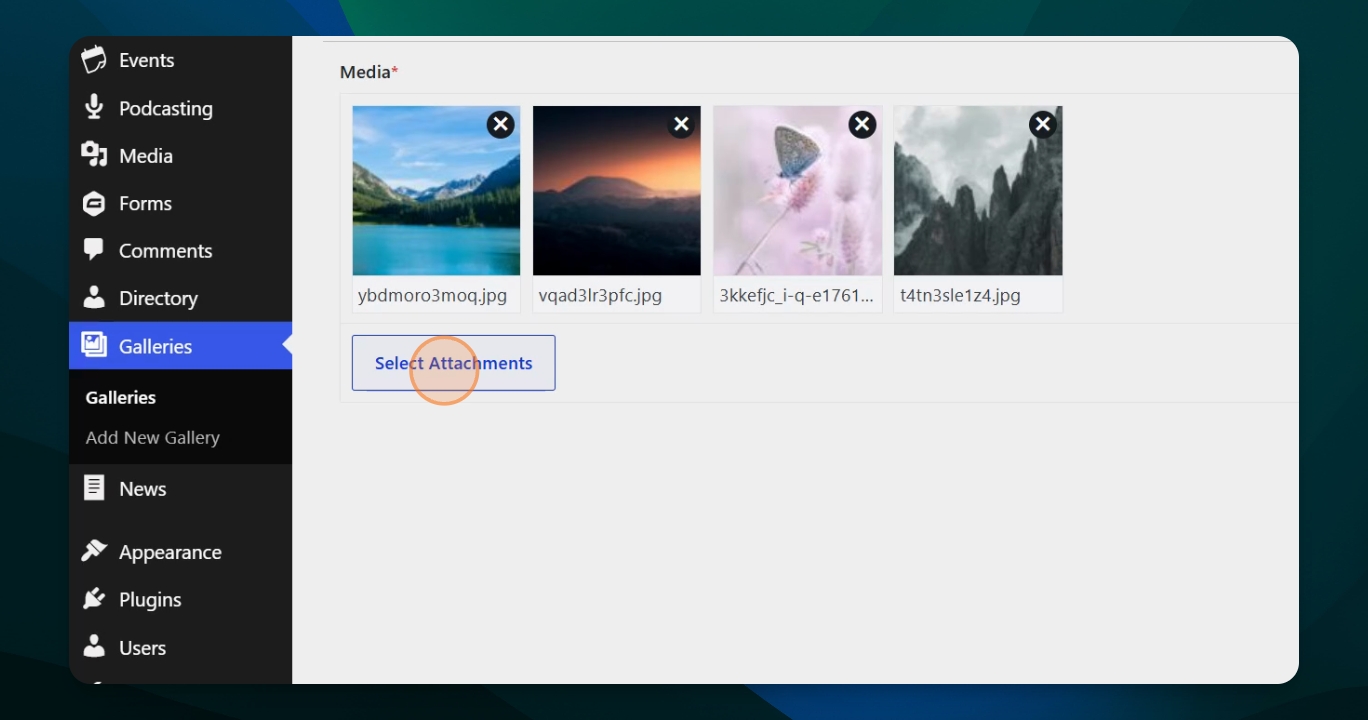
After selecting the desired photos, click Use Attachments to add them to your gallery.
Step 5: Save Your Changes
Click update to save the changes you have made to your gallery.
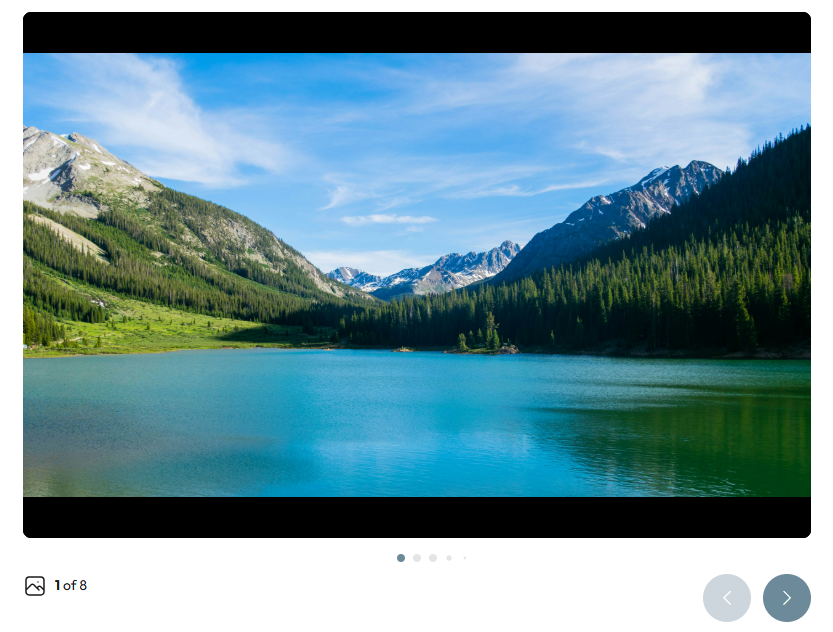
Step 6: View the Updated Gallery
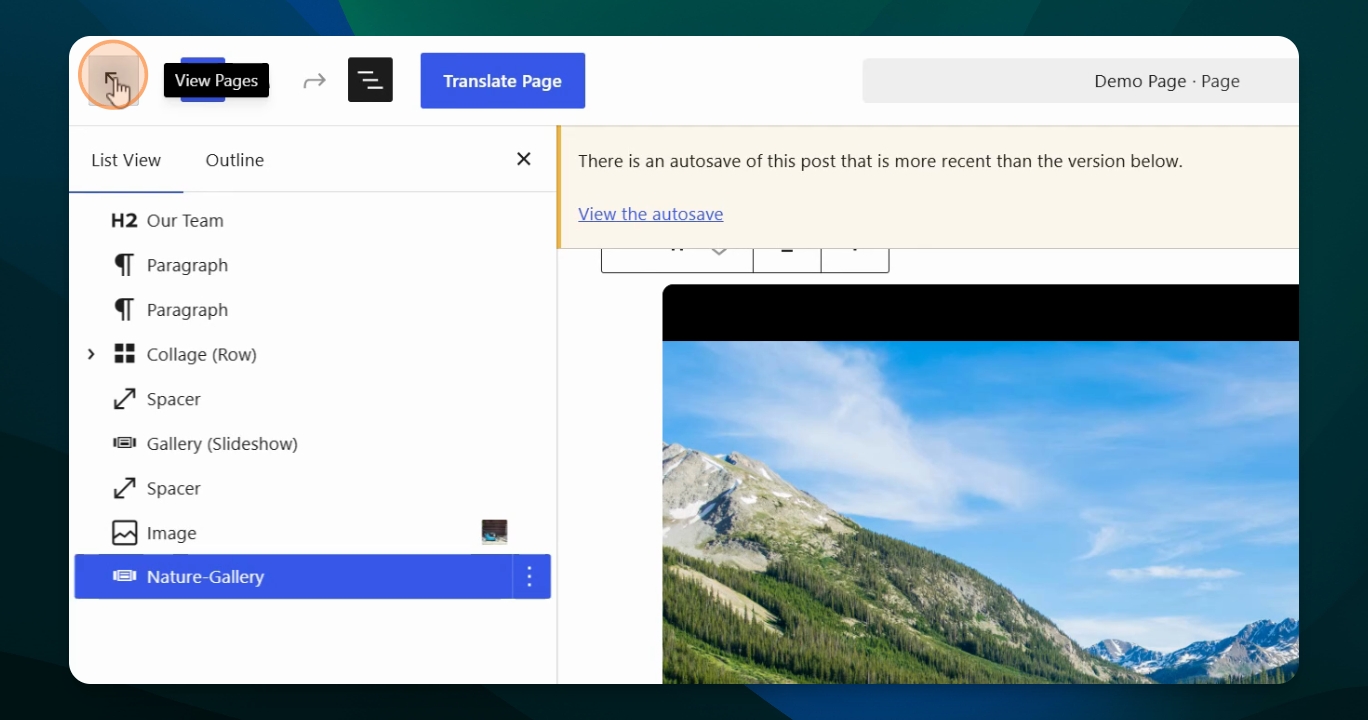
Once updated, return to your page that has the gallery block. The gallery will refresh and display the updated set of photos. You can click through the images or let them fade automatically.
Takeaways
To make changes to an existing gallery you must go to Dashboard > Galleries > Galleries
You make your changes in Edit for that specific gallery.
To edit a gallery and add or change images you must upload new photos to your Media Library first.
Make sure to click "Update" to save the changes.