
Let's do it together!
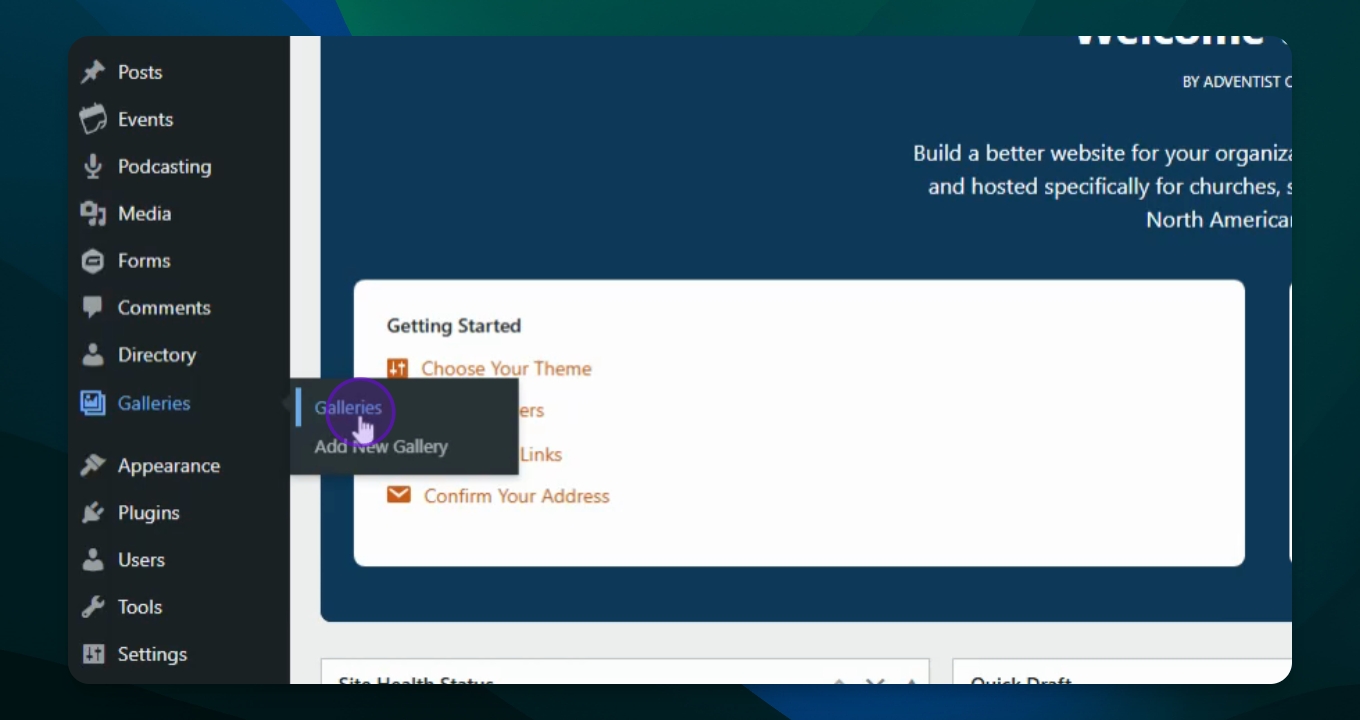
Step 1: Access Galleries
Go to your dashboard and navigate to Galleries.
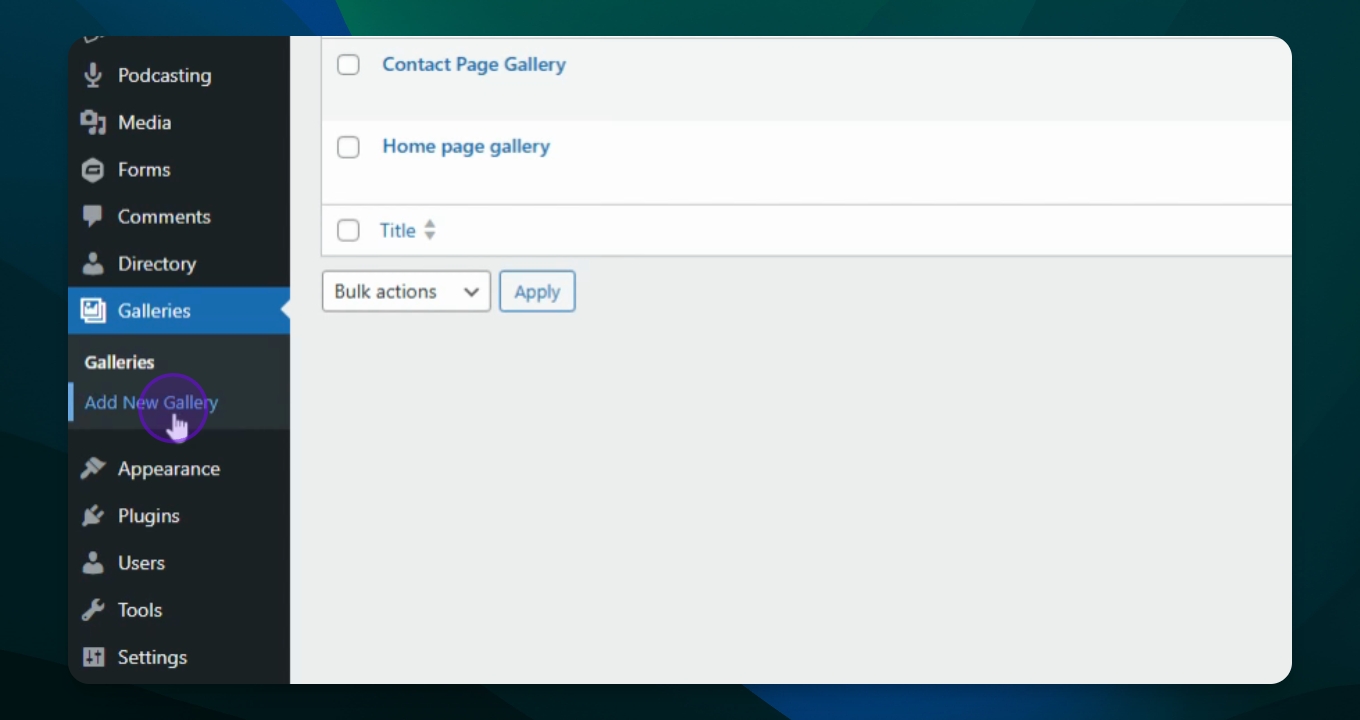
Step 2: Add New Gallery
Click on Add New Gallery to create a new gallery.
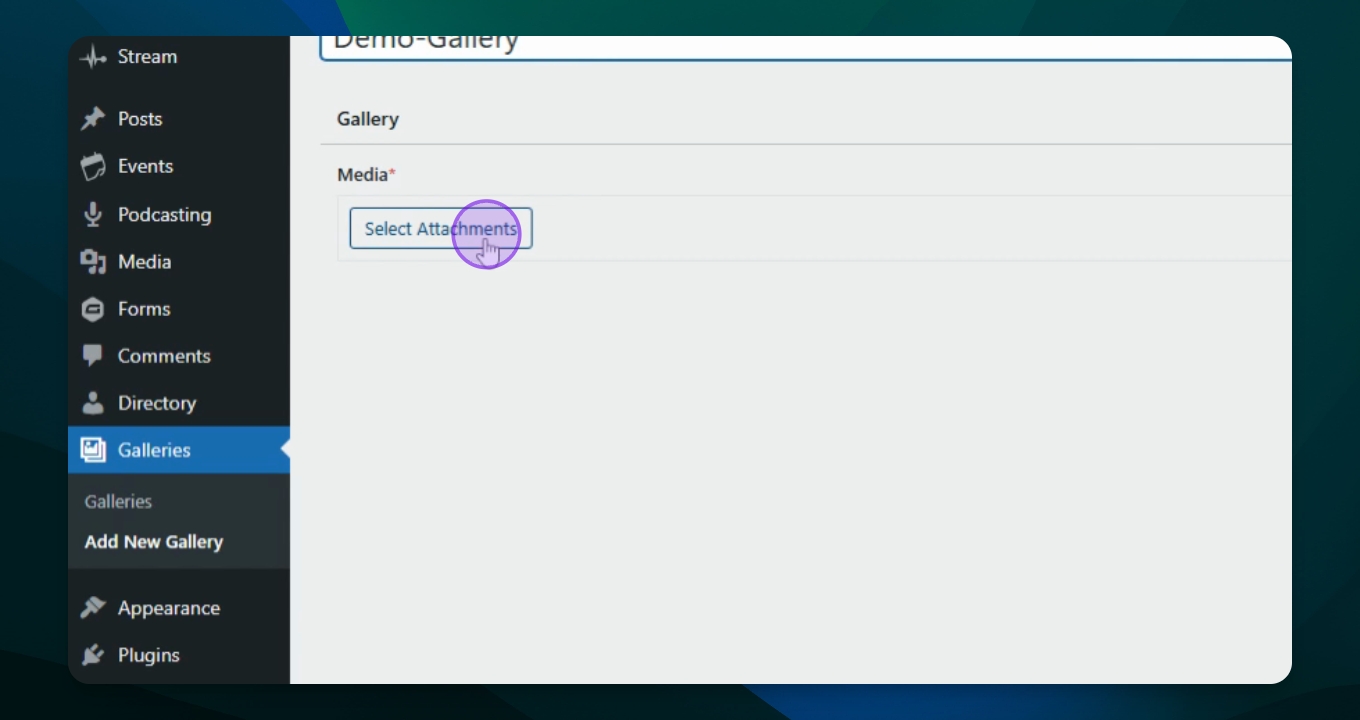
Step 3: Name Your Gallery
Type in a name for your gallery, for example Demo Gallery.
Step 4: Select Images
Select the images you want in this gallery. Click on an image to select it.
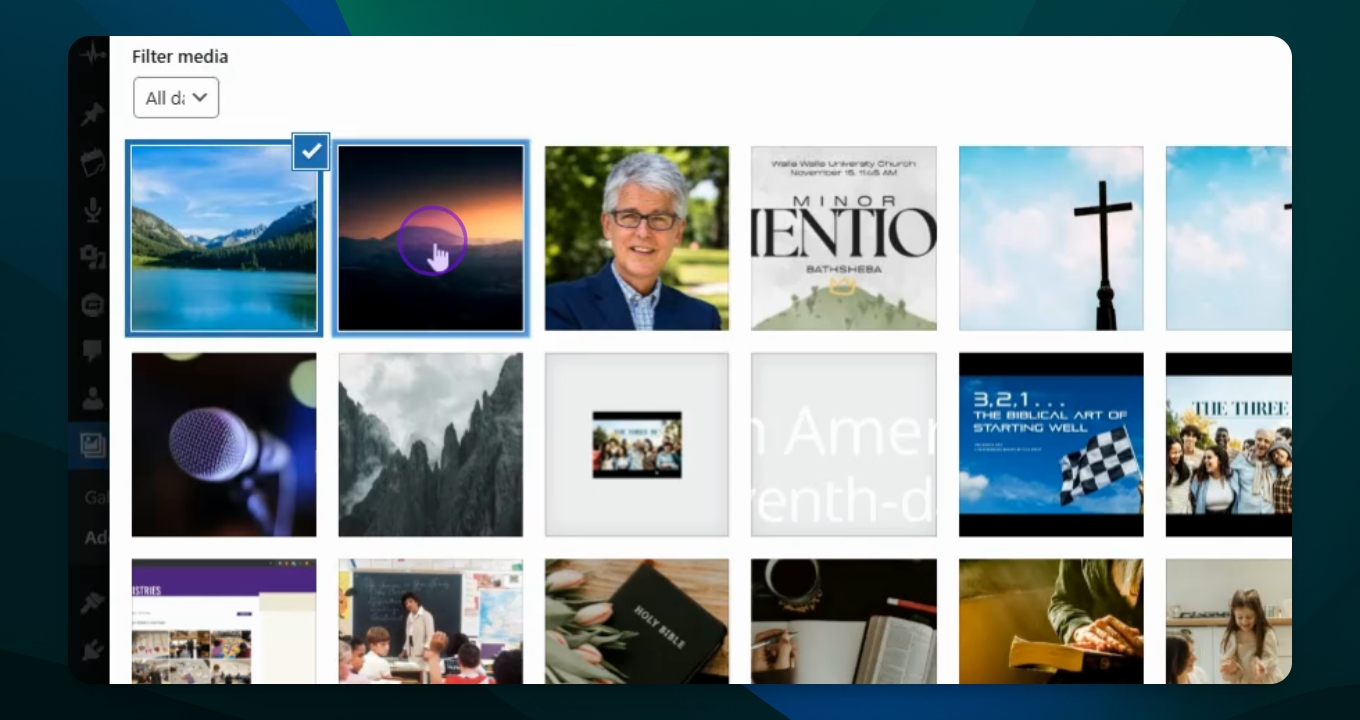
Step 5: Add More Images
Hold the Control button to select additional images as needed.
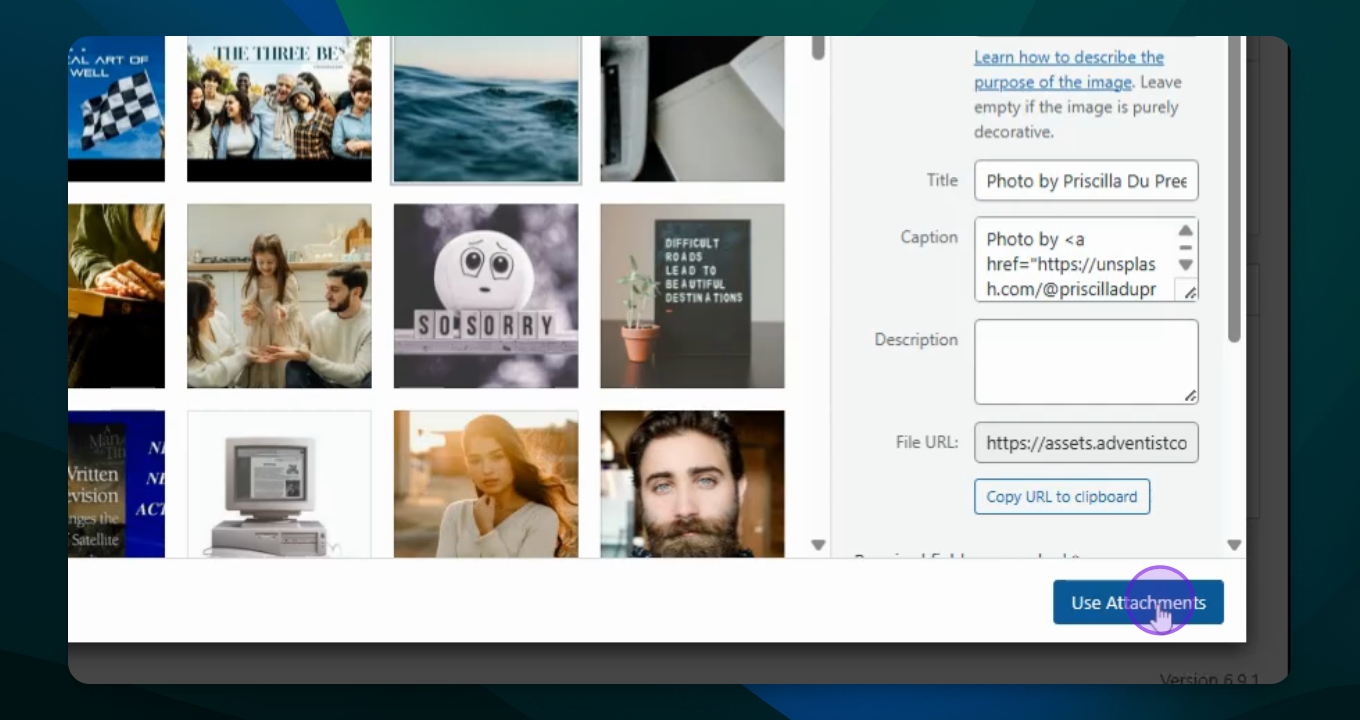
Step 6: Use Attachments
Once you have selected your images, click Use Attachments to proceed.
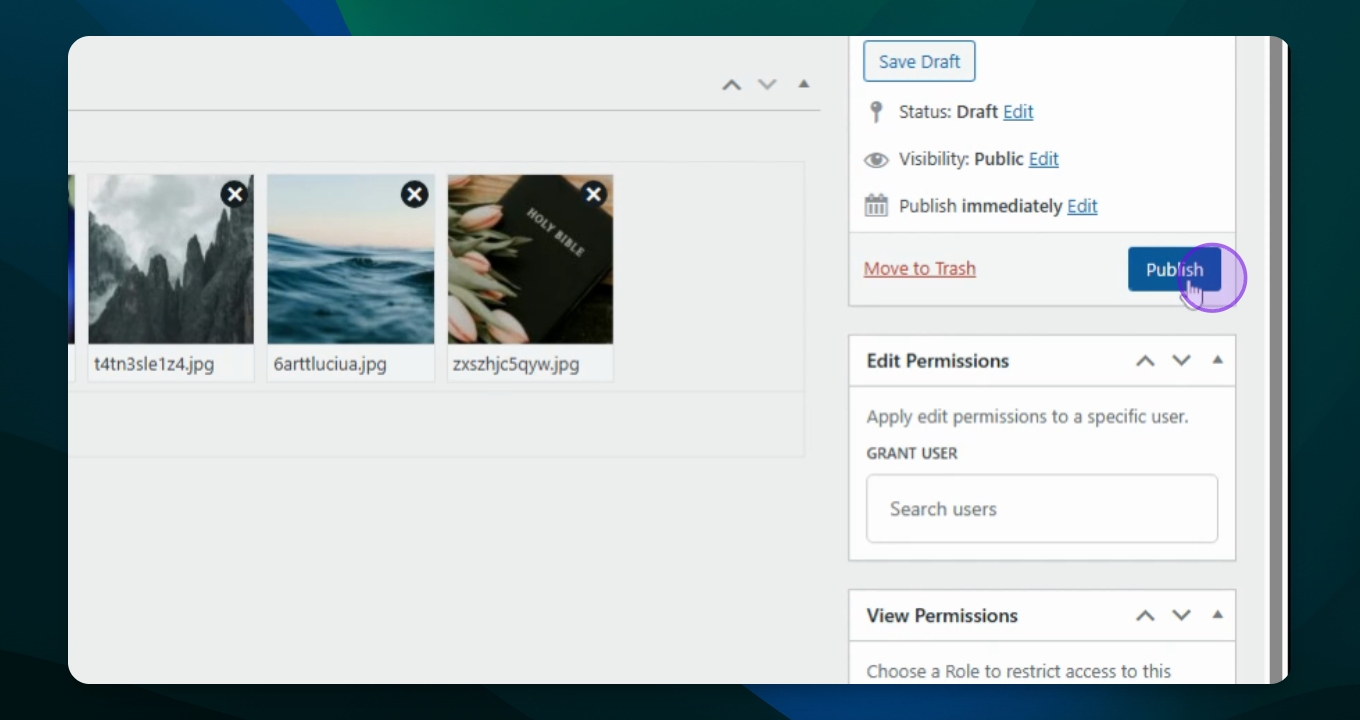
Step 7: Publish Your Gallery
After thumbnails populate, click Publish to make your gallery live.
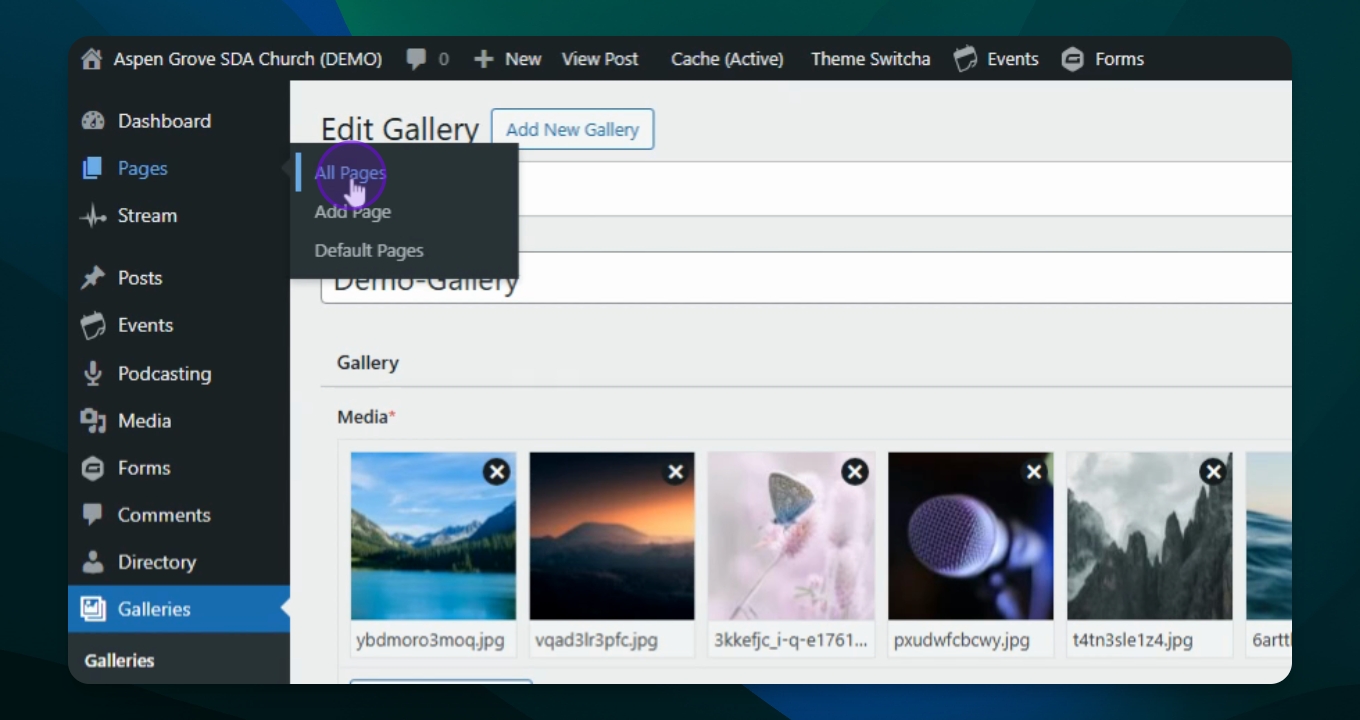
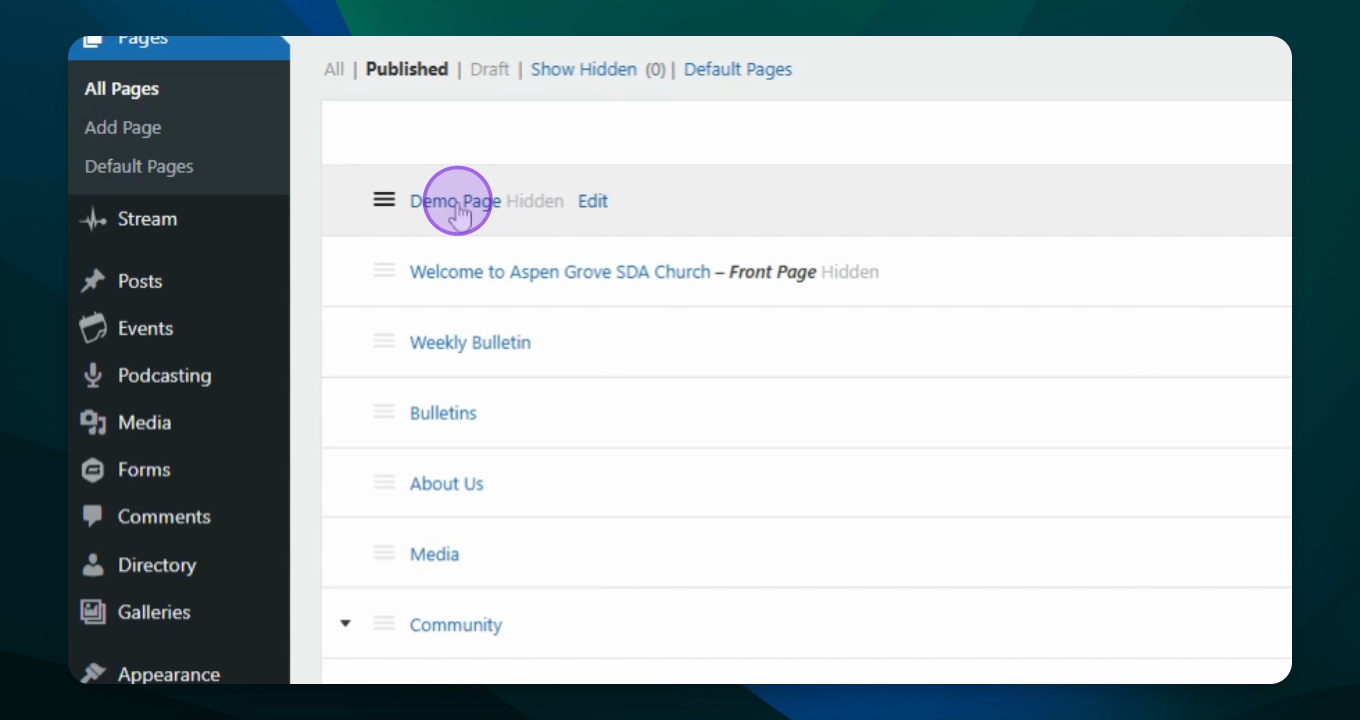
Step 8: Navigate to Pages
Once you have published the new Gallery, go to your Pages section and select All Pages and select the page you are wanting the gallery to appear.
Step 9: Insert Gallery
Click on page name to "Edit Page", place your cursor in the middle of your page and access the block inserter or click the "+" icon on the right of the block.
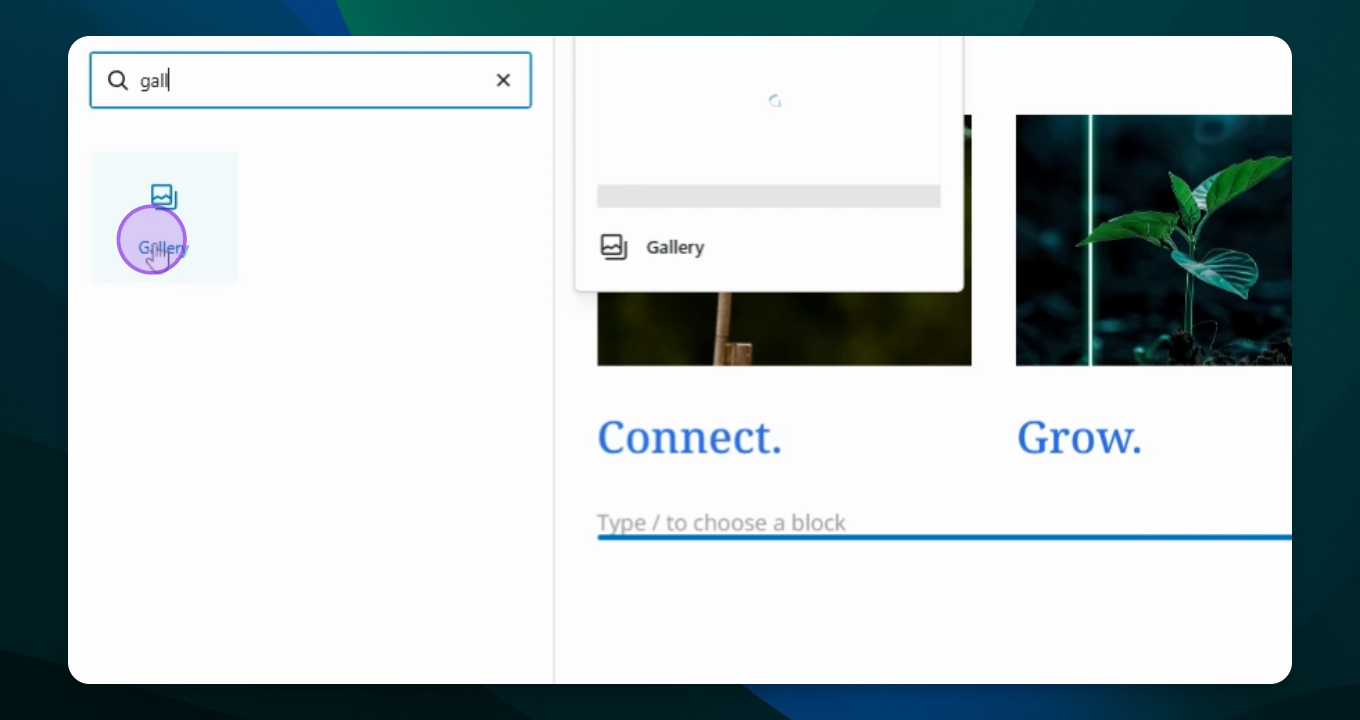
Step 10: Choose Gallery Type
Type in Gallery in the search bar or scroll to find the gallery icon and click it, this will add they block to your page.
Step 11: Select Layout
Choose a layout option: grid, mosaic, or slideshow. Select Mosaic for this tutorial.

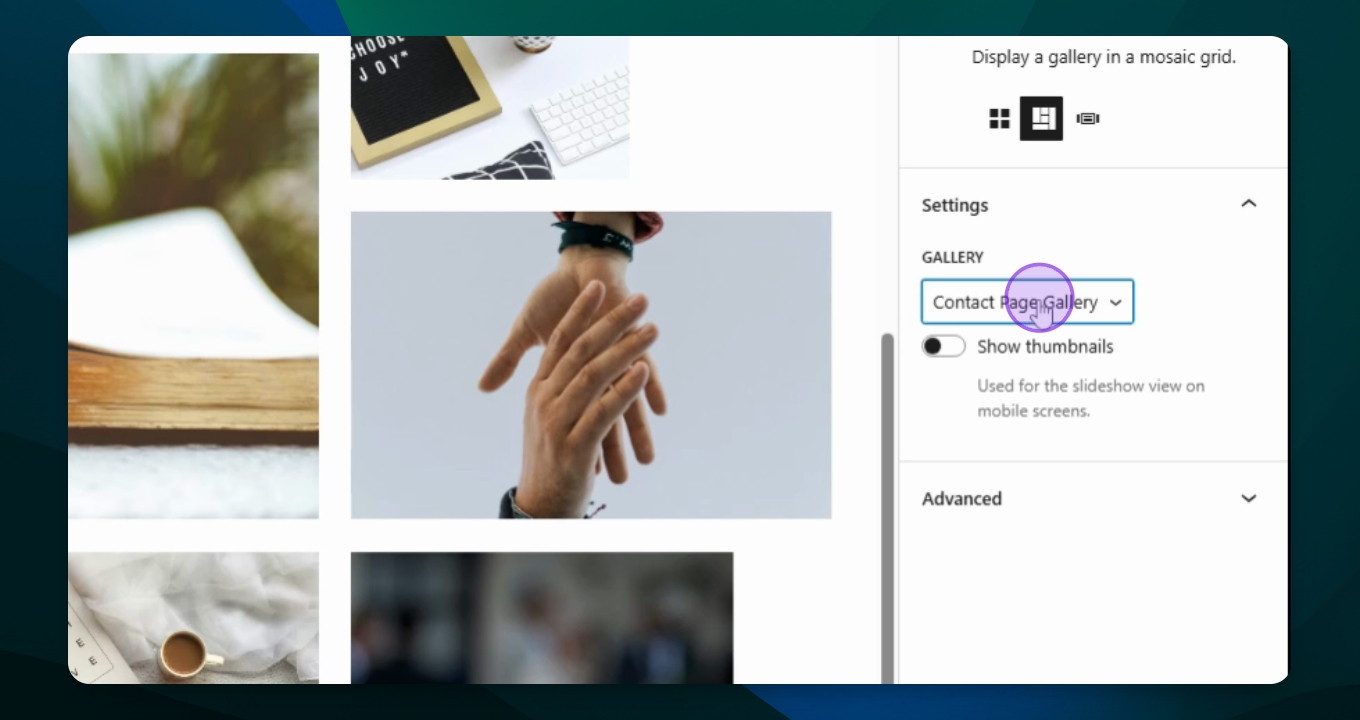
Step 12: Configure Gallery Settings
To isolate the selected photos, navigate to the settings menu and select your gallery.
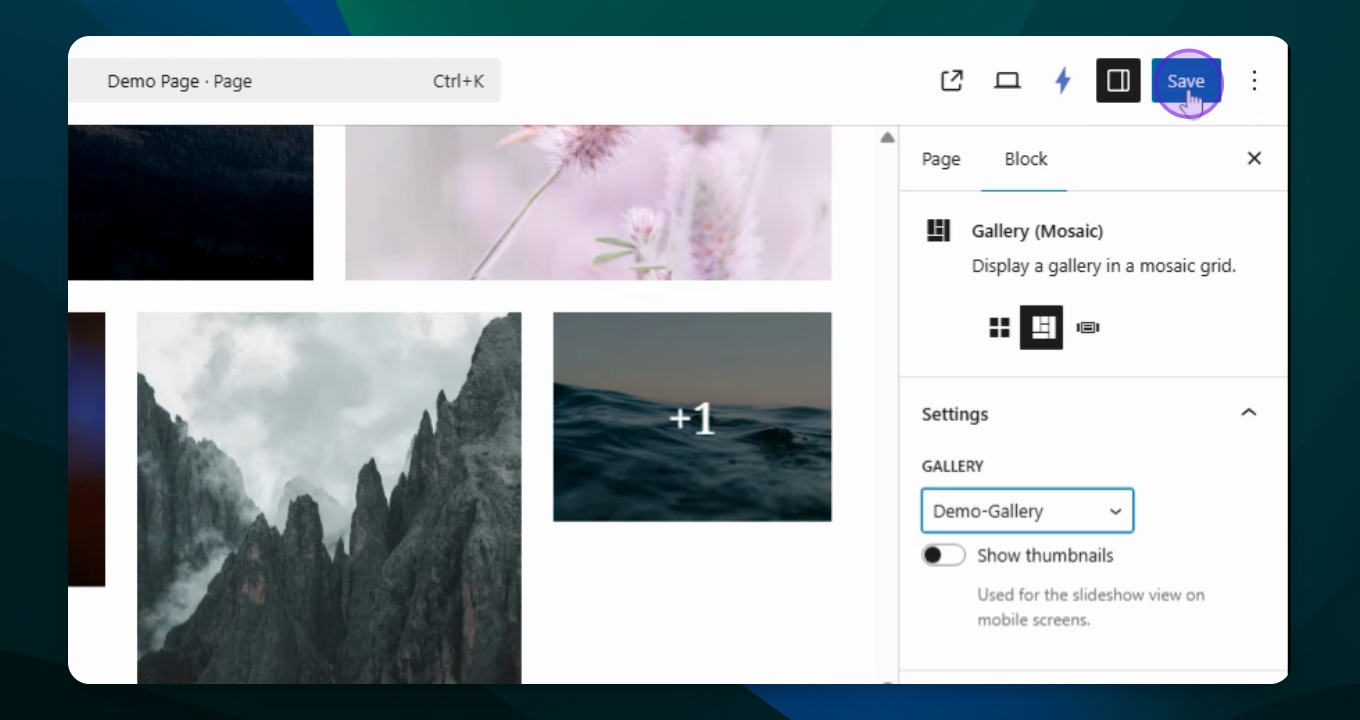
Step 13: Save Your Changes
Save your changes to ensure the gallery is updated with the selected images.
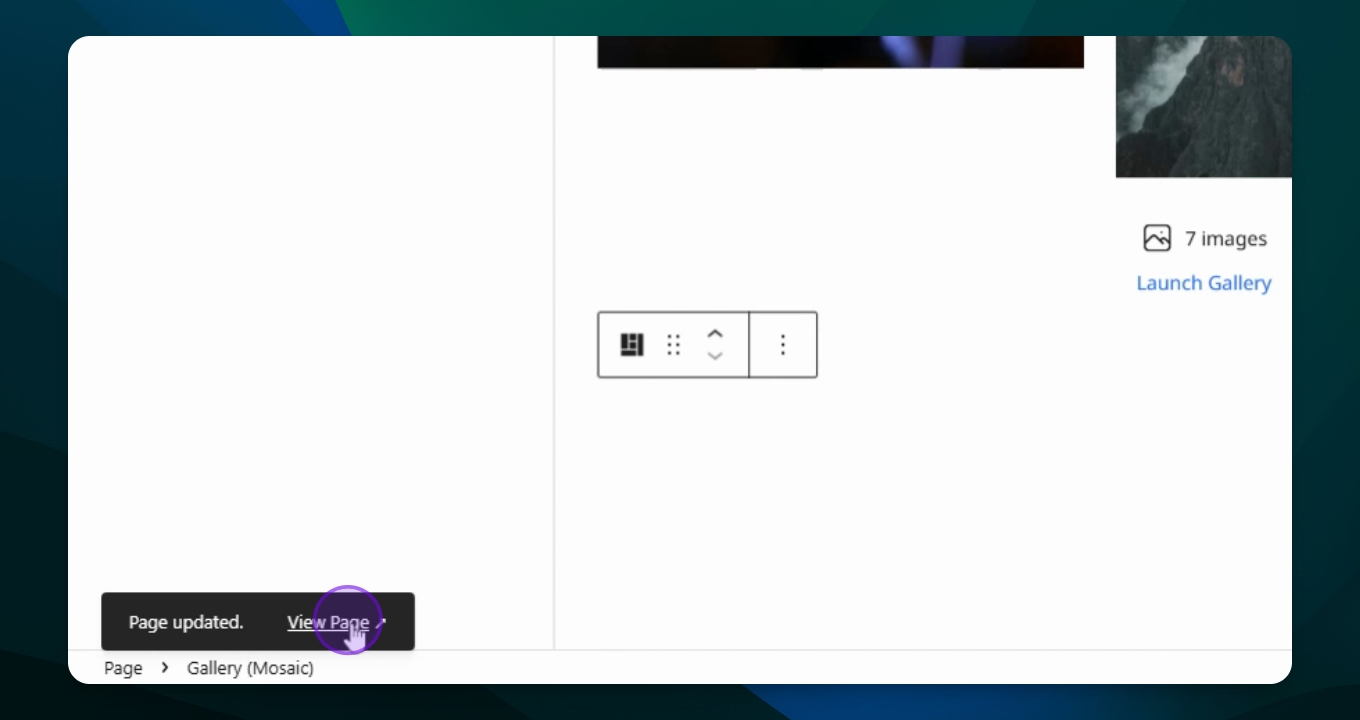
Step 14: View Your Gallery
Click View Page to see the gallery on your demo page.
FAQ
Can I add more images later?
What layout options are available?
Troubleshooting
Images not showing.
Gallery layout issues.
Autoplay is not working.
Make sure in the Block Settings menu that the autoplay button is turned on.