Social icons allow you to link your ministry’s website to its social media platforms, such as Facebook, Instagram, YouTube, or X. These recognizable icons are typically displayed in the header, footer, or other designated areas of your site. By adding social icons, visitors can quickly access your ministry’s social channels and stay connected. You can customize which platforms are shown, update the links, and adjust their placement based on your site’s layout settings.
Step 1: Add Social Icons
Type /social icons to add the Social Icons block. Then, click the plus (+) icon to begin adding social platforms to the block.

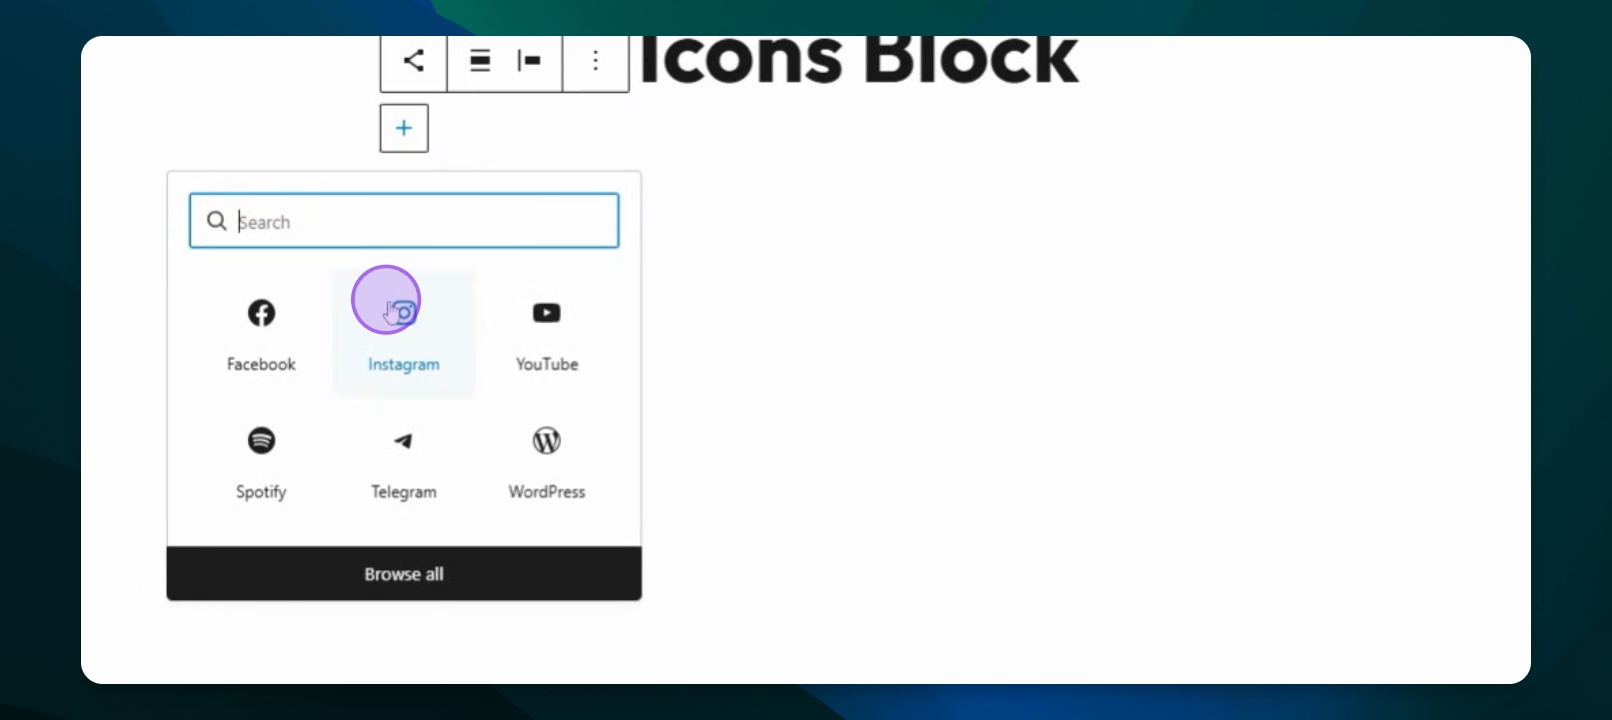
Step 2: Select Social Media
Add your first social media platform icon, then press the add block icon again to additional icons.
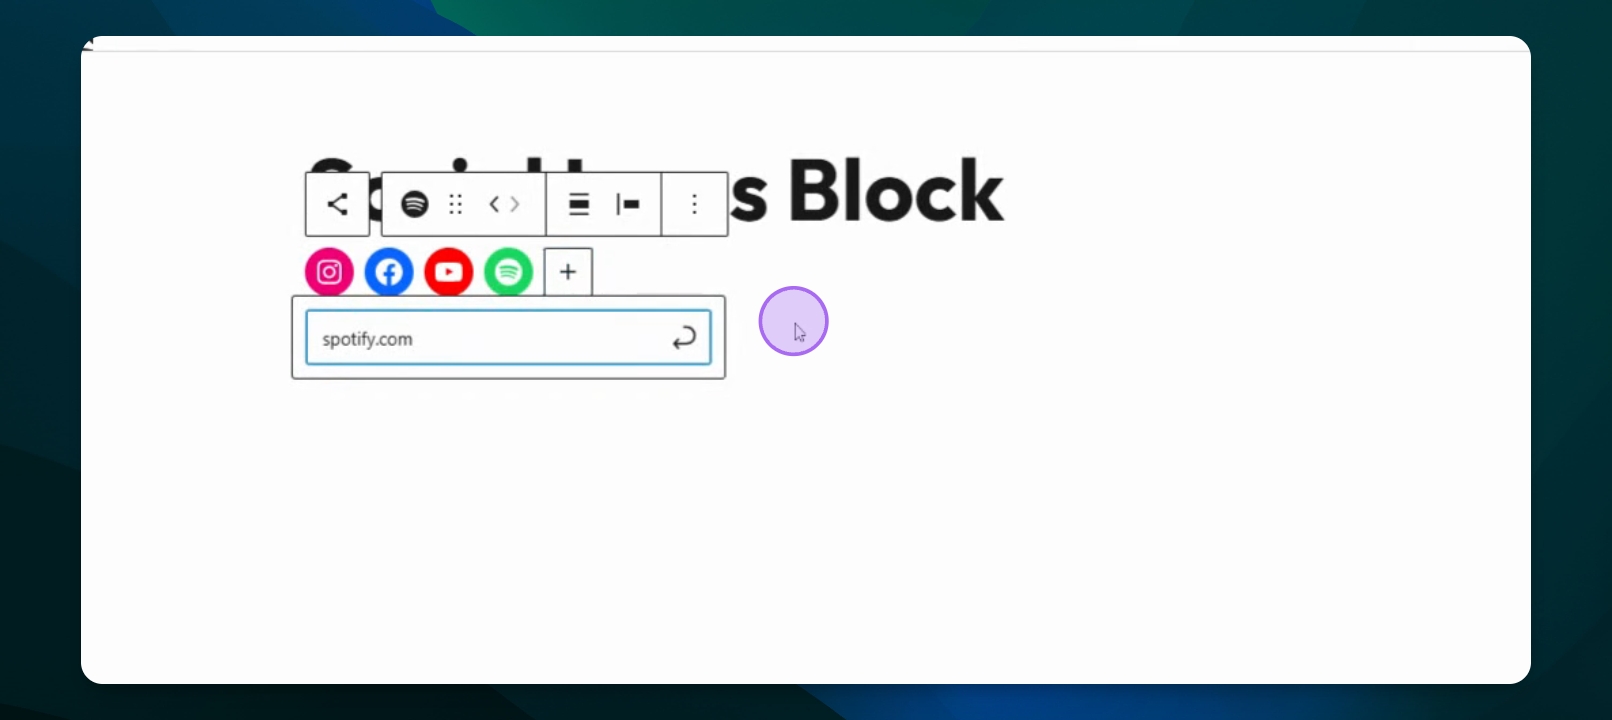
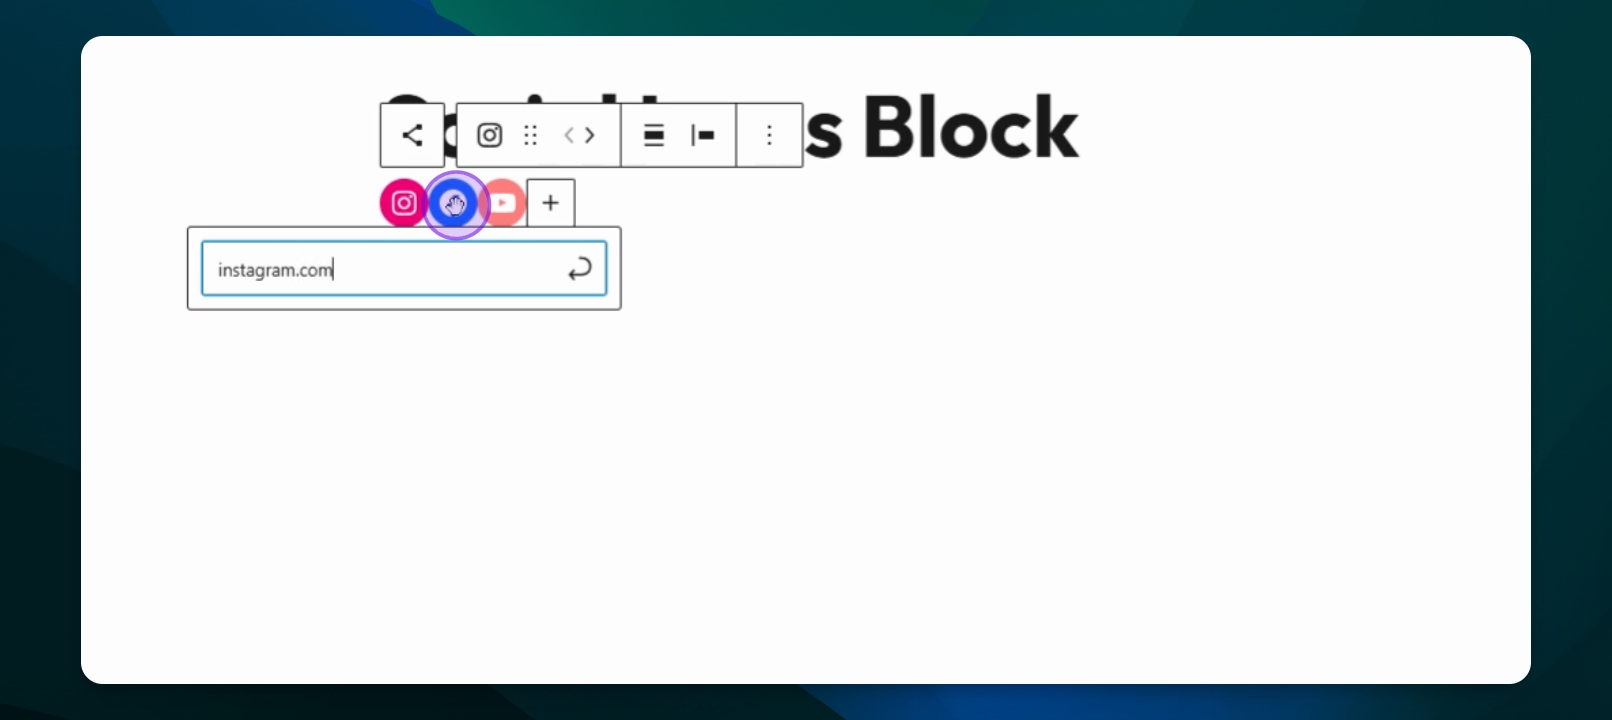
Step 3: Add Links
Click on an social icon to post your ministry's profile URL.
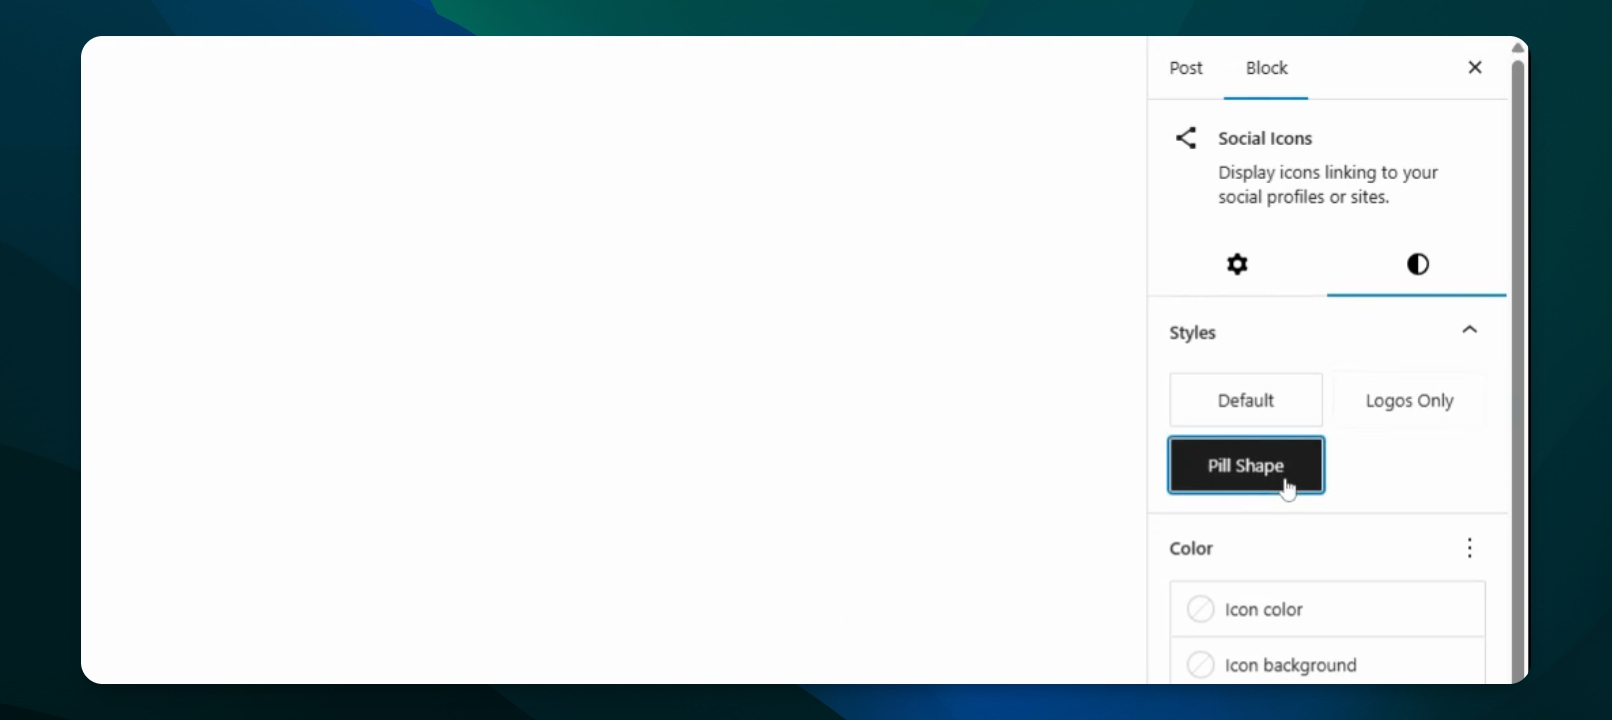
Step 4: Customize Icons
Click on the icons, then press the parent block button to change styles like Logos Only or Pill Shape.
Step 5: Set Link Behavior
Enable open links in new tab to avoid redirecting from your ministry's website.

Step 6: Rearrange Icons
Change the order of icons by dragging them.