

To get started with the posts, learn how to create and manage them. Let's look at the steps:
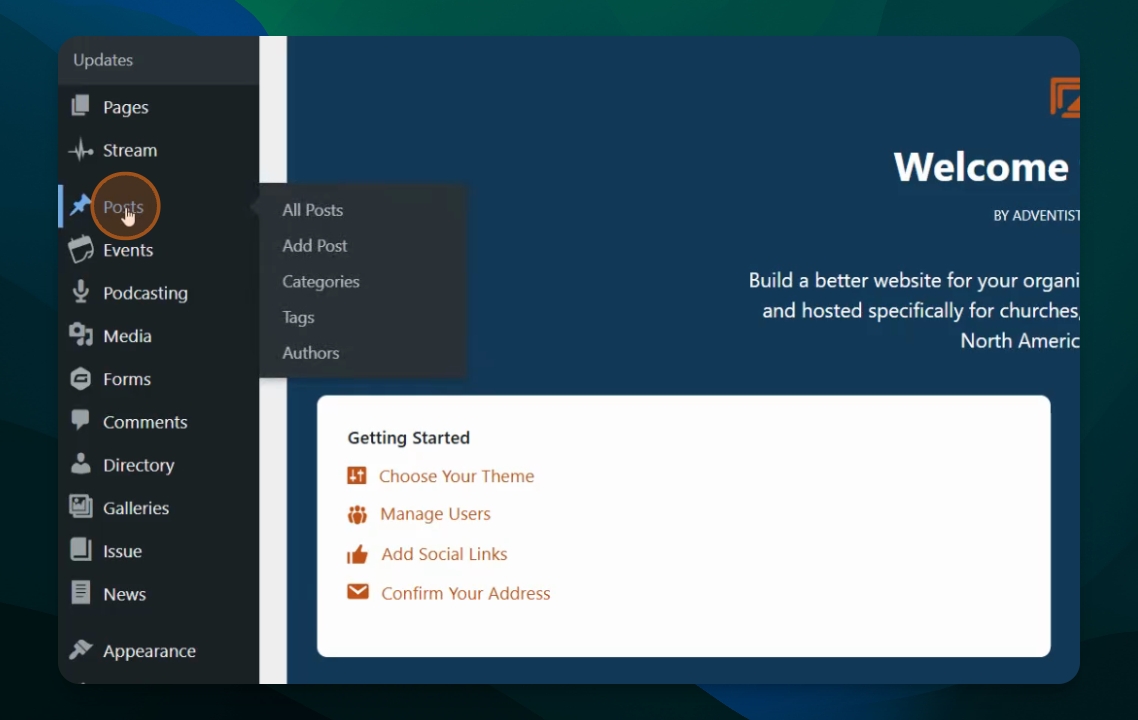
Step 1: Go to Post Section
Click on the Add Post button below it or press Add Post on the page.
Step 2: Define Your Post
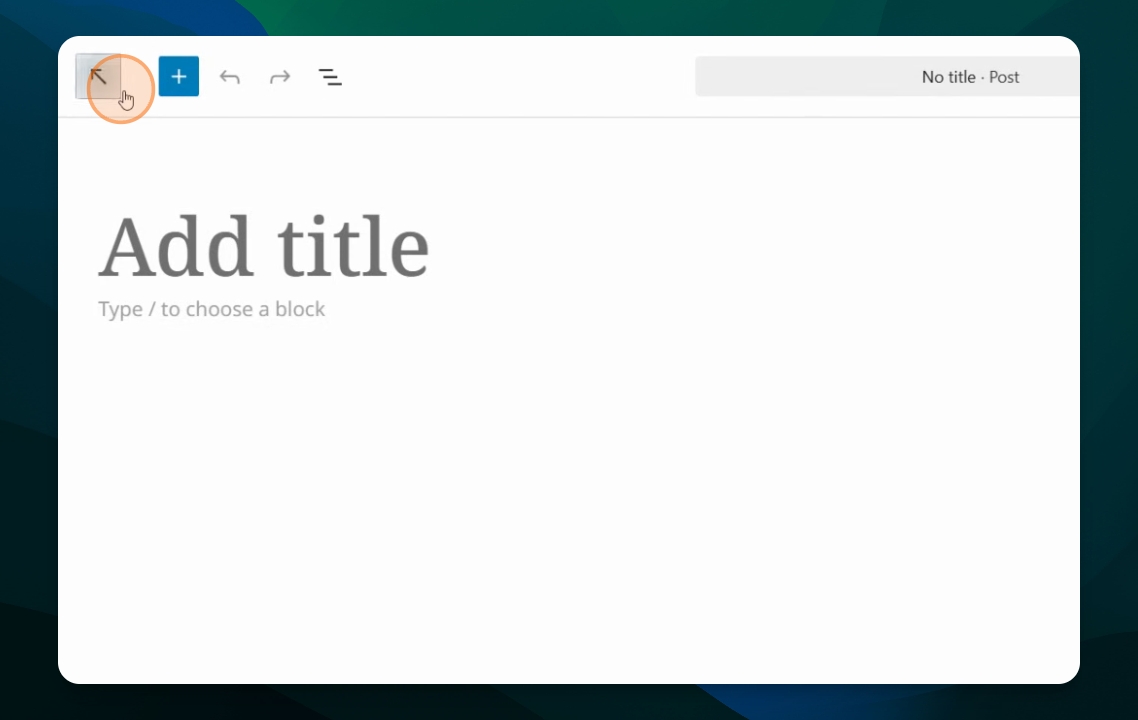
Once in the editor, add a title for your post and all its content. Then save it.
Step 3: Manage Existing Posts
Click the logo to return to the post list, where you can see and manage your existing posts.
Step 4: Add Content
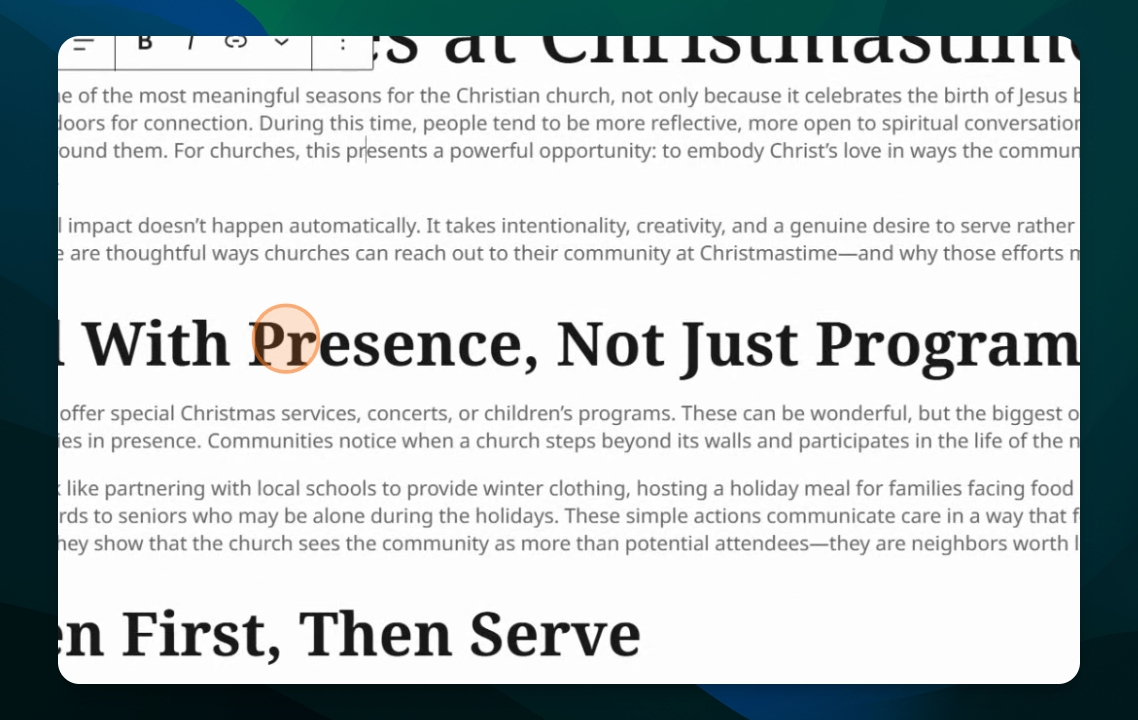
In the post editor, you can add different levels of headers and use WordPress blocks as you do in pages.
Step 5: Post Settings
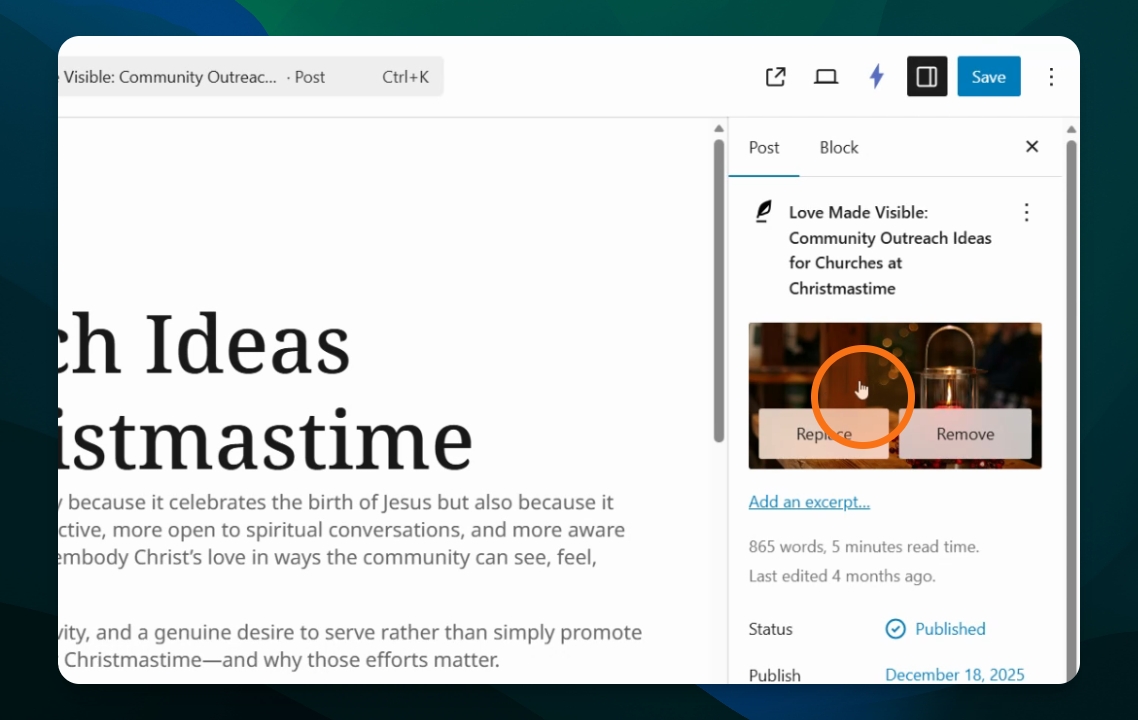
Once your content is ready, go to the settings on the right column to set the featured image, add an excerpt, or schedule the post.
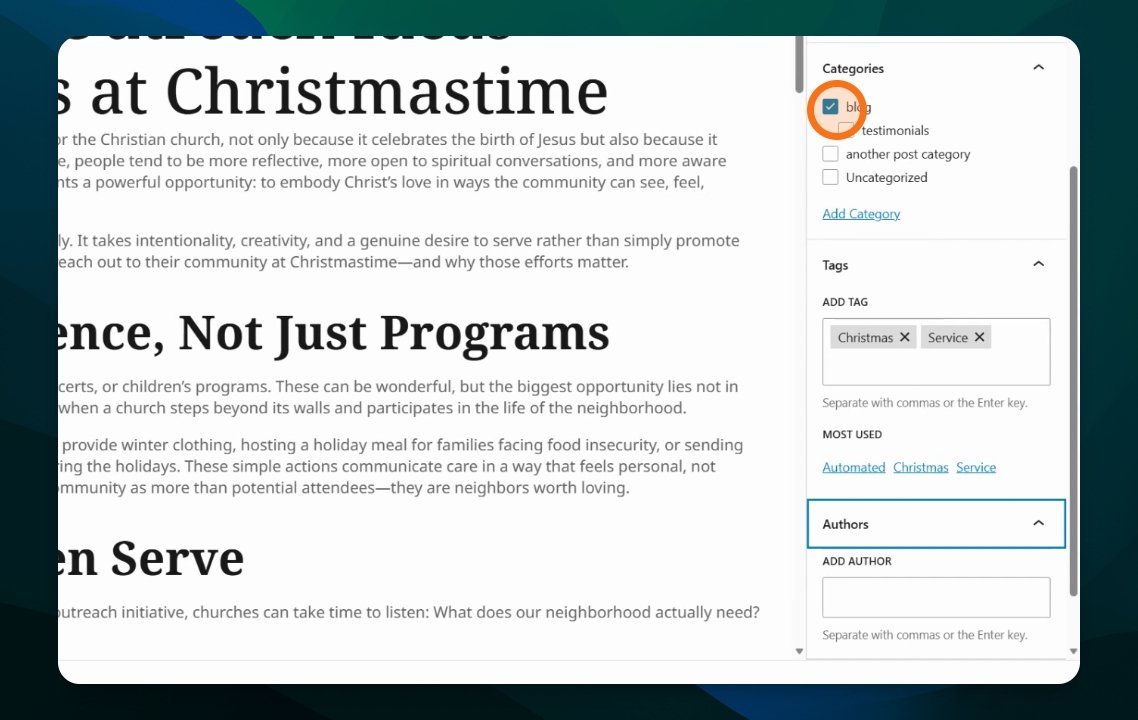
Step 6: Categories and Tags
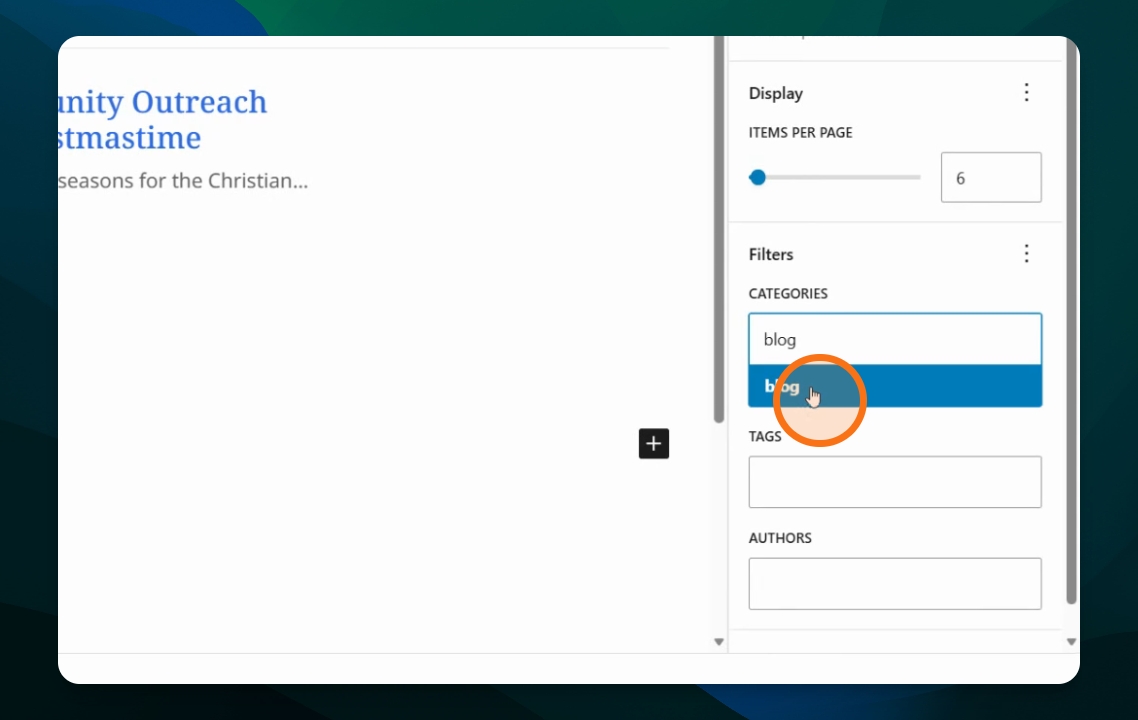
Customize the post by adding a category (e.g., blog), tags, or authors.
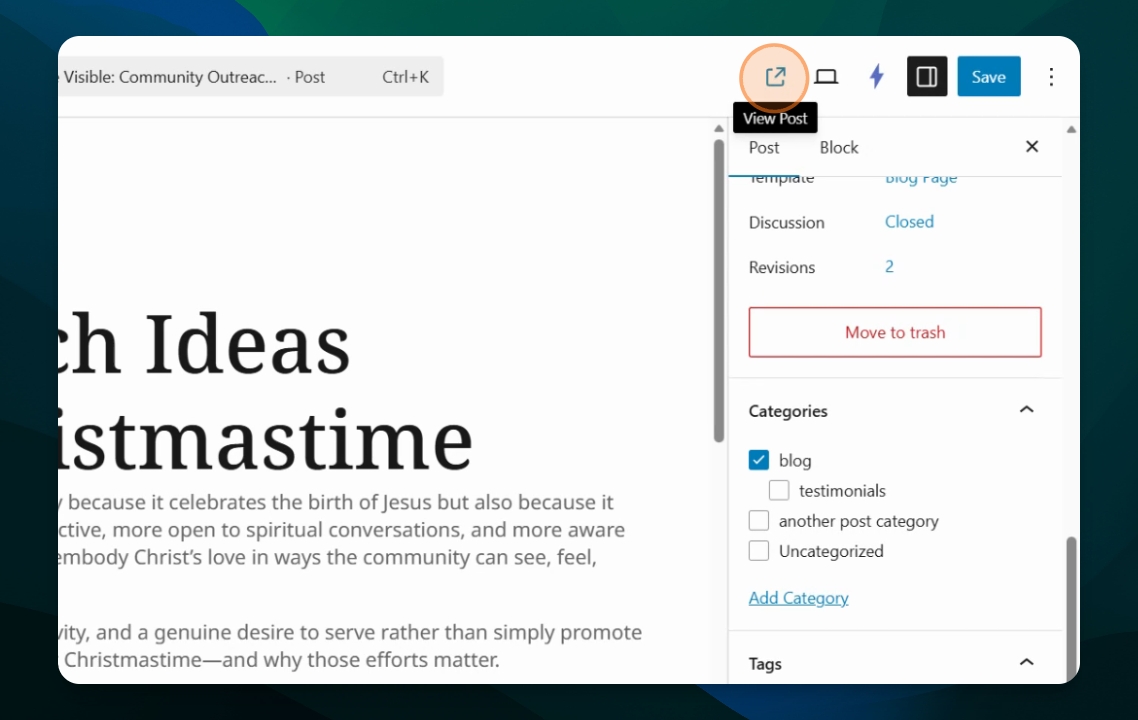
Step 7: Save and Publish
Once everything is set, you can save and publish the post or click on View Post if it’s already published.
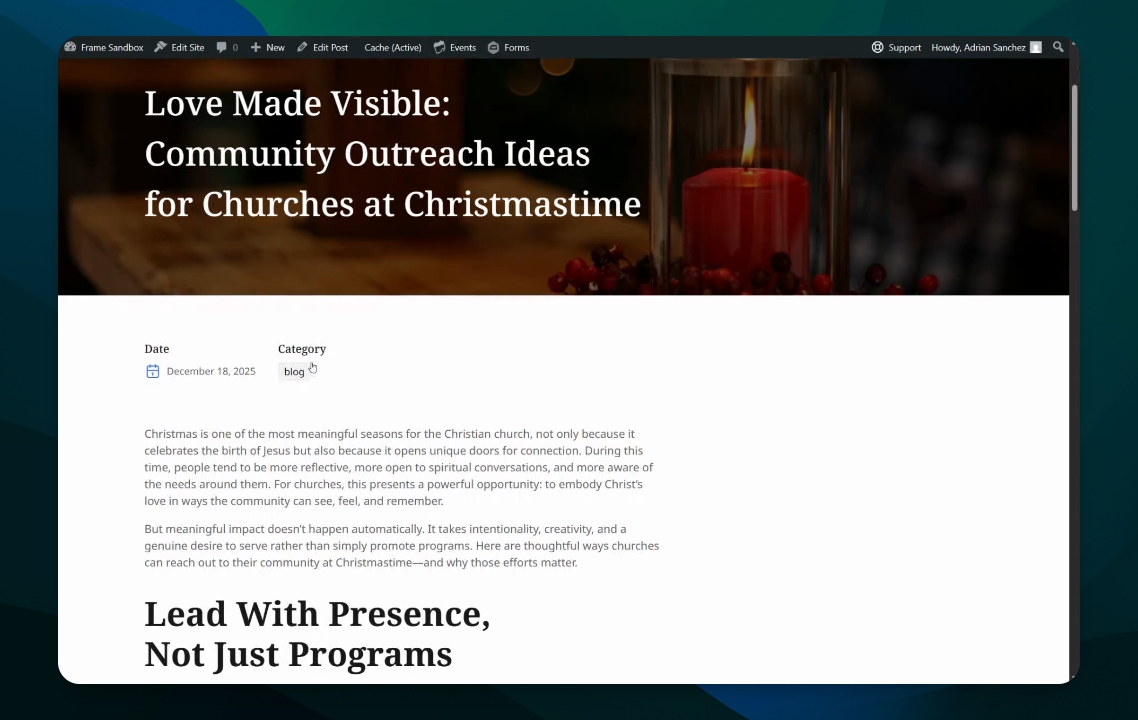
Step 8: Preview Your Post
Preview the post to see how it appears with the featured image, title, date, and content.
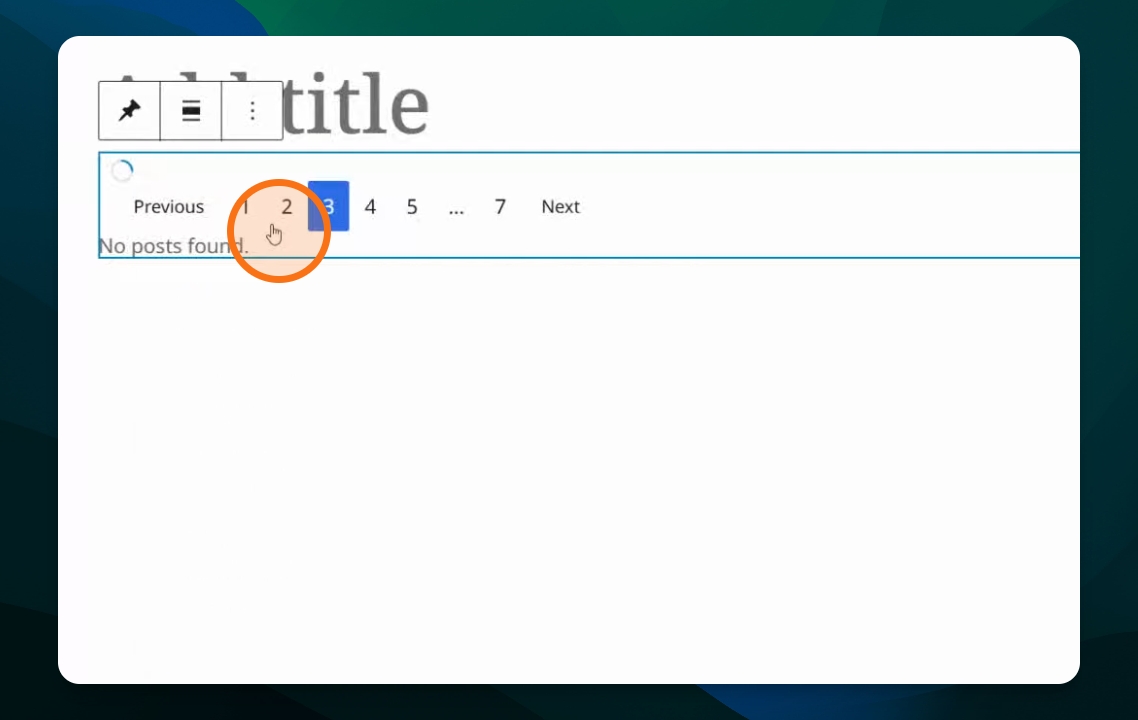
Step 9: List Your Posts
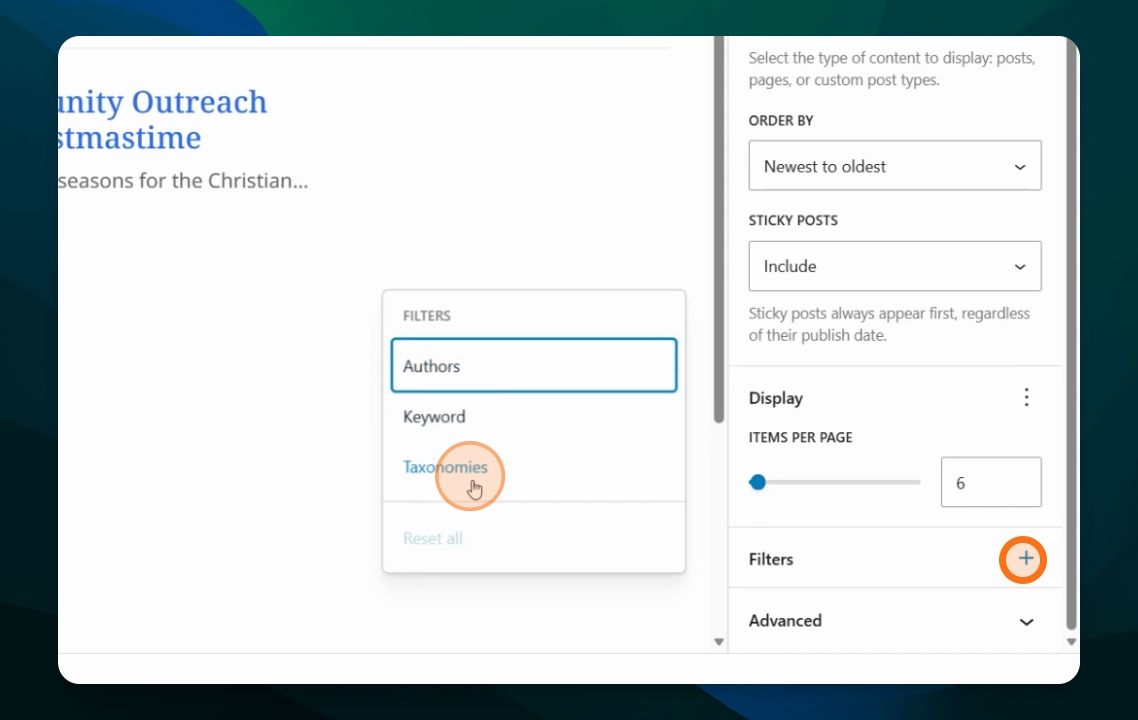
To list your posts, group them by category or tag, create a new page, insert a Post Feed block, and customize it.
Step 10: Filter Posts
You can filter posts by author, category, or tag. To filter by categories or tags, click the Taxonomies filters option, then add your categories or tags.
Final Step: Review and Publish
Once done, save and publish your changes. You can visit the posts to manage, create, or edit them further.