
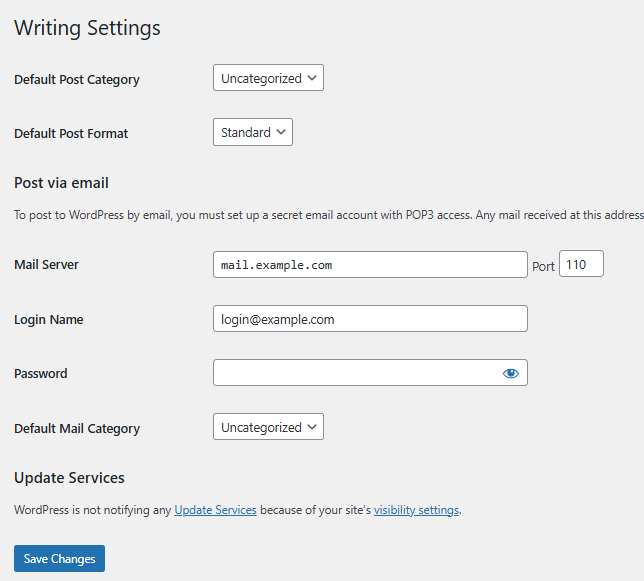
Default Post Category
The category you select from this drop-down becomes your default post category. This is the category automatically assigned to posts when you don't specify others during creation. If you delete a category, all posts in that category will move to this default. Choose a frequently-used category here to simplify your workflow.
Default Post Format
Select your preferred default post format from this drop-down menu. Post formats allow different styling for different types of content. This setting only appears if your current theme supports post formats. The WordPress default theme supports various formats including Standard, Aside, and Gallery.
Post via Email
This feature allows you to publish blog posts by sending emails to a designated address. Setting this up typically requires assistance from your web host or email provider.
A message at the beginning of this section explains: "To post to WordPress by email you must set up a secret email account with POP3 access. Any mail received at this address will be posted, so it's a good idea to keep this address very secret."
Complete these fields to enable posting by email:
Mail Server: Enter your mail server's address (like mail.example.com) where emails are received and stored.
Port: Typically port 110 for email requests. Enter a different number if your server uses an alternative port.
Login Name: The username portion of your email address (for example, if using wordpress@example.com, enter "wordpress").
Password: Enter the password for this email account. WordPress suggests possible secure passwords in the introduction section.
Default Mail Category: Select which category WordPress should assign to posts published via email. You can create additional categories through Administration > Posts > Categories.
Update Services
When publishing new posts, WordPress automatically notifies the update services listed here. Enter multiple services by separating them with line breaks.
Save Changes
Click the Save Changes button to store your modifications in the database. A confirmation message will appear at the top of the page when your settings have been successfully saved.