
Today we're going to be working with our columns block in frame and the different variations that you can choose to start with. Let's look at the steps:
Step 1: Add Columns Block
I can either go to this plus sign over here to add the columns block or I can go up to here in the block inserter.
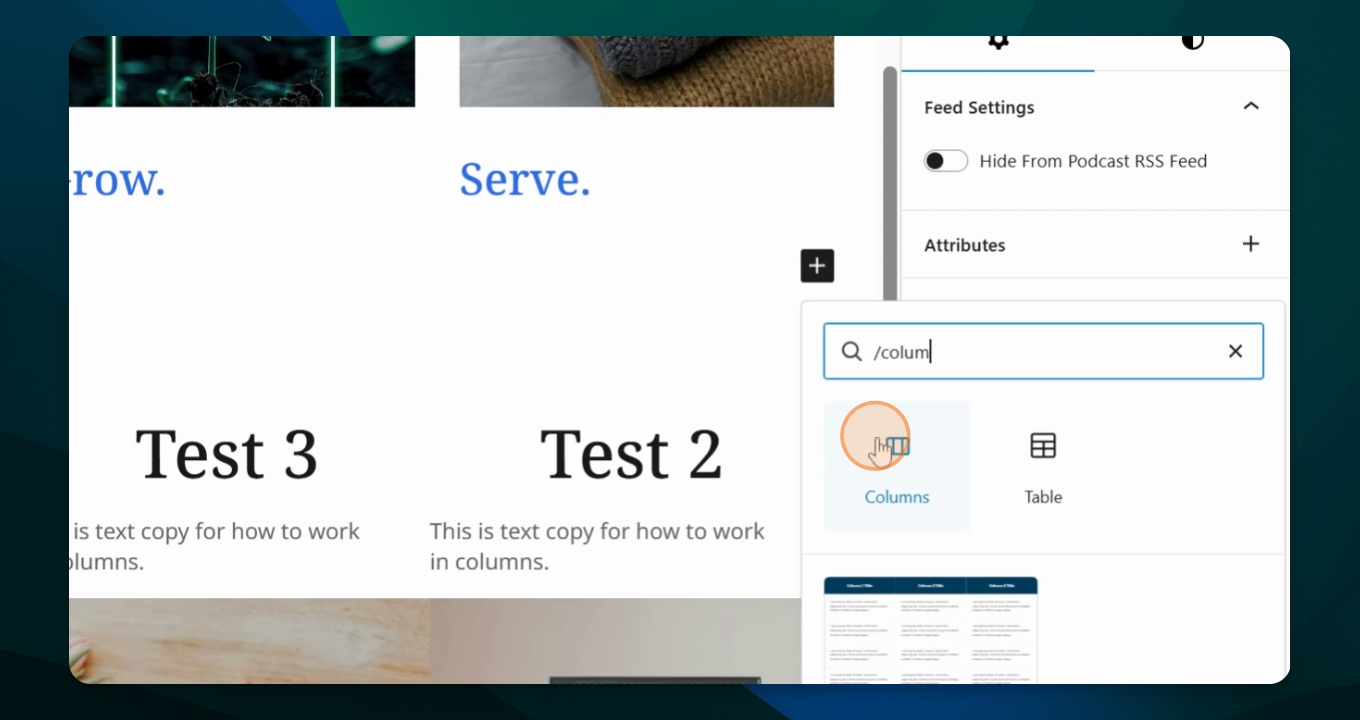
Step 2: Select Columns
So I will go here and I will do a forward slash columns which comes up here. And I will click that.
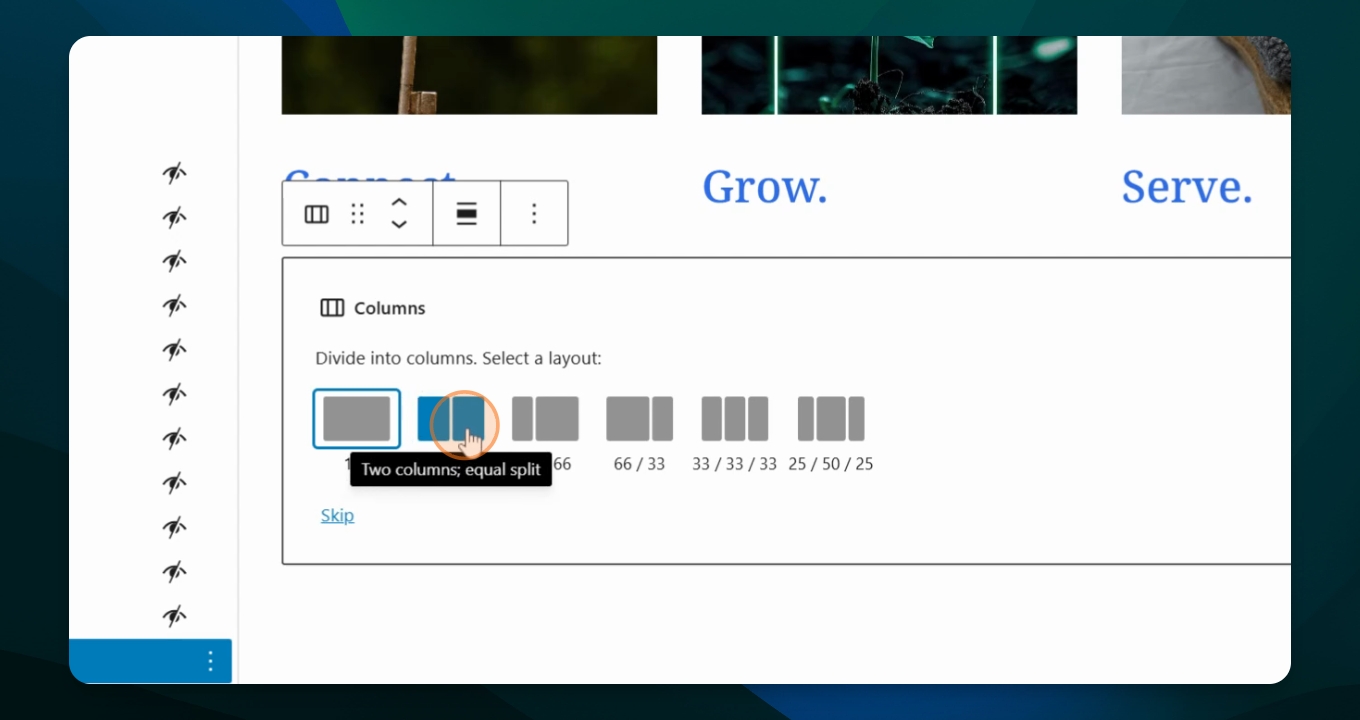
Step 3: Choose Column Variation
Then this window appears and it gives you options of how you want your columns to appear for today. Let's start with our 50 50.
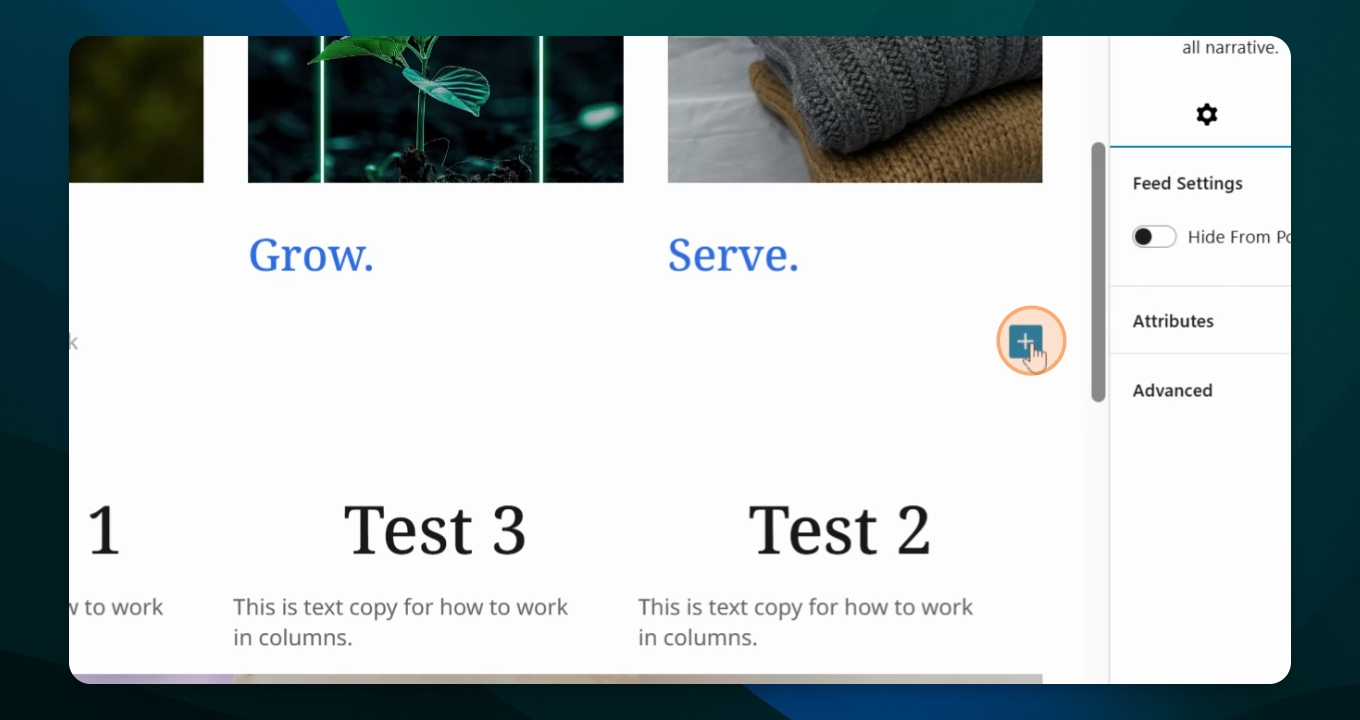
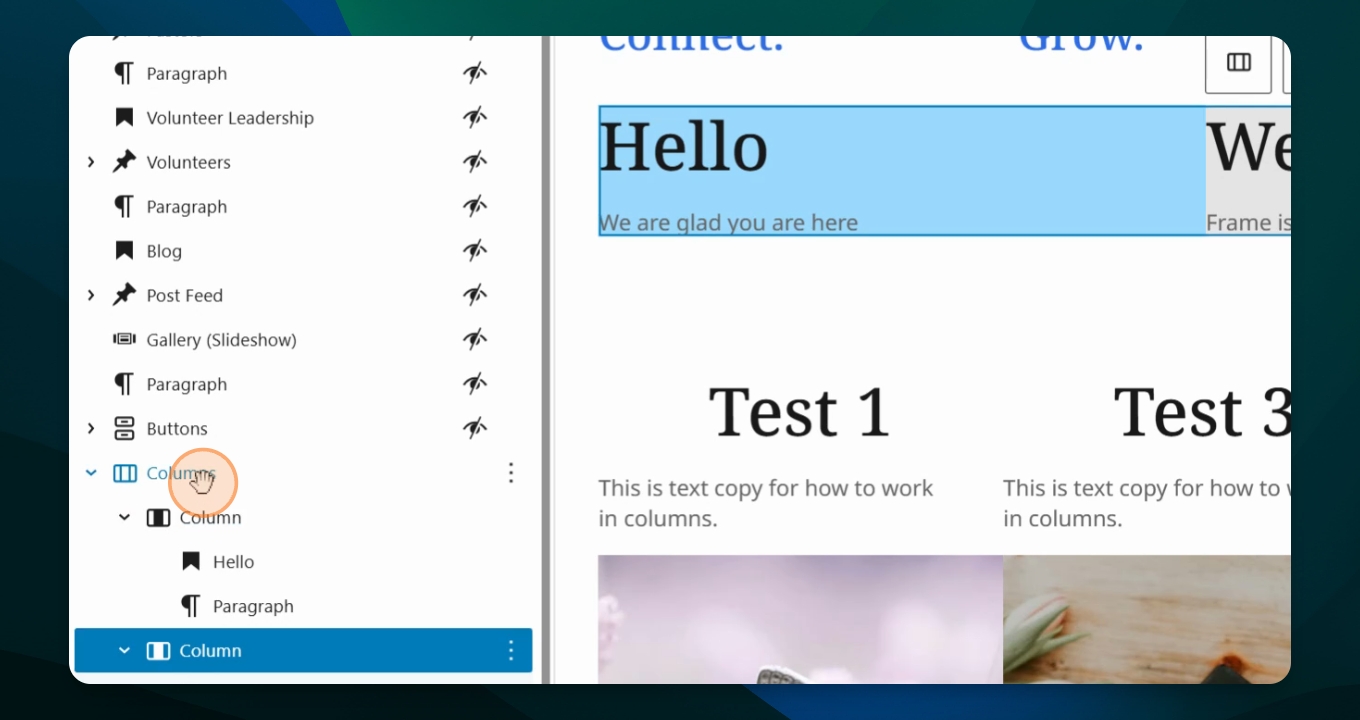
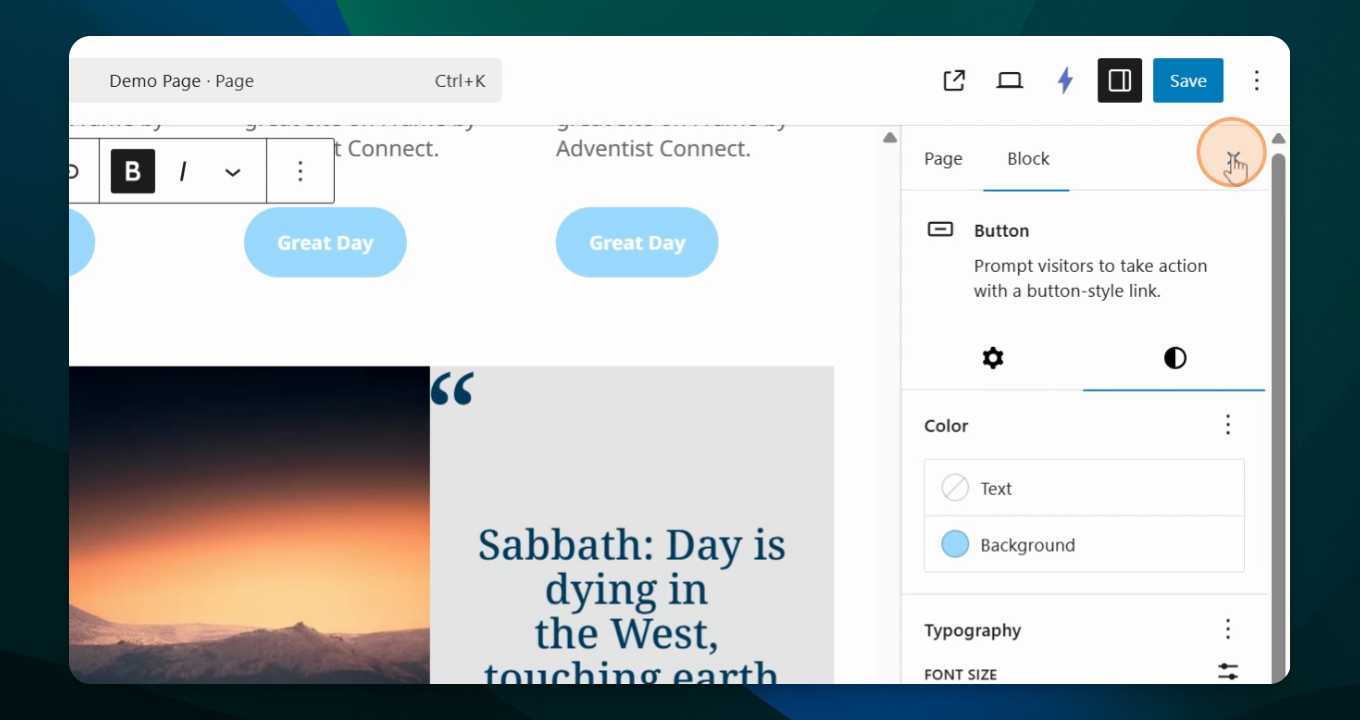
Step 4: Check Document Overview
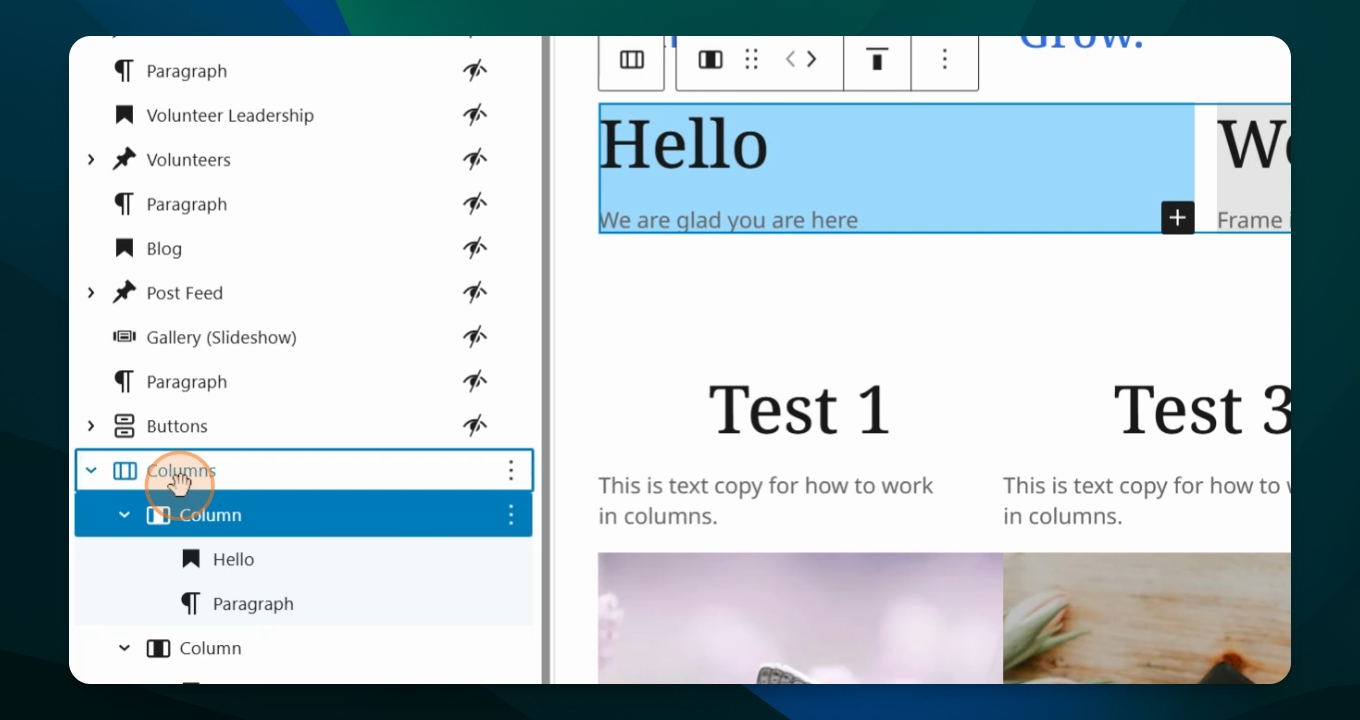
You see that I added a column and it has two columns. So I have column one and column two.
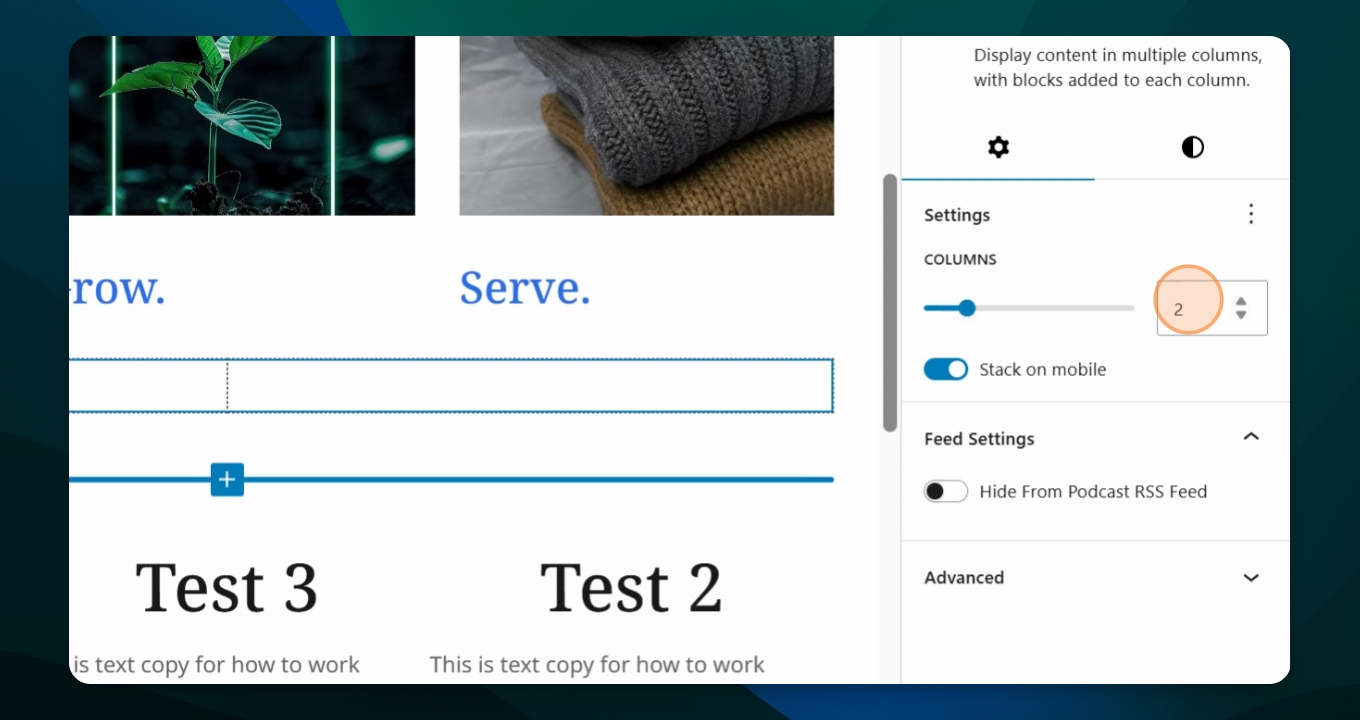
Step 5: Adjust Column Count
If you want to go over to your settings menu, you can change this number from here if you wish. Say if you want to do four columns instead, it'll add four columns.
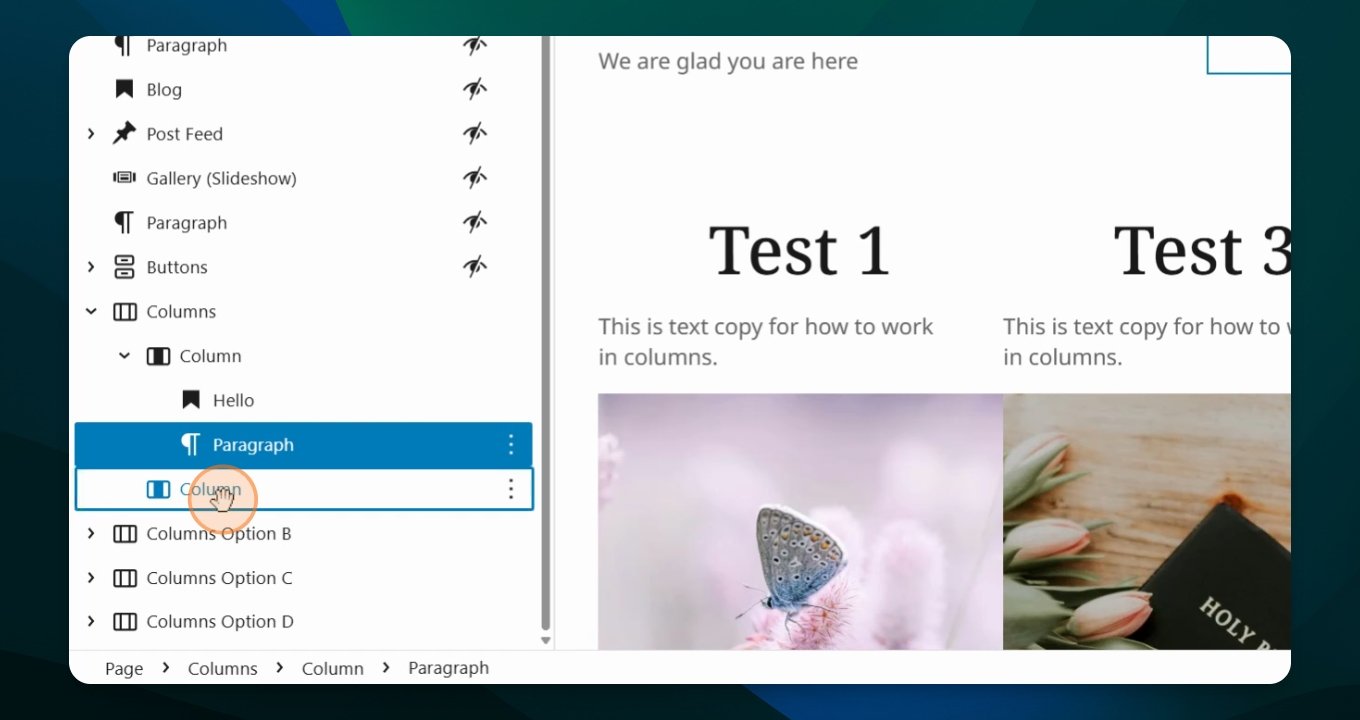
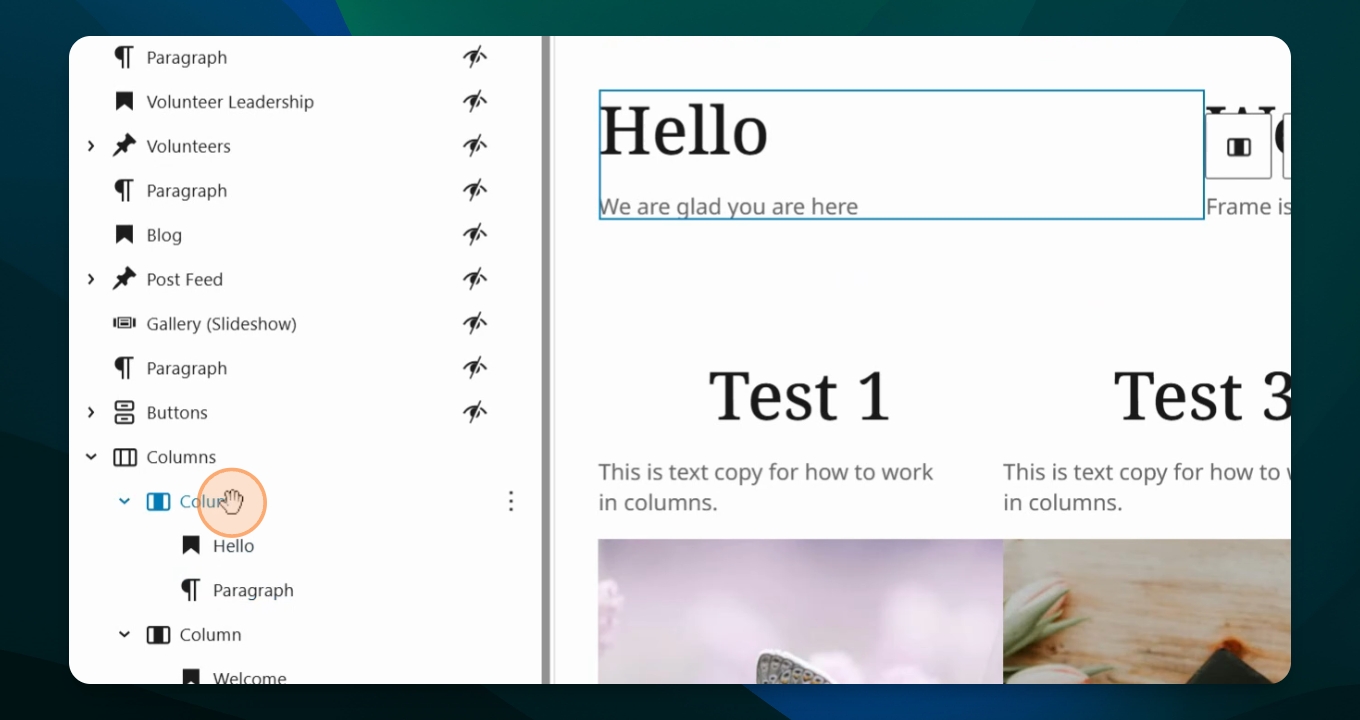
Step 6: Start Adding Content
I'll hit my left hand column, I will hit the plus sign and I want to do a title or a heading. So I'll do heading and type in hello, hit return. I have a paragraph.

Step 7: Add More Content
If I want to add a paragraph or I want to add an image, let's add. Okay, so I've added scroll down. You can see I've added a heading and I've added a paragraph in my first column.
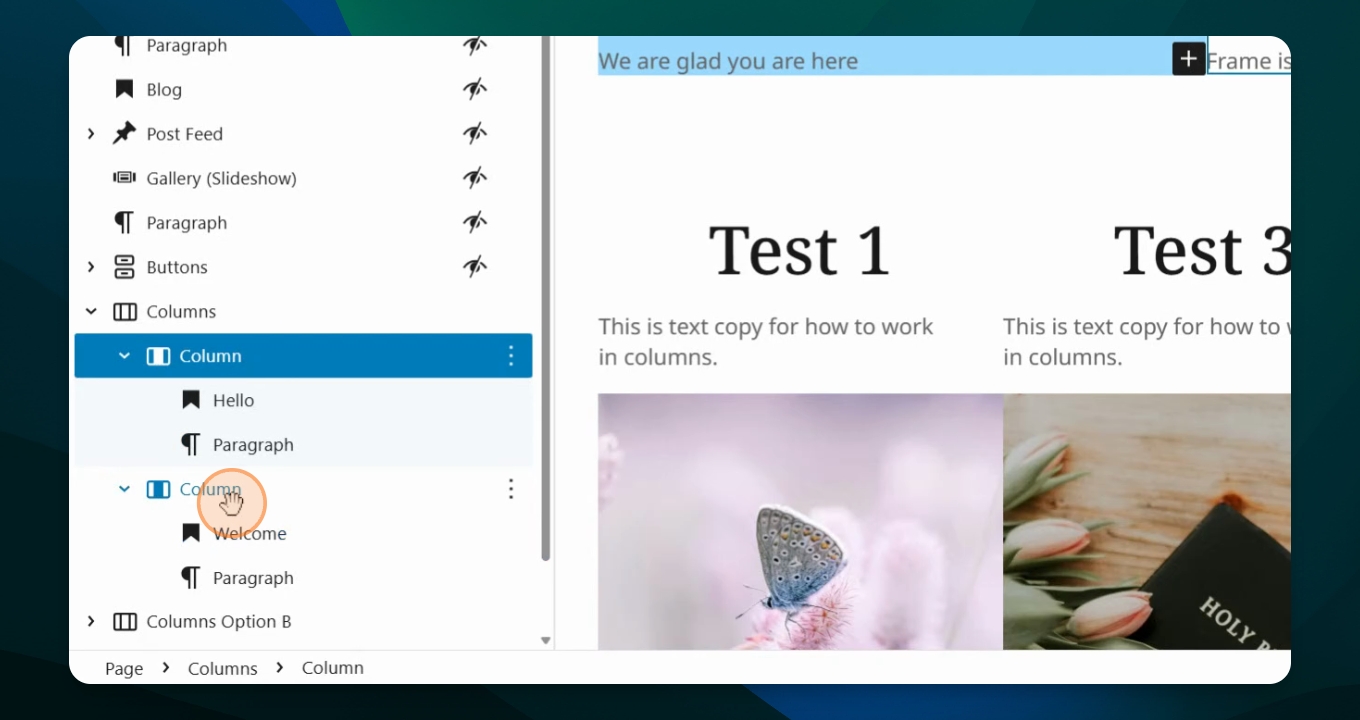
Step 8: Content in Second Column
So I'm going to go to my second column and I'm also going to do a header or heading. Okay, you'll see now I have filled both columns.
Step 9: Set Background Color
Let's say I want to have a color in the background of the column. So I click my first column, I go to my settings menu styles background. We'll do blue in this column.
Step 10: Set Second Column Color
Then for the second column I do want to do the same thing, but I will choose gray. So you see that both of these colors are.
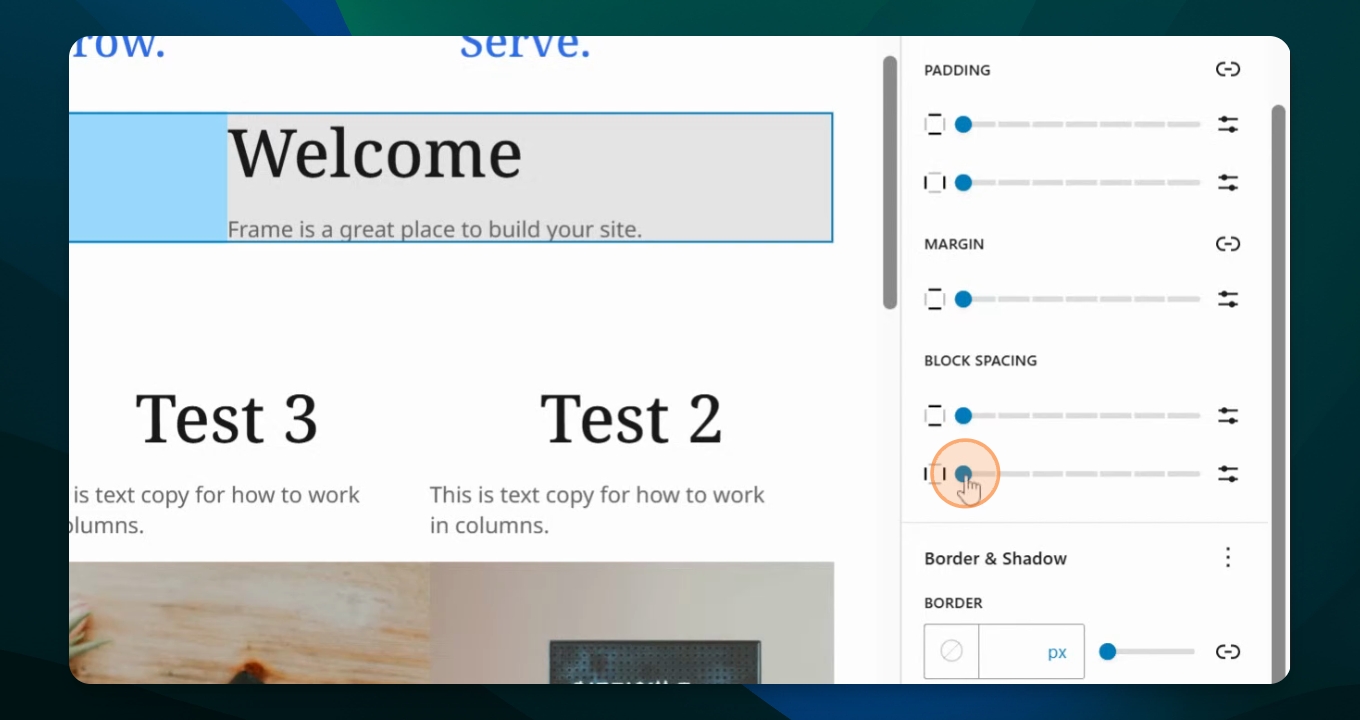
Step 11: Add Spacing Between Columns
So we need to add some space between each column. So I will go up here to the parent column which highlights the whole thing and I'll go over to my settings menu. Now scroll over here and you see block spacing.
Step 12: Adjust Block Spacing
You can do either top or bottom or side to side. If I do my side to side, that means I'm adding spaces between on the sides of the column.
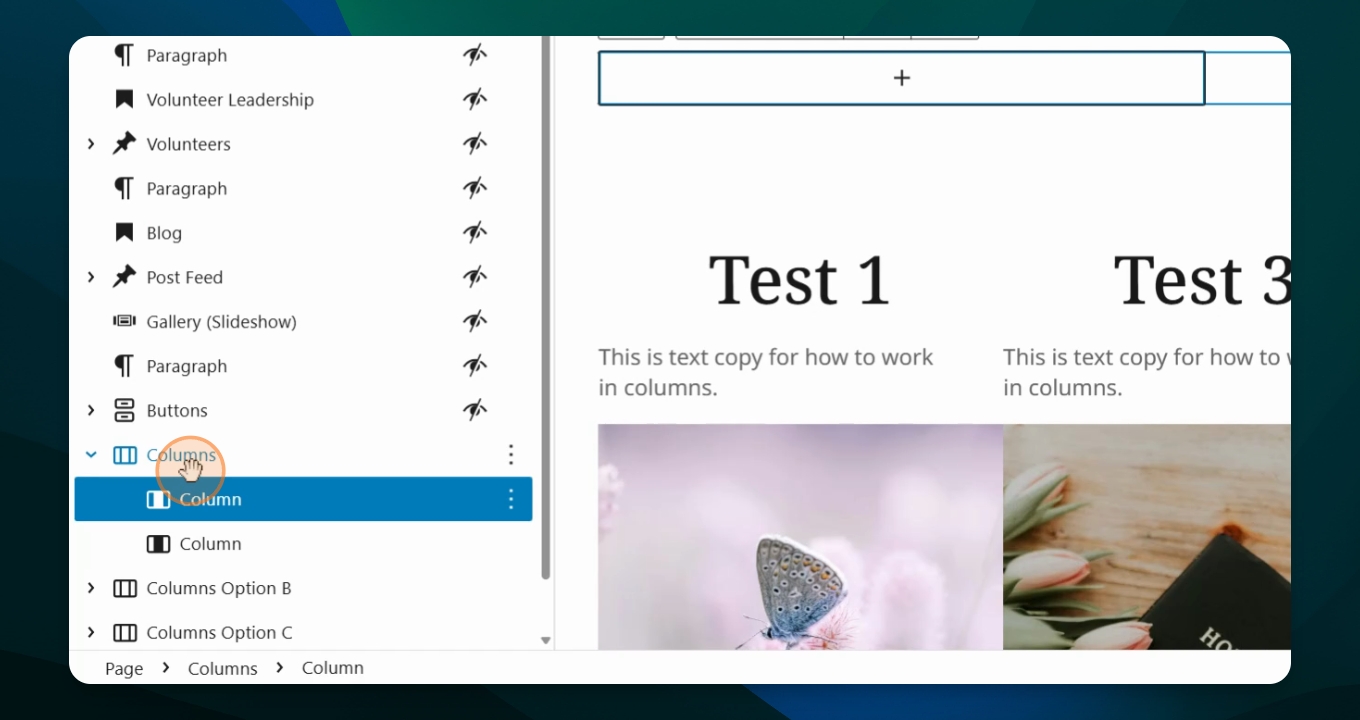
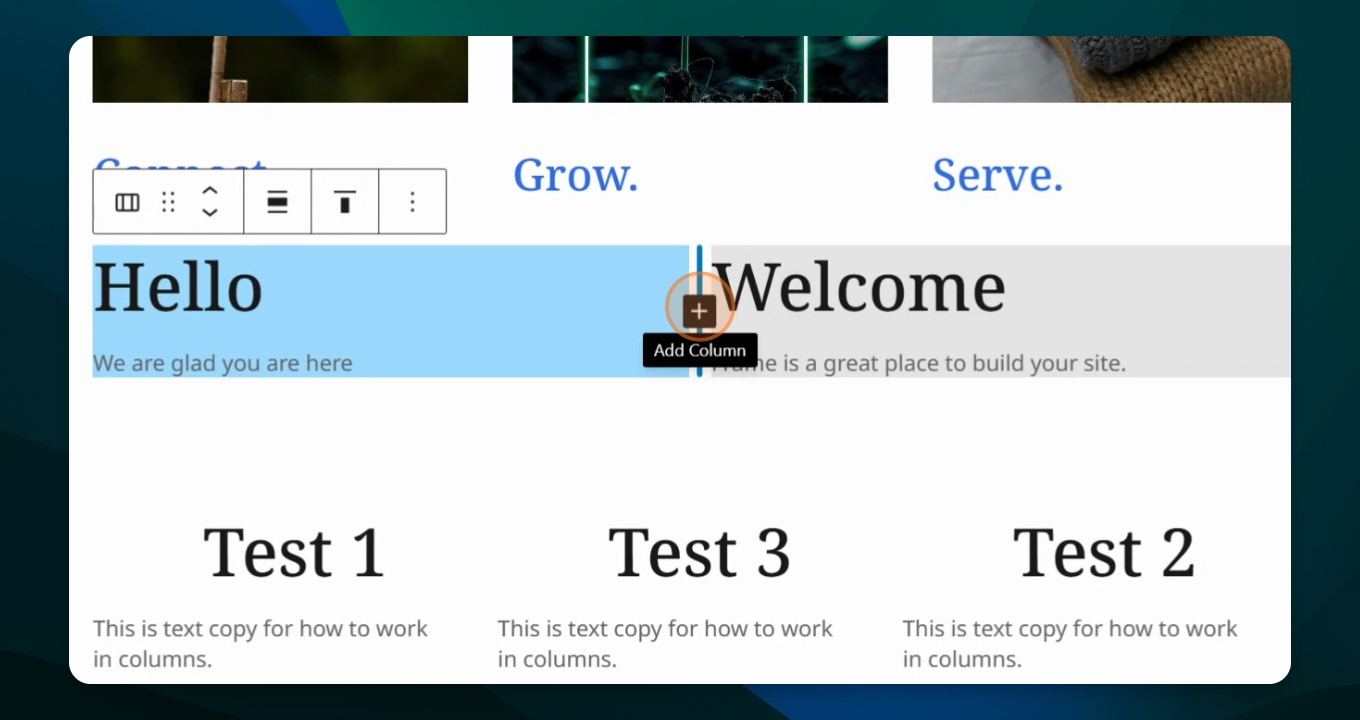
Step 13: Add Third Column
If I hover over this plus sign and I say, oh, I want another column, it adds a third column for you and you can follow it by putting in content into that third column automatically.
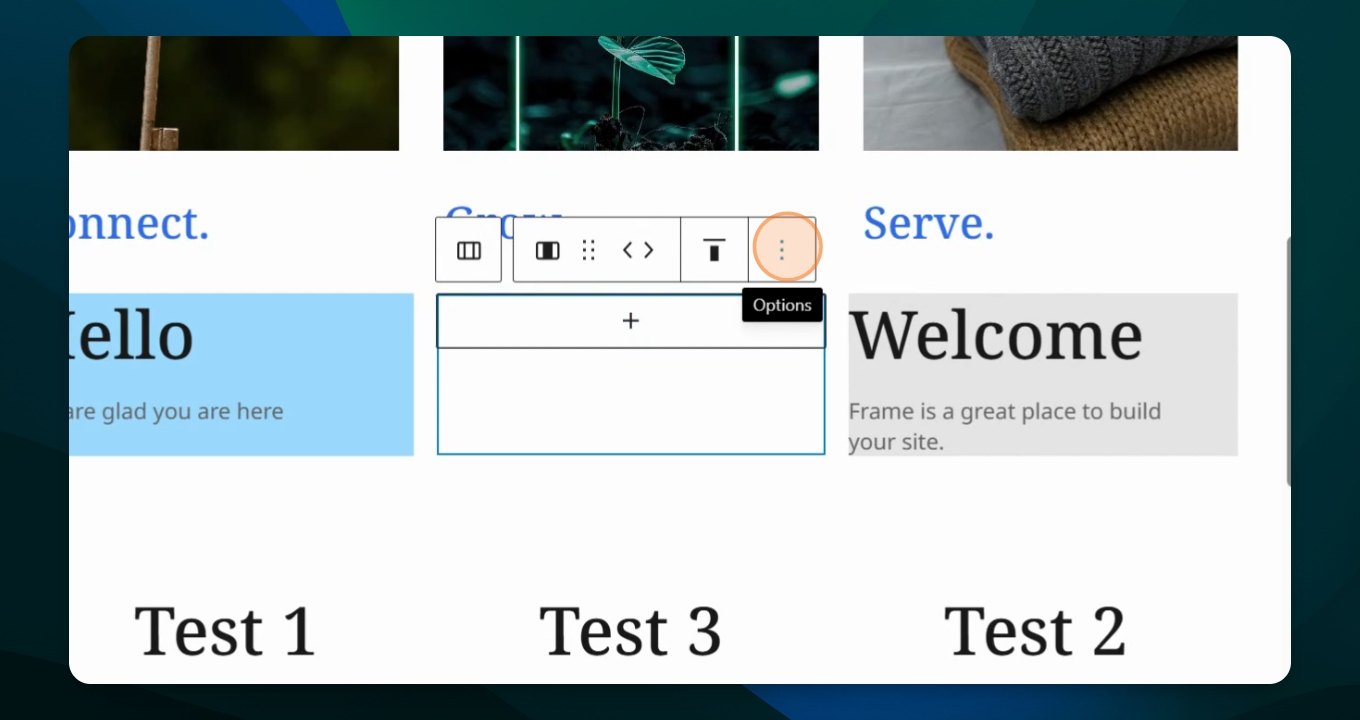
Step 14: Remove Third Column
If I don't want that third column. If I decide no, I just want it to have two columns, then I go to my three dots and I'm going to hit delete and it goes back to just two columns.
Step 15: Add Padding and Margins
You can also add padding and margins to this. You can say block spacing, but you have to. If you want block spacing between your first block and your second block, you're welcome to do that.
Step 16: Explore Other Variations
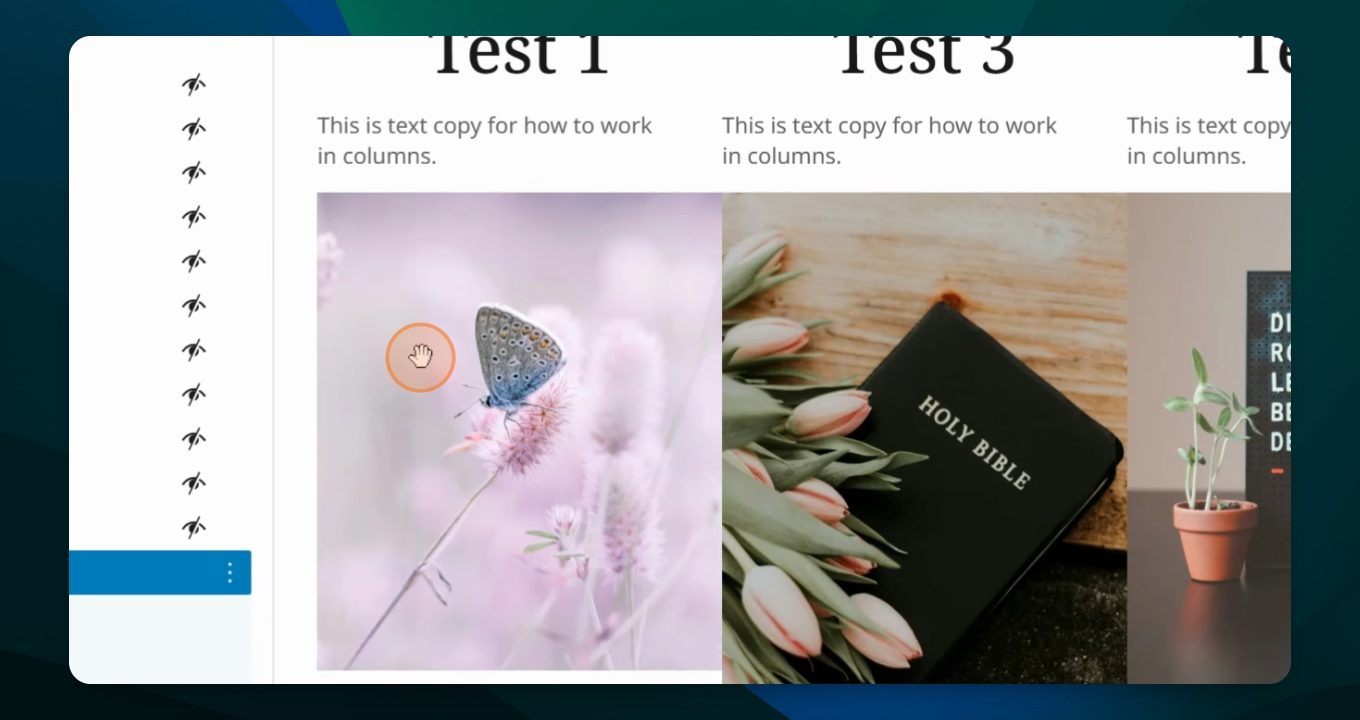
So let's see some other variations for blocks. This one I've added three blocks across. I've added a heading, a paragraph, and also an image block.
Step 17: Add Buttons
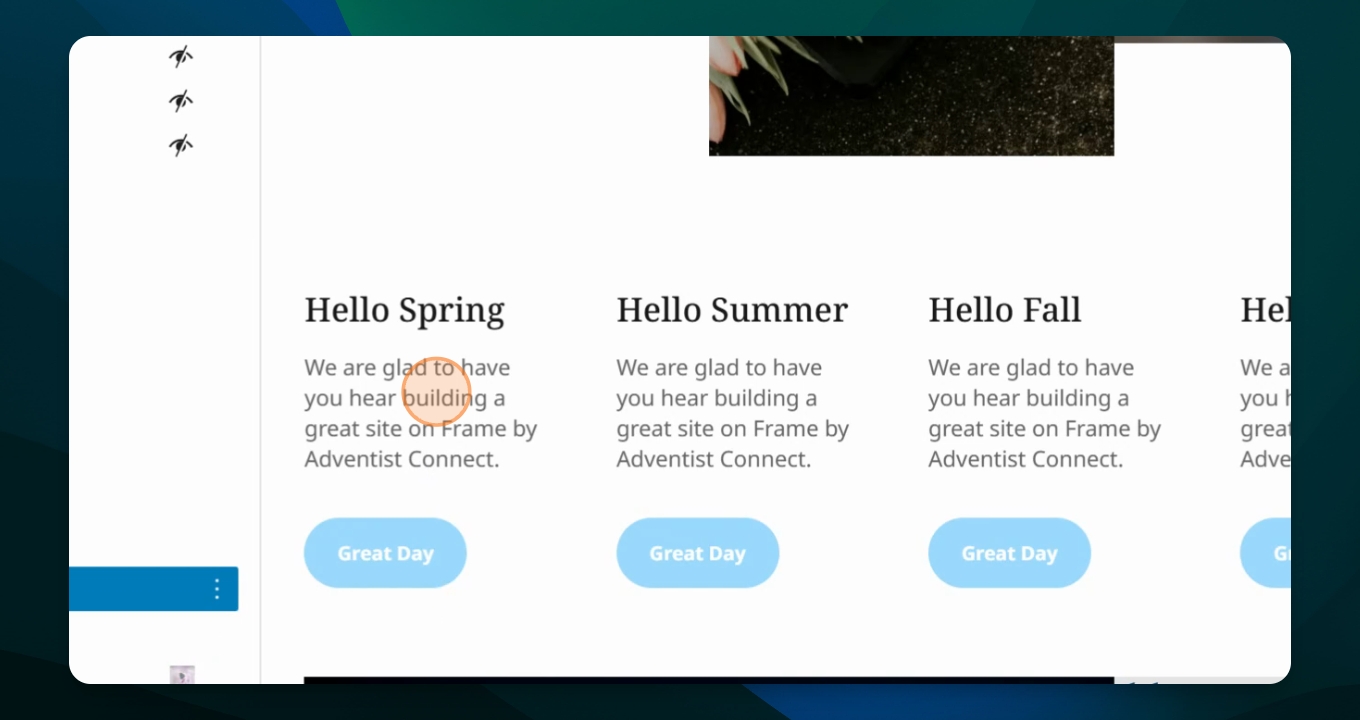
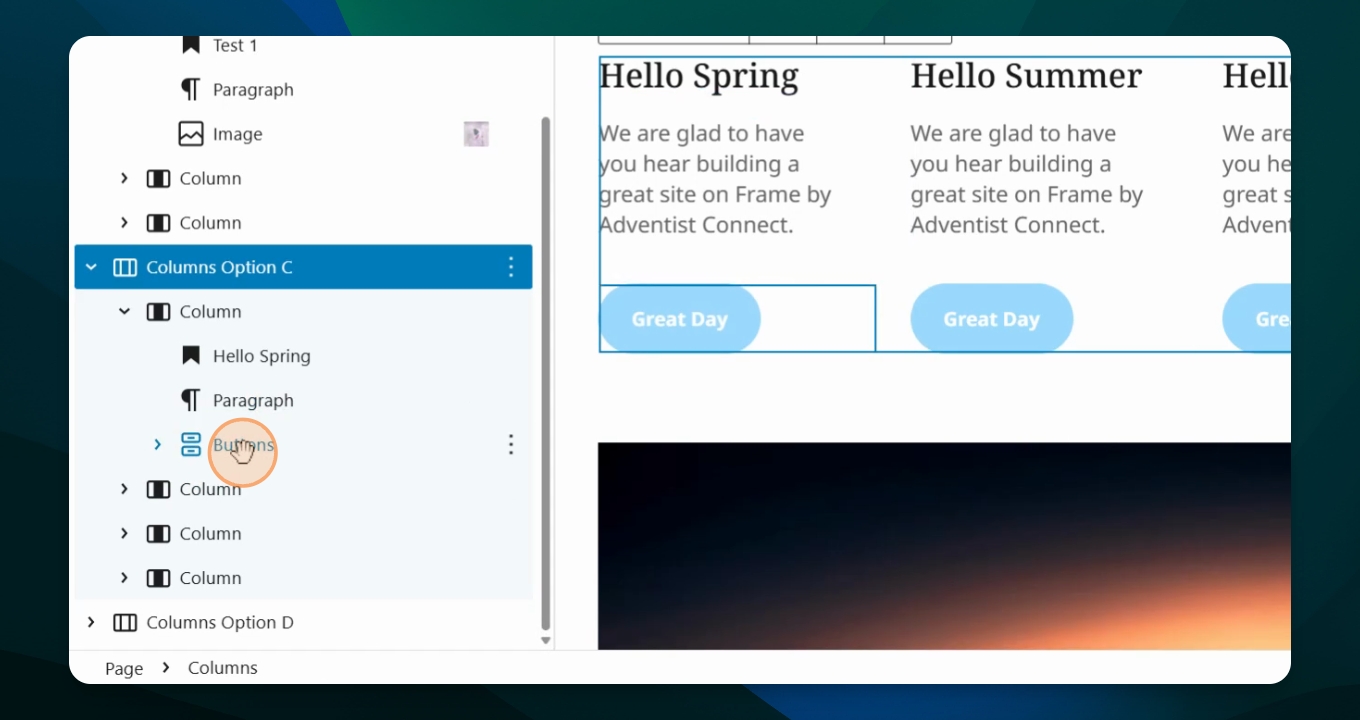
You can also add a button to these pages. A third option is this was a four column where I've also added a heading of a descriptive paragraph and a button.
Step 18: Link Button
On the buttons I can go to my button, I can type and then I can add a link for that button to go to another page or another website.
Step 19: Create Different Sizes
In this option I've created a two block with one side being larger and the narrow side happening as well. You can see how this better illustrates how this works.
Step 20: Final Thoughts
So have fun with blocks and discover all the ways that you can organize your content on the page.