Cover sliders are a specific block, great for highlighting text or special events. Let's look at the steps:
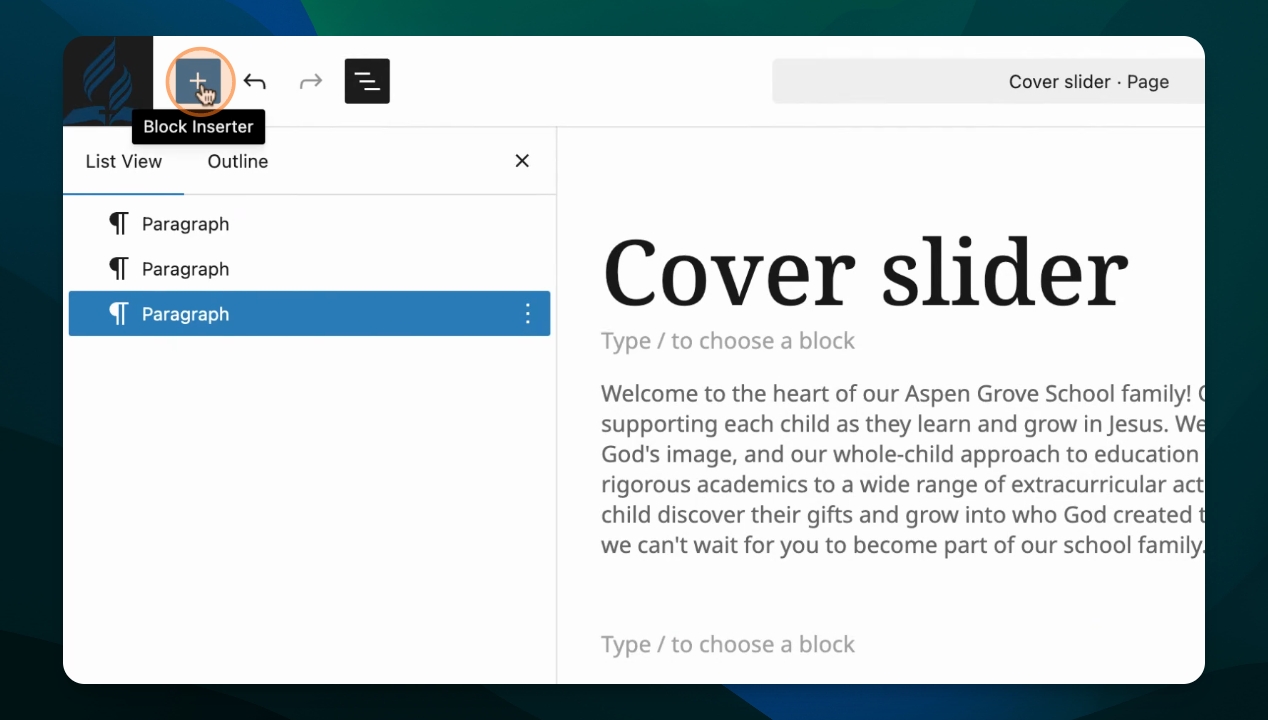
Step 1: Insert Cover Slider Block
Open the block inserter and type cover slider.
Click to add the cover slider block to your page.
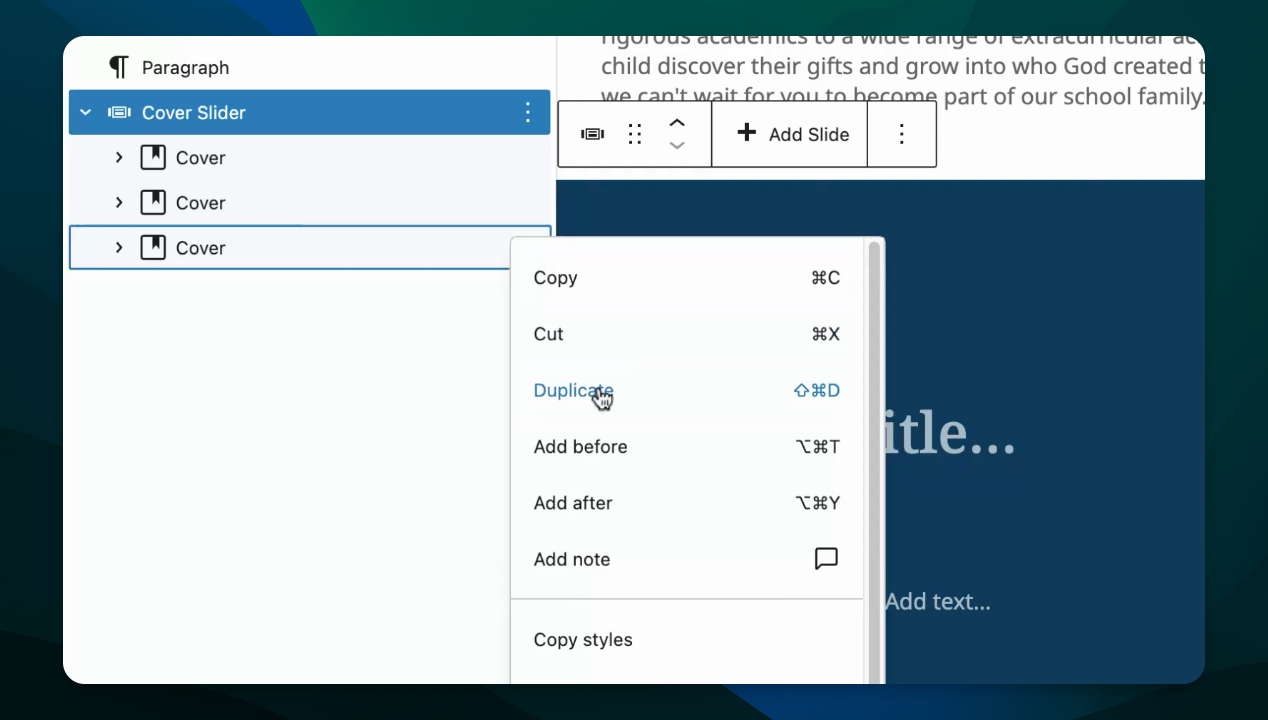
Step 2: Manage Your Covers
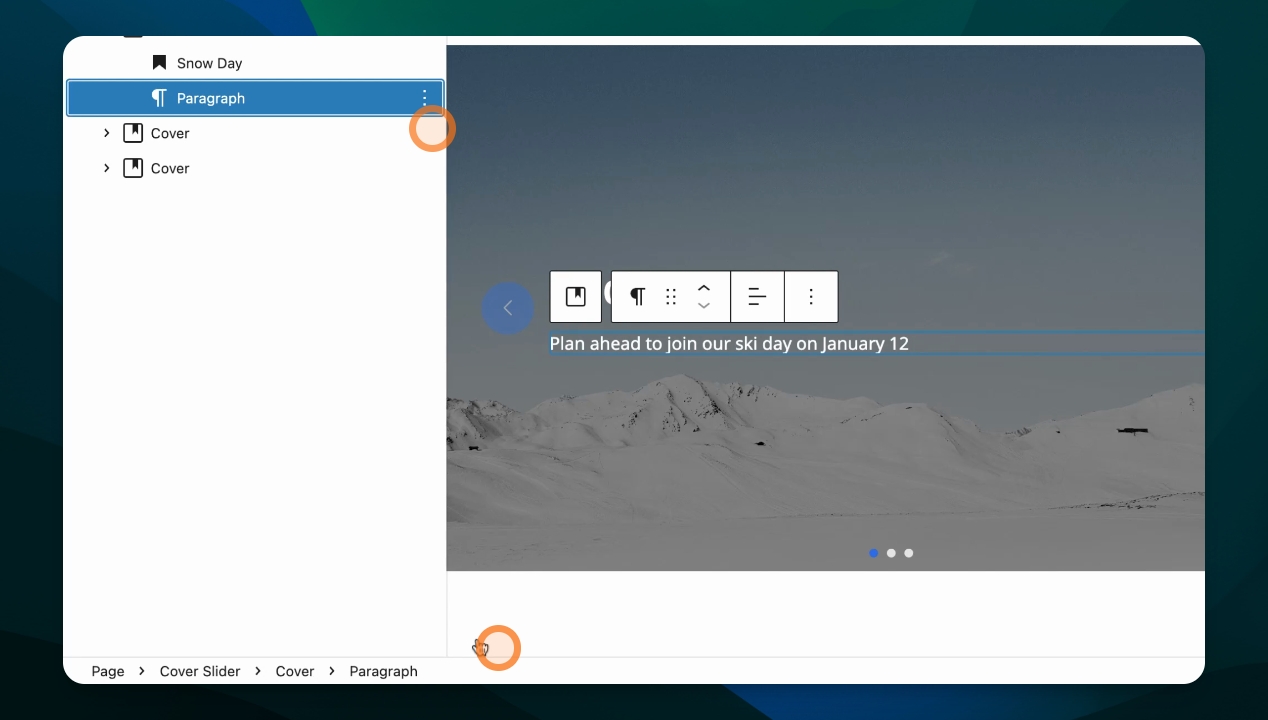
Go to your document overview to view the cover slider.
Each dot below the slider on the page represents a cover; by default, two covers are created.
To add more covers, select a cover and choose duplicate in options.
You can now edit the new covers added to your slider.
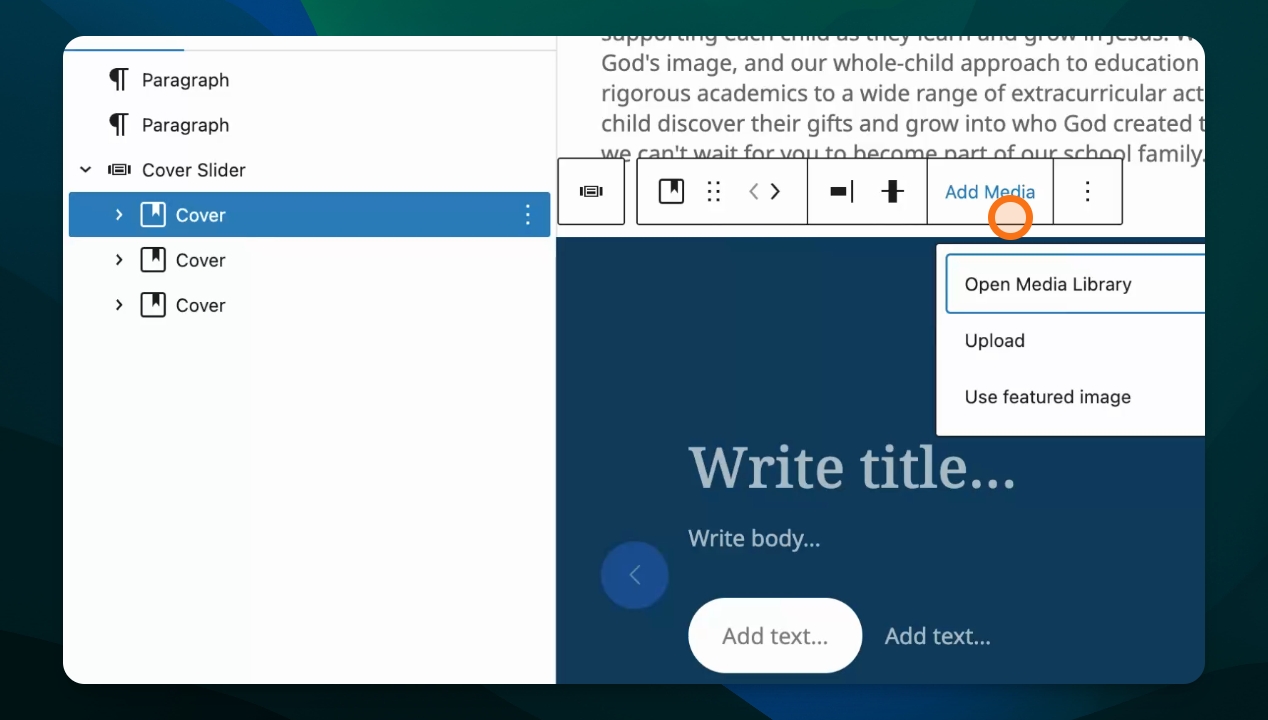
Step 3: Customize Your Cover Backgrounds
In the document overview, select the cover to edit.
Add a background image by clicking Add Media.
Choose an image from the Media Library, or upload from your computer.
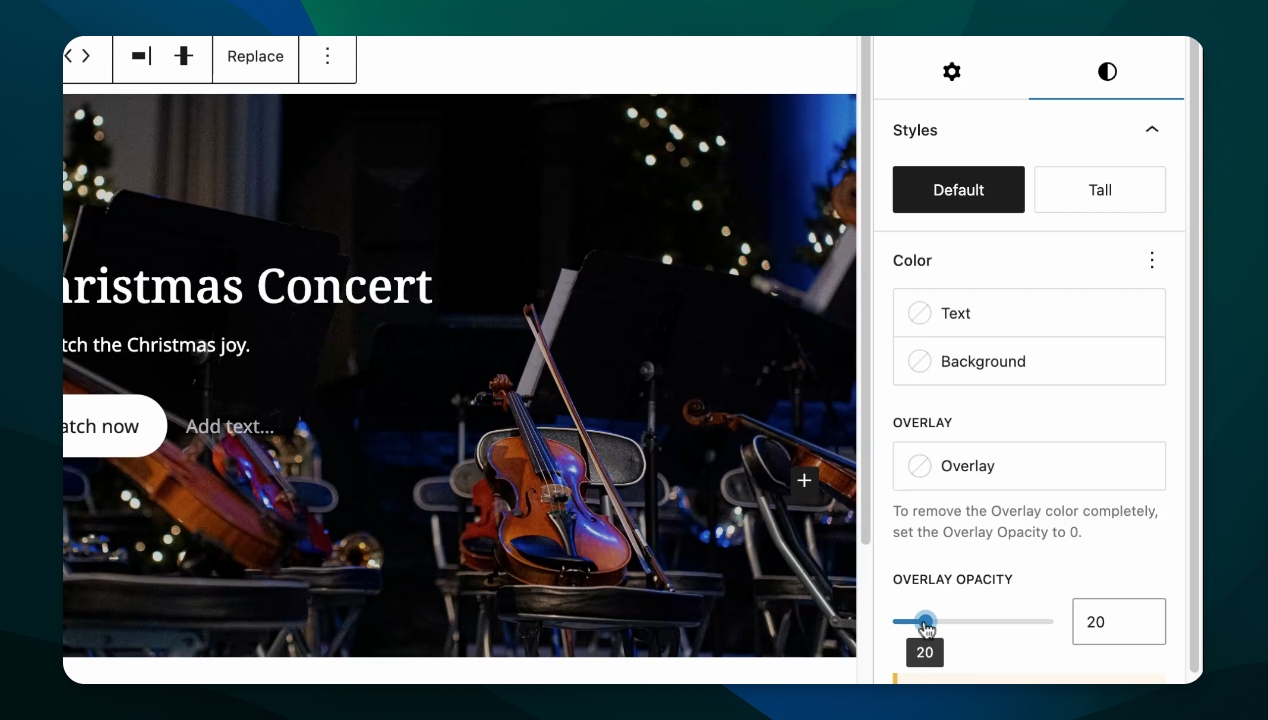
Adjust overlay opacity on a photo under Styles.
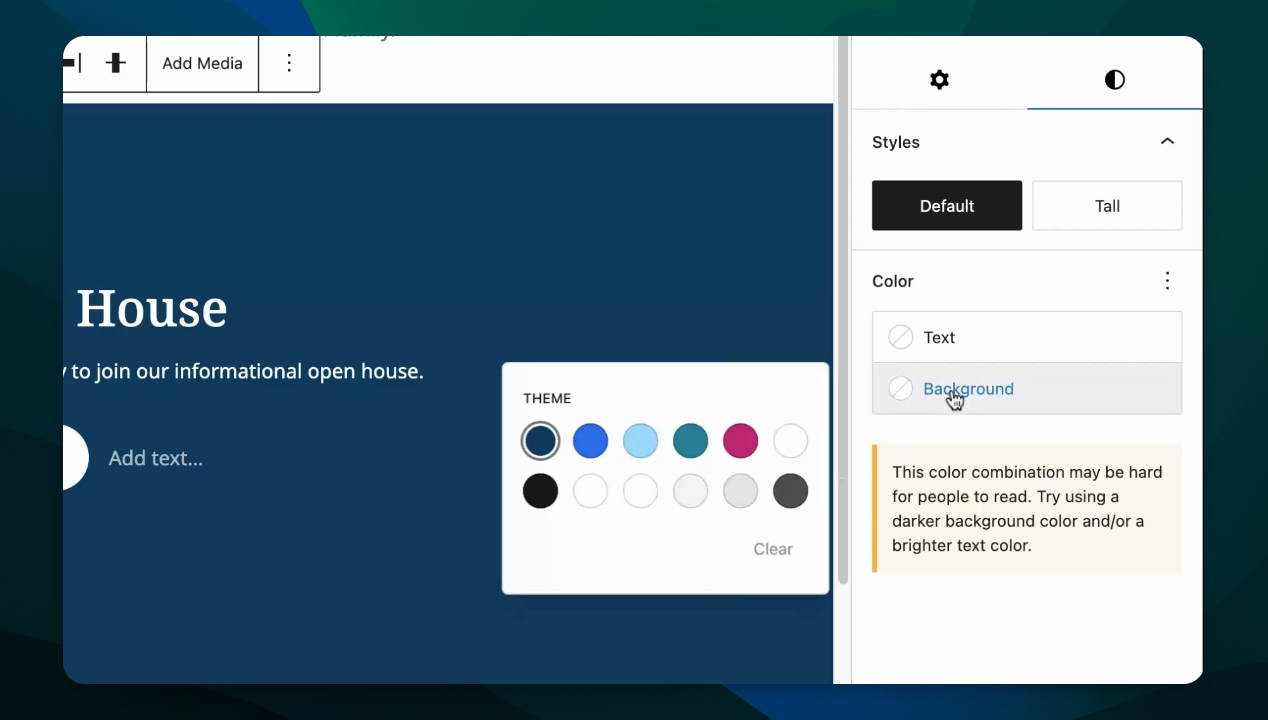
Adjust background color on a cover also under Styles.
Step 4: Add Copy and Links
Set a title and write body copy for the cover. Add a link for the buttons.
If you prefer not to have any of these elements, delete them using the Document Overview.
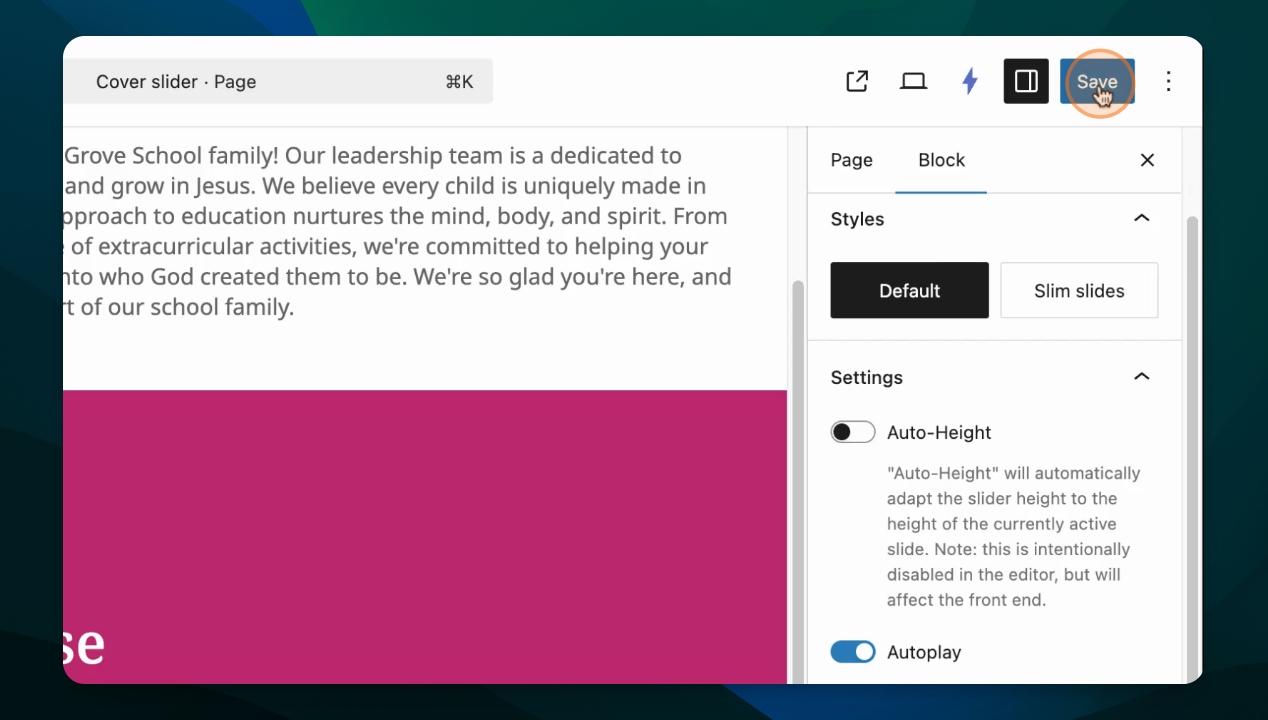
Step 5: Set Slider Settings
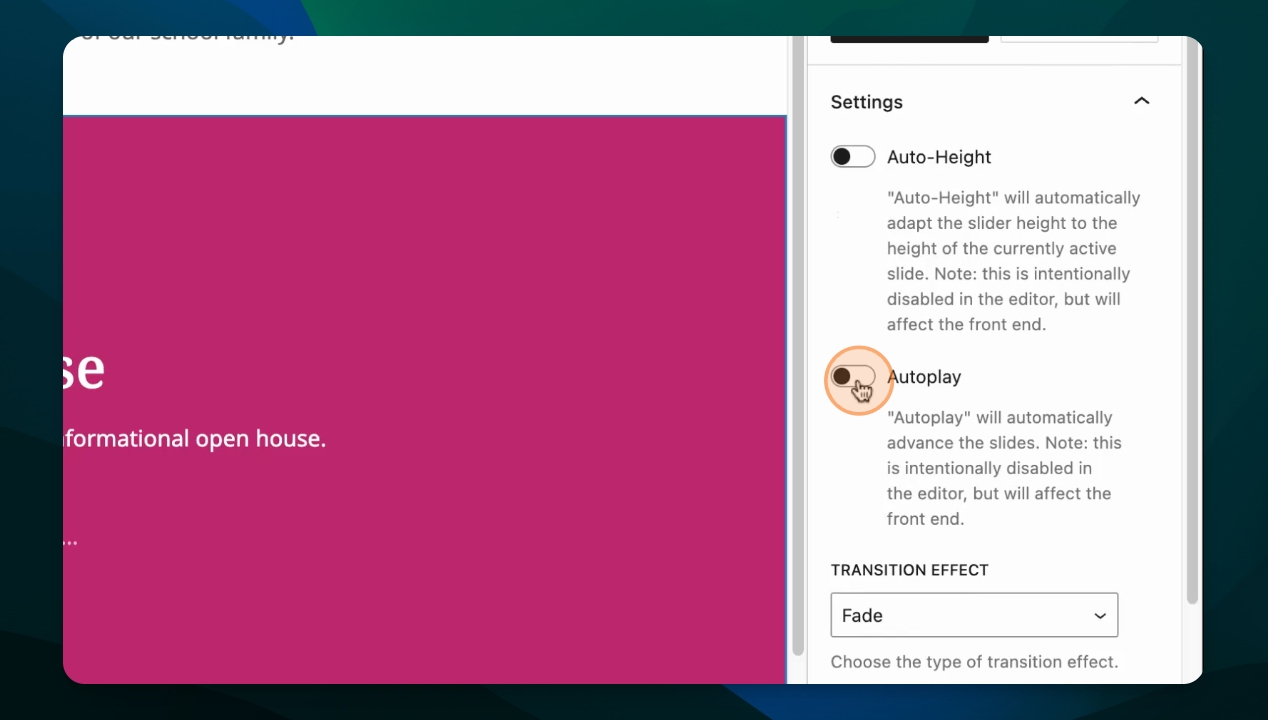
Ensure the Cover Slider is selected, and check block settings.
Turn on Autoplay to advance slides automatically.
Adjust timing to change how long covers display before advancing.
Set transition effects.
Understanding Cover Styles & Auto-Height
How Slide Height Works:
Each cover block inside your slider has a Style setting that determines its height. The two available styles are:
Default: A shorter slide height
Tall: A taller slide height
The style controls the height of that individual slide, not the image you add to it. Images are always cropped to fit the slide's height using a "cover" display mode, which maintains the image's aspect ratio but crops excess width or height to fill the space.
What Auto-Height Does:
When ON: The slider automatically adjusts its height to match whichever slide is currently active. If you mix Default and Tall styles, the slider will be taller when showing a Tall slide and shorter when showing a Default slide.
When OFF (default): All slides maintain the height of the tallest slide in the sequence, keeping a consistent height as you navigate.
How to Change a Cover's Style:
Click on an individual cover block inside the slider (not the slider itself).
Look for the Style dropdown in the block settings panel.
Select Default or Tall.
The slide height will adjust immediately on the page.
Important Note About Images
Images in cover slides are always cropped to fit the slide's height and width. This is the "cover" behavior—it ensures consistent layout and prevents content below the slider from jumping. A portrait image (tall and narrow) placed in a Default-height slide will have its top and bottom cropped. A landscape image (wide and short) will have its sides cropped. To minimize unwanted cropping, use images that roughly match your cover style's aspect ratio.
Recommended Settings by Use Case:
Want consistent height: Keep Auto-Height OFF and use the same style for all covers.
Want height to vary: Turn Auto-Height ON and mix Default and Tall styles on different covers.
Having image cropping issues: This is normal cover behavior. Consider using the Collage or Gallery blocks if you need to display images without cropping.
Step 6: Reorder Covers
Click and drag covers in the Document Overview to reorder them.
Step 7: Save Your Work