Today we're going to be going over how to utilize the video block on your frame site. Let's look at the steps:
Adding a Video Block to Your Content:
Simply click the Block Inserter (+) button, or start typing
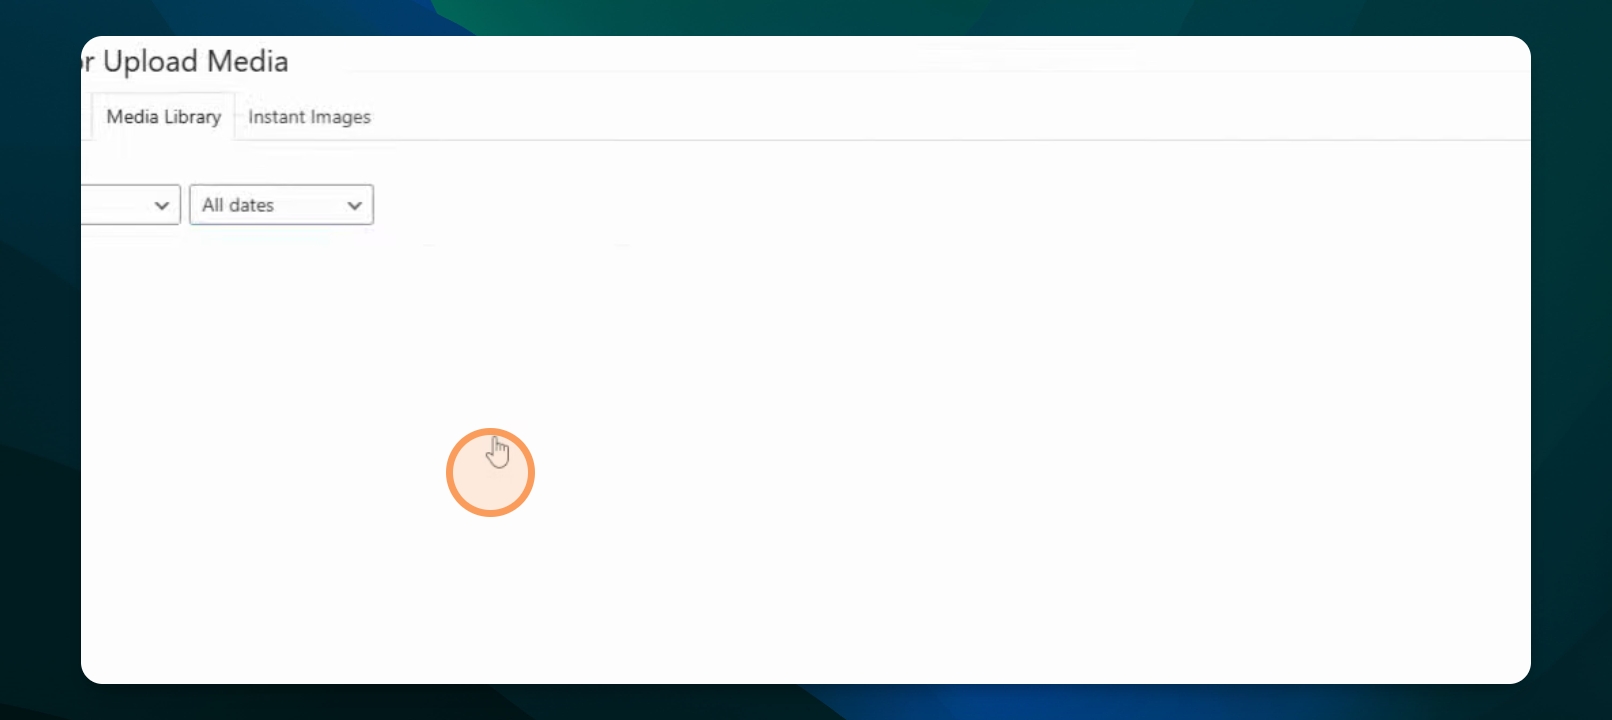
/videoin an empty paragraph and hit enter to quickly insert a Video Block into your post or page.To attach your video, either select the upload button to directly import files from your device, or choose the Media Library option to use content you've previously uploaded or select Insert from a URL.
Whenever possible, insert videos from URL or pull from your media library to avoid multiple uploads.
Need to swap files? Simply click Replace to upload a different document.
Block Toolbar
Each block offers unique toolbar controls that enable direct editing and manipulation within the Block Editor. The Video Block provides standard buttons for transforming, moving, switching content, and accessing additional options.
Video Block Toolbar Buttons:
Transform to
Block moving tools
Alignment options
Captions
Text tracks
Replace
More options

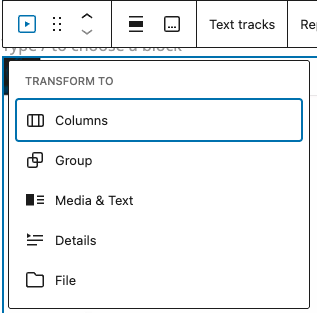
Transform to
You can transform the Video Block into a Columns, Group, Media & Text Block, Details or File.
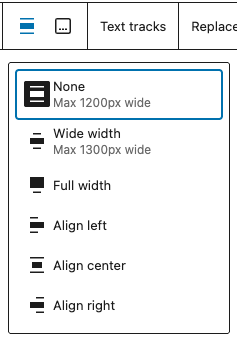
Alignment options
Adjust how wide the video appears on the page in relation to the rest of content.
Captions
Display or hide a caption underneath the video. You can apply bold or italic formatting to captions, or create a link.
Text tracks
The Text tracks option will allow you to display timed text tracks (such as subtitles or captions) when the media is playing. Once you upload the track, you will find the edit track option.
The tracks must be formatted in WebVTT format (.vtt files or Web Video Text Tracks).
Block Settings
Each block offers specific options in the editor sidebar, complementing those available in the block toolbar. If the sidebar is not visible, click the side column icon next to the Publish or Update button to display it.
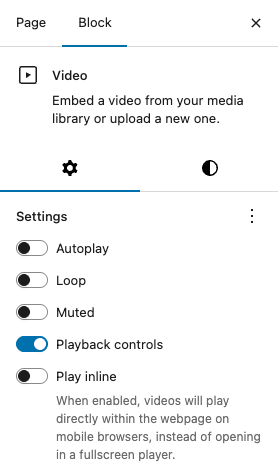
Settings
Autoplay, Loop, Muted. These options let you set your video file to autoplay when someone visits the page or post. Looping lets you choose if the video file repeats after it is finished. You can also choose to mute the video if needed.
Due to browser policy, autoplay must be off to unmute.
Playback controls. Toggle this option to show or hide the playback control overlay on the video. These controls let users pause, play, quickly navigate through a video by dragging a slider back and forth, and mute or unmute.
Play inline. When turned on, videos will play directly within the webpage on mobile browsers, instead of opening in a fullscreen player.
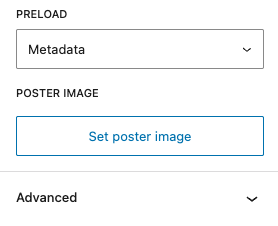
Preload
Choose how much of the video file is downloaded when the page or post loads. While it may be tempting to have the whole file download automatically, keep in mind that this can slow your page's loading speed down.
There are three settings:
Metadata – Only basic info about the file will be downloaded automatically. Like the None option, the download of the video file only begins when someone clicks Play. This setting is also very fast, as the only thing downloaded is text. On a fundamental level, there’s not a big difference between None and Metadata.
Auto – The entire video file is downloaded, regardless of whether the visitor clicks the Play button or not. This makes the biggest impact on your page or post’s load speed, especially with larger video files.
None – Nothing about the video file is downloaded automatically. The download of the video file only begins when users click Play. This is the fastest setting.
Poster image
Select a poster image from your media library or upload an image to display before the video plays.
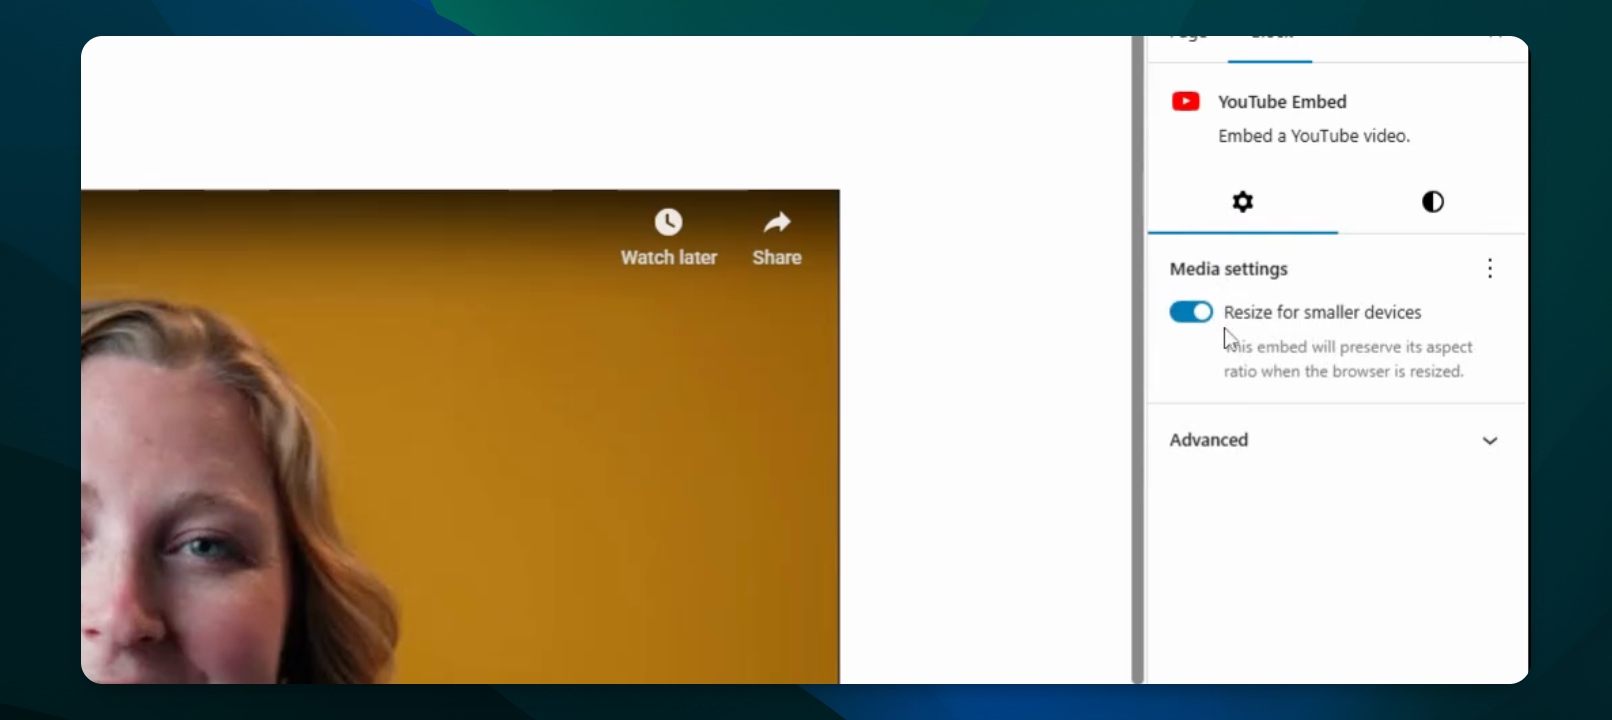
YouTube or Vimeo Settings
Under Media settings, resize for smaller devices.
Keep in mind that less functionality is available for links, such as autoplay or mute.
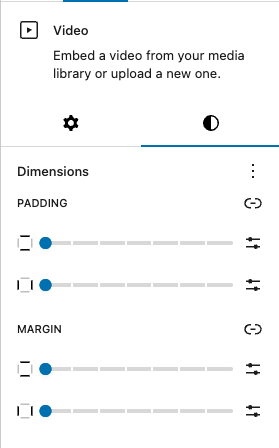
Styles
Adjust padding and margins in the styles panel.