This guide will show you how to add the search block to your Frame site and customize its appearance and settings. Let's look at the steps:
Step 1: Add the Search Block
Type /search into the WordPress Block Editor. Press Enter, and the search block will be added to your site.
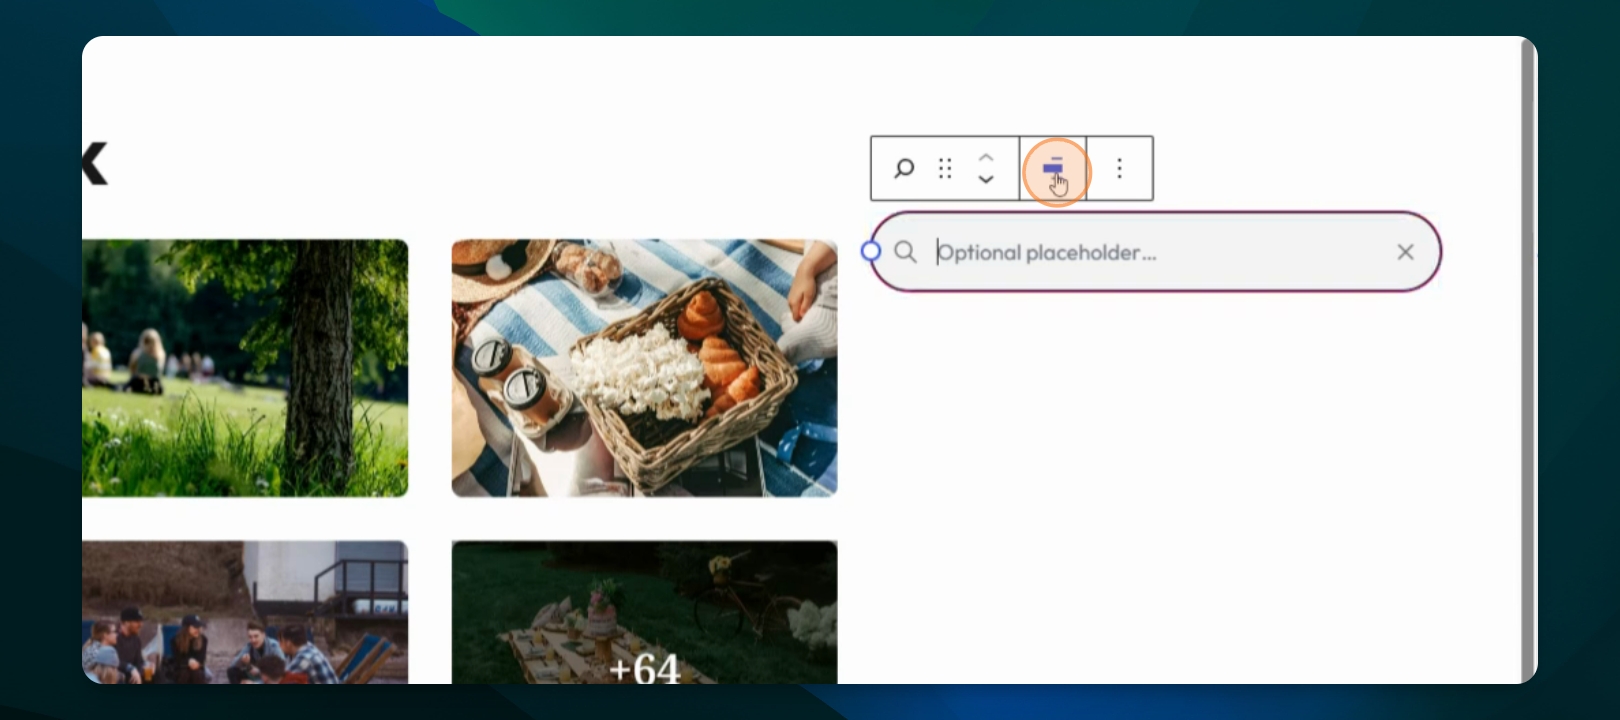
Step 2: View with Other Blocks
Preview the search block alongside other blocks, to see how it integrates visually.
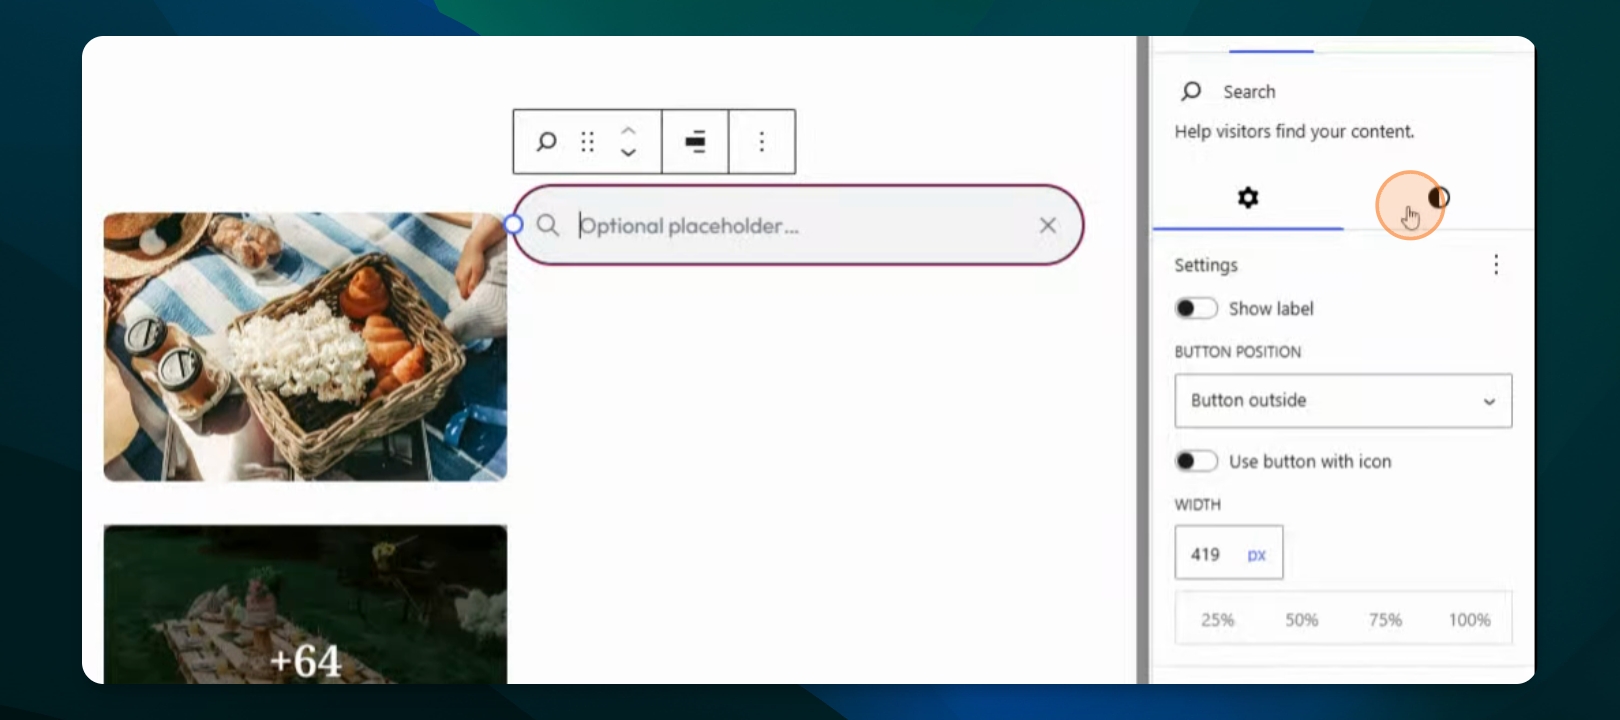
Step 3: Open Block Settings
Click on the search block. On the right-hand side, open the block settings to access customization options.
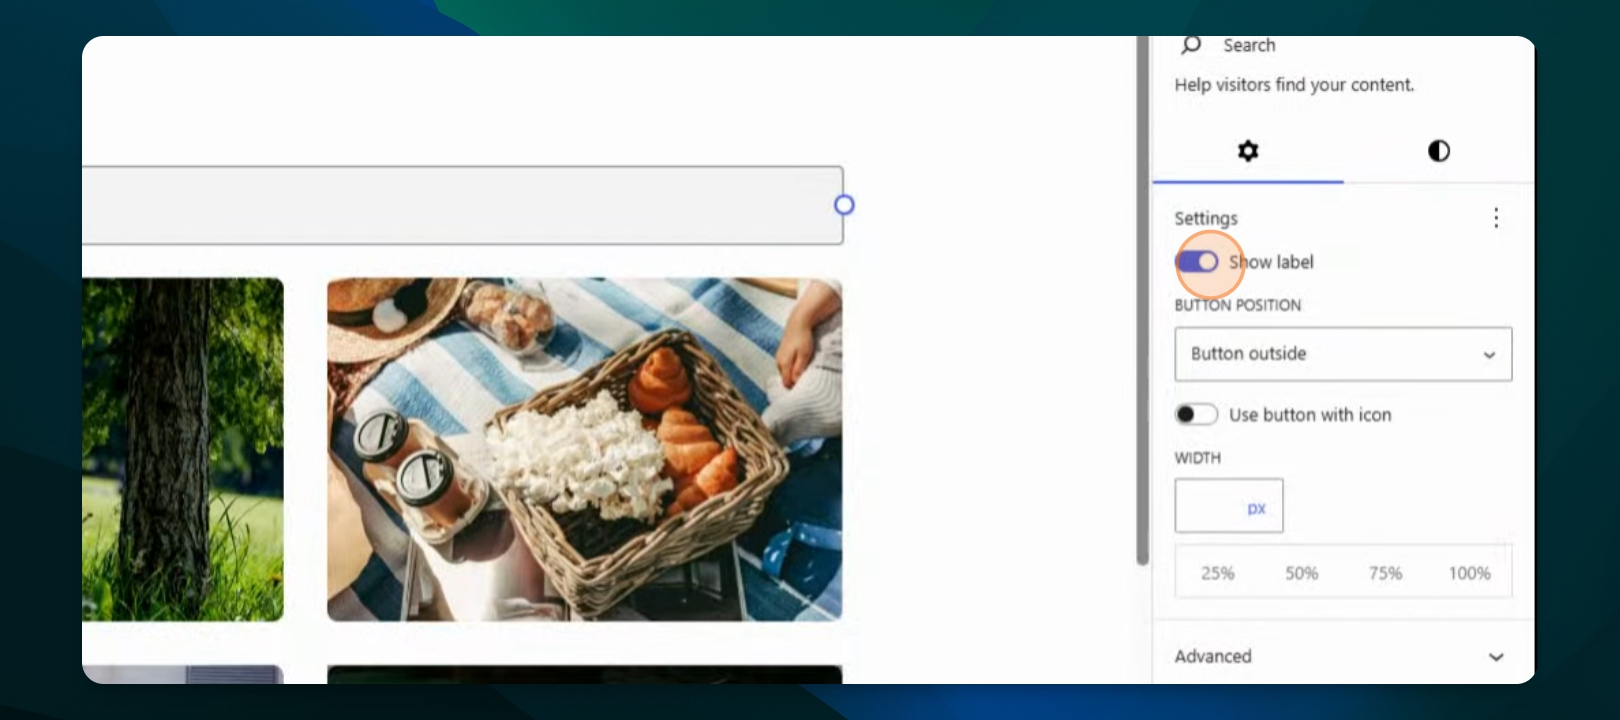
Adjust Label and Button Options
Choose to show or hide the label - if needed. Adjust the button positioning and change the width of the search block as needed.
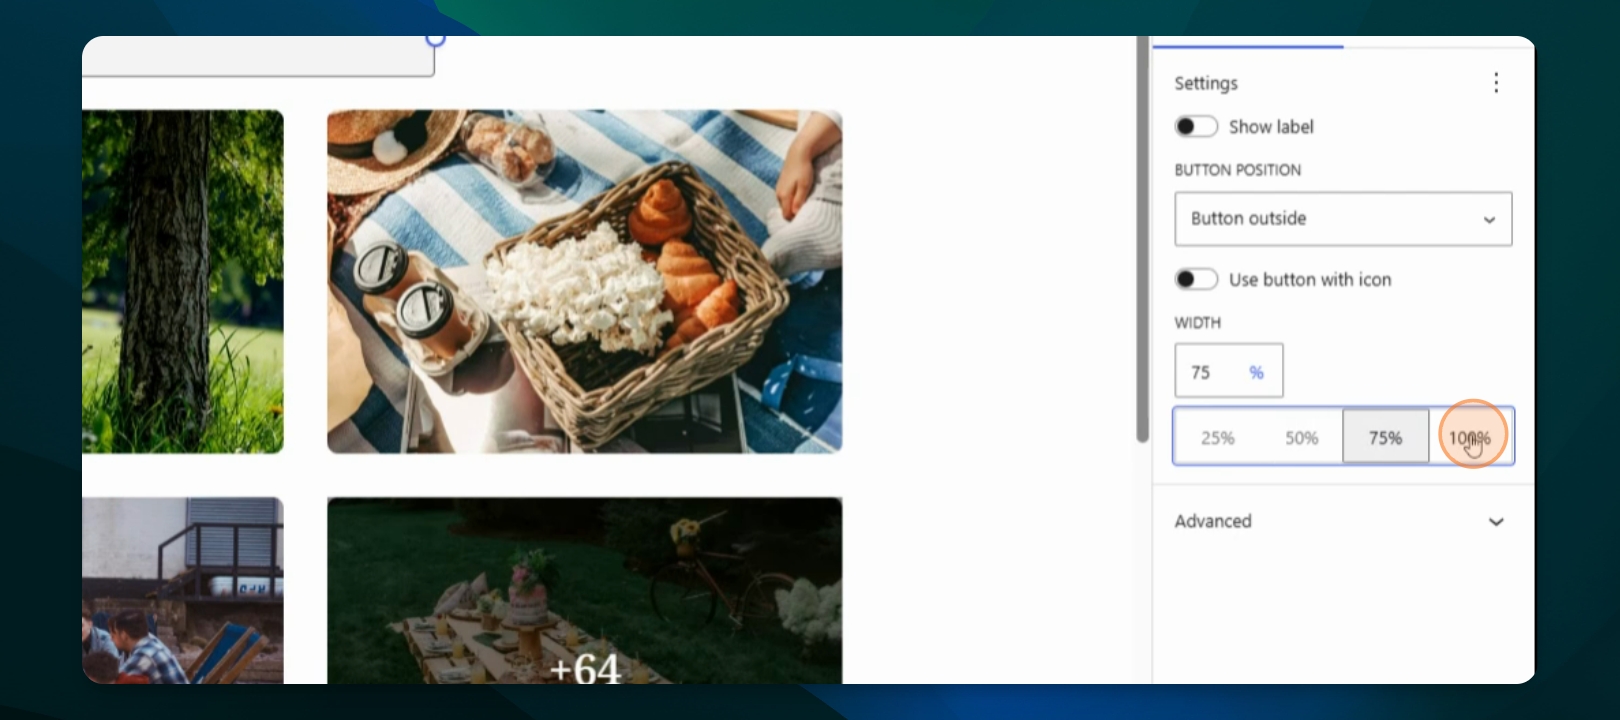
Change Search Block Width
To change the width, use the provided buttons to type in a value or drag the circle to adjust the length.
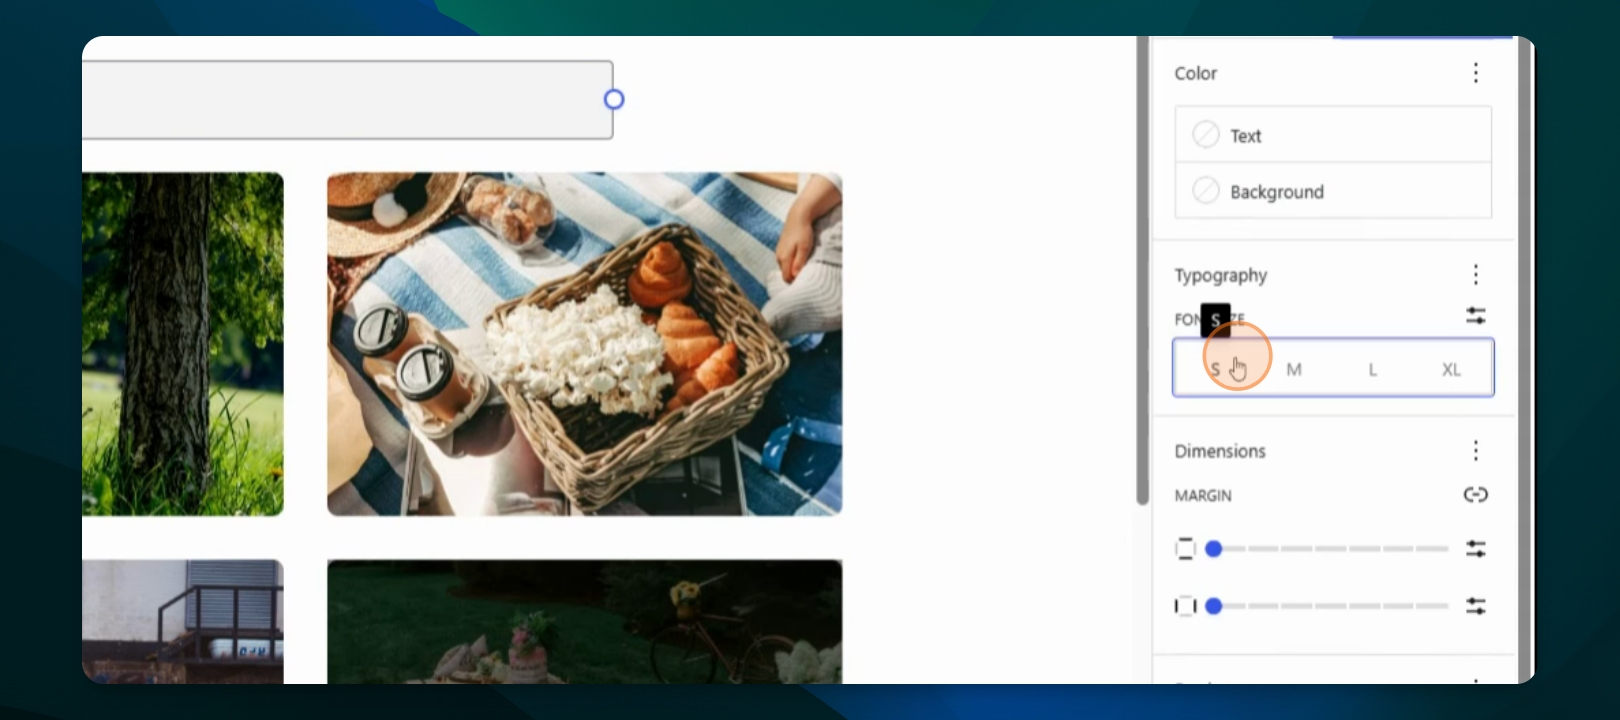
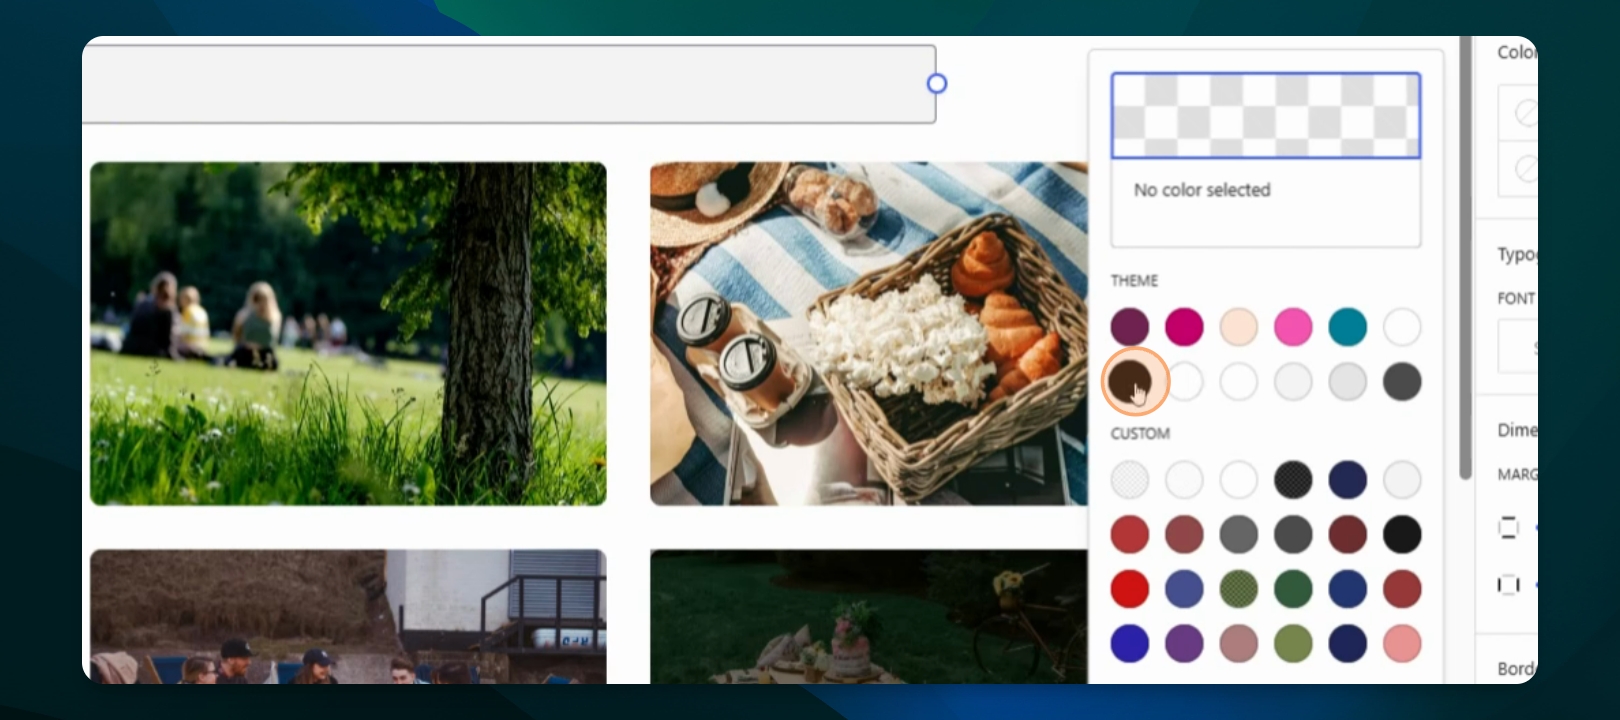
Customize Styles
Under Styles, set the text and background colors. You can also adjust the font size, margins (top and sides), and add a border to the search block.
Add a Border
Add a one-pixel border to the search bar for visual distinction.
The search bar now displays the border you added.
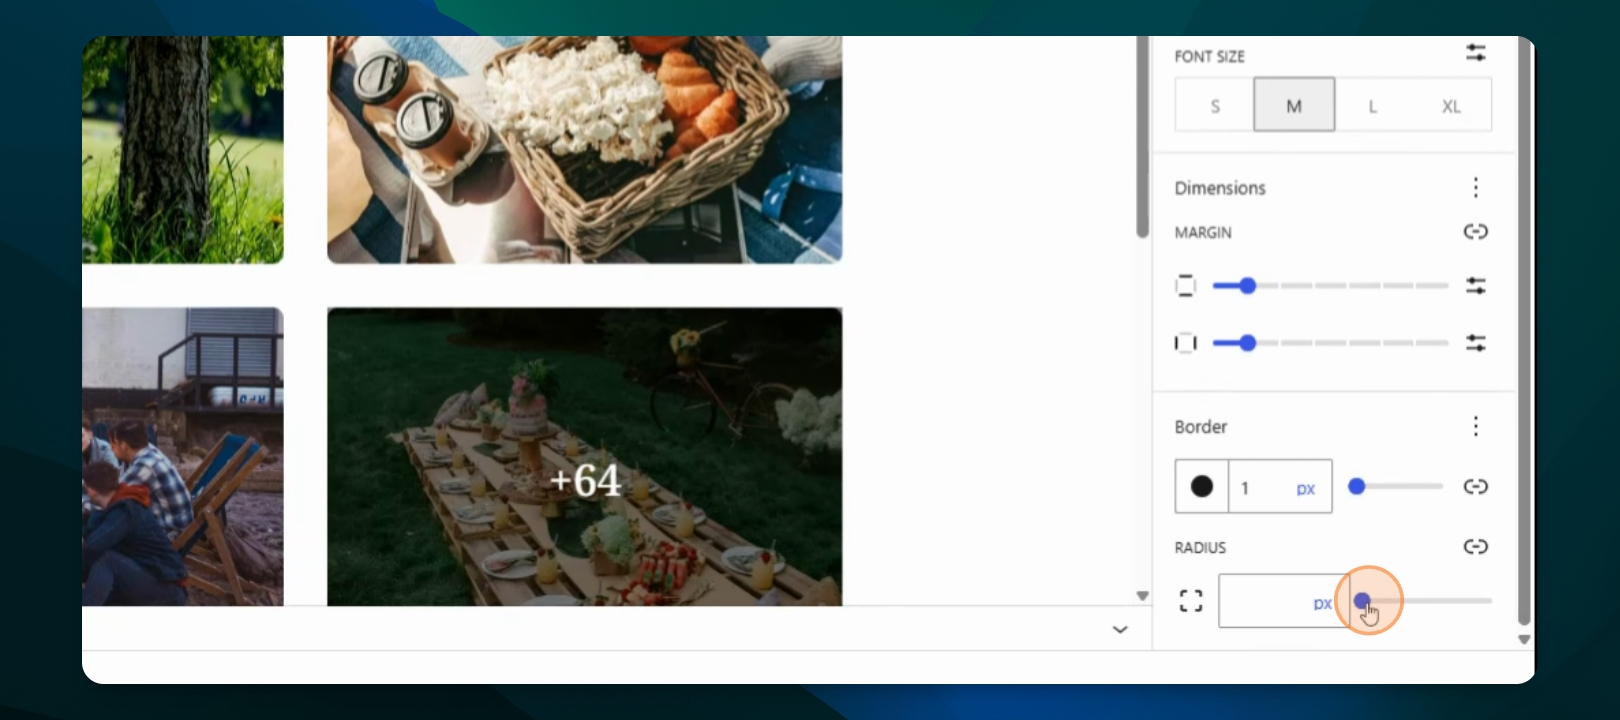
Adjust Border Radius
Change the border radius to modify the roundness of the search bar's corners.
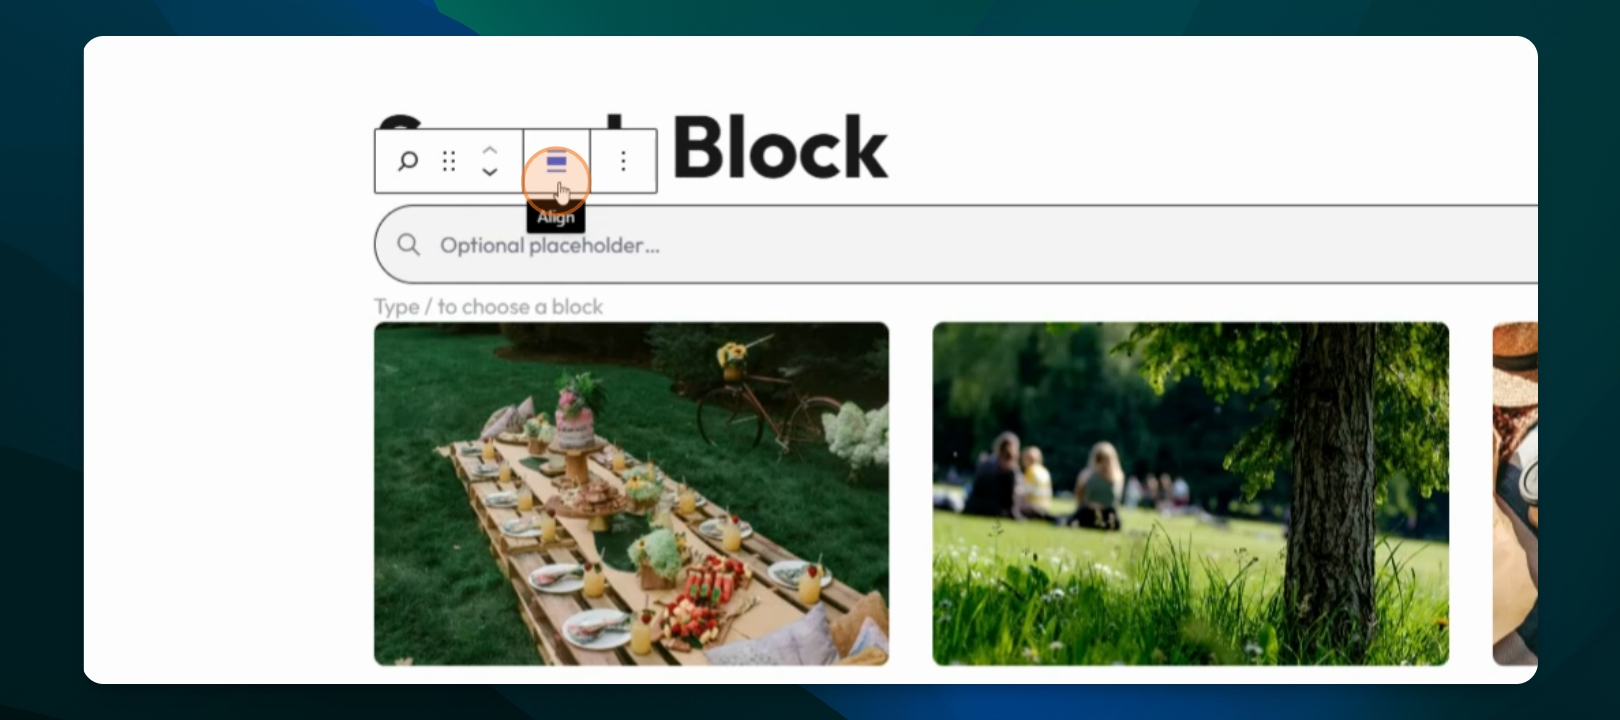
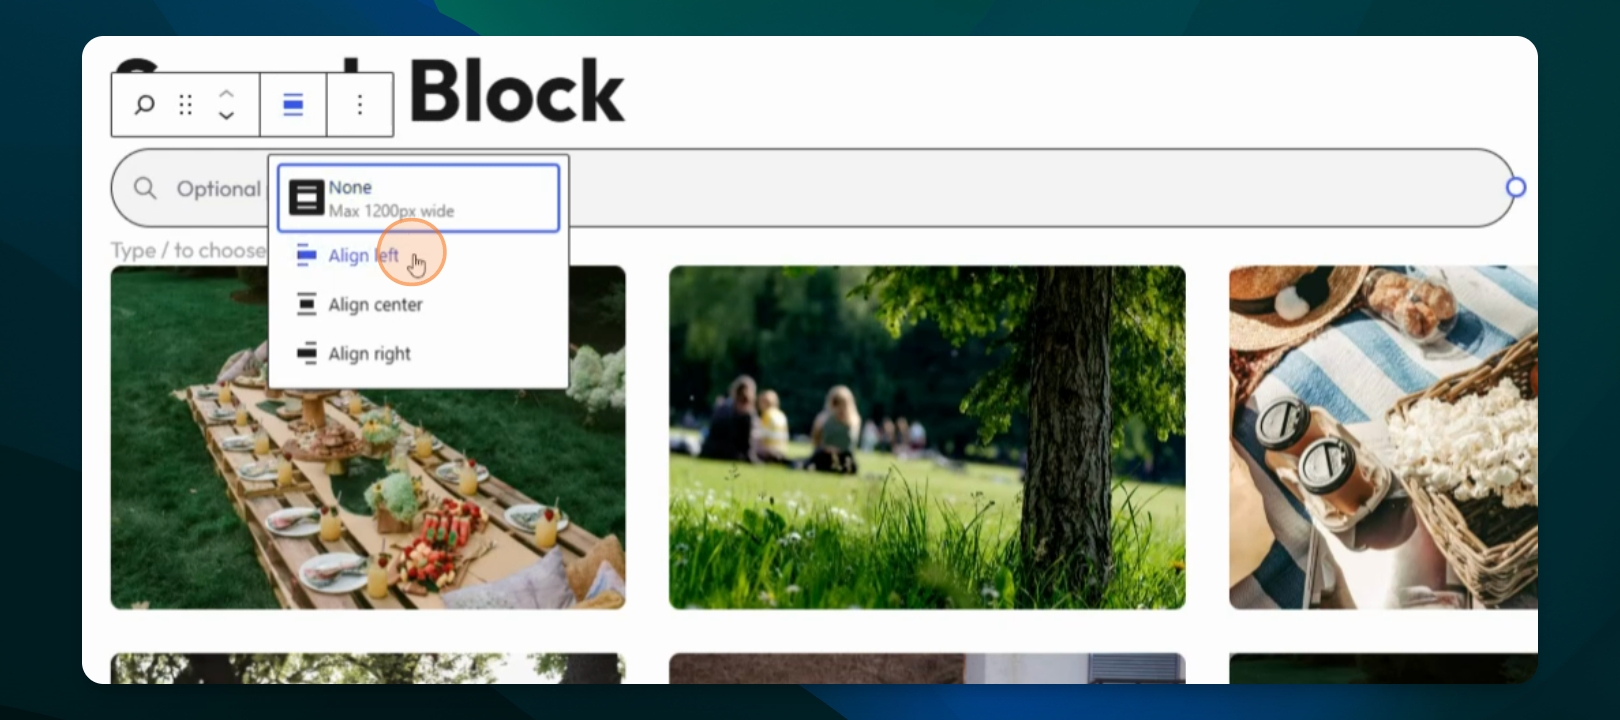
Set Alignment
Click on the alignment options to choose between None, Align left, Align center, or Align right for the search block.
If you align left, the search block will move to the left side. You can also resize it as needed. Alternatively, align it to the center or right.
If the search block is too close to other blocks, increase the margin to create space.
For now, leave the search block centered.
Add a Placeholder
Click on the search block and add a placeholder text, such as search, to guide users.
You can also leave the placeholder as search if preferred.
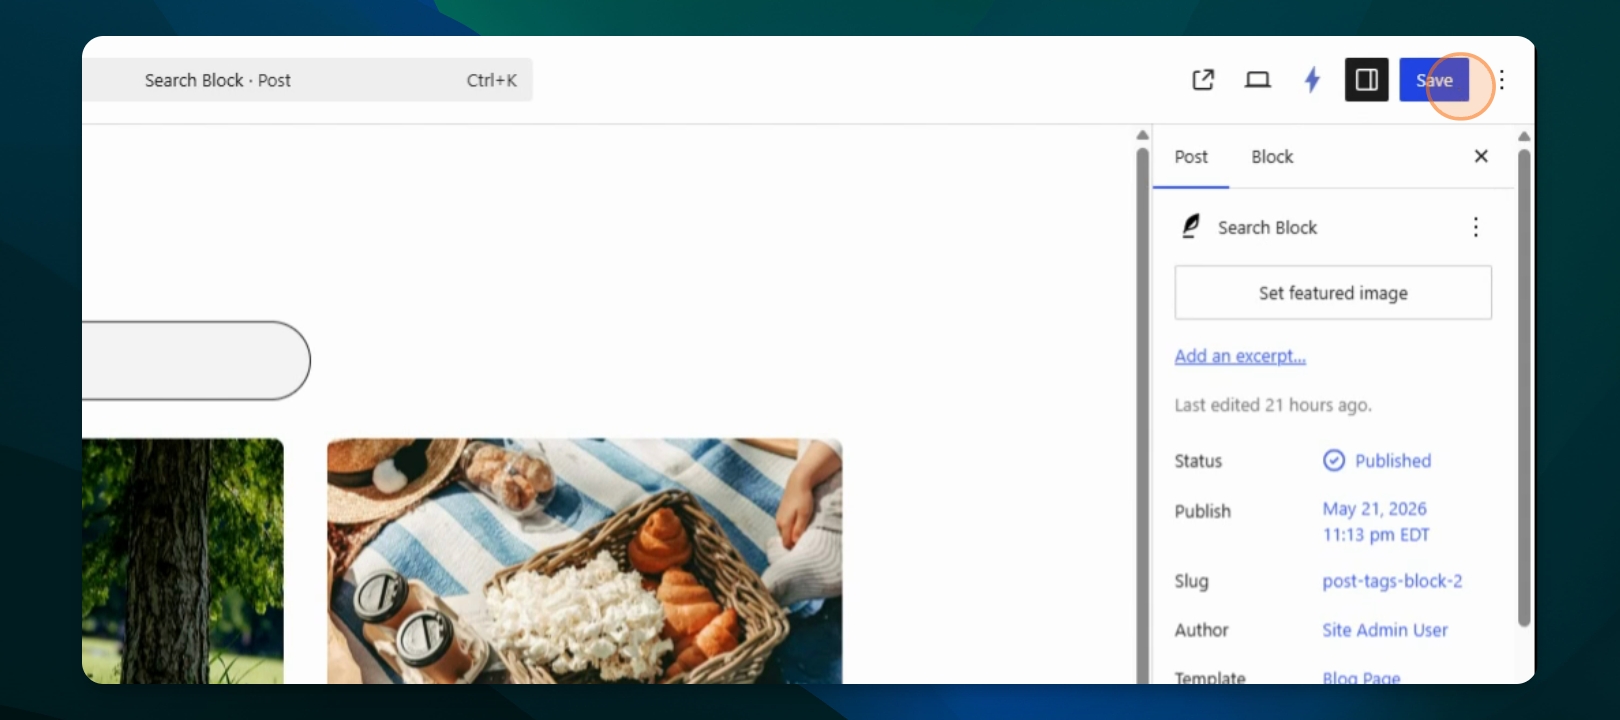
Save or Publish Changes
To apply your changes, click on Save or Publish at the top. This will update your Frame site with the new search block settings.