

Using the Row Block in Frame
The Row block helps you organize content into clean, structured sections on your website pages. It splits content into columns, making it easy to lay out information side by side for better readability.
Best for: short, compact content — such as single words, directory listings, times and dates, or quick facts.
Not recommended for: large sections of contents such as multiple photos, text or lists.
Step 1: Add a Row Block
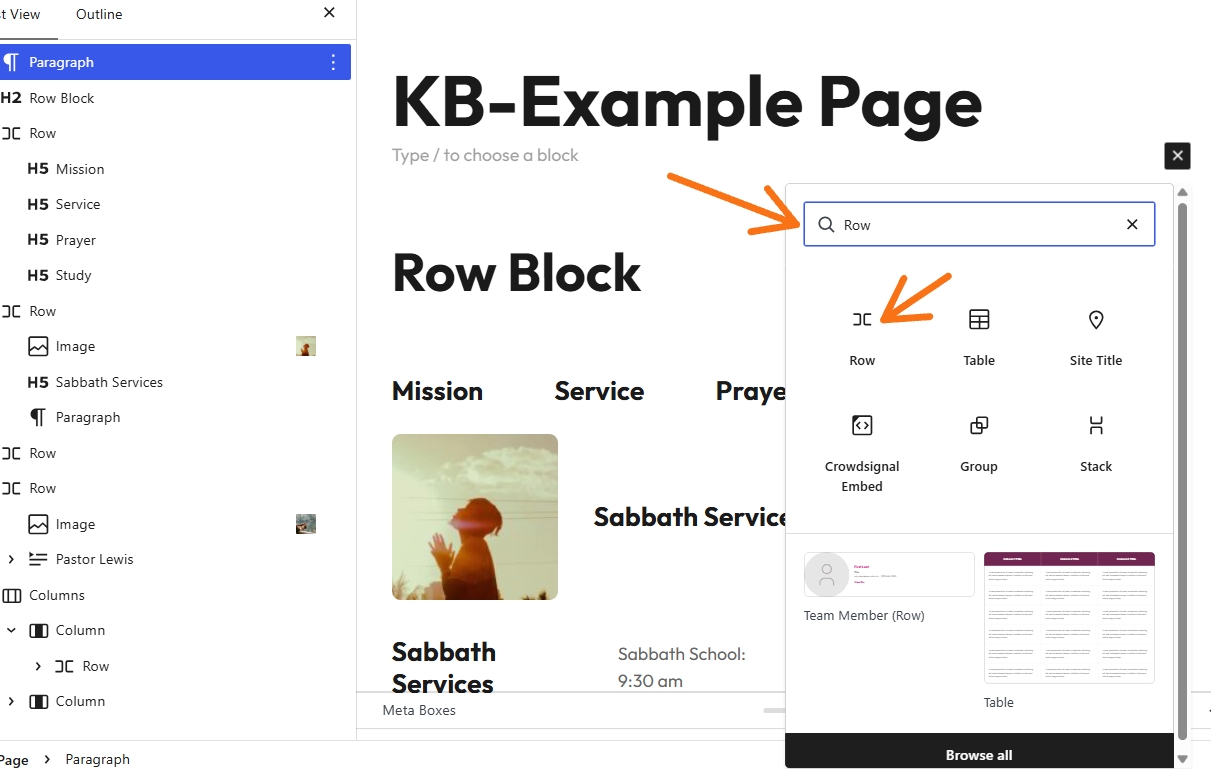
Place a Row block where you wish to add the block content. Simply add a block, Type row and click the row block icon to insert it.
Step 2: Understand Row Block Sections
By default, the Row Block starts with two sections. When you add content and press return, a new section appears beside the previous one, allowing you to add additional information to the right of the first section.
Step 3: Add Content to Each Section
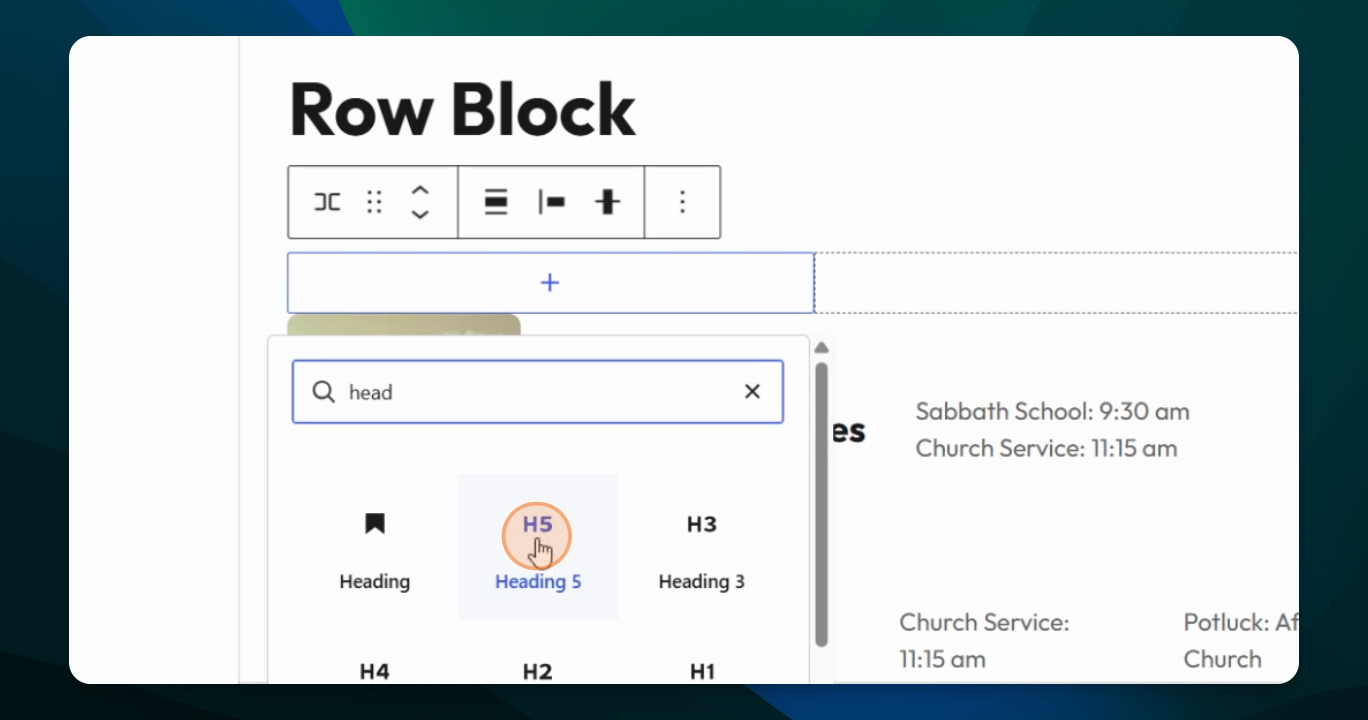
To add a new section simply hit return, click the "+" sign, select your block type (e.g., heading, image, paragraph). For example, use Heading 5 and type mission, then add more headings for service, prayer, and steady. This creates four sections in the Row Block.
Step 4: Adjust Spacing Between Sections
Click the top row, go to styles, and find block spacing in the Settings sidebar. Increase the spacing to separate the words. You can also adjust spacing in other ways if needed.
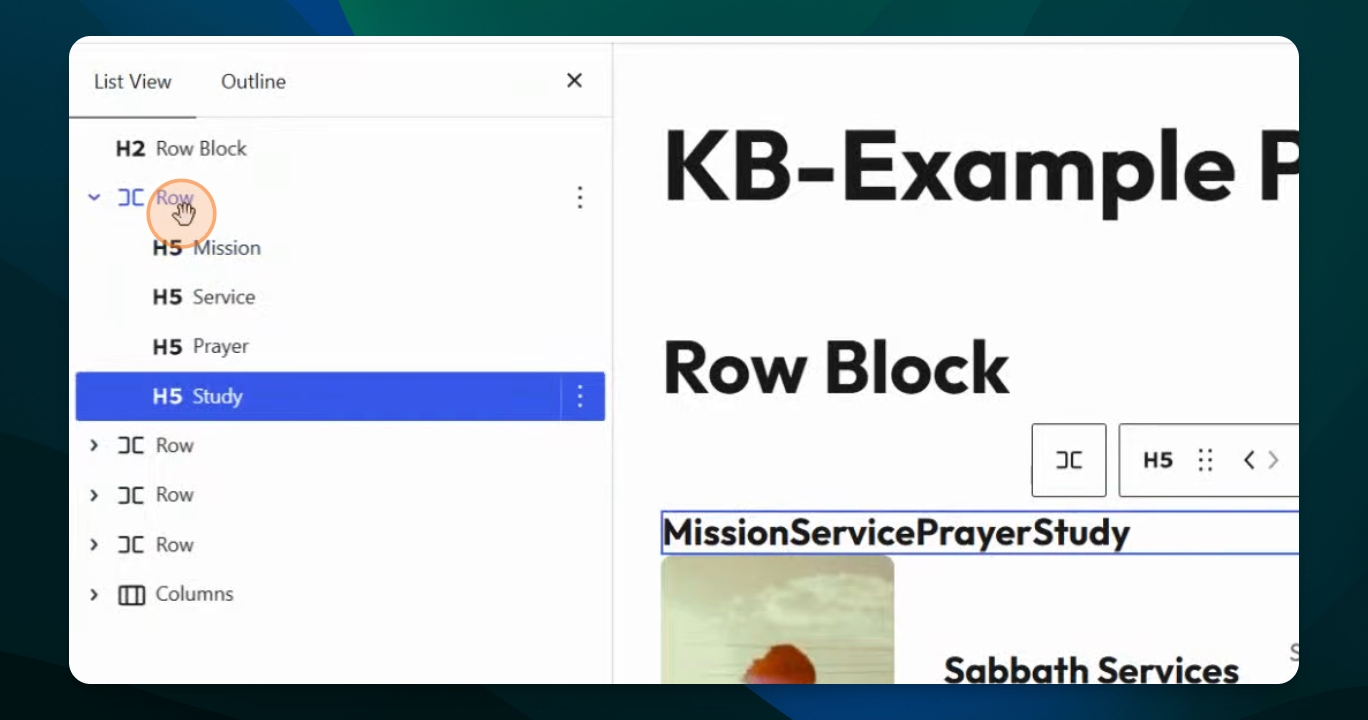
Step 5: Review the Created Row
You have now created a row with multiple sections. This type of block is often used in templates, such as for menus, but in this example, it's used for page content.
Step 6: Explore Row Block Variations
Other ideas to try are:
A photo in the first column, a headline, and text beside it.
A headline in the first column, followed by text like Sabbath school, church service, and potluck after church.
Or placing a photo with text beside, such as a bio and headline.
Step 7: Use Rows Inside Columns
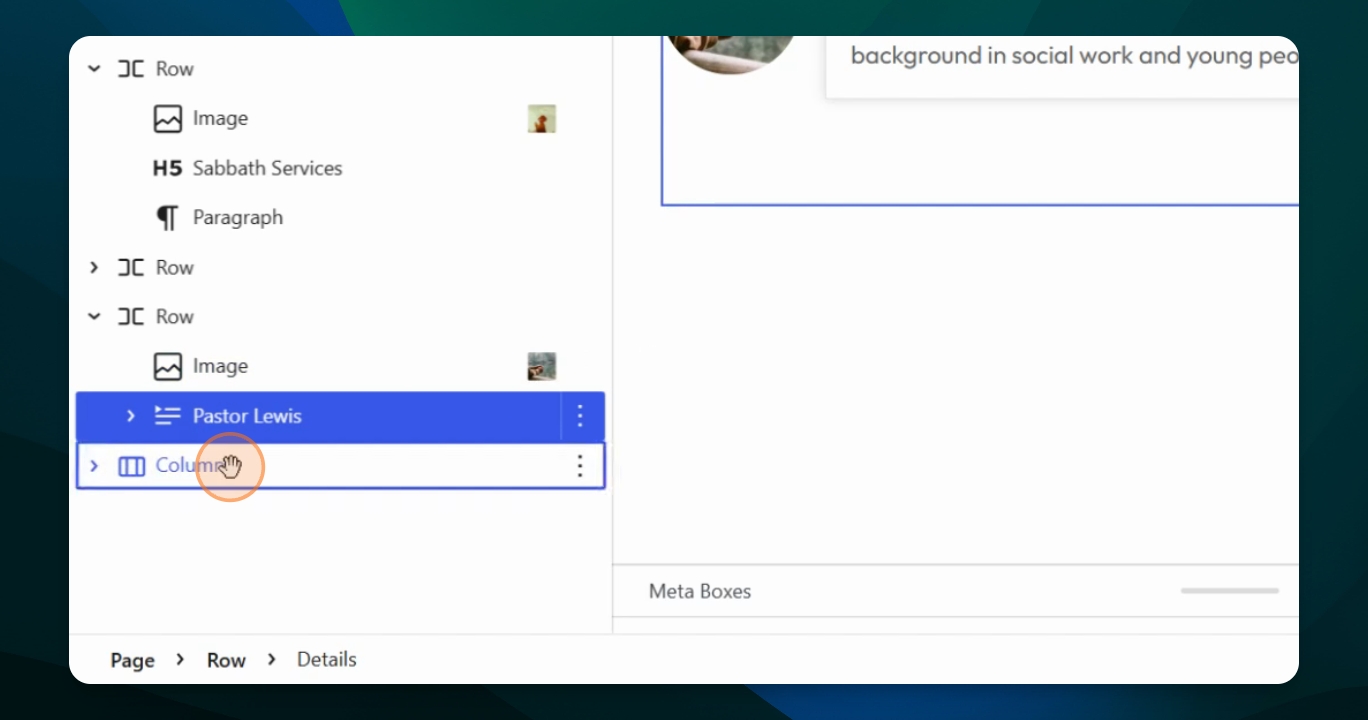
You can also create a row inside a column block. For example, set up two columns—one wider, one smaller—then add a row to the first column. The row will automatically adjust to the column's width, as column widths override spacing. Add information to the second column as needed.
Use the row block to organize information, make your pages more interesting, or highlight certain content. It's especially helpful for adding simple information and text.