This guide replaces the default homepage Hero with a Cover Slider on one Frame site. It customizes the active theme’s Front Page template and does not create a reusable template for other sites. After you save, future changes to the theme’s Front Page template will not apply unless you reset the template. Resetting removes all customizations made to that template. These steps apply to the standard Frame Front Page template shown here. Sites with a specialized or previously customized template may require different block placement.
Follow these steps to replace the default homepage Hero with a Cover Slider.
Step 1: Open the Front Page in the Editor
In the WordPress dashboard, go to Pages and open the page assigned as the site's Front Page.
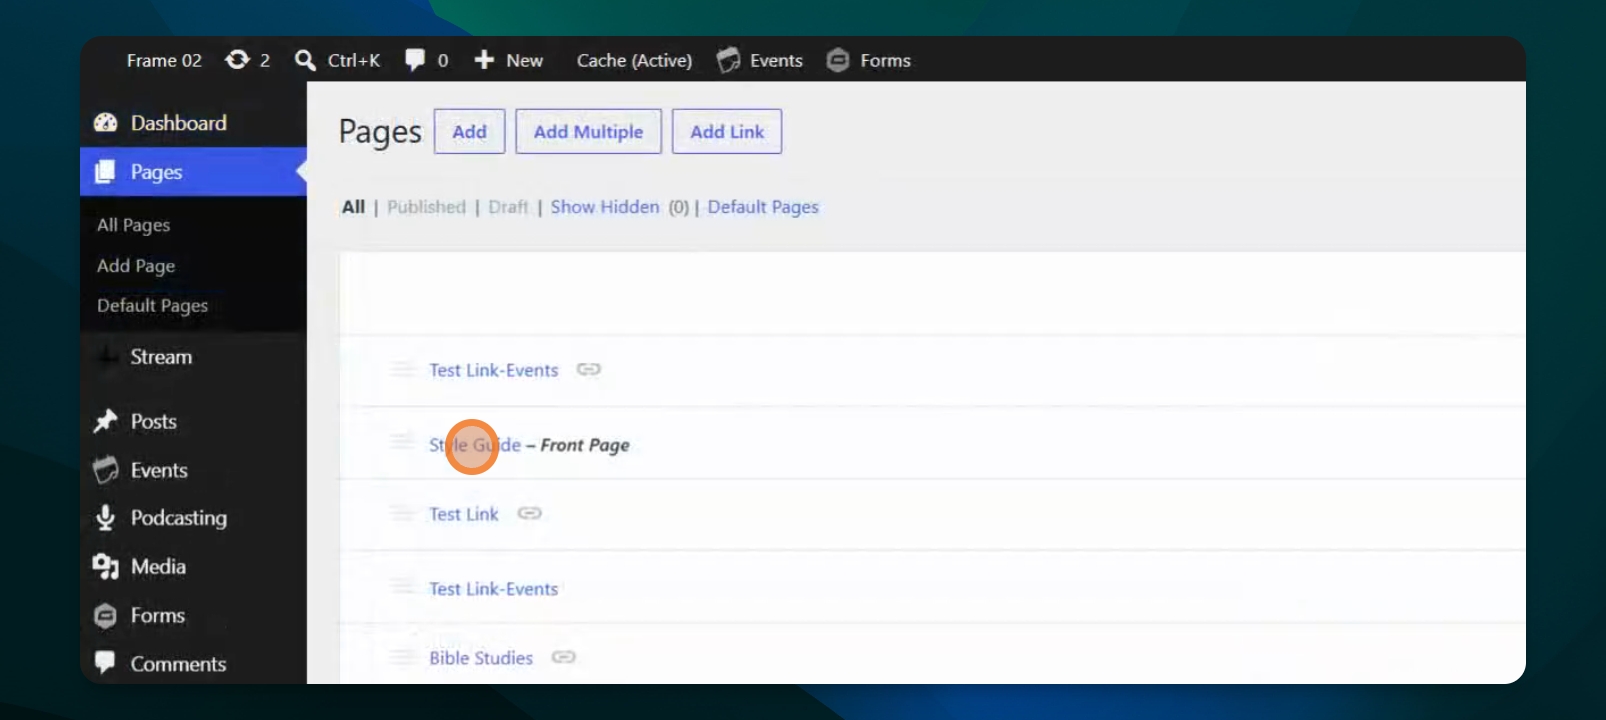
Step 2: Access Template Settings
In Page Settings, locate the Template option and open the Template menu.
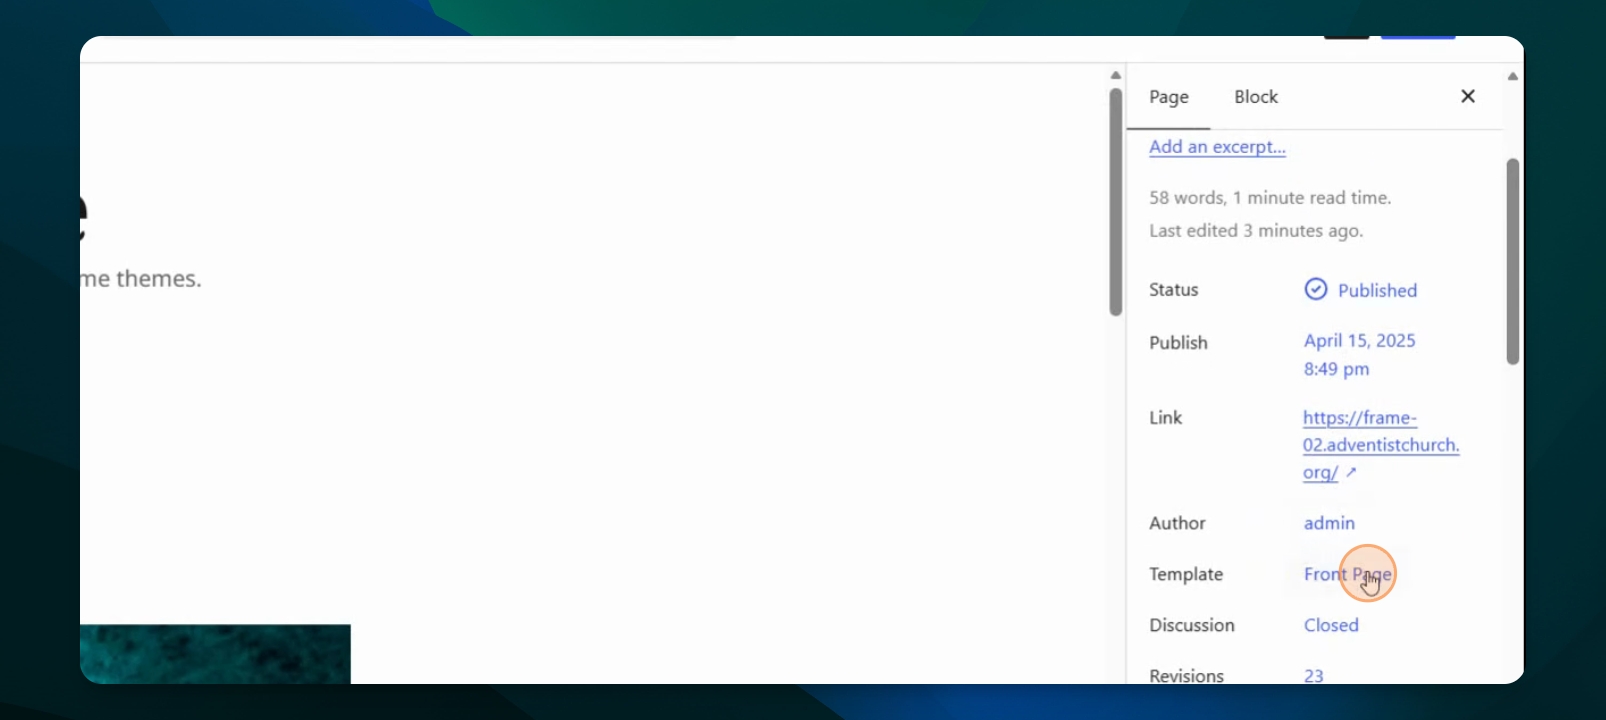
Step 3: Edit the Template Layout
Open the Template menu and select Edit template.
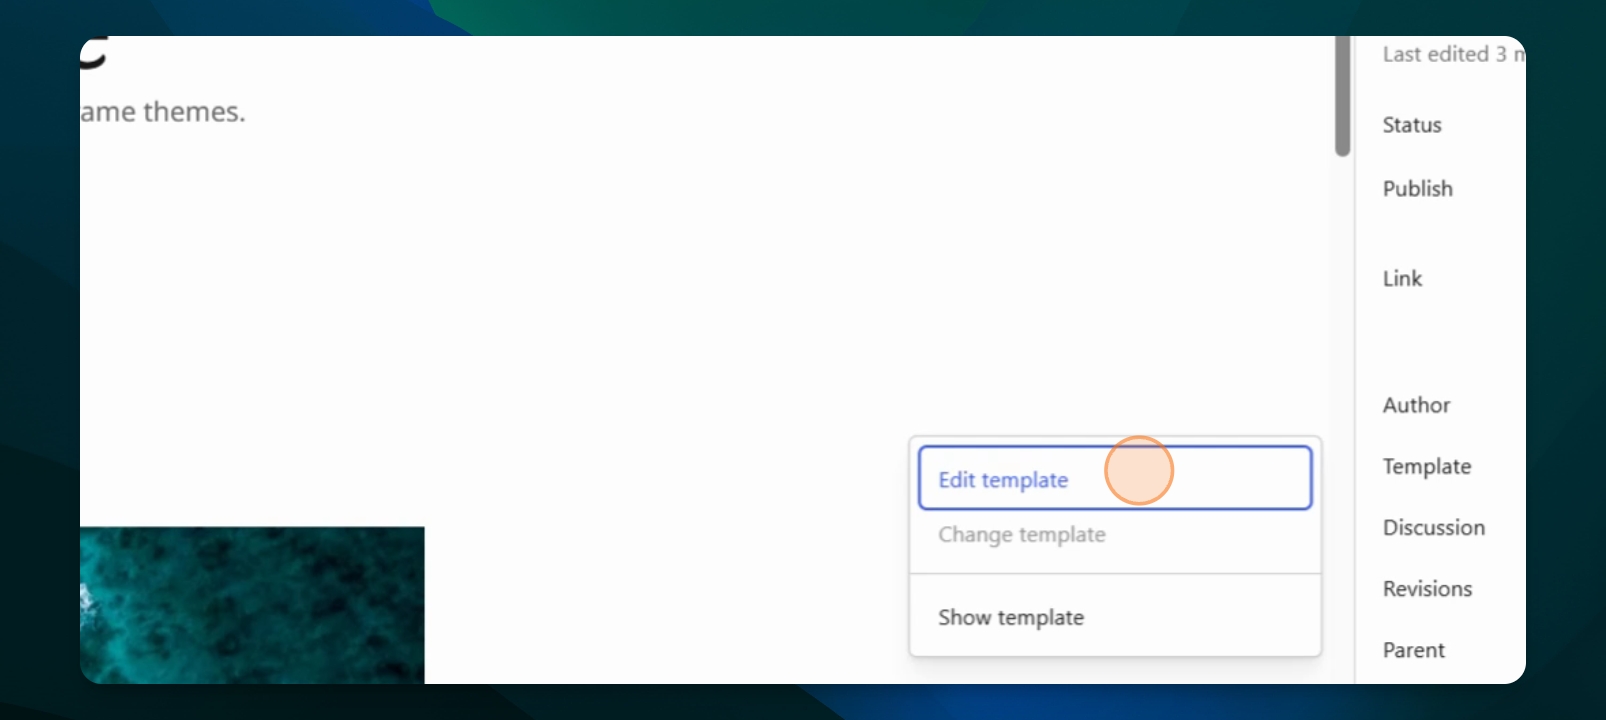
Step 4: Unlock Elements for Editing
Open Document Overview and expand Frame: Root container. Open the Hero block’s Options menu (three dots) and select Unlock.
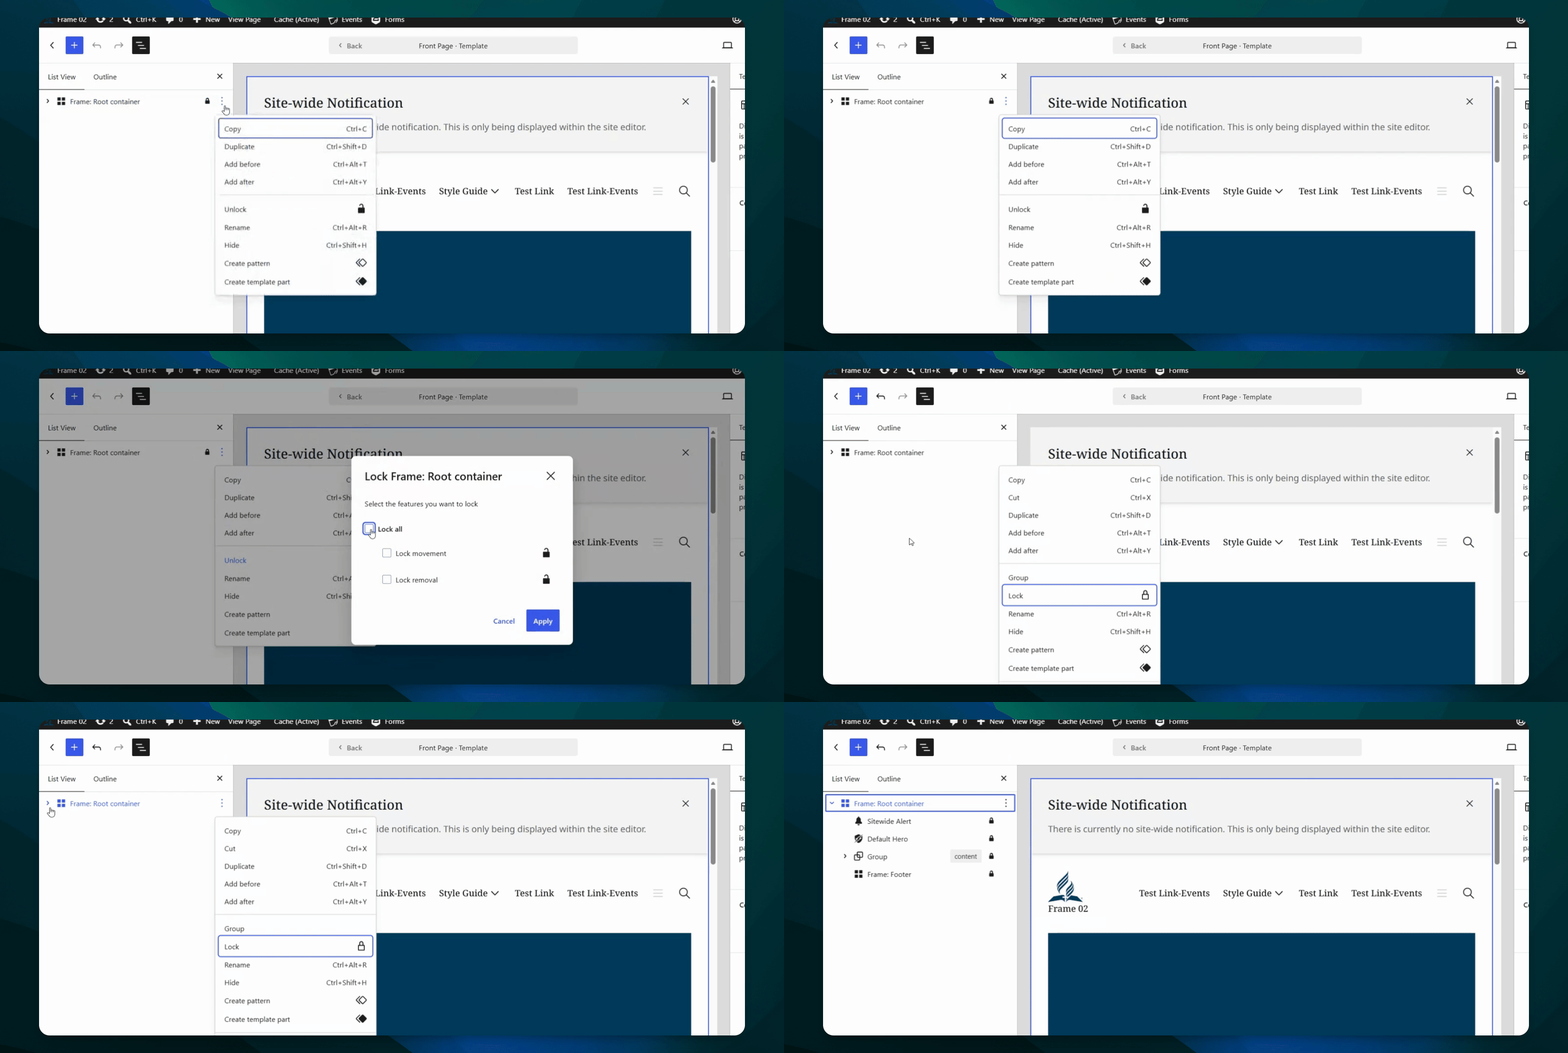
Step 5: Expand and Hide Hero Block
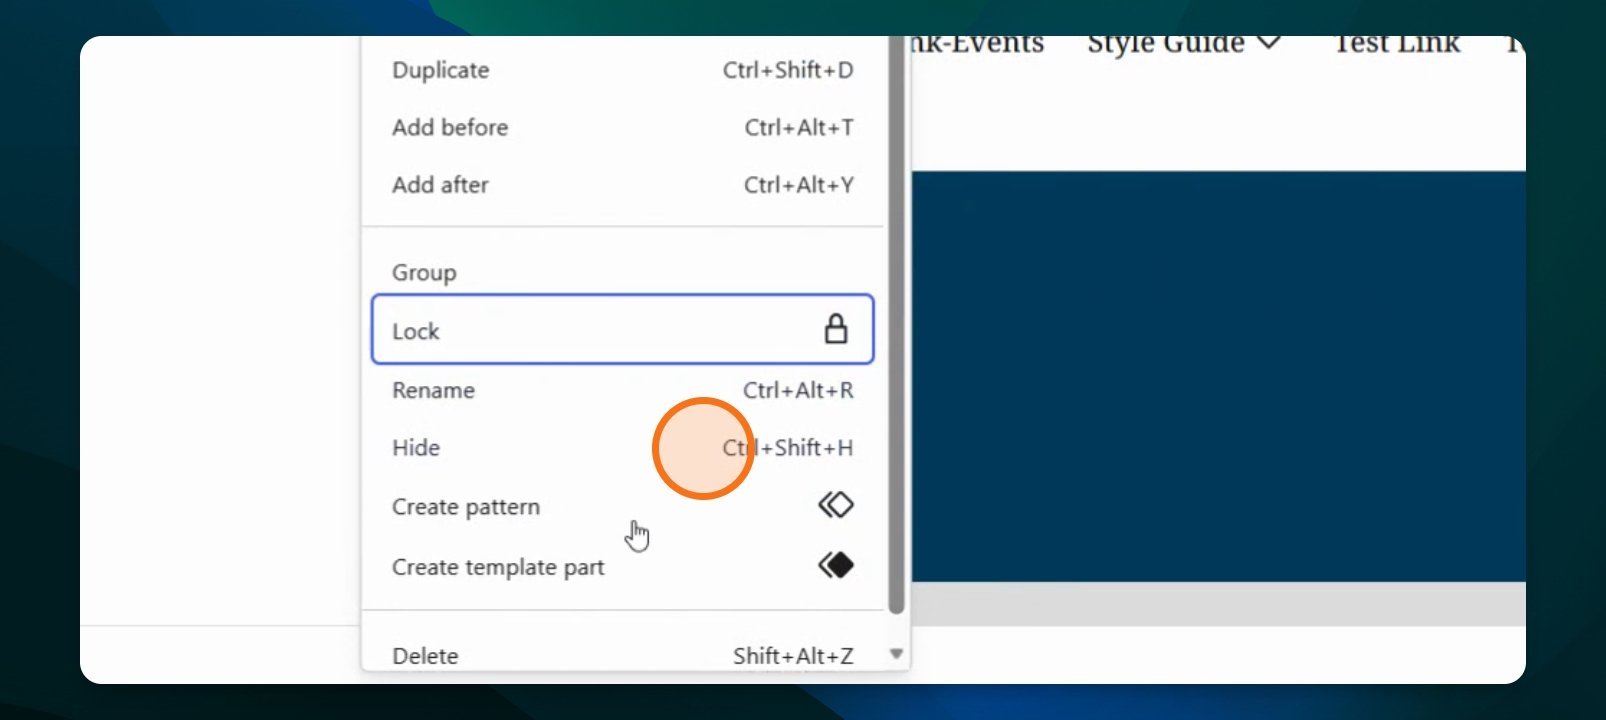
Select the unlocked Hero block, open its Options menu, and select Hide.
Step 6: Add the Header Template Part
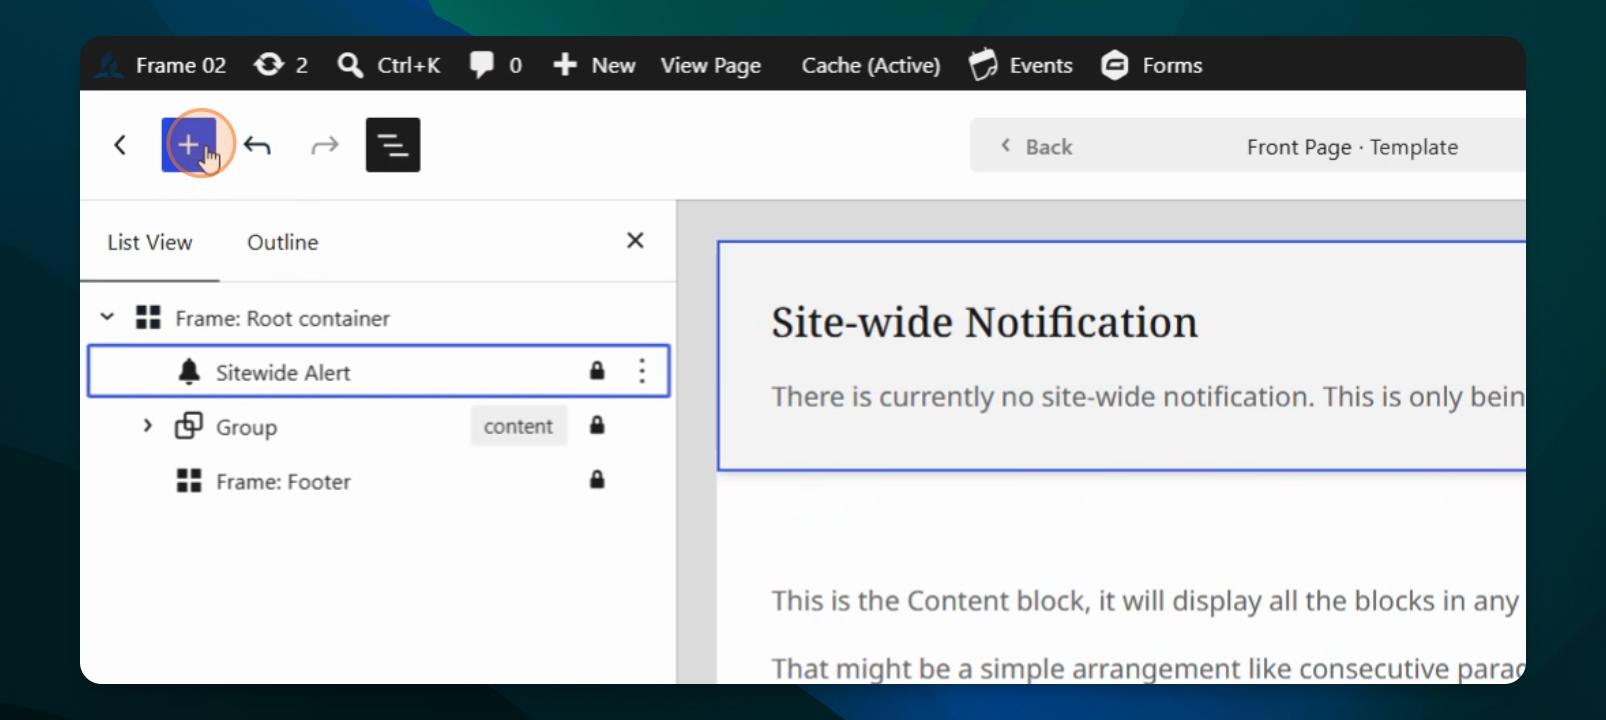
Open the Block Inserter and search for Header. Select the Header template part whose description says, "The Header template defines a page area." Add it inside Frame: Root container immediately after Sitewide Alert, in the position formerly occupied by Hero.
Step 7: Lock Elements to Prevent Changes
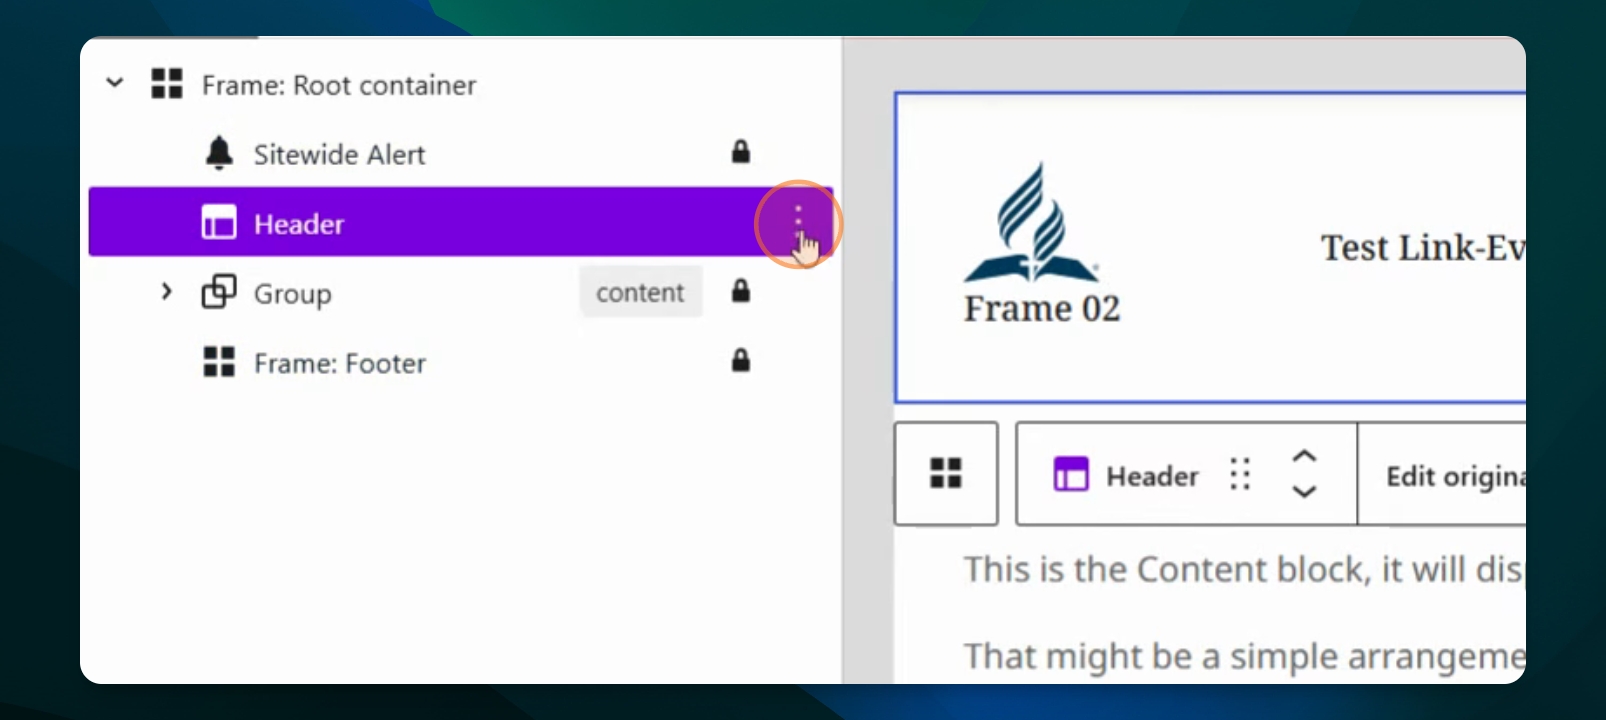
Lock the Header template part to prevent it from being moved or removed. If you unlocked Frame: Root container during this process, lock it again.
Step 8: Save Template and Return
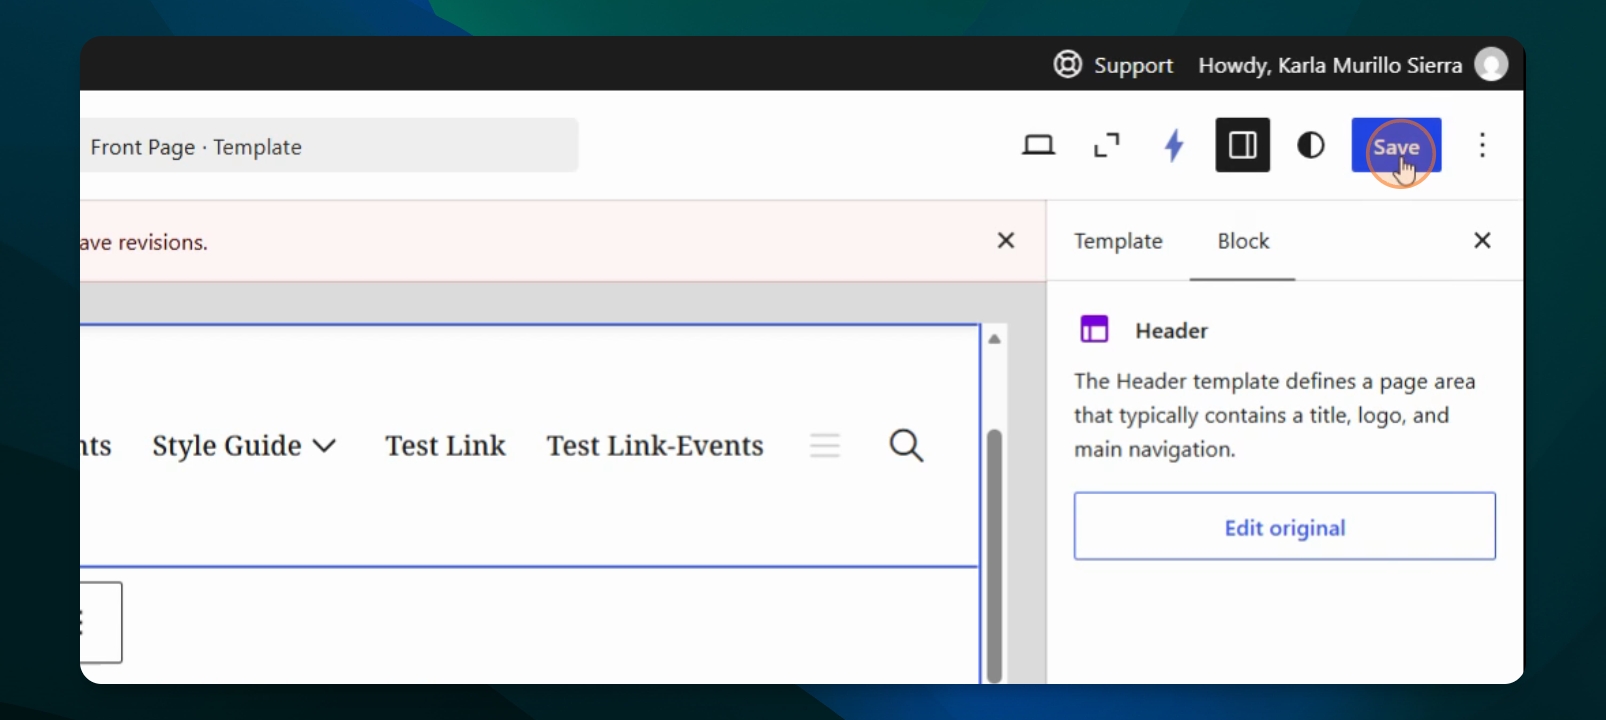
Select Save to save the Front Page template. Then select Back to return to the page editor.
Step 9: Add Cover Slider Block
Open the Block Inserter, search for Cover Slider, and insert it as the first block on the homepage. Do not select Cover, which creates only one slide.
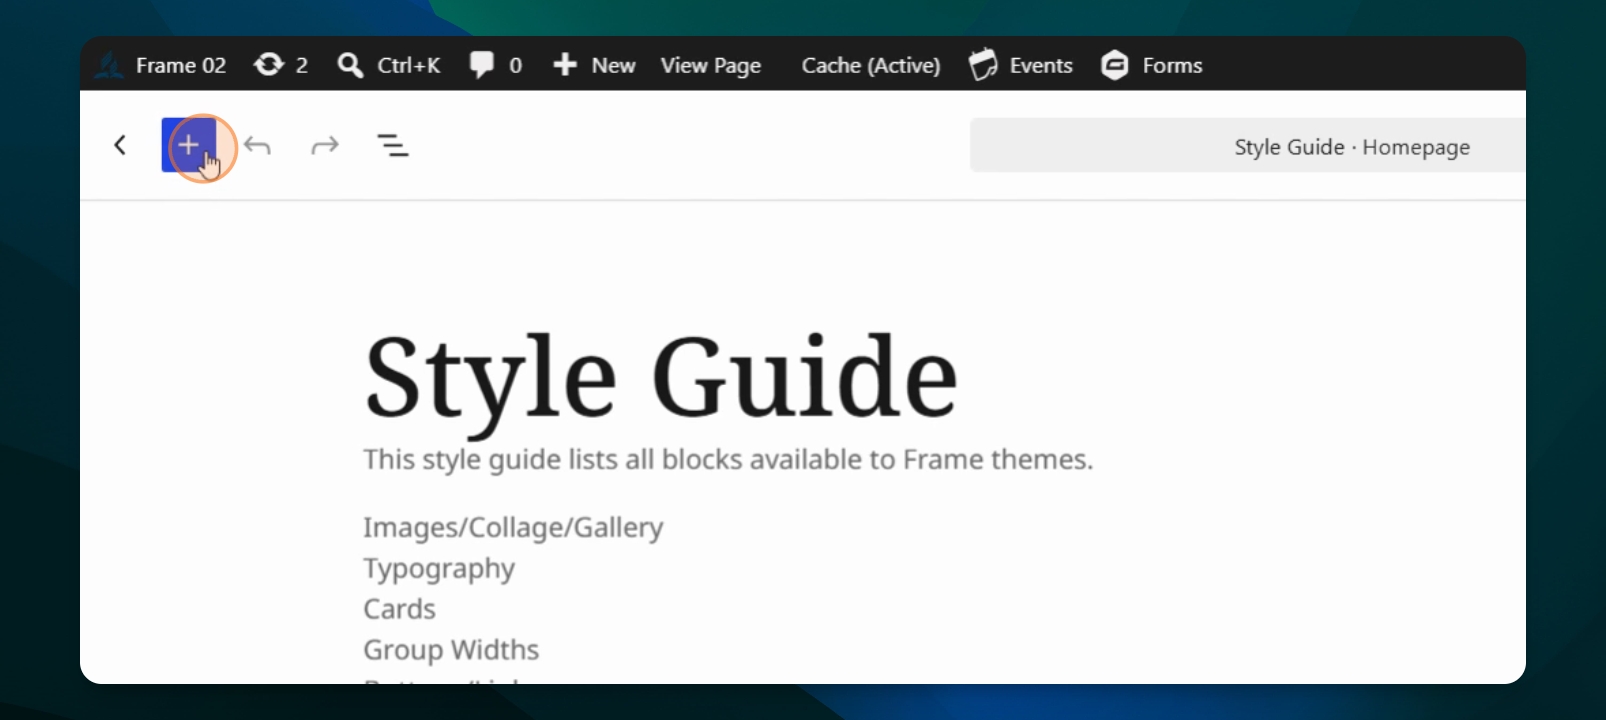
Step 10: Customize Cover Slider
Add or edit the Cover blocks inside the Cover Slider. For complete setup instructions and slider settings, see Create a Cover Slider.
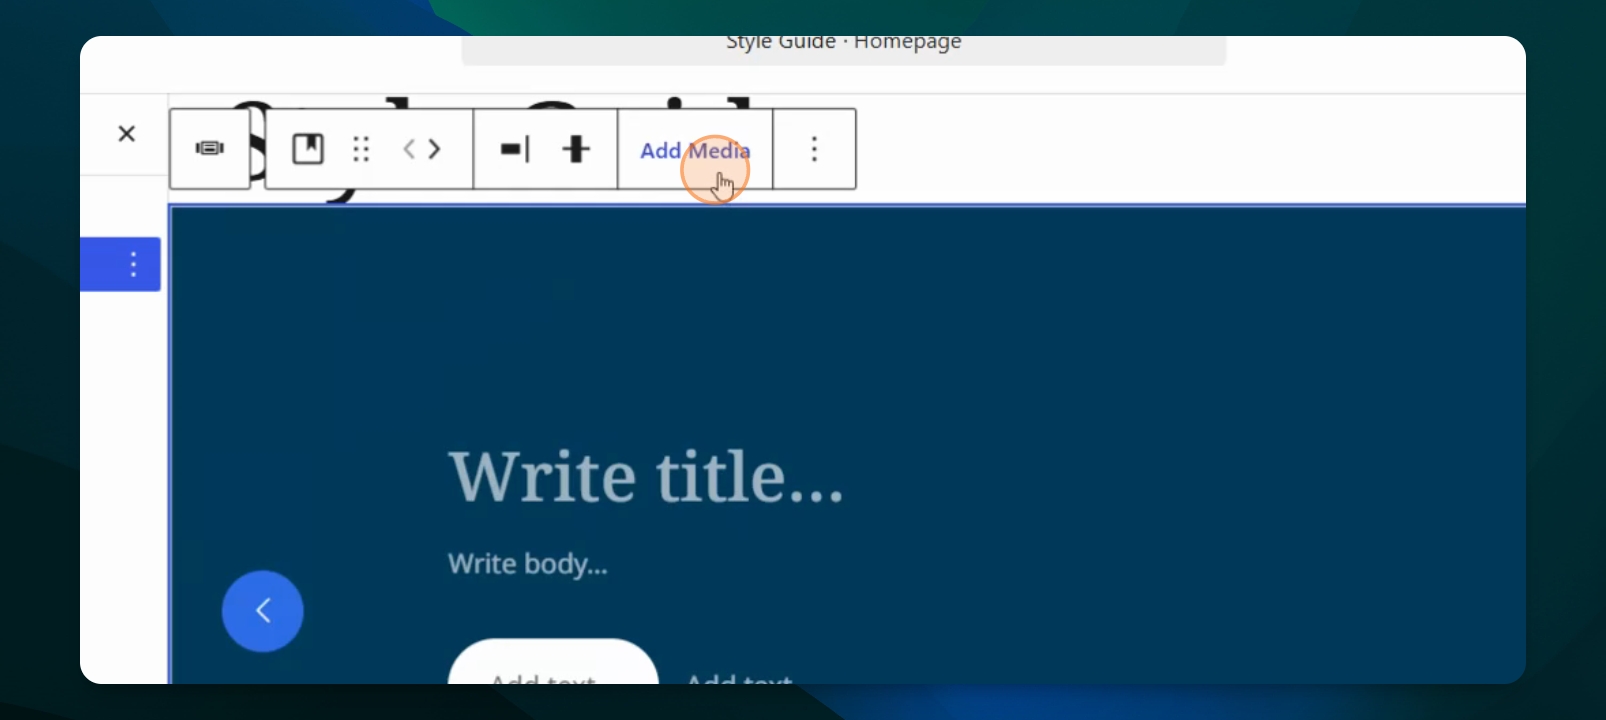
For best results, use high-quality images without embedded text. Add headings, descriptions, and call-to-action buttons as blocks within each Cover so they adapt to different screen sizes. Add meaningful alternative text to images that convey information.
This helps the text and buttons remain readable on desktops, tablets, and mobile devices.
Step 11: Save and Preview Homepage
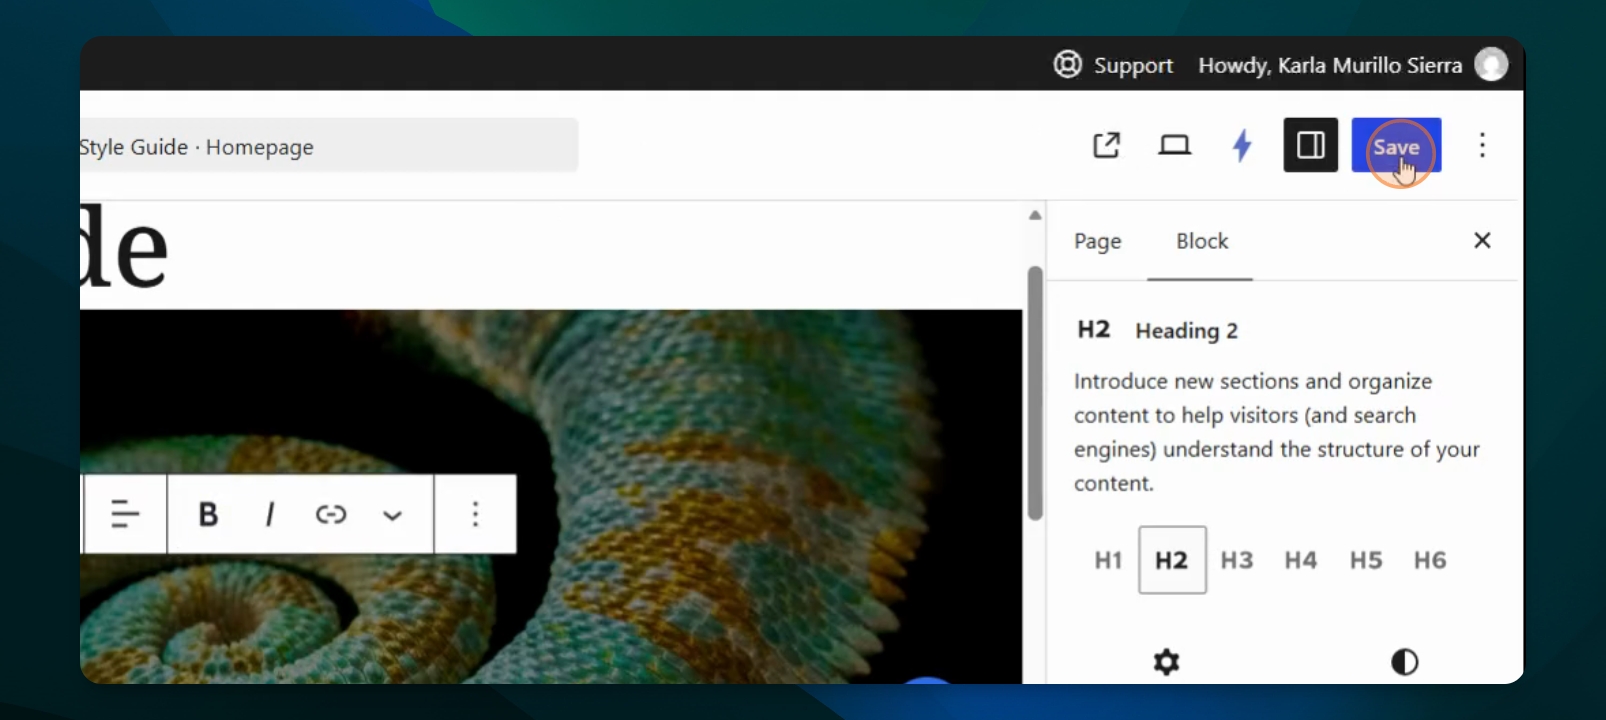
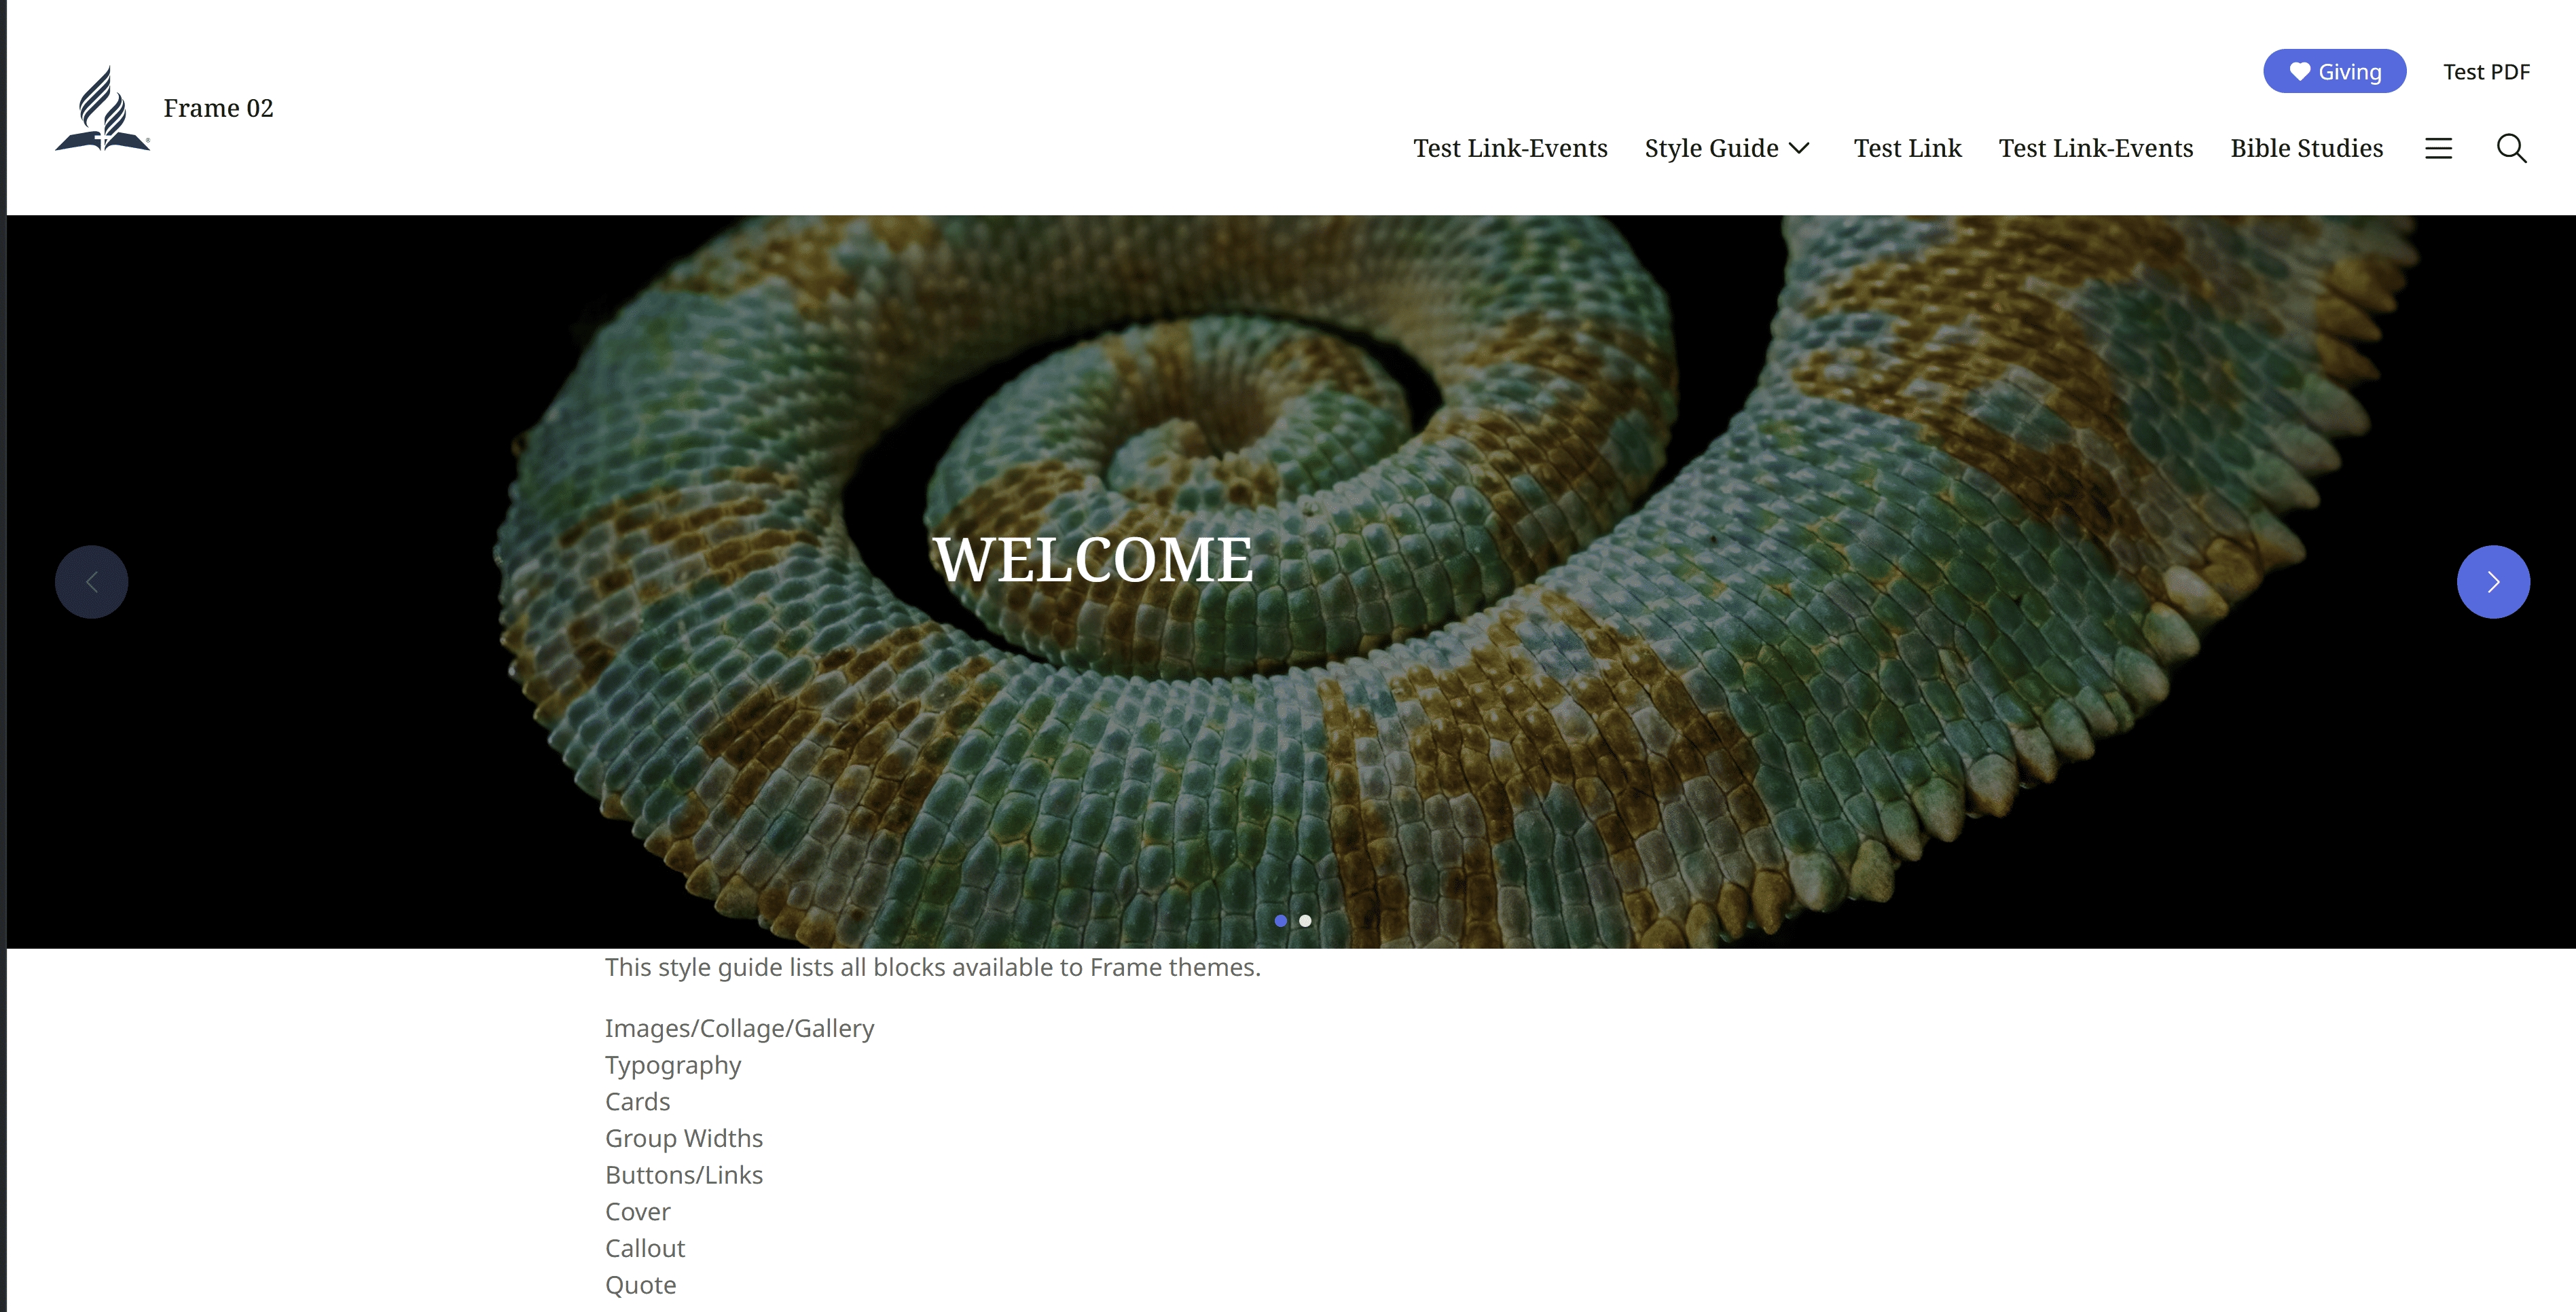
Save or update the front page, then preview it at desktop, tablet, and mobile widths. Confirm that every slide displays correctly, the text remains readable, the navigation controls work, and all links open the intended destination.
Step 12: Reset Template (If needed)
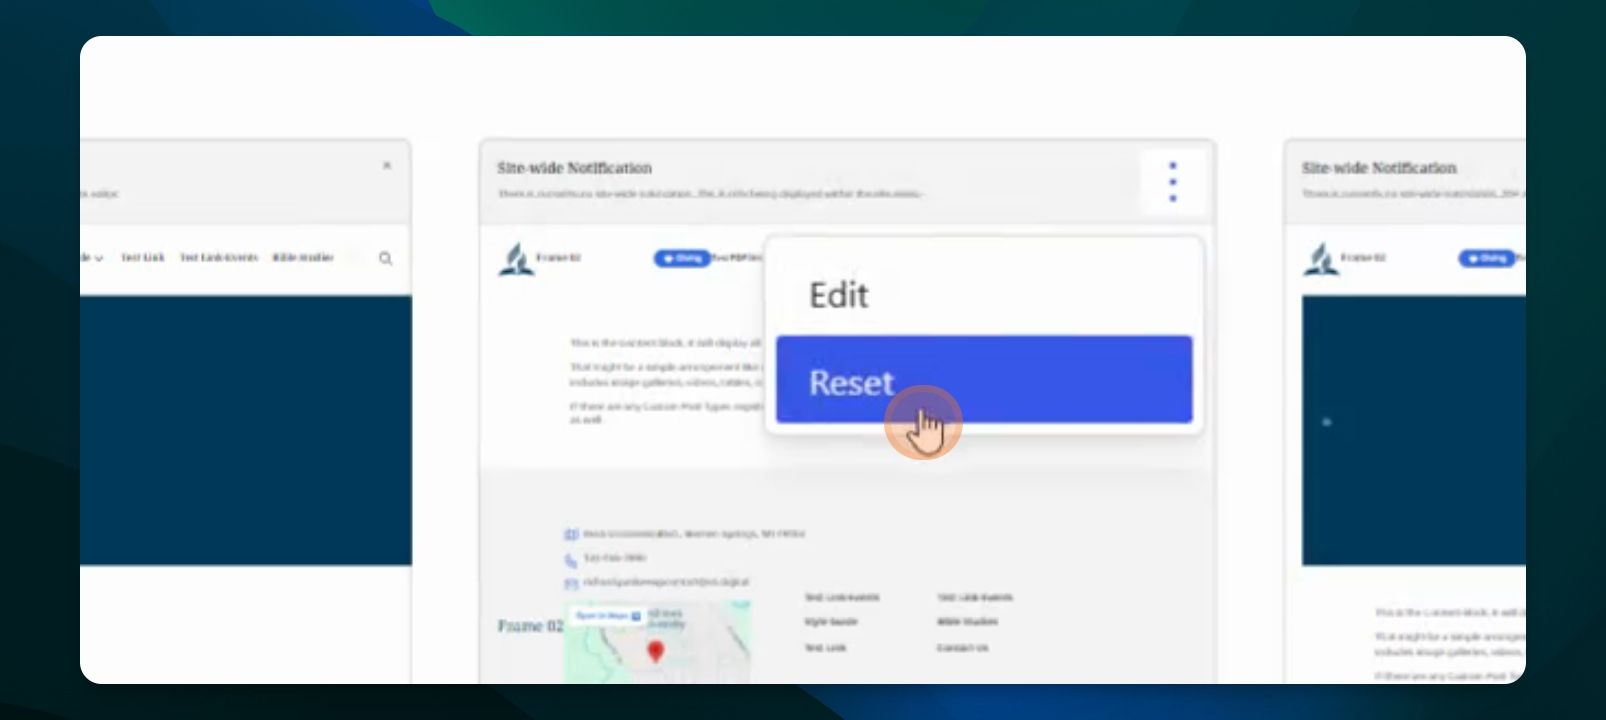
Resetting the template will remove all customizations made to it, not just changes related to the Cover slider. Make sure this is what you want before confirming.
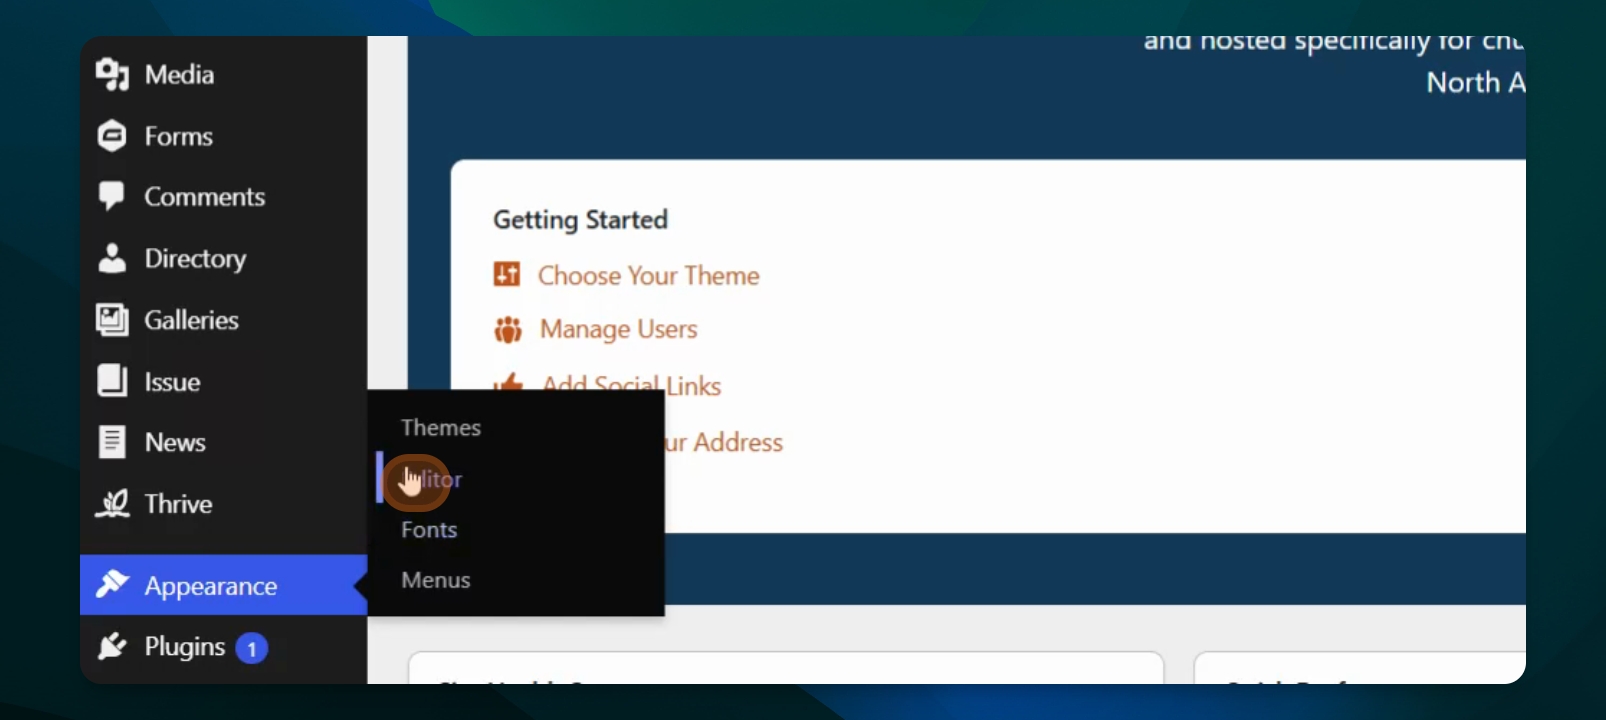
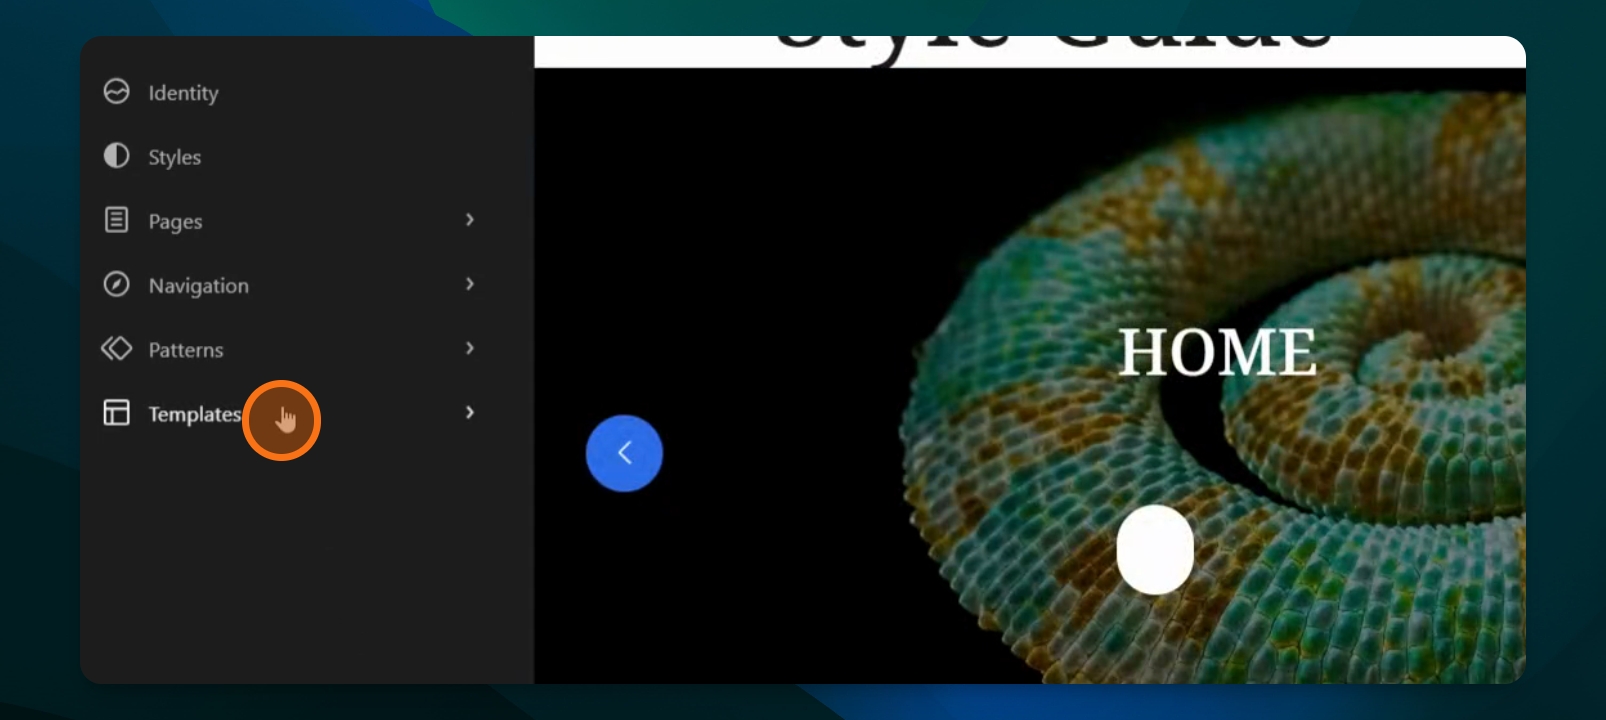
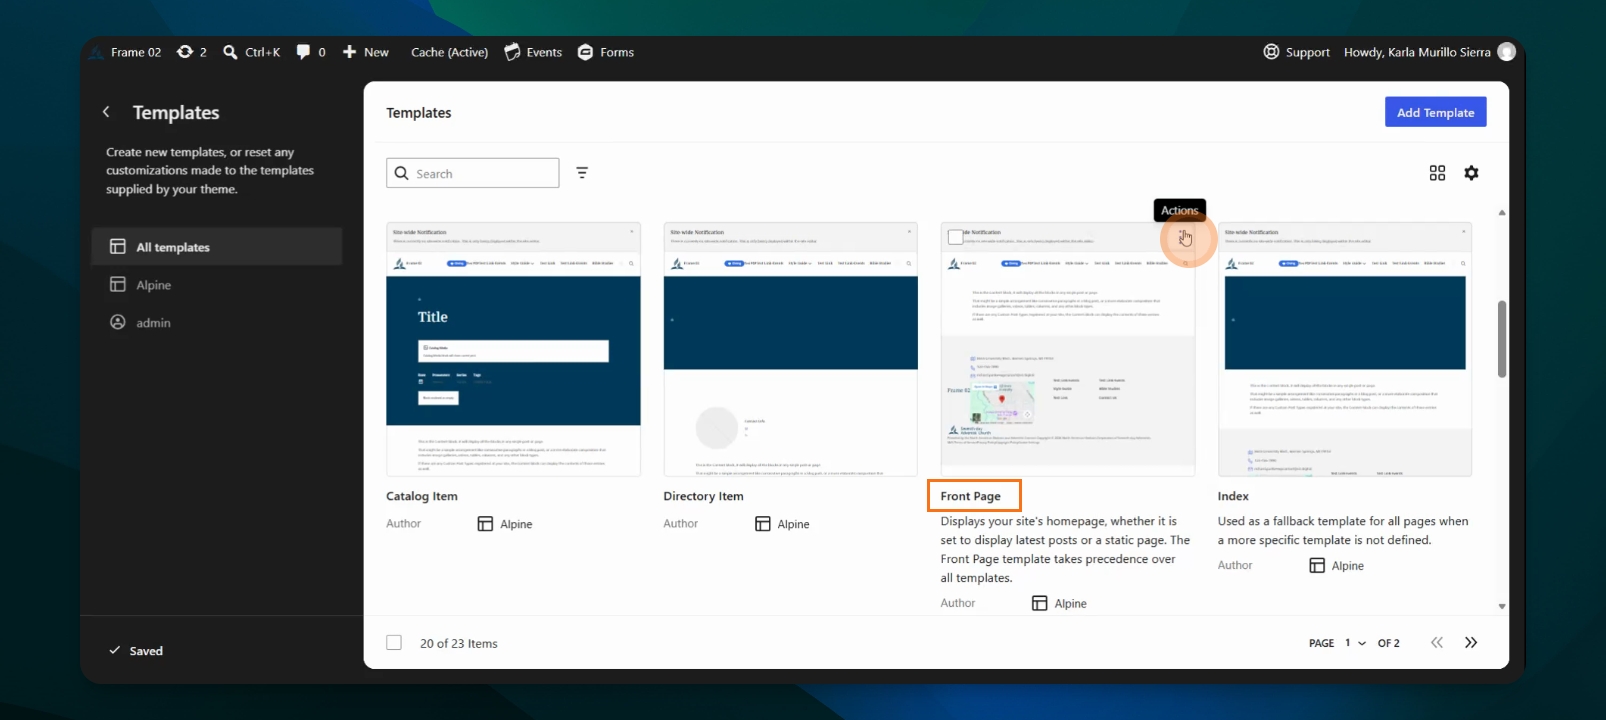
If you need to undo all your changes, go to your WordPress dashboard, select Appearance, then Editor. In the Design screen, click Templates to view available templates. Find and select the template you edited. Click the three-dot menu in the upper right corner and select Reset to restore the original version.