
This guide will show you the different design options available for the Hero section in your posts on the Frame platform. Let's take a look at each option:
Access Post Settings
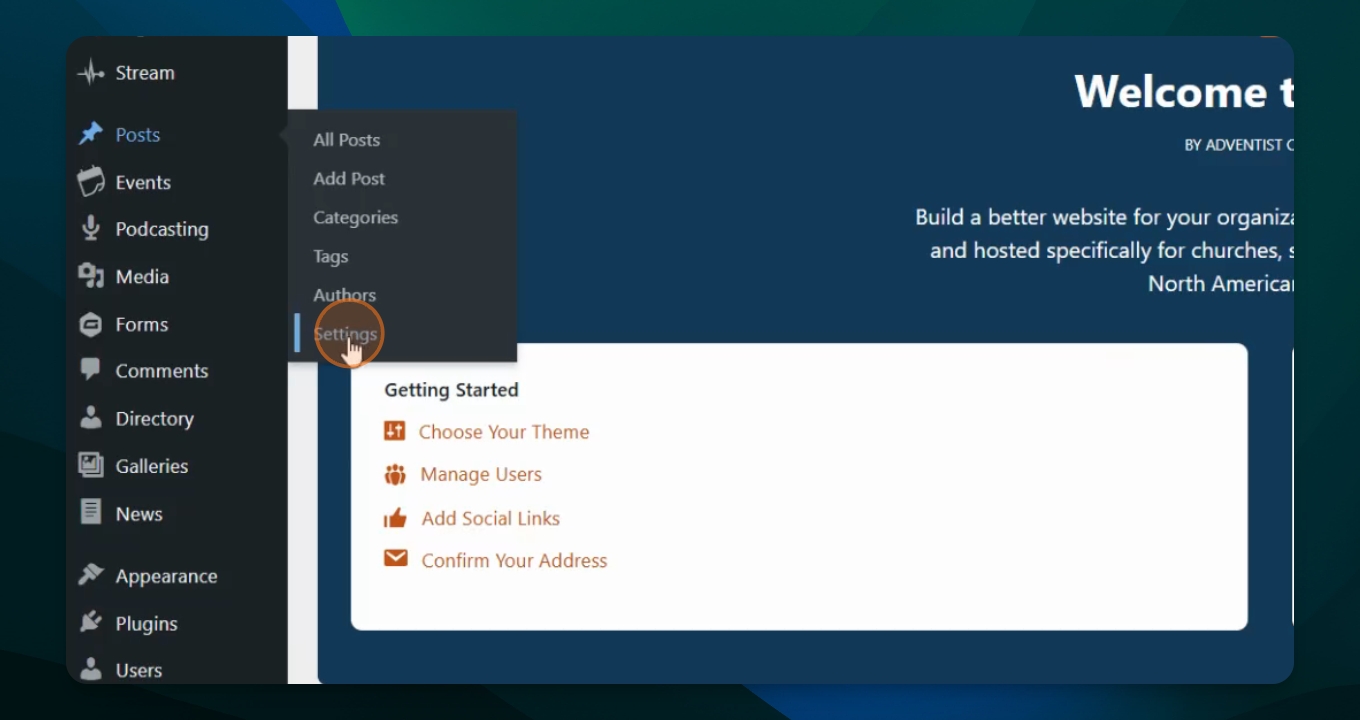
Log in to the Frame platform. Navigate to Posts and select Settings to view the design options.
Review Hero Design Options
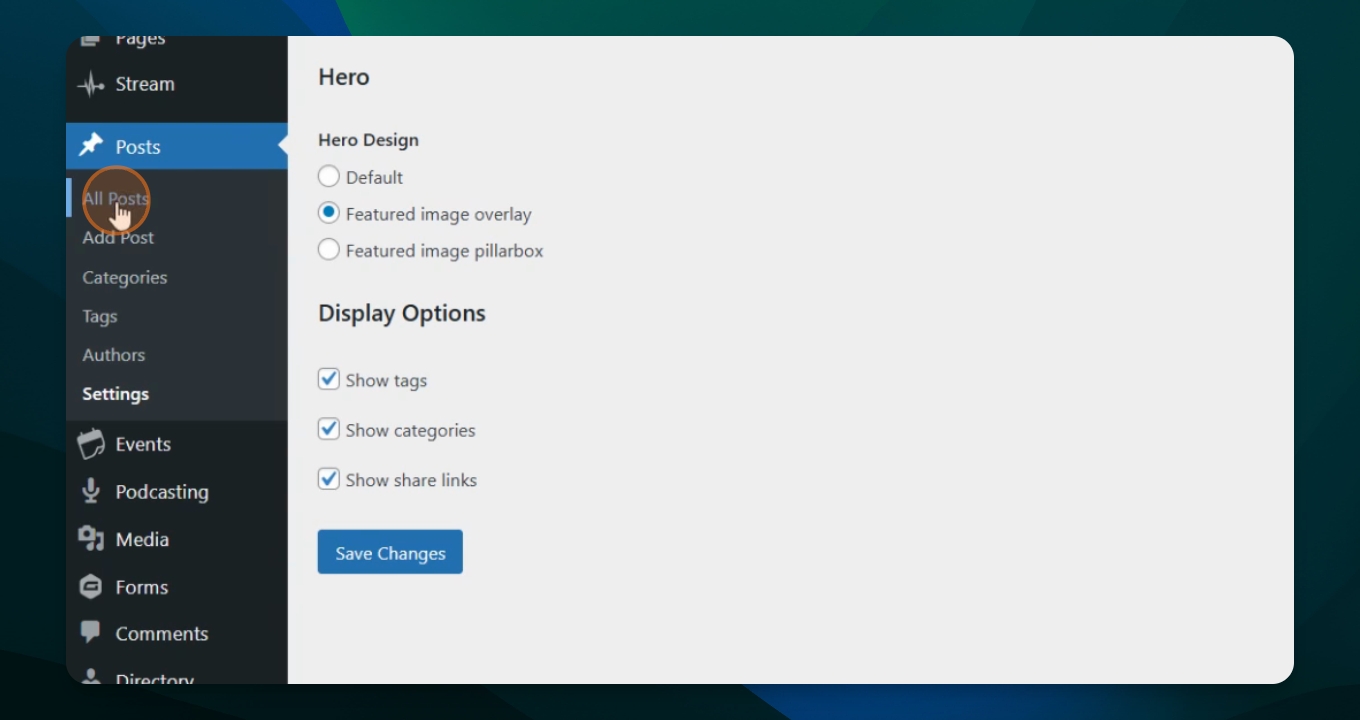
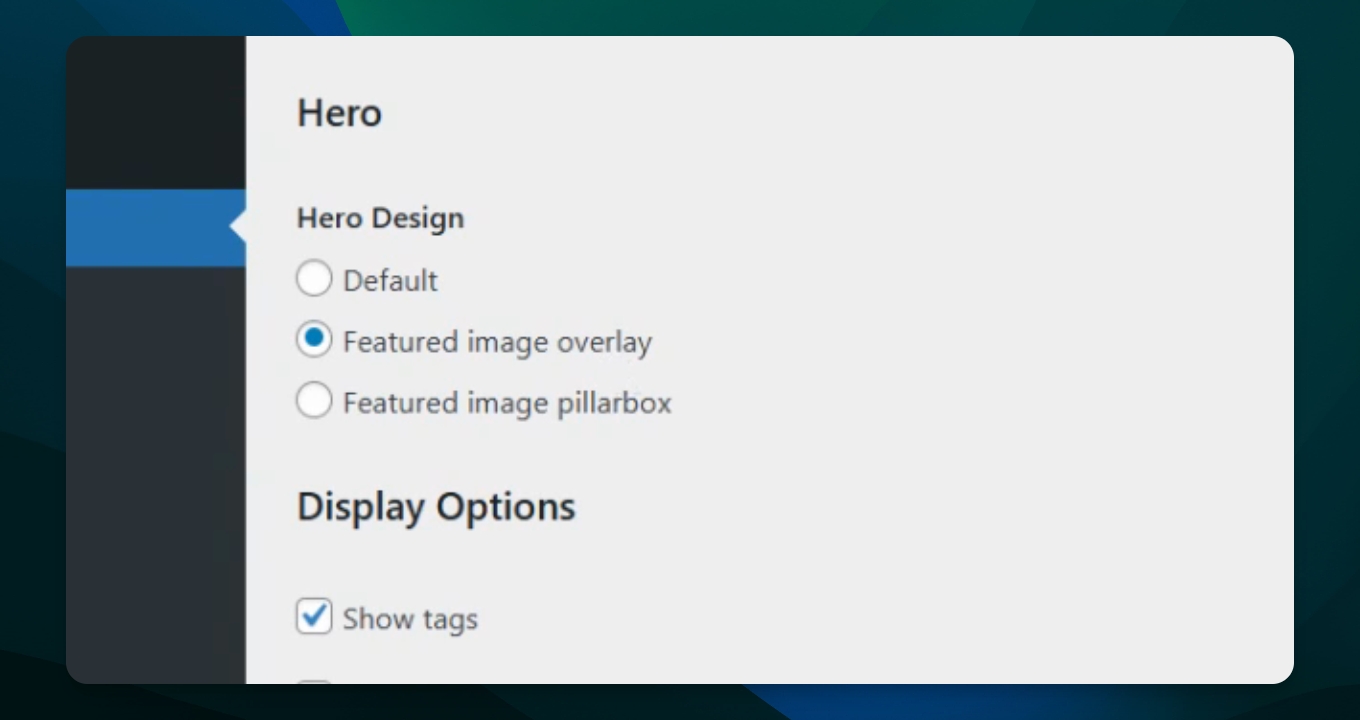
In the Hero Design section, you will see options such as Default, Featured Image overlay, and Featured Image pillarbox. By default, Featured Image overlay is selected. You can choose any of these options to customize the appearance of your posts.
Featured Image Overlay
Let's look at this option, we'll go to All Posts, select a post, and preview it. With the overlay option, the featured image appears behind the metadata and title, with a overlay effect for readability.

Default Option
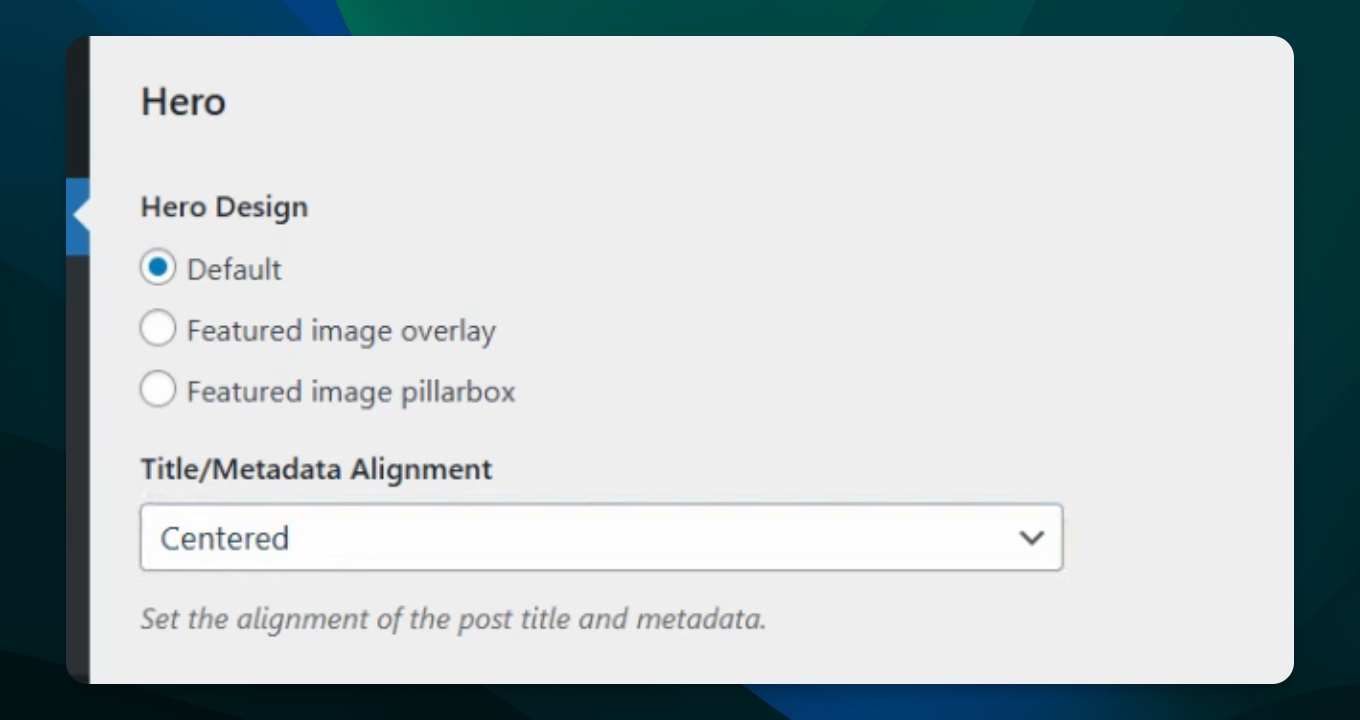
Return to Settings and select the Default option. You can choose the alignment options under Title/ Metadata: Centered or Aligned Left. The default alignment is Centered. Save your changes, then preview the post. In this setting, the title and metadata appear on a white background above the featured image, with everything aligned center.
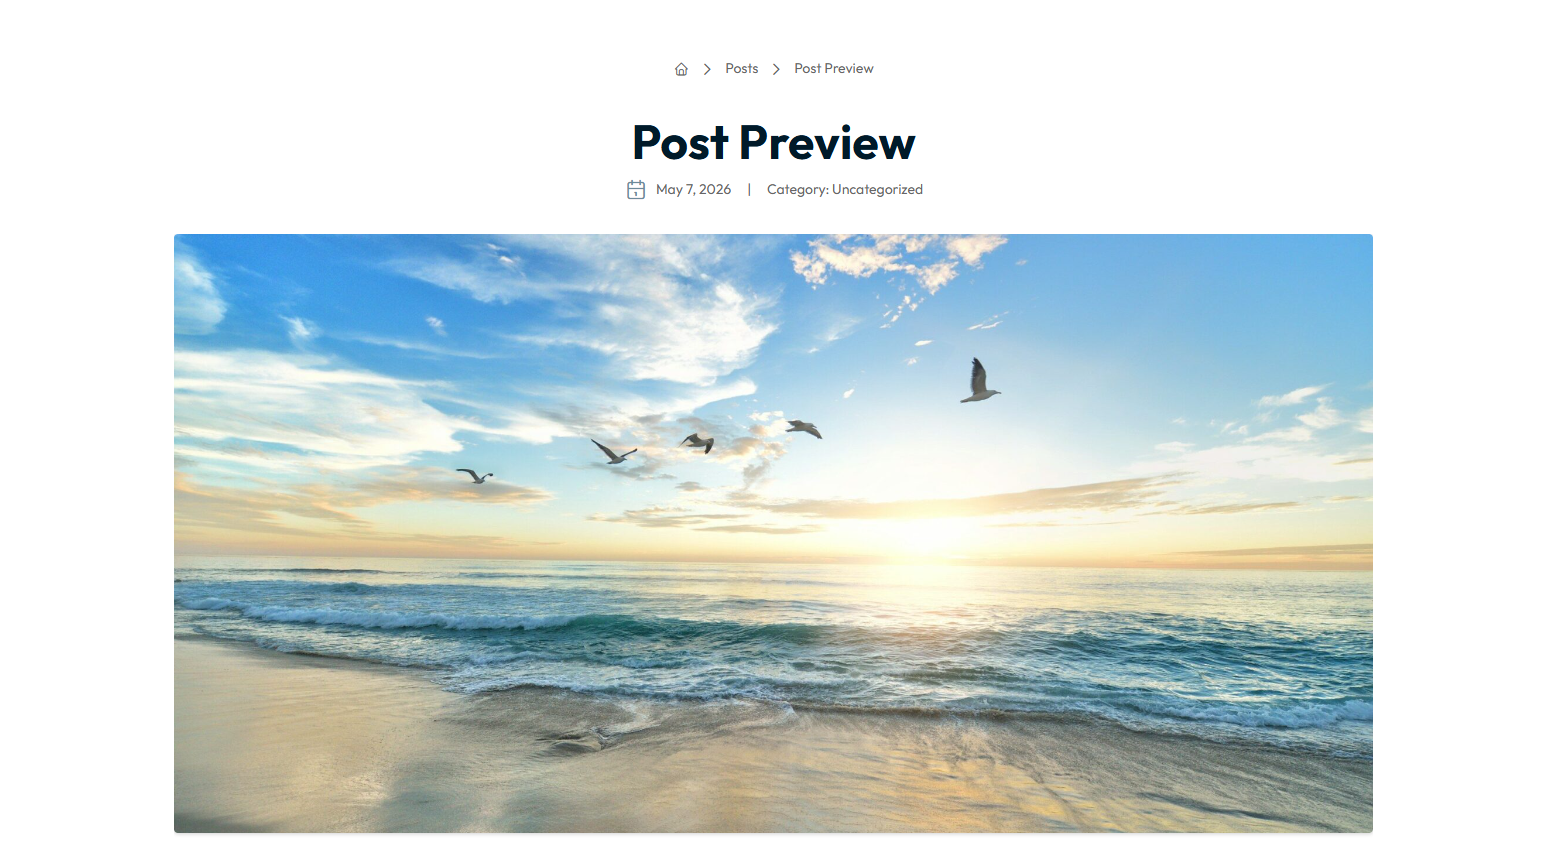
Featured Image Pillarbox
Select the Featured Image pillar box option, save your changes, and preview the post. This design displays a solid box (color depends on theme) at the top with the title and metadata, and the featured image below it.
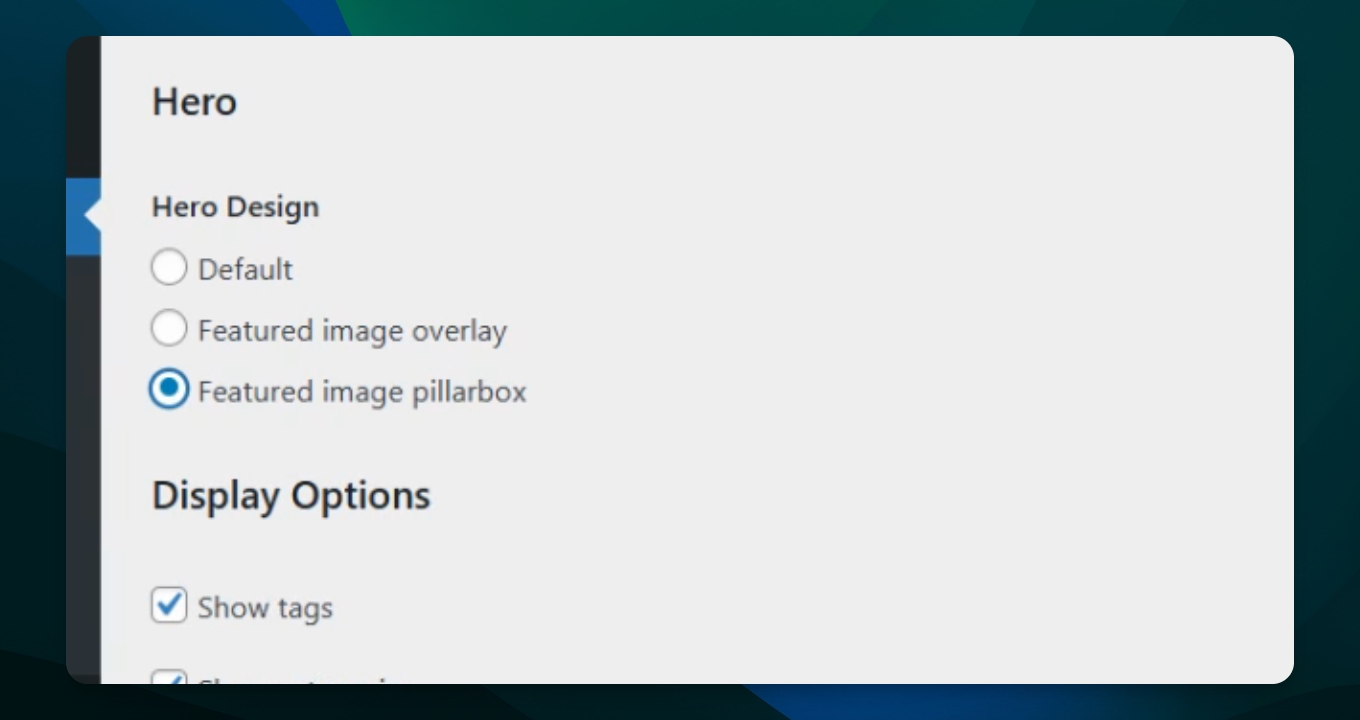

Display Options
In the Settings menu for your Posts you also have three options that are visible by default that you can change as well. Each of these categories coordinate with the information added for reach post:
Show tags
Show categories
Show share links
Takeaway
These Hero Design section settings apply to all posts in your database.
You can customize your Posts designs by editing the Posts template > deleting the posts pattern block and building your own. We do not recommend this unless you are an advanced Wordpress users.
If you have customized the hero section for your website Post these options will not override what you have created unless the Posts template is reset.