TL;DR
Using a Pattern | Creating a New Pattern |
1. Open Block Inserter | 1. Use blocks to create the content you like |
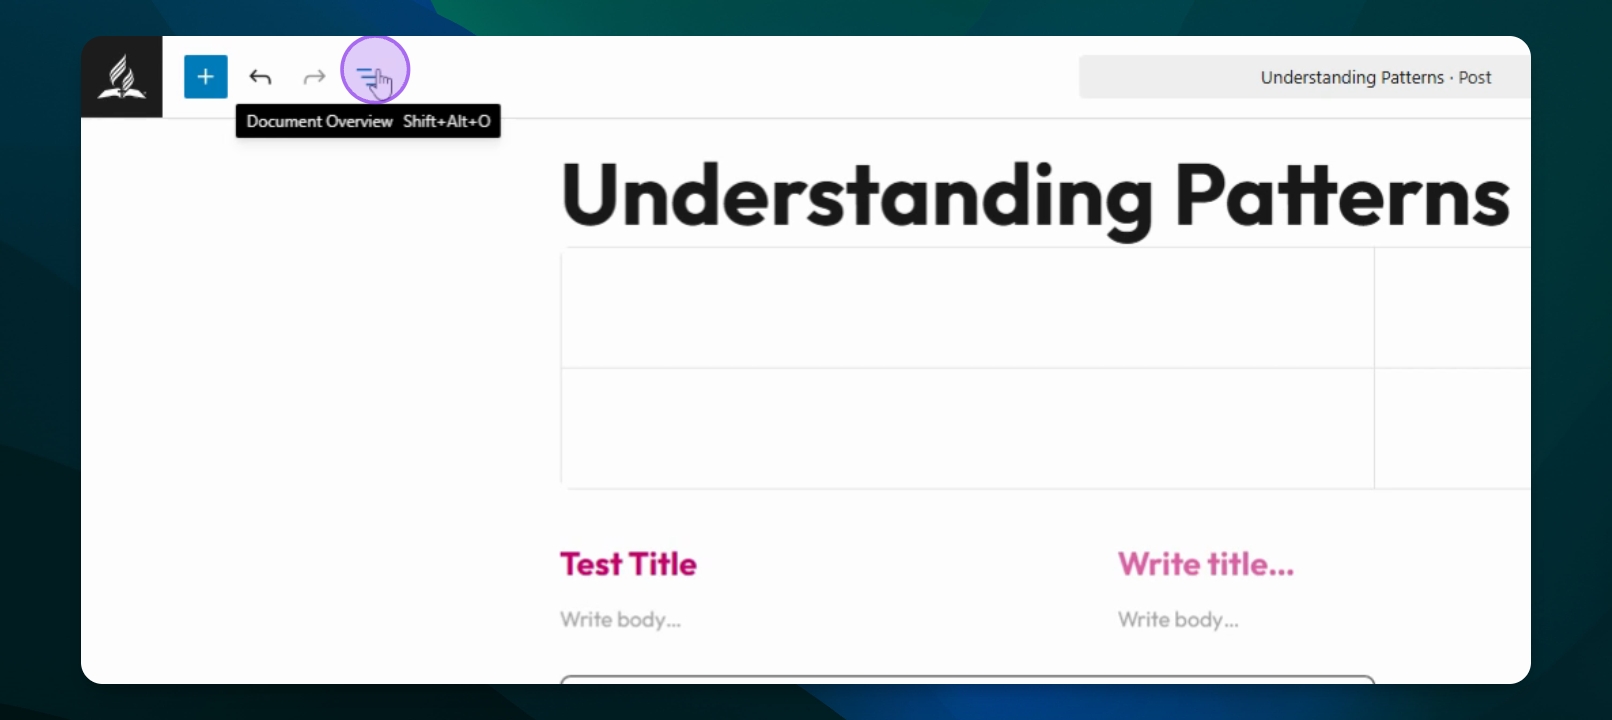
2. Select Patterns to view existing patterns | 2. Go to Document Overview to select all of the blocks that you'd like in the new pattern |
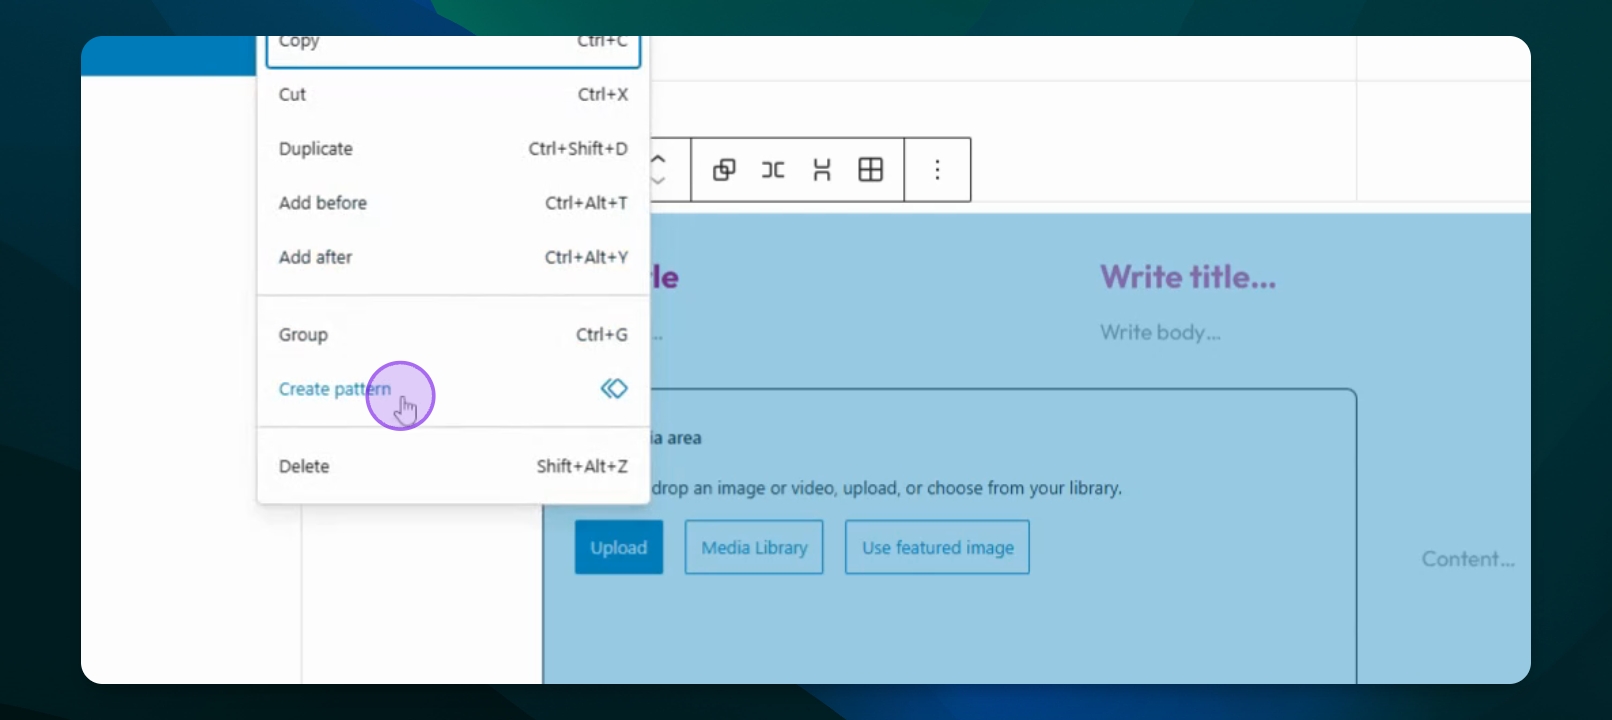
3. Click a pattern to add it to your page | 3. Click the three dot Options menu to Create Pattern |
4. Click into a block to make changes | 4. Save and access it under My Patterns |
Using a Pattern: Let's Do It Together!
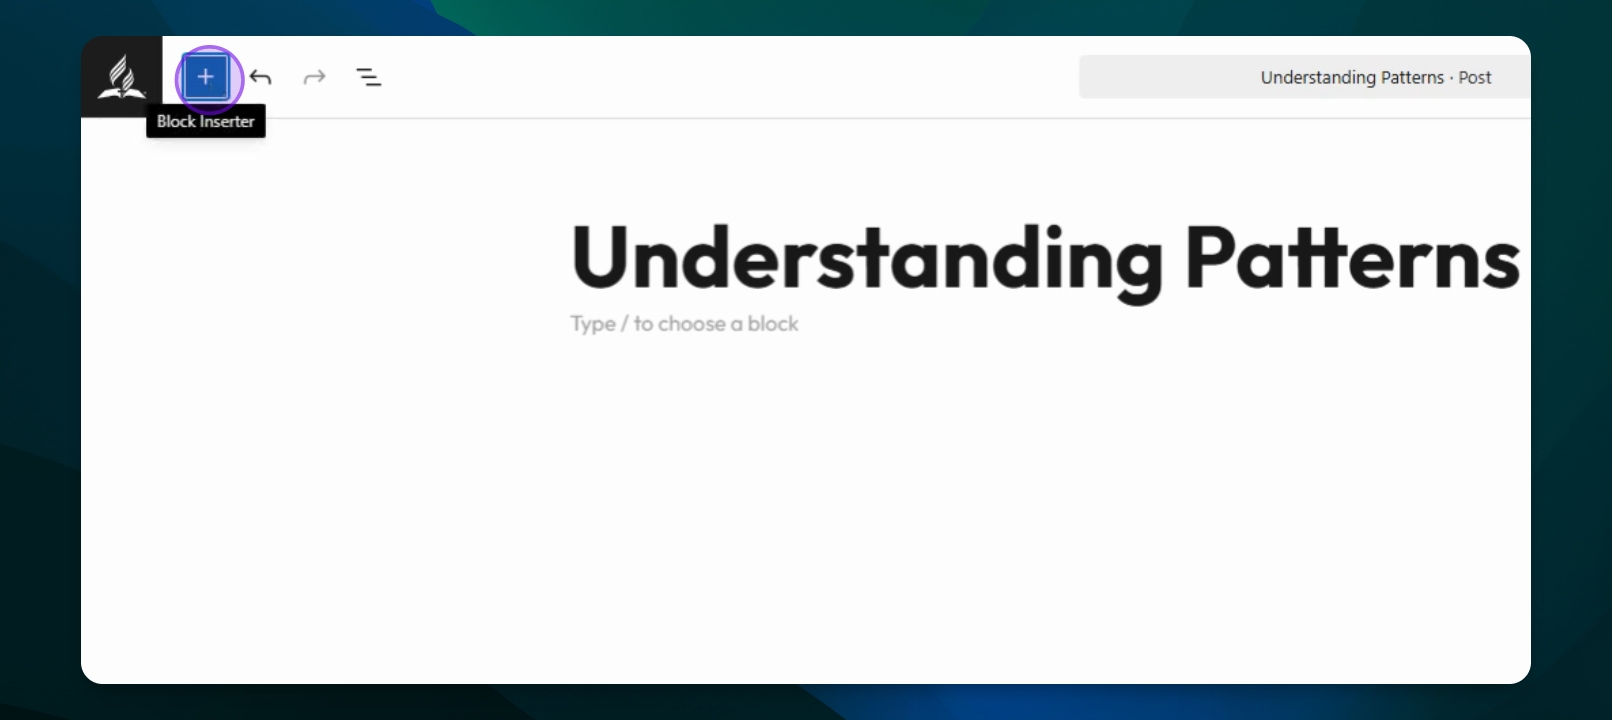
Step 1: Access Add Block Inserter
Click on the Add block inserter icon.
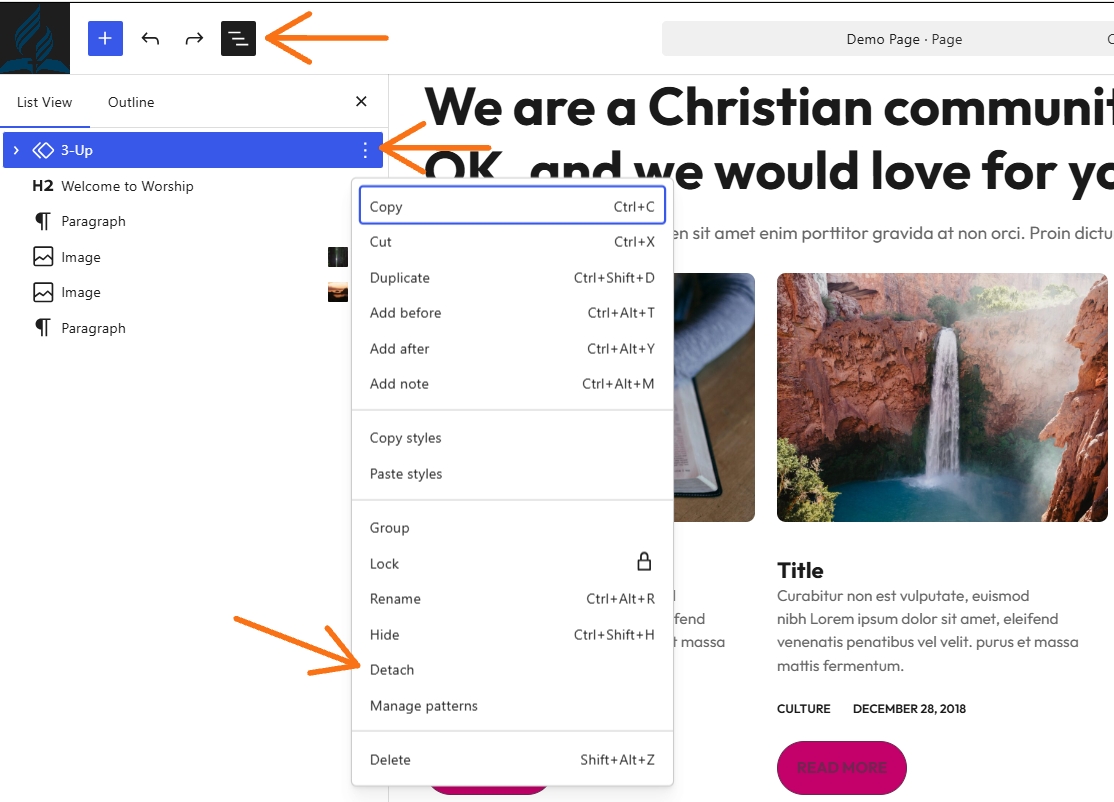
Currently: If you need to fully edit the content and not change the pattern template itself you need to go to the Document Overview Panel, click your Options dots on the right side and select "Detach". This releases all the blocks associated with the pattern. You can then fully edit, move and delete items within that pattern.
Please do not edit the parent pattern when deleting or rearranging blocks in the pattern.
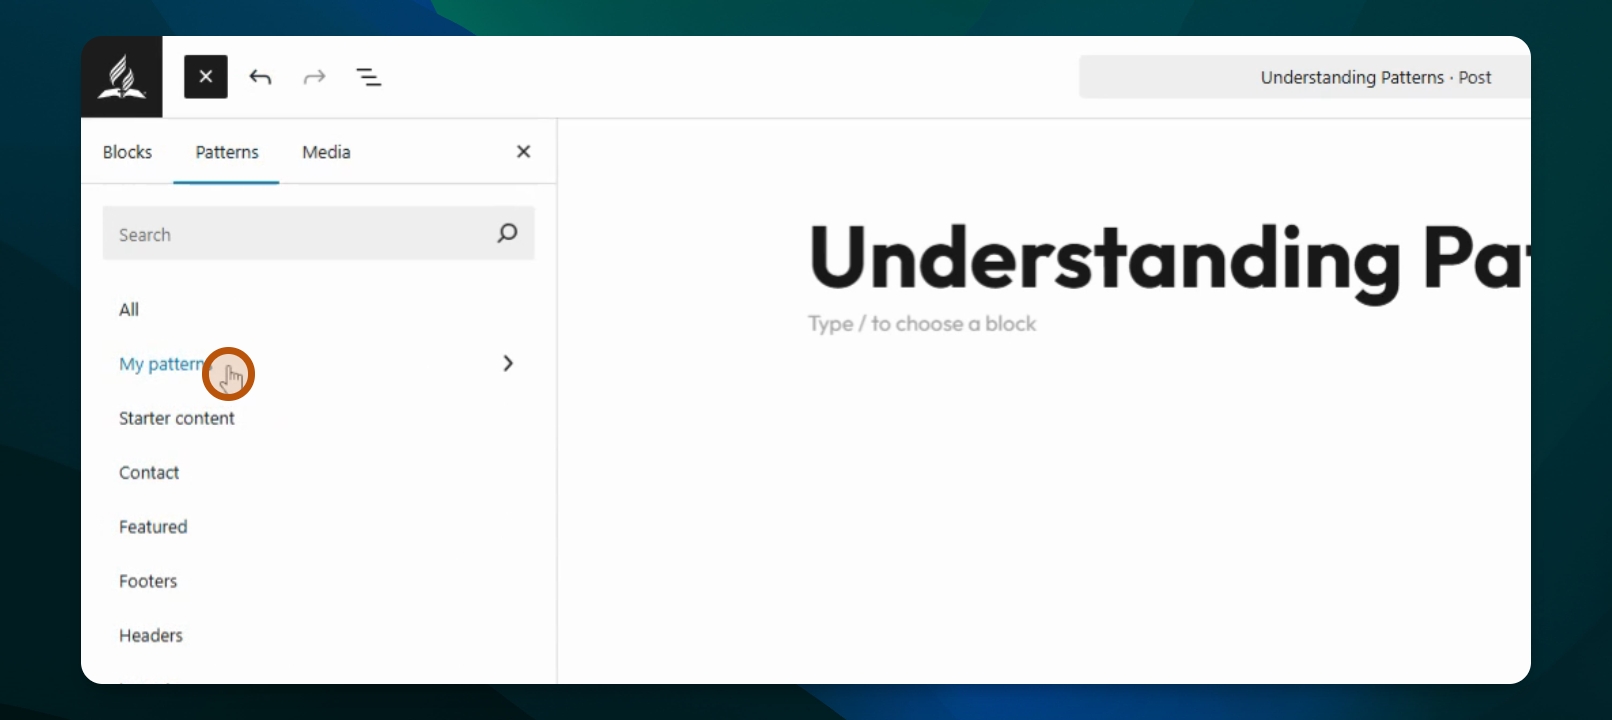
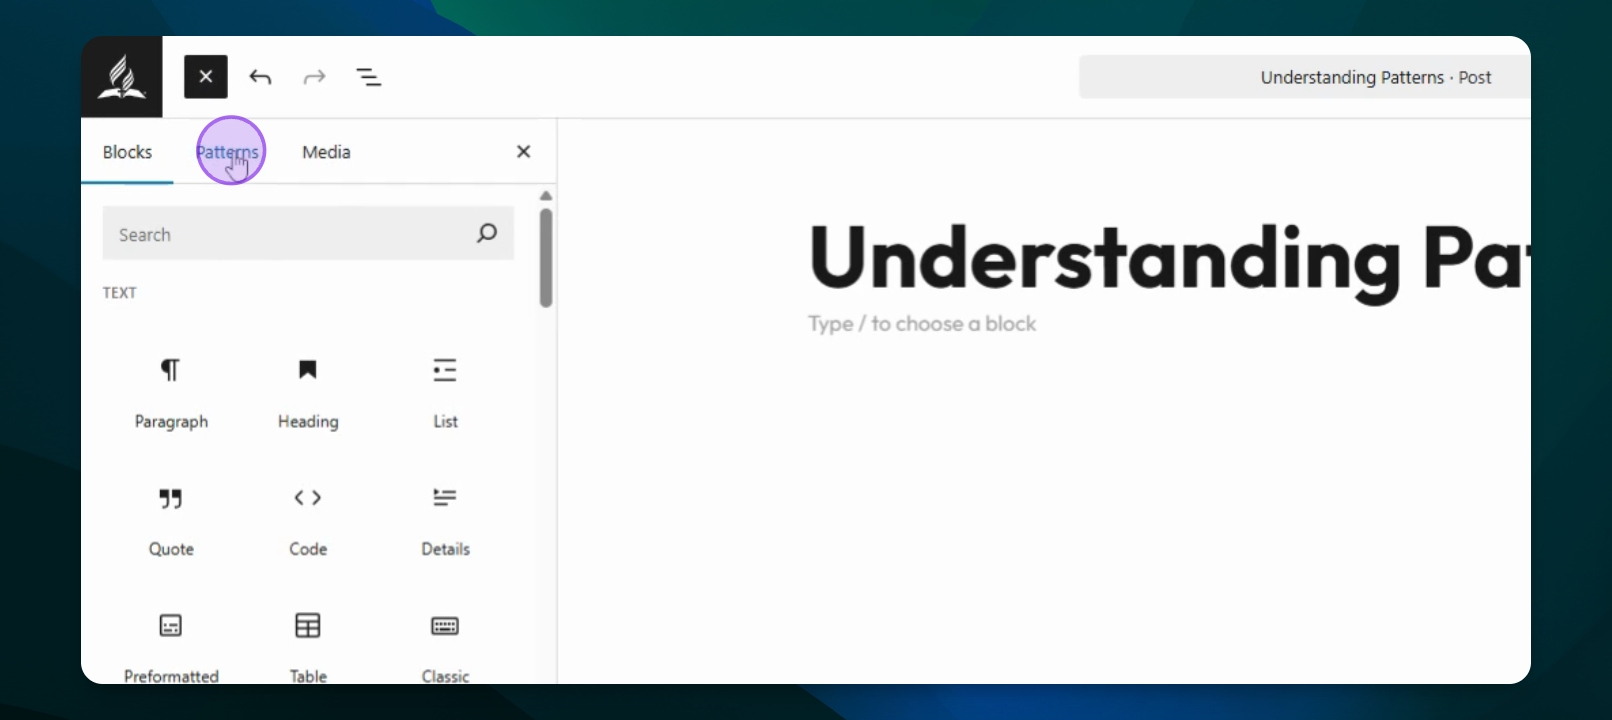
Step 2: View Available Patterns
Select Patterns to see existing patterns on your site.
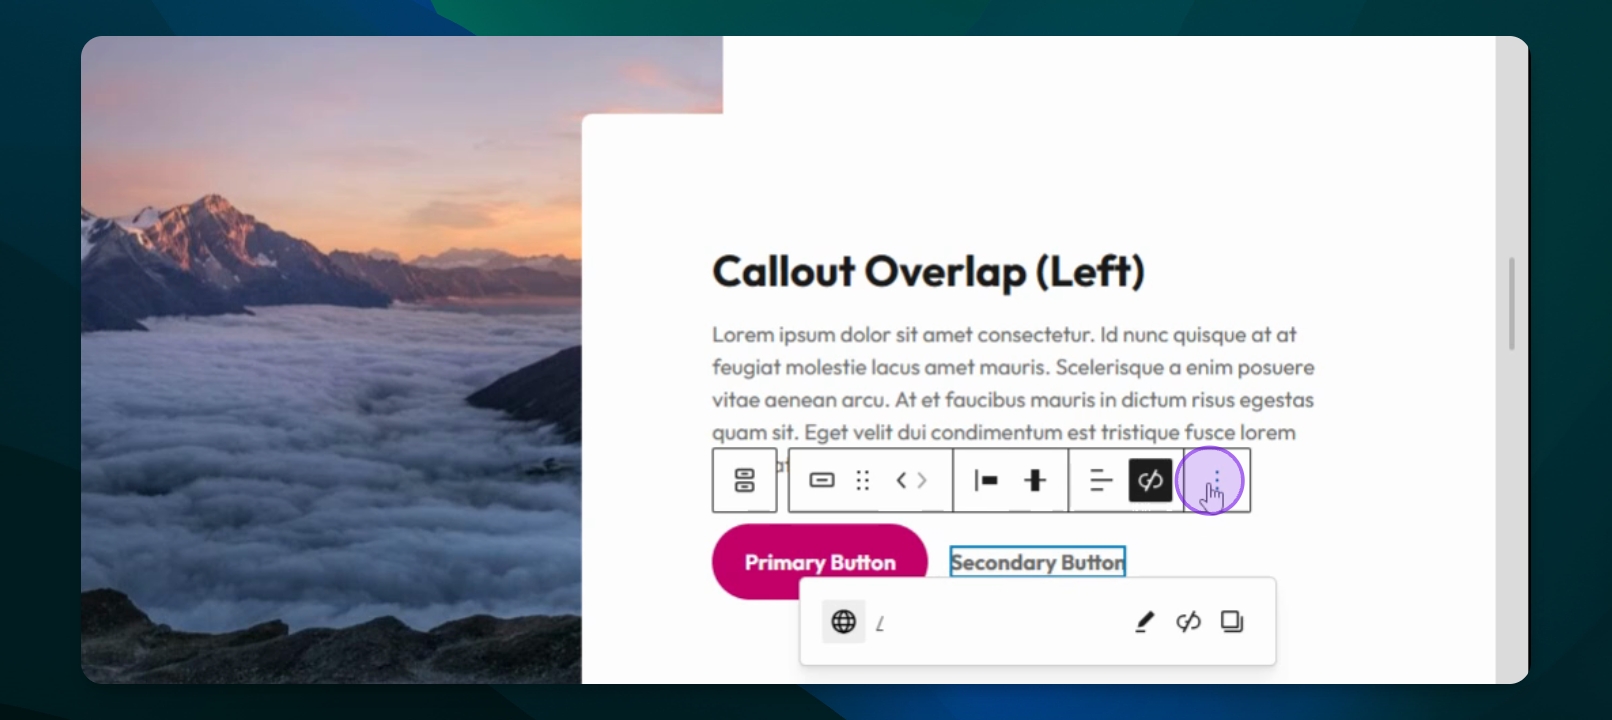
Step 3: Customize Content
All the blocks in a pattern can be customized to show your content. Change images, add text, set button links as you would on any other block.
Step 4: Change Image
To change the image, click on Replace and select from the media library.

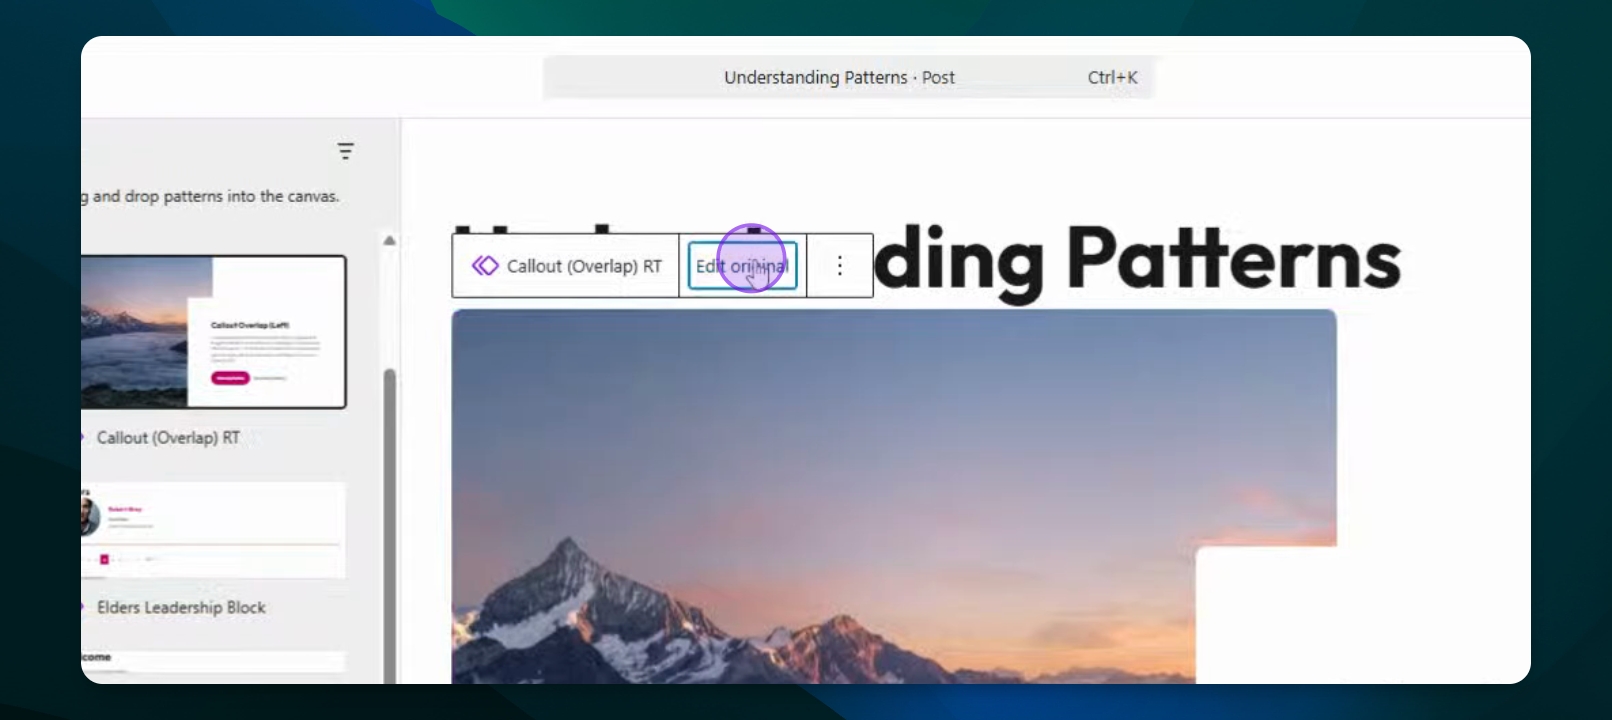
Modify a Pattern
Step 1: Customize Pattern Elements
A pattern can be modified to fit your organizations look.
Find the Pattern in the Patterns menu. Click Edit original.
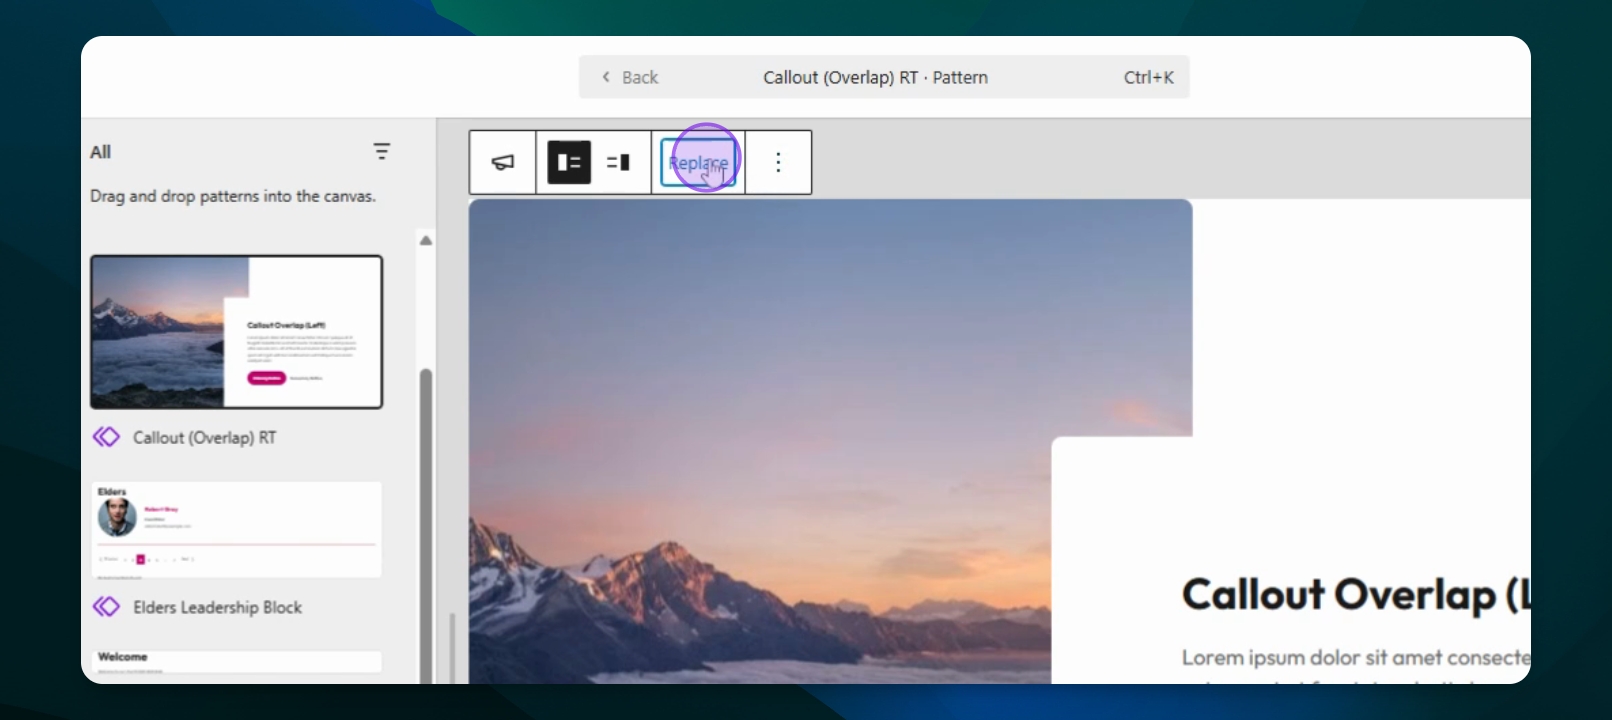
Step 2: Customize Pattern Elements
Make changes such as removing buttons or adjusting media placement. To change the image, click on Replace and select from the media library.
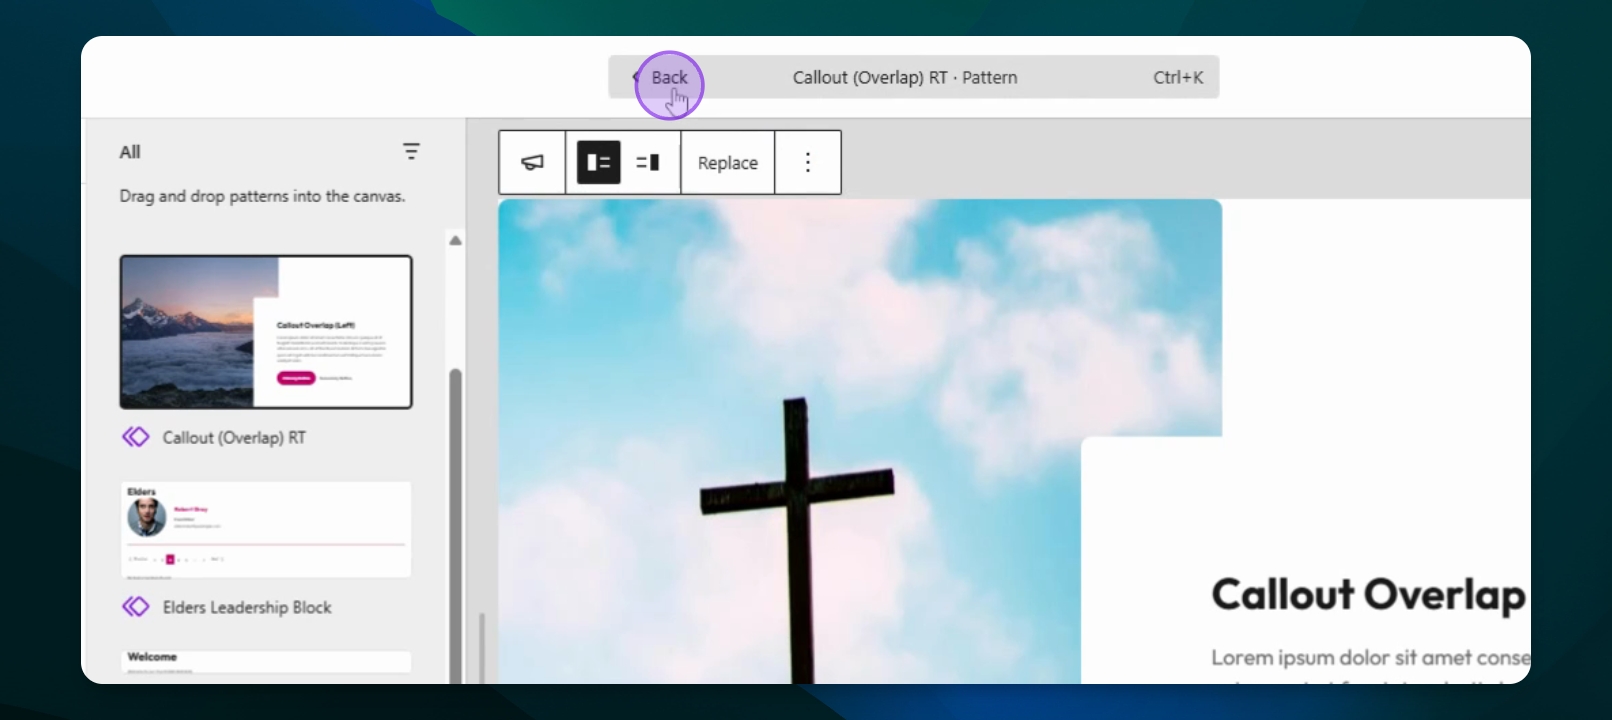
Step 3: Return to Main Page
Press the back button to return to the main page and save your modifications.
Step 4: Delete a Pattern
To delete a pattern, go to the three dots and select Cut.
Create a New Pattern
Step 1: Use blocks to build content
Use the block inserter to design content that you would like to appear in a pattern.
Step 2: Select blocks
Go to the Document Overview tab and select items to create a new pattern.
Step 3: Save the New Pattern
Press Create Pattern, name it, and categorize it.
Step 4: Access Your Patterns
Go to Patterns and select my patterns to find your saved pattern.