Creating Redirects
Step 1: Log Into Dashboard
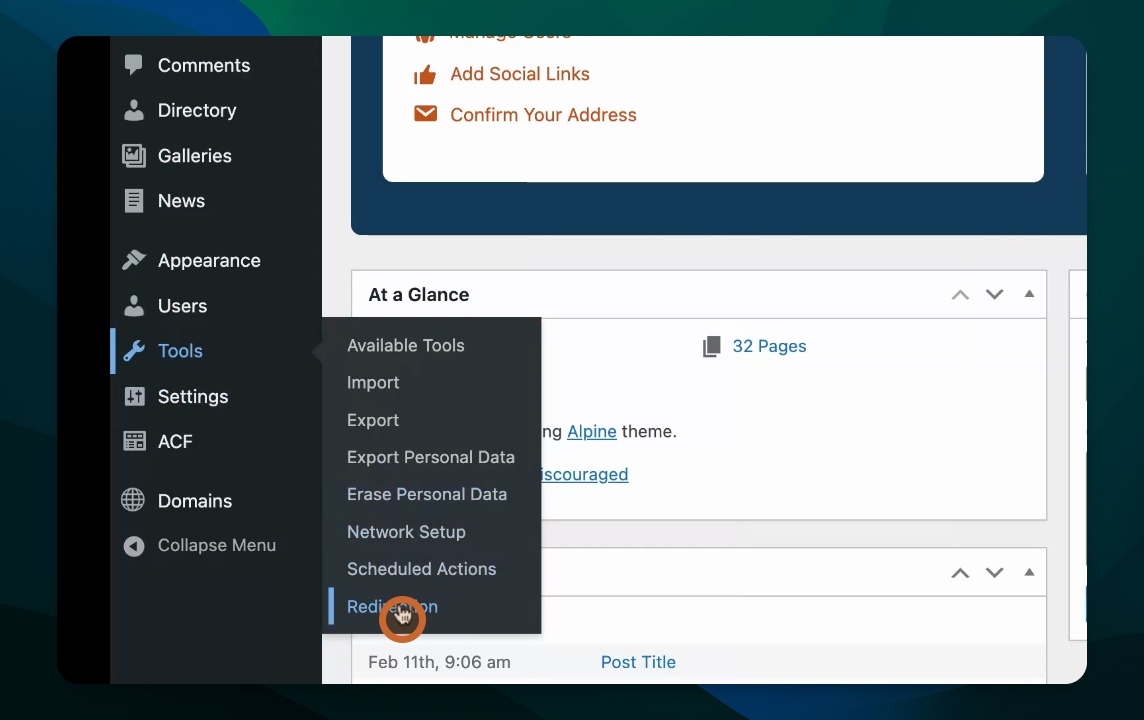
Start by logging into your dashboard, and from there go to Tools, then click Redirection.
Step 2: Create New Redirect
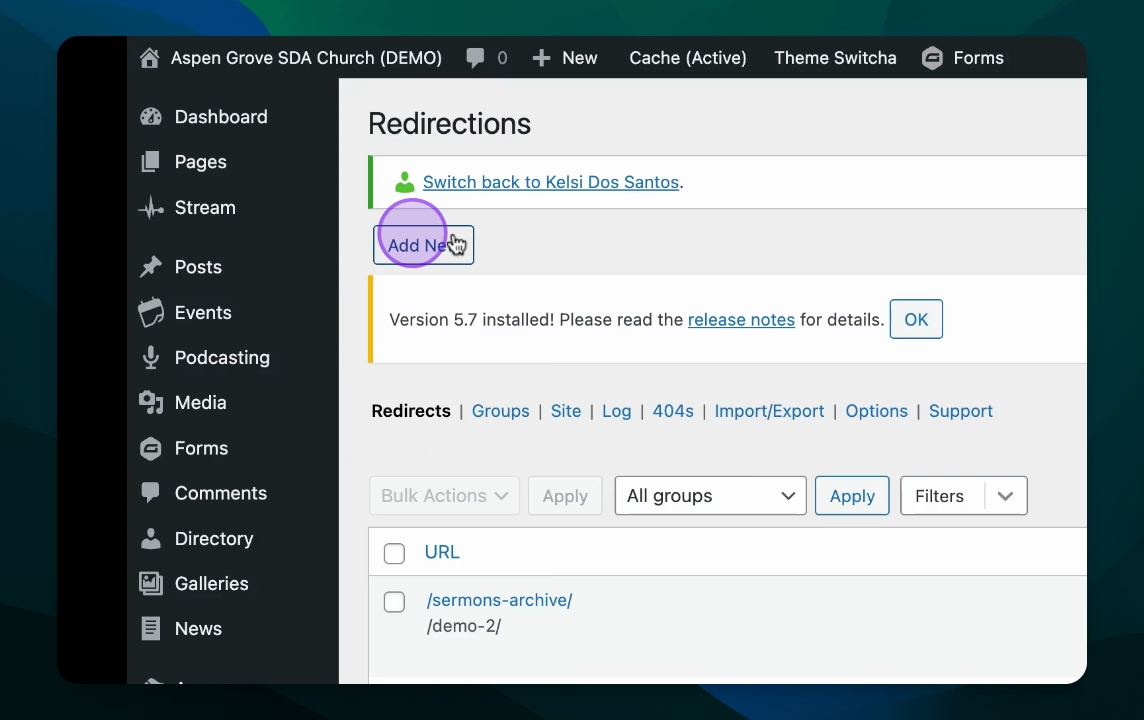
To create a new redirect, locate the Add New button at the top of the page.
Step 3: Enter Source URL
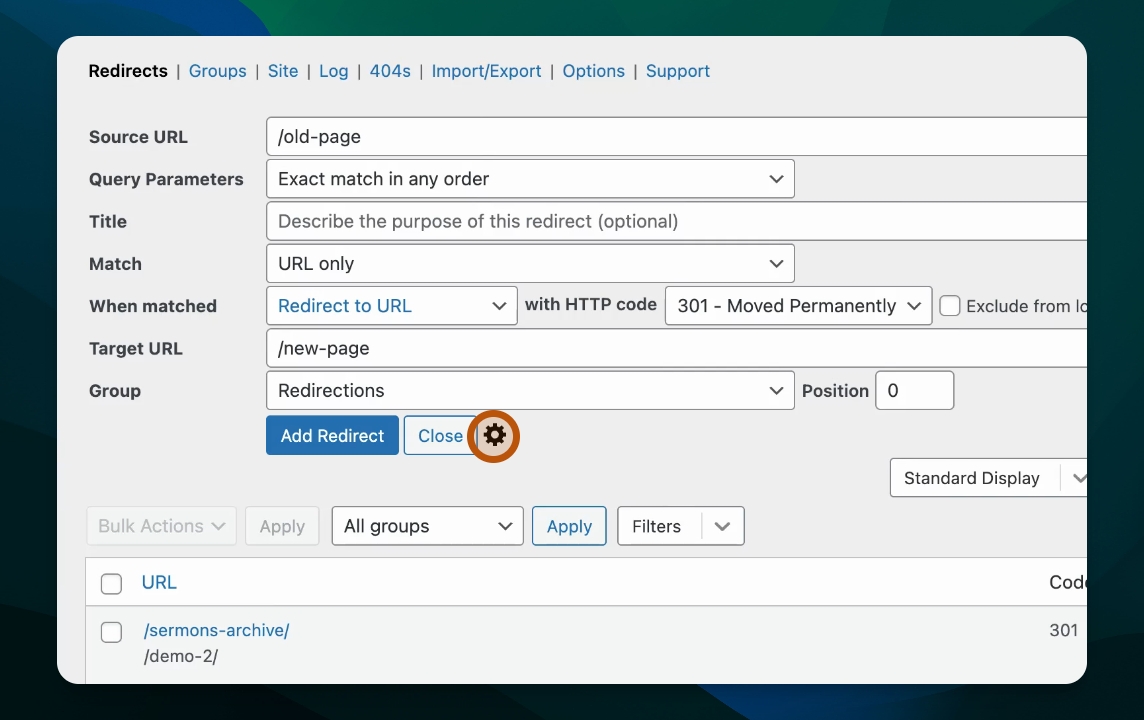
In the Source URL field, enter the relative path to redirect from.
For example, if the full URL is mychurch.com/oldpage, enter /oldpage.
Step 4: Enter Target URL
In the Target URL field, enter either a relative path or a full external URL.
Important:
You cannot include a hash symbol (#) in the source URL. Since hashes are not sent to the server as part of a request, they can't be used for matching redirects. This is a limitation of how the web works, not a restriction specific to the Redirection plugin.
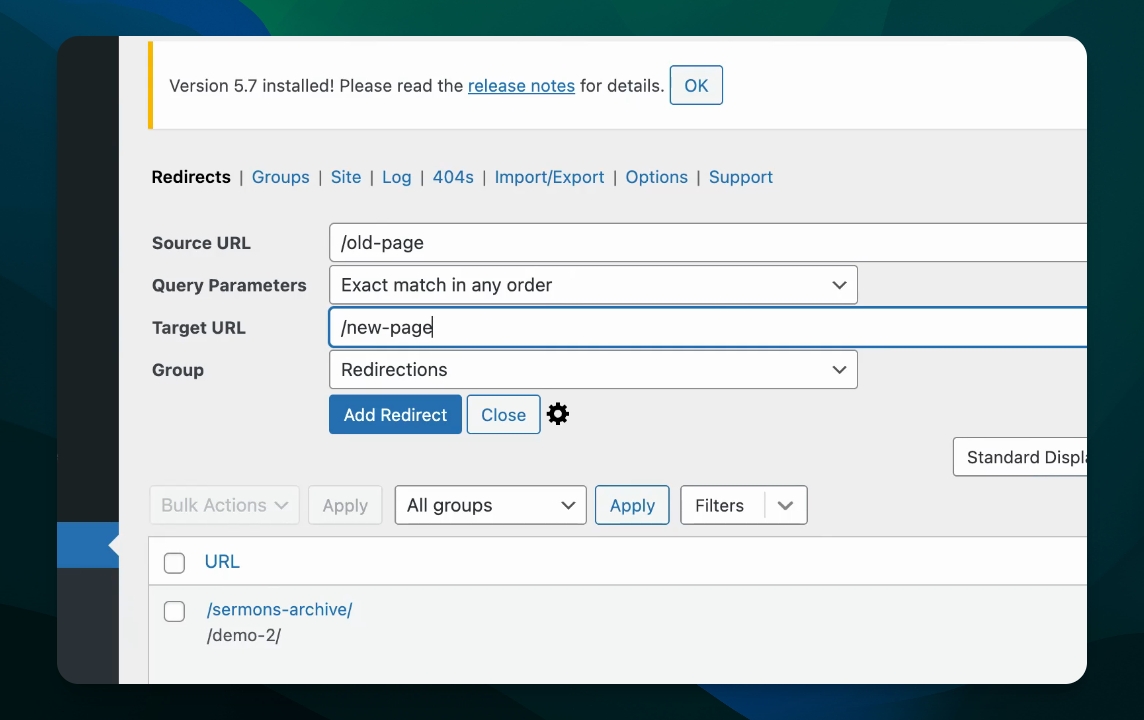
Step 5: Save Redirect
Once you've filled in the Source and Target URLs, you can click Add Redirect to save it.
Editing Redirects
Find and Edit Redirect
To edit an existing redirect, find it in the table, hover over the entry, and click Edit.
Make any necessary changes, then click Save again.
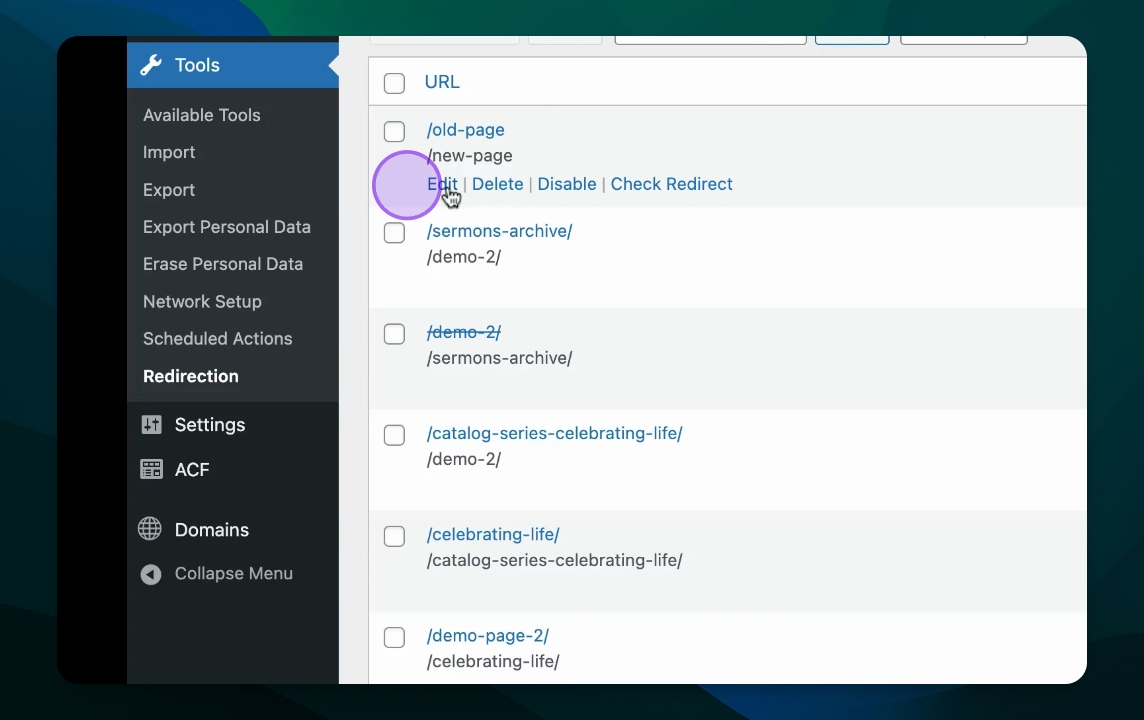
Disable or Enable Redirect
You can Disable a redirect to keep it in the list, but deactivate it.
You can click Enable a redirect to activate it again.
Permanently Remove Redirect
Click Delete to permanently remove a redirect.
Advanced Redirect Settings
Advanced options can be accessed by clicking the cog icon located at the bottom of the redirect edit form.
Think of the process as a sequence:
Start with the source URL and query parameters, which define the URL to match.
Add additional match criteria to specify further conditions for the source URL (e.g., when the user is logged in).
Set up an action for when a match is found, defining what should happen when the URL is matched.
Provide details for the action, such as the target URL and HTTP code.
Here’s a breakdown of the options:
Title: Enter a description for the redirect. This will be displayed in place of the URL in the redirect table to help identify the redirect’s purpose.
URL options: More details can be found on the URL matching page.
Query Parameters: Explained further on the URL matching page.
Match: More information is available on the Redirect Matches page.
When matched: Additional details can be found on the Redirect Action page.
Exclude from logs: Opt not to log this redirect.
Group: Further details are available on the Groups page.
Position: Determines the order in which redirects are processed. A lower number means higher priority.
Tools to Manage Redirects
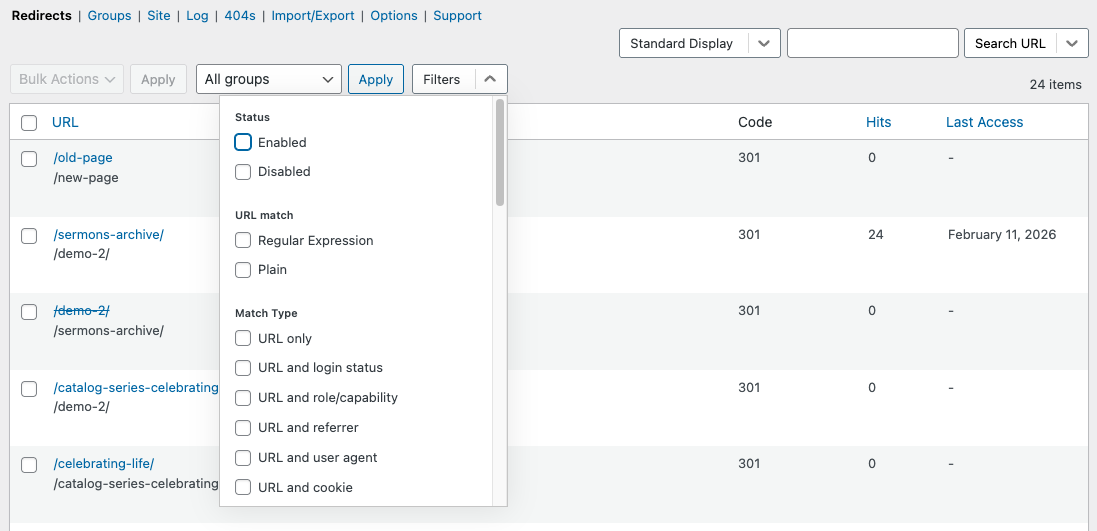
Filters are a helpful tool to select a subset of redirects you wish to manage. You can apply multiple filters simultaneously.
Search works similarly to filters, allowing you to enter the text you're looking for. Additionally, you can adjust the search dropdown to specify which field you want to search within.
Keep in mind that if a filter or search is applied, using bulk actions will only affect the items displayed by that filter. This feature allows you to perform actions on a specific subset of your data.
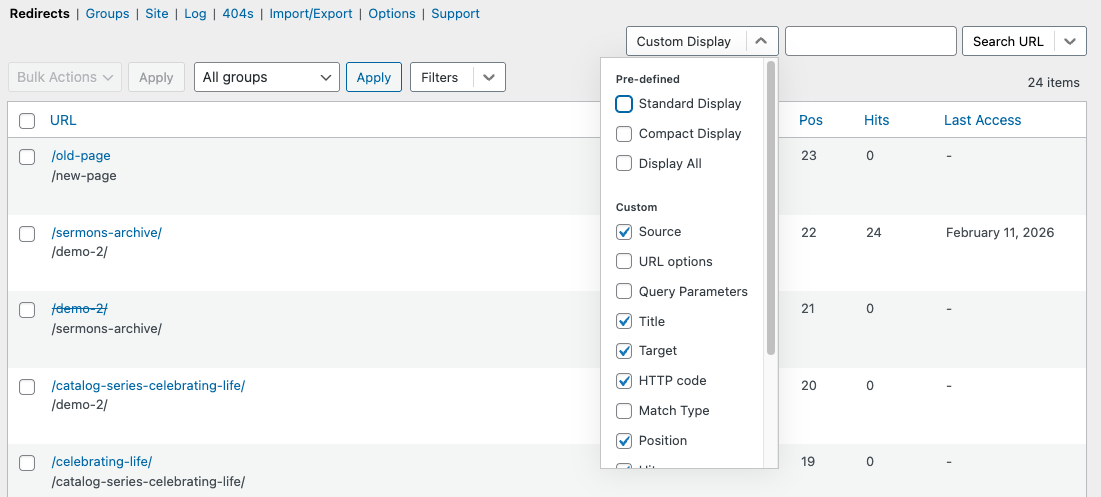
The Display dropdown to the left of the search bar allows you to change what information you see in the list of redirects. You can choose a pre-defined view or create a custom display to suit your needs. Adjust the information shown by selecting an option from the display dropdown.