
To schedule a post or page for future publication, here's what you need to do:
Access your WordPress dashboard
Navigate to the Posts or Pages section in the left sidebar
Create a new post/page or select an existing draft
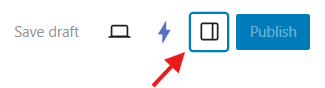
Find the "Publish" settings panel on the right side of the editor
Find the Publish section and click on the "Immediately" link beside it to reveal the scheduling calendar options.
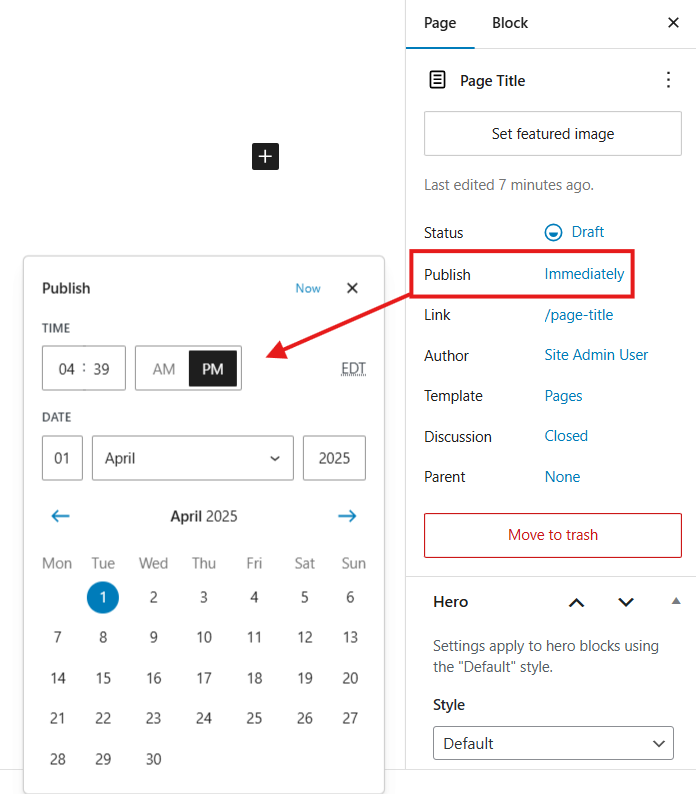
5. Choose your desired publication date and time from the calendar interface.
6. Press the "Schedule" or "Save" button to confirm and set your selected publication time.
When you've successfully scheduled content for a specific day, you'll notice a small indicator dot appearing under that date on the calendar (as illustrated by the dot beneath July 9th in the reference image).
Creating Posts with Past Dates
You may occasionally need to assign a publication date in the past to your content. For instance, if you're documenting a recent journey, you might want to create separate posts for each day of your trip with dates that correspond to when those experiences actually occurred.
To set a post or page with a past publication date, follow the same scheduling procedure outlined above, but instead select a date from the past in the calendar, then click the Publish button to complete the process.
Modifying Publication Schedules
If you need to change when a post or page will be published, you can easily update its scheduled time. Simply follow the standard scheduling process and select a new publication date and time. Please note that the post's URL will automatically update to reflect this new publication date.
Important: When you adjust a post's schedule, WordPress does not send another notification to your email subscribers. If subscriber notification is important, consider duplicating the content as a new post instead of rescheduling the existing one.
Canceling Scheduled Publications
Should you decide against your planned publication schedule for a post or page, you can remove the future publication date and make the content available immediately.
To do this, access the scheduling options using the same process described earlier. When viewing the calendar, either select the current date and time, or simply click the Now link. This will set the content to publish right away instead of waiting for the previously scheduled time.