
In this video, we're going to explore your block inserter menu and all of the different options that you have. Let's look at the steps:
Step 1: Add a Block
This is how you add a block to your page. Put your cursor where you want the block and go to the block inserter to see all the options for blocks.
Decide what type of information you want to use and choose the corresponding block. The first section contains all of your text options, including paragraphs, headings, lists, quotes, code, formatted text, tables, etc.
Hovering over each block will give you a brief description of what it means. There are two new options called stretchy paragraph and stretchy heading, allowing the code to extend all the way across the page.
The next section is your media options, where you can add images, audio files, and downloadable files. You can also create media blocks and call-out blocks with captions.
In the design category, you can add buttons, columns, groups of text, rows, and stacks. You can also add spacers and separators for white space, which is handy when changing ideas or subjects on the same page.
Widgets for directories, phones, and calendars are also available. Have fun exploring the different options.
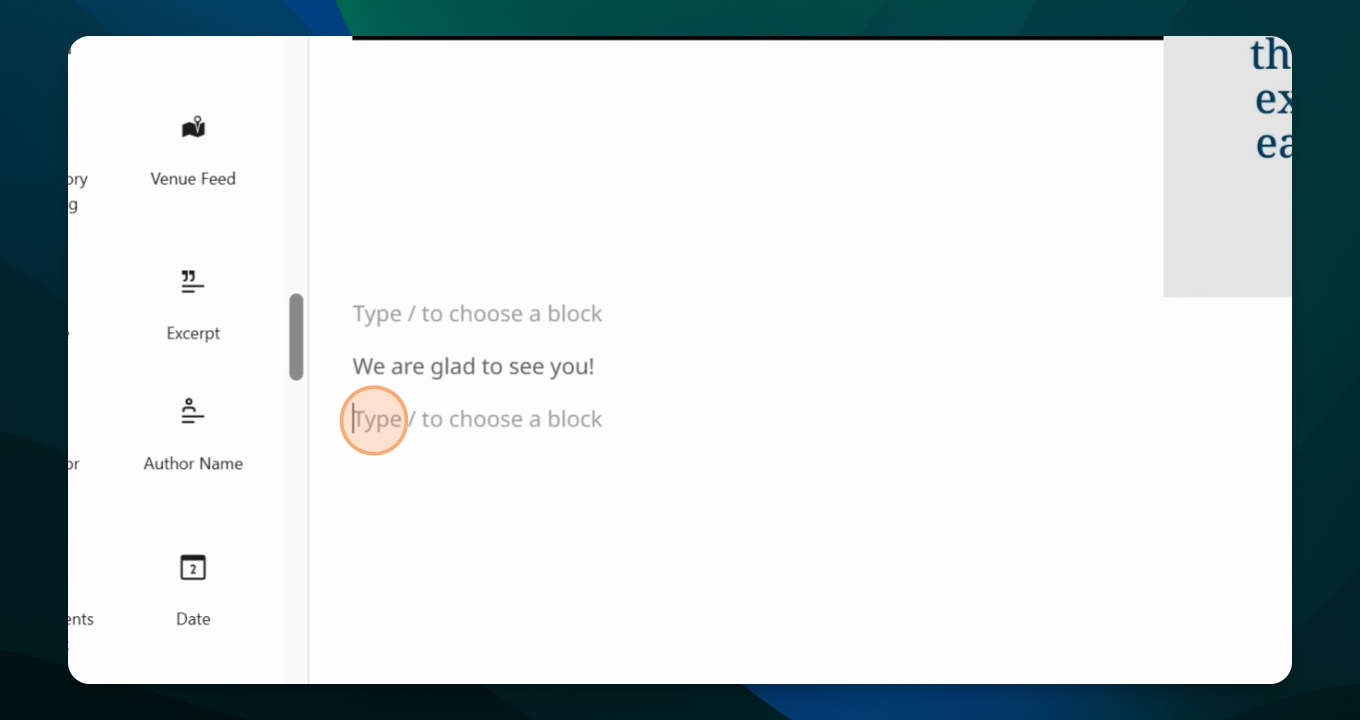
Some lower categories have already been set up. For example, the post feed is for your blog posts. Another quick way to add a block is by typing in a new block, where you'll see a plus sign saying 'add block'.
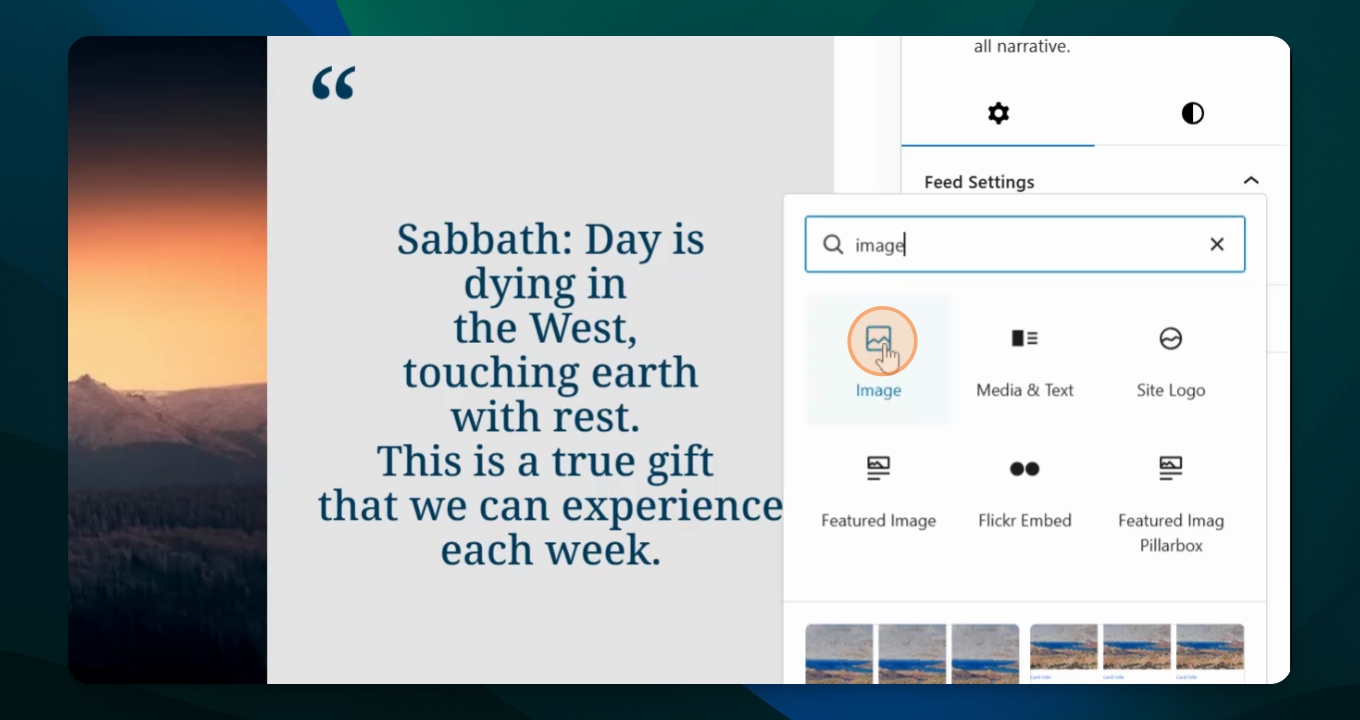
Step 2: Search for a Block
You can click the plus sign and type in the type of block you're looking for, like 'file' or 'image'. Choose the block you want to insert.
Enjoy using your block inserter and explore all the options for the type of content you can add to your page.