

This guide explains how to enable the Thrive system on your Frame website. Let's look at the steps:
Step 1: Log in to Frame
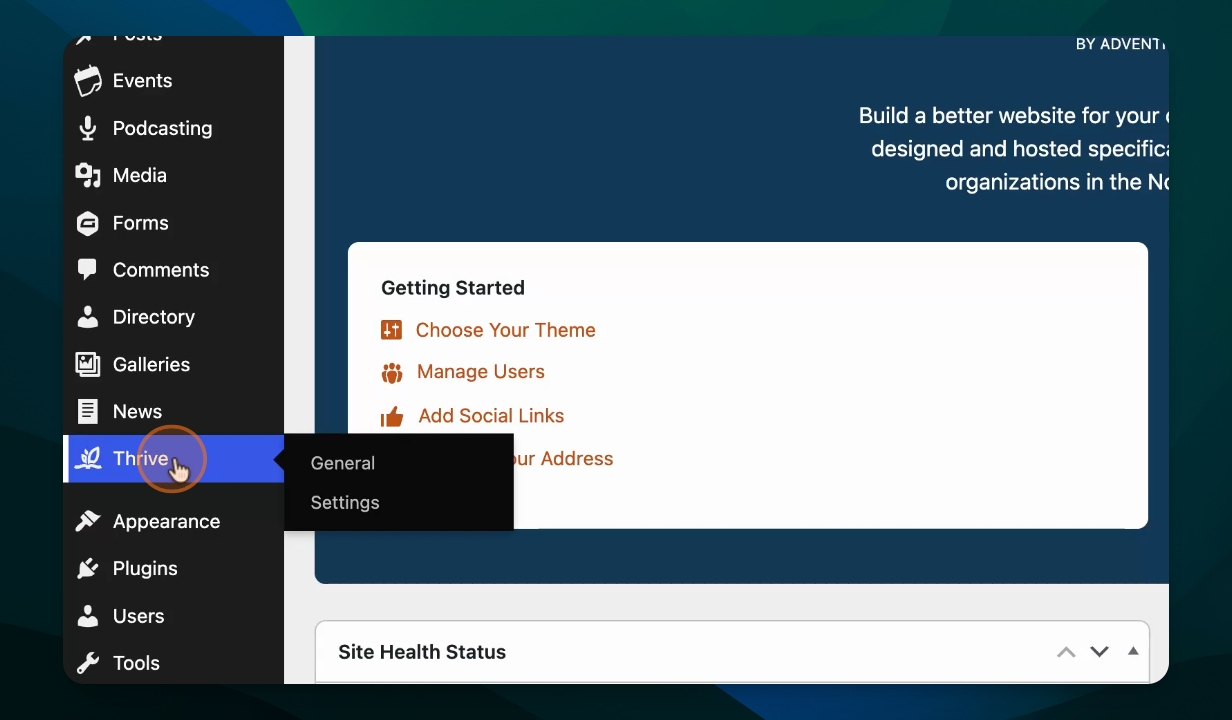
Log in to your Frame website. You will see a new icon on the left side labeled Thrive.
Step 2: Access Thrive Overview
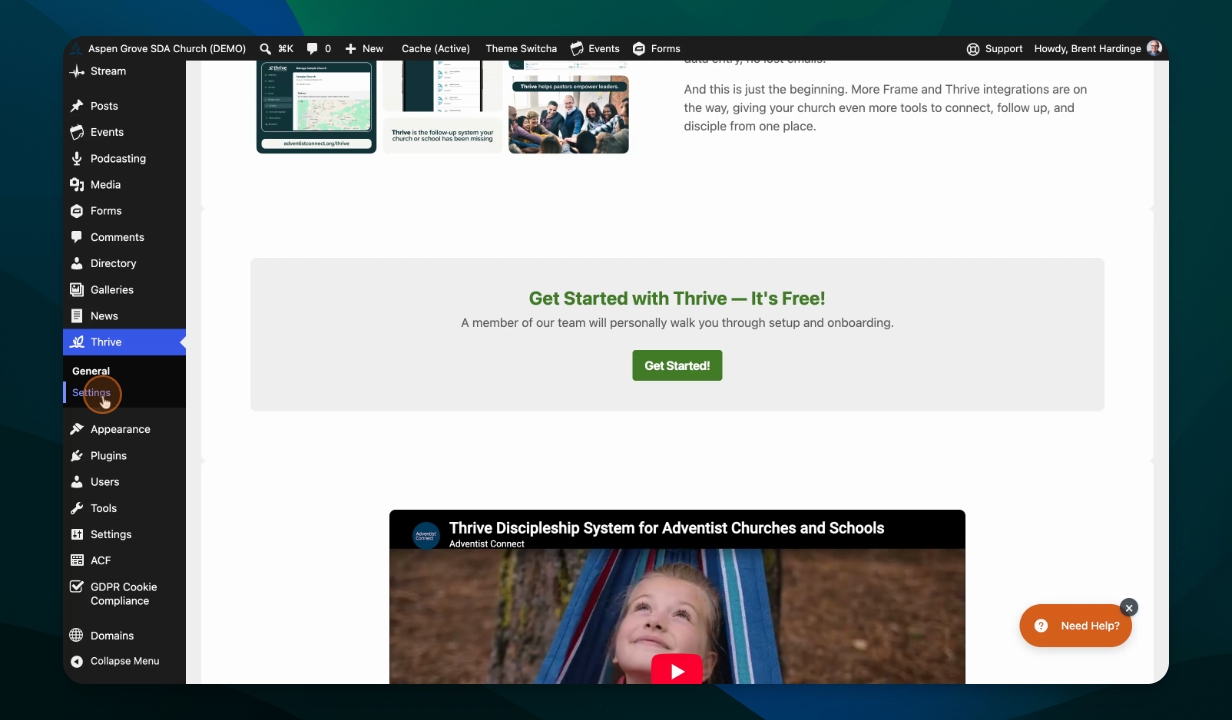
Click the Thrive icon. This opens an overview page where you can learn more about Thrive and request access to the Thrive system.
Step 3: Set Up Your Thrive Account
Set up your Thrive account by following the instructions on the overview page. After your account is ready, return to the Settings page in Frame.
Step 4: Check Thrive ID in Settings
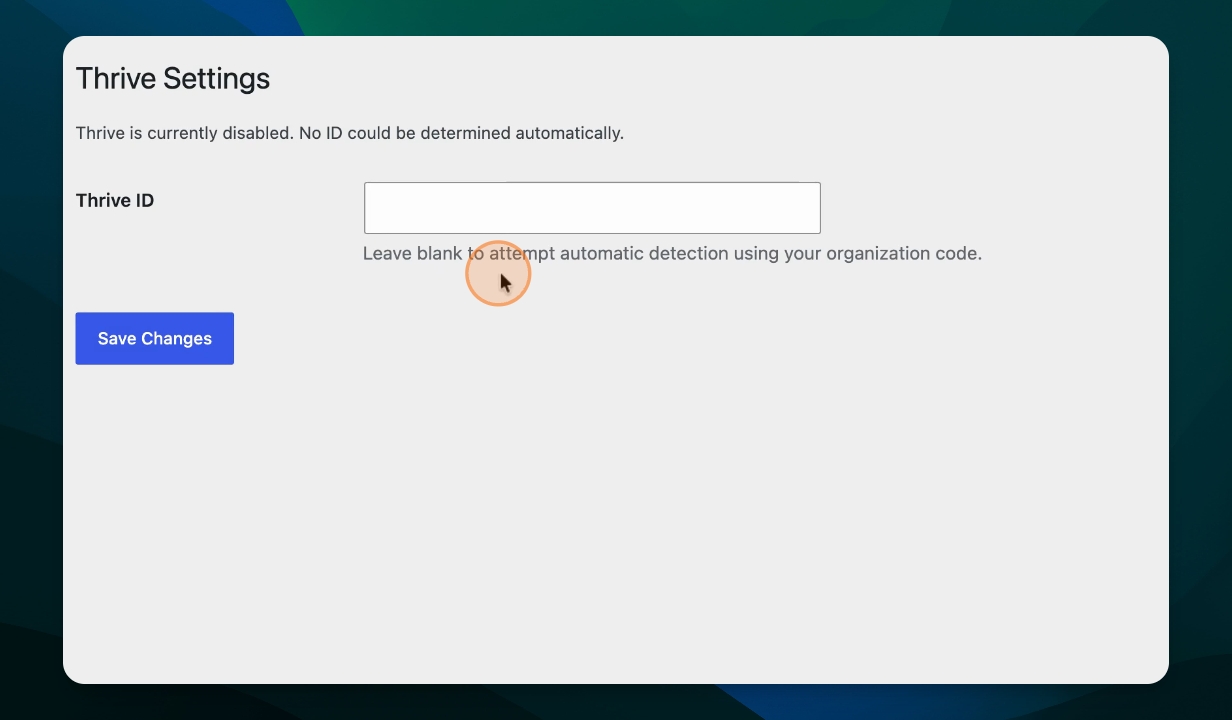
On the Settings page, check if your Thrive ID has been automatically filled in. This should happen once your Thrive account is set up.
Step 5: Manually Enter Thrive ID if Needed
If the Thrive ID is not filled in, log in to your Thrive account. Click on Manage Church, then Overview. Find the Entity ID under your site title.
Copy the Entity ID and paste it into the Thrive ID field in your Frame Settings. Click Save Changes. Thrive will now be enabled on your website.
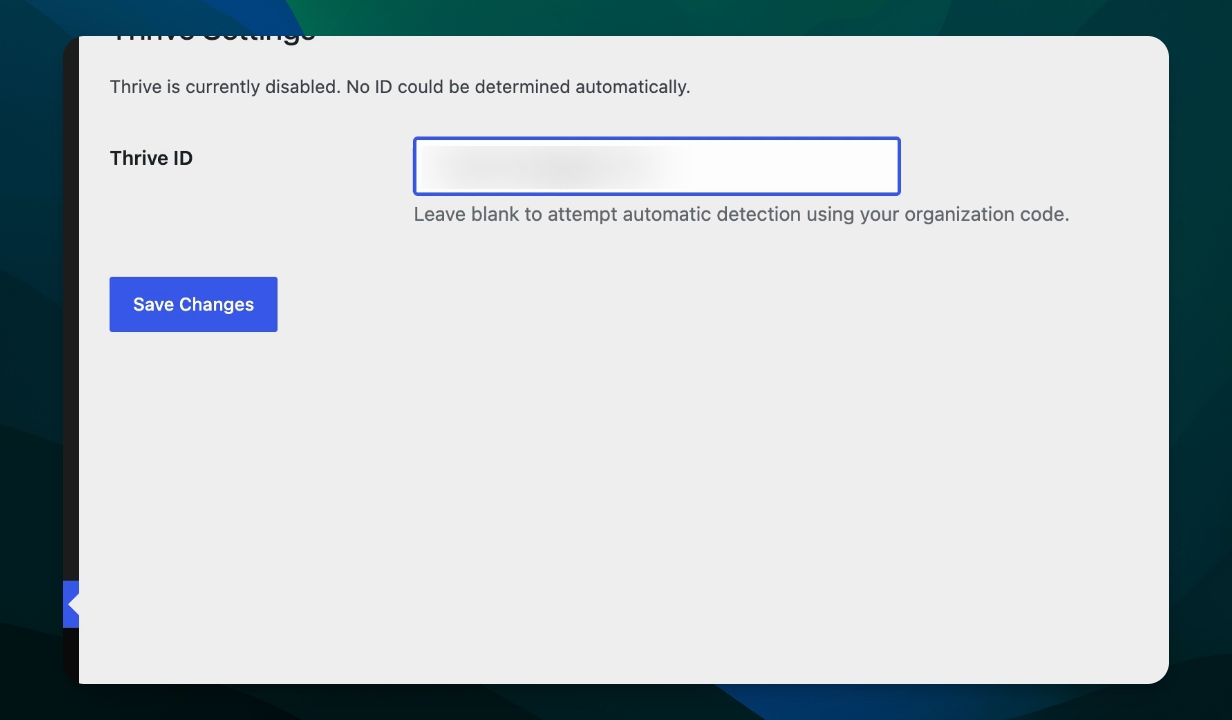
Once enabled, you will be able to add Thrive forms to your website.