
TL;DR
Change the Recipient Email and add Custom Emails if needed.
Note that notifications are set individually for each form. You must configure a one for every form you create that requires a notification email.
Let's Do It Together!
Step 1: Access Your Forms
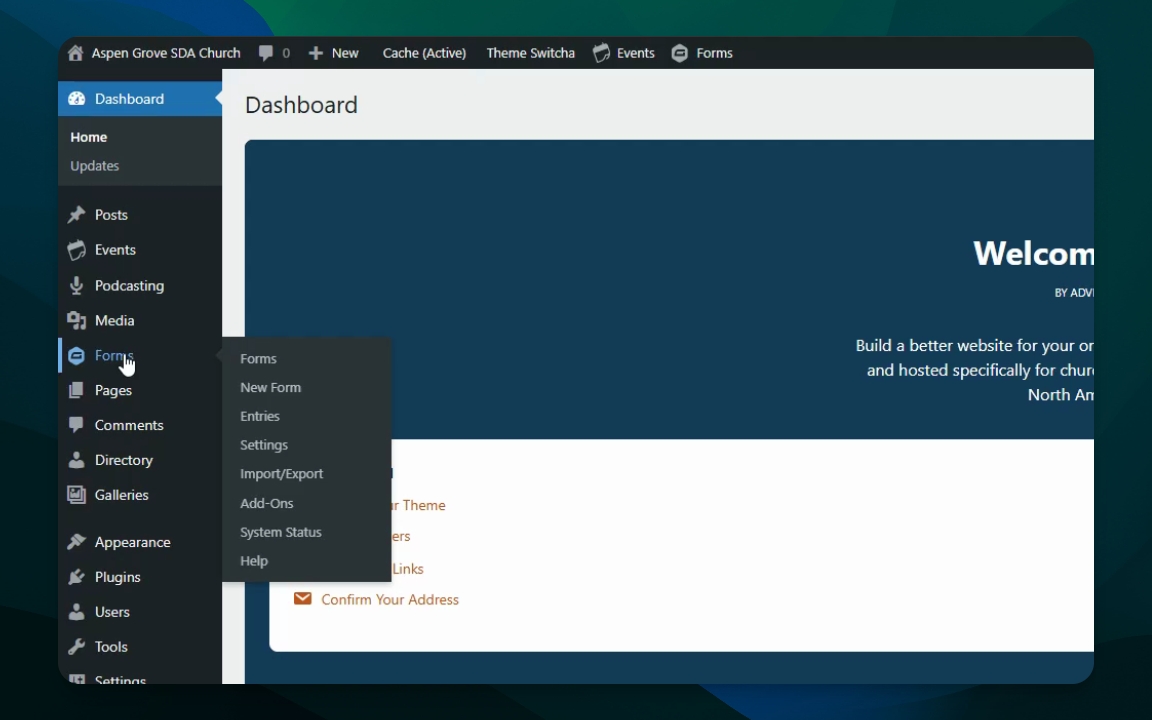
Go to your Forms.
Click the Forms button to view all forms.
You will see a list of all your website forms.
Step 2: Select a Form to Edit
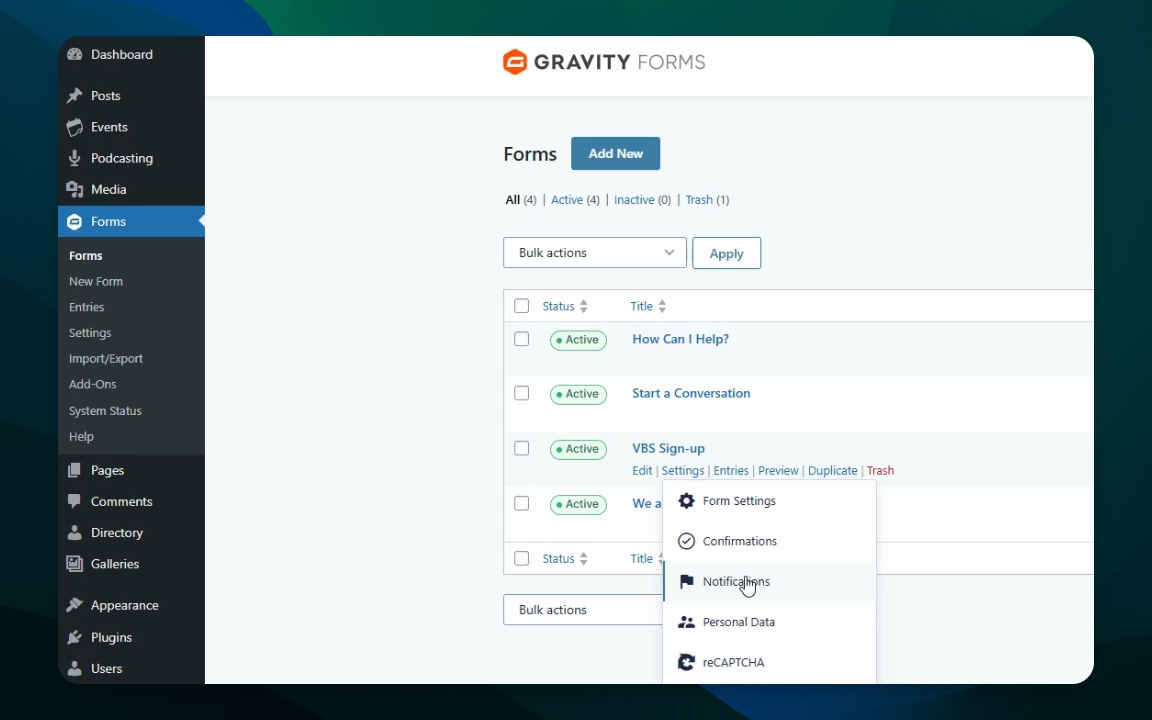
Choose the form you want to check or change.
Hover over the form name and click Settings.
The form settings will be displayed for editing.
Step 3: Edit Notification Settings
In the settings, look for the Notifications section.
You can edit, duplicate or delete notifications.
Click Edit to modify the email settings.
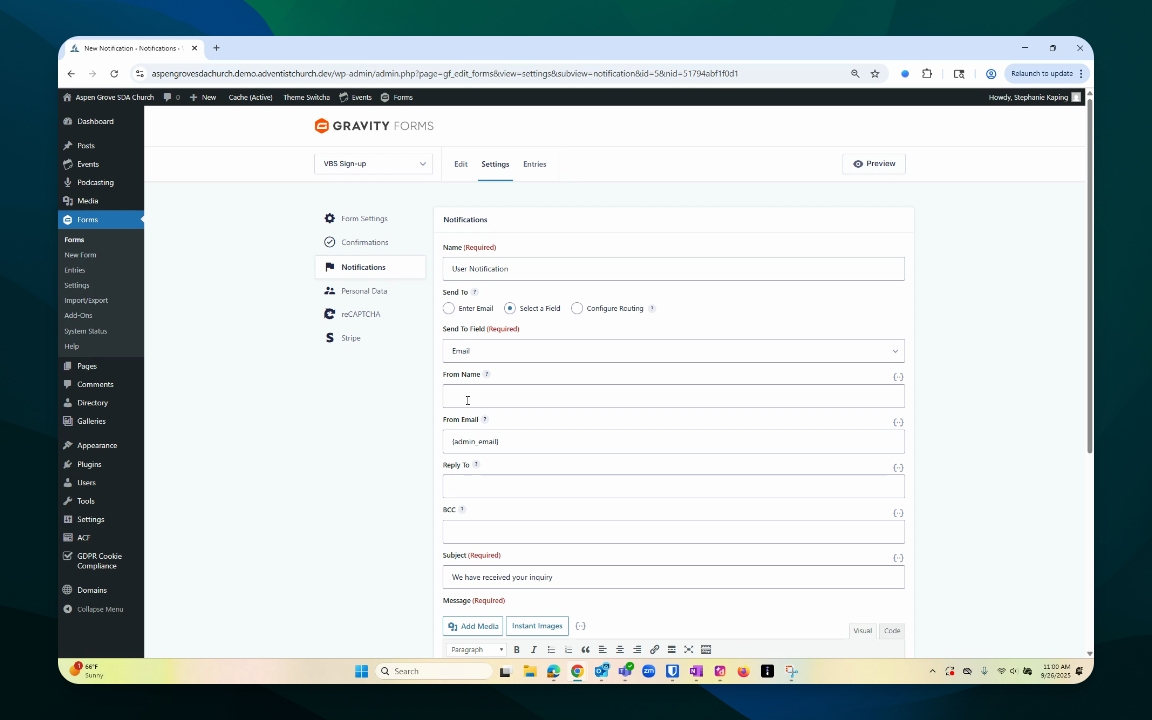
You can now change the email settings for notifications.
Step 4: Customize Email Recipients
Change the Send to Field to the email address(es) you would like the notification email sent to. There are several options for selecting recipients.
Enter Email. Allows notifications to be sent to a static email address.
You can use {admin_email} to send to all site admin users.
To add multiple email addresses, separate by commas (include no spaces).
Select a field. Allows notifications to be sent to an email address included in the form. This is great for sending automated follow-ups to users who submit a form.
Configure Routing. Allows notifications to be sent to different email addresses depending on values selected in the form. Use this for example, to notify a member care pastor or secretary depending on what the form submitter needs.
Your form notifications are now configured to be sent to the specified emails.
Step 5: Save Changes
Review all changes made to the notifications.
Click Save to apply the changes.