User roles control what each person can see and do while editing or viewing your site. When the provided roles don't quite fit your needs, you can create a custom role by copying an existing one and adjusting its permissions — giving exactly the right level of access to users.
By creating a new role, you can easily assign the same level of access to multiple users, rather than needing to customize each user's permissions individually.
Only Site Admins can manage user roles. If you don’t have the required permissions, please contact an administrator for assistance.
Let's look at the steps:
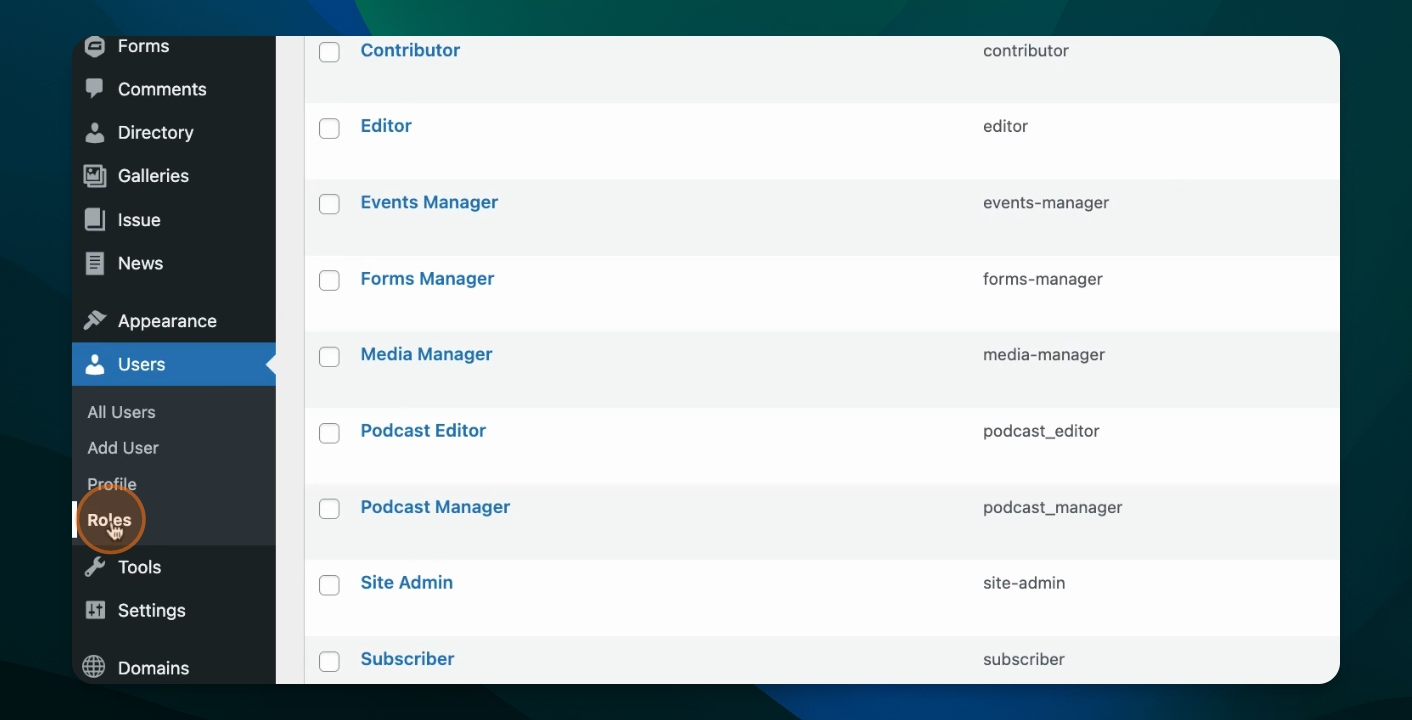
Step 1: Navigate to Roles
From the dashboard, go to Roles under Users to see a list of available roles.
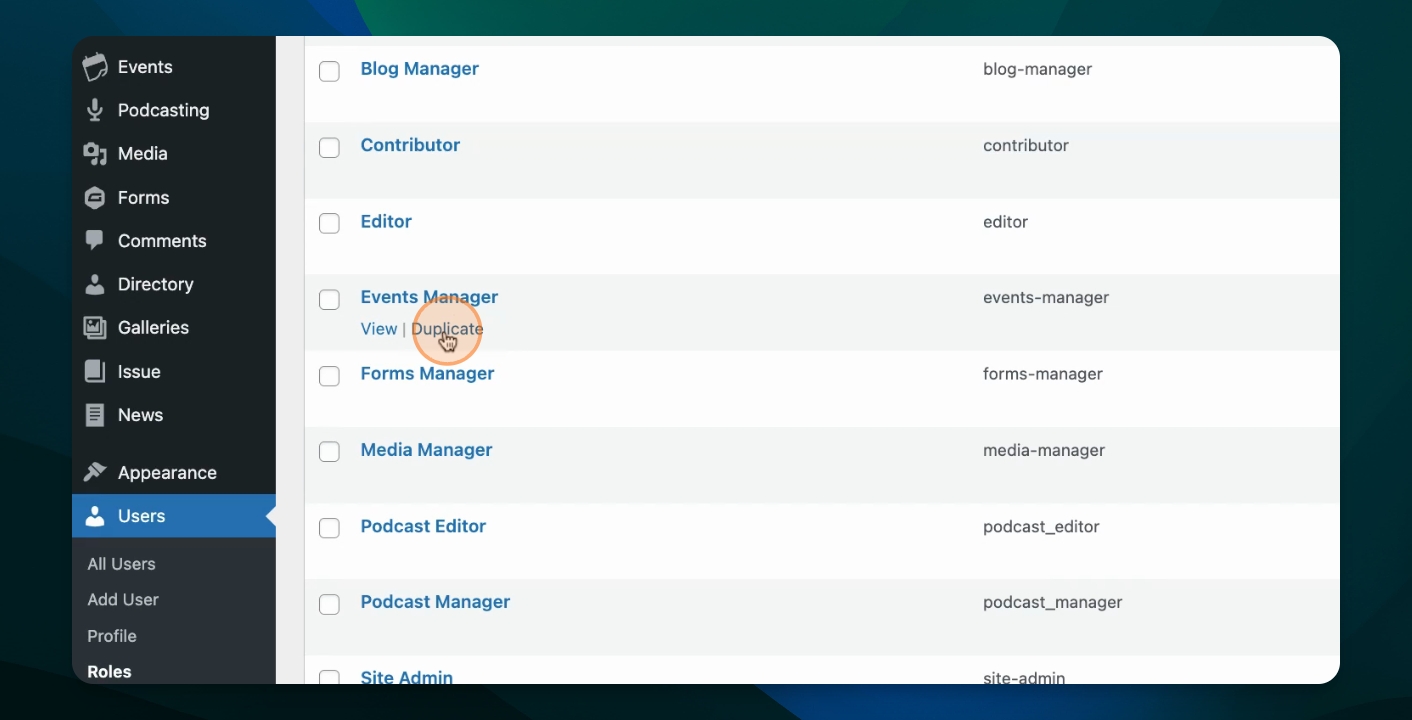
Step 2: Duplicate a Role
Click Duplicate next to the role you want to copy and give the new role a name.
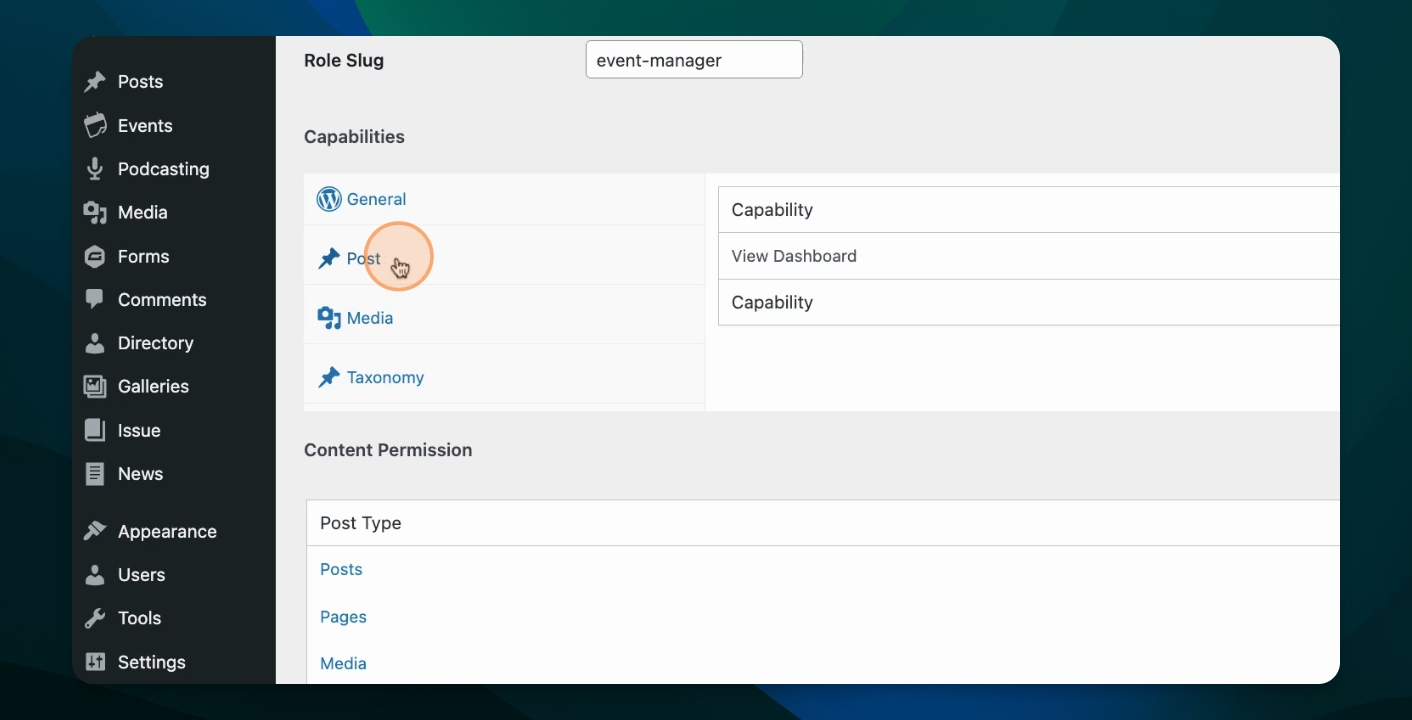
Step 3: Modify Capabilities
Add or remove capabilities as necessary in the provided window.
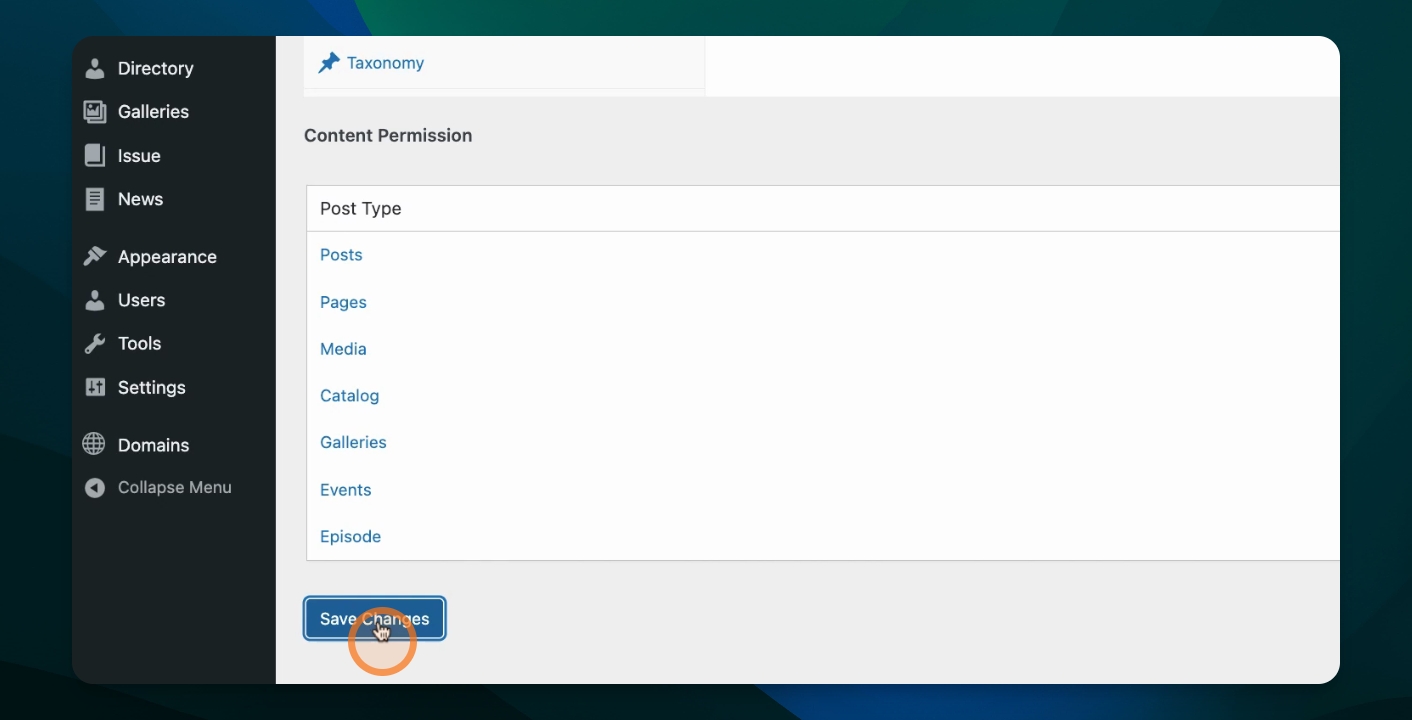
Step 4: Save Changes
Save the changes. You can now see the new role in the roles list. If you need to edit it later, you can do so from this same location.