From your dashboard, create categories and positions from the Directory menu.
Create a directory item for each person.
Select a featured image, category and position for the person in the Block Settings menu.
Add a Directory Listing block to the page you want to display your directory.
You can filter the list by category and position.
Let's do it together!
Step 1: Access the Directory Section
Scroll down to the directory section in your dashboard.
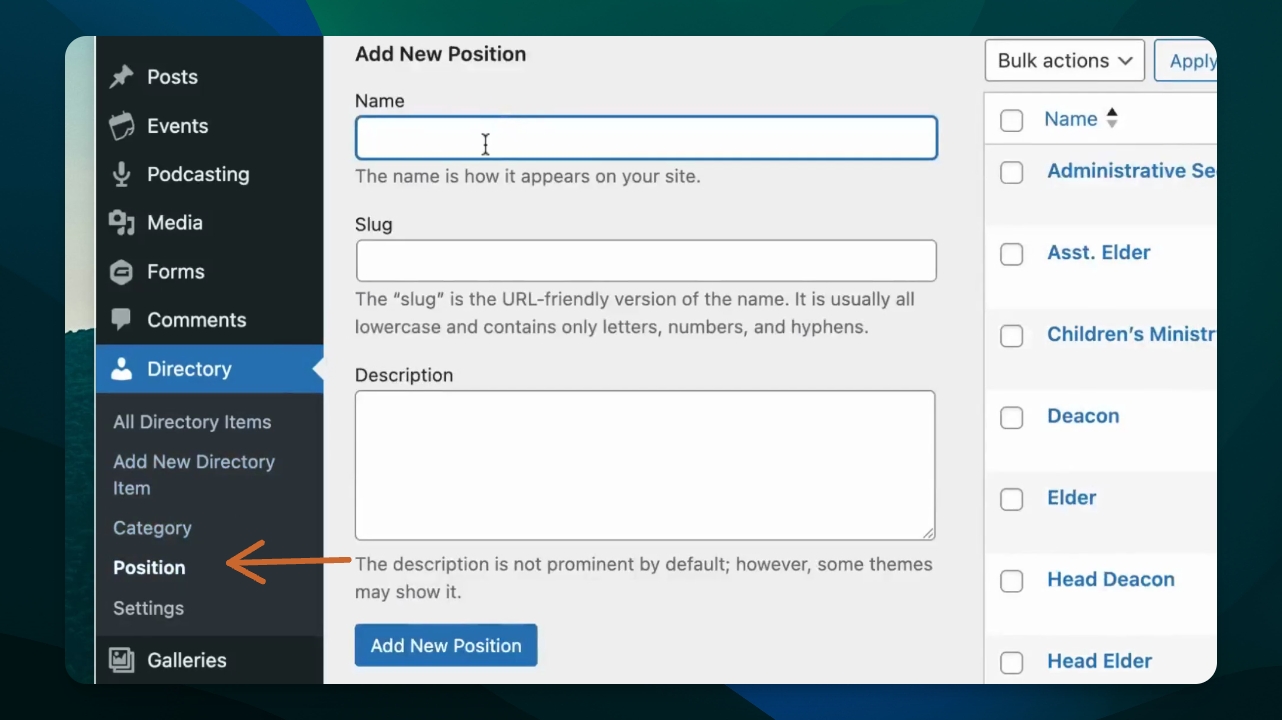
Step 2: Create Categories
Click to create a new category, then set a Name.
Adding a slug or description is optional for your category.
Click to add new category and see it appear in your list.
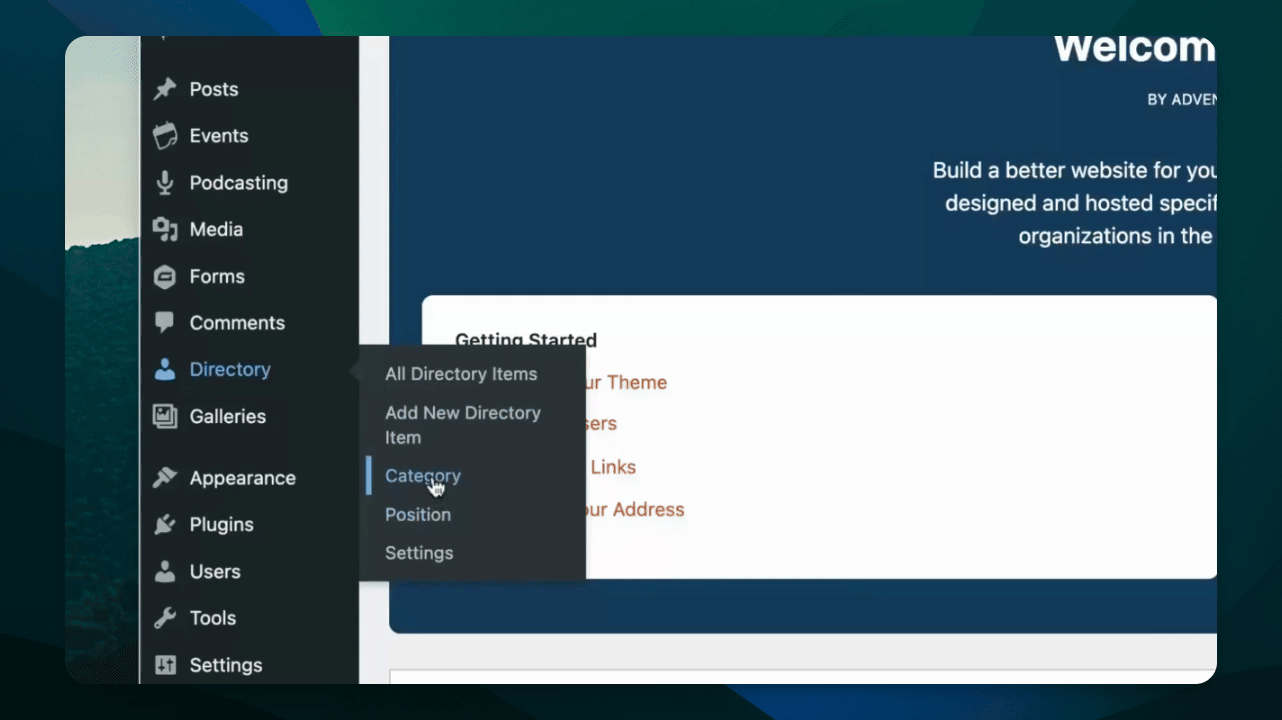
Step 3: Manage Positions
Under the directory menu, click Position to create new positions.
Add a Name, and a slug or description if you'd like.
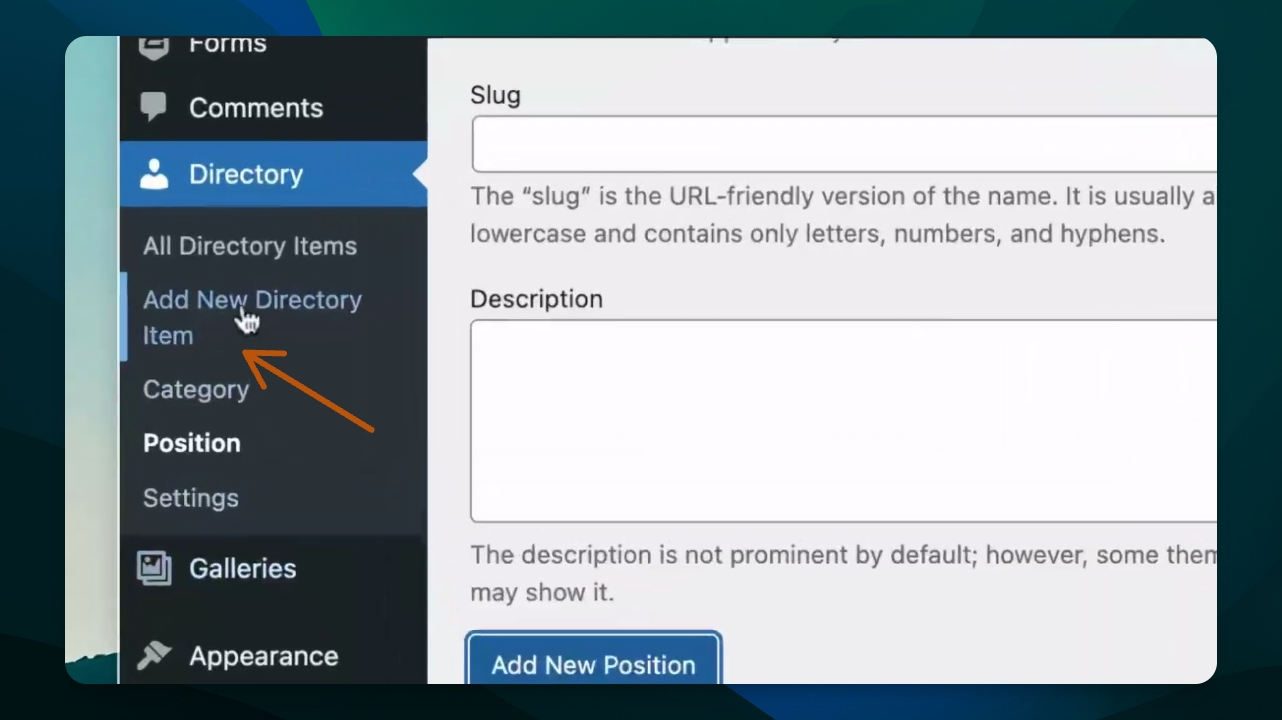
Step 7: Add Directory Item
Click Add a directory item to include a person, like James.
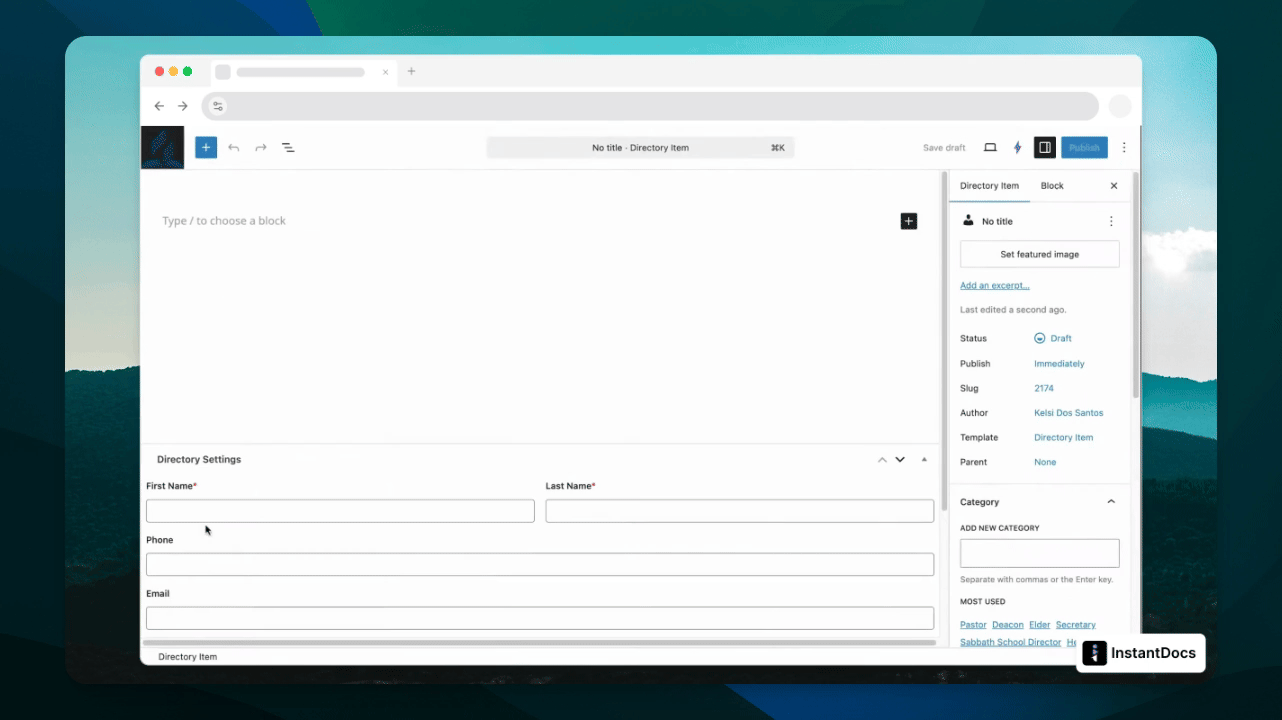
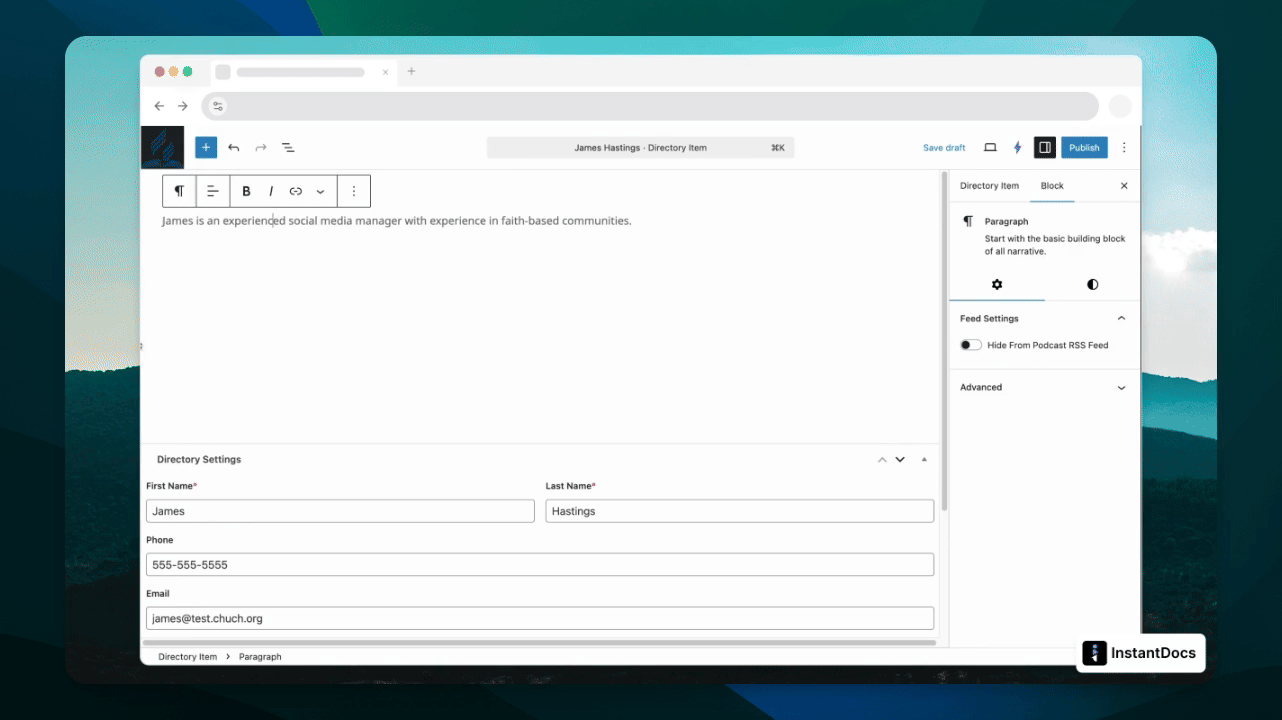
Step 8: Enter Details
Fill in all relevant contact details for the directory item, and a short bio if you'd like.
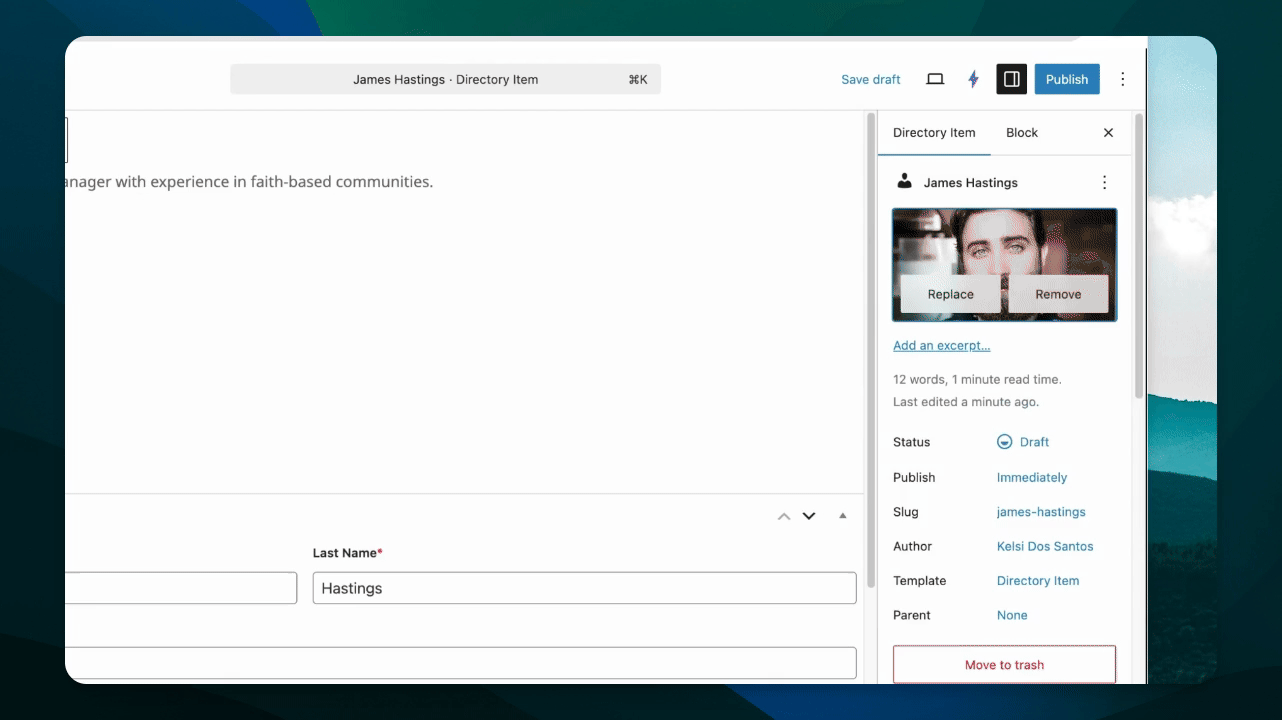
Step 10: Upload a Featured Image
Use the Featured Image option to upload a photo.
Step 11: Select Category and Position
Choose a category and position for the directory item using the Directory Item menu.
Step 12: Publish the Directory Item
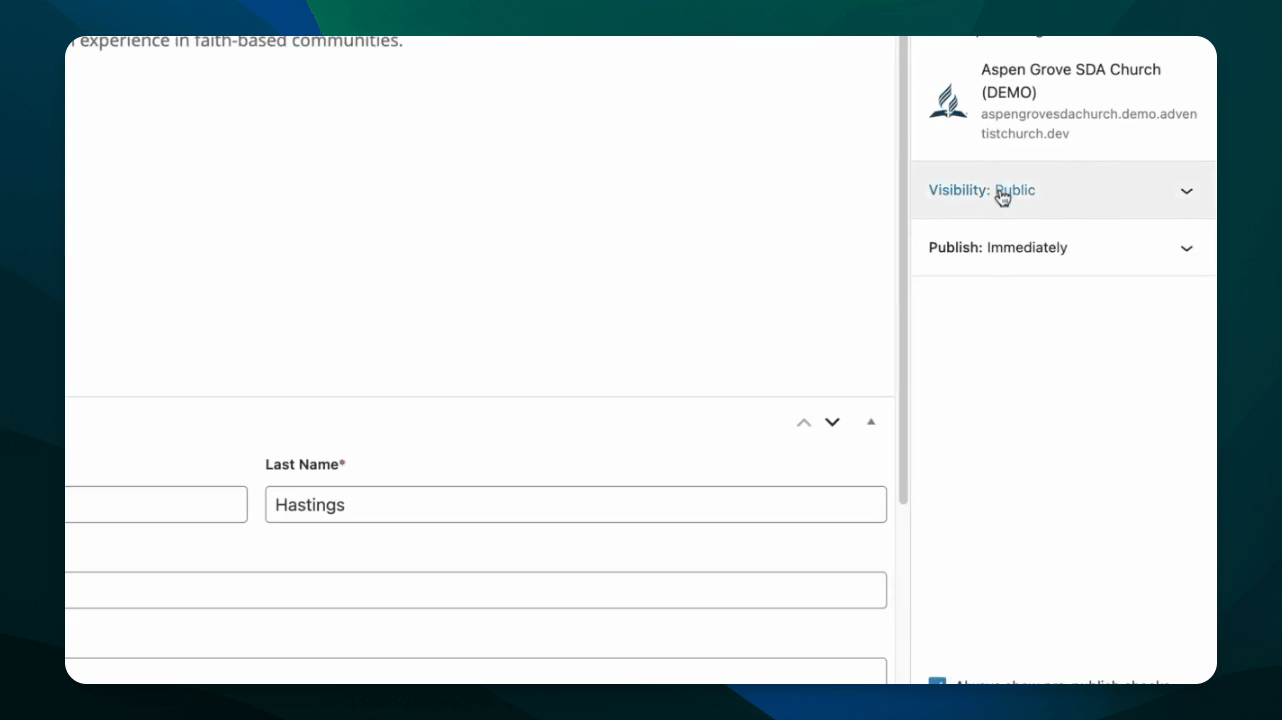
Click Publish and check your visibility settings. You have options for the item to be public, private, or password protected.