What are you looking for?
Get help straight from our team...
How to Create a Directory - Part 1
First part is to set up a directory data base that includes, bios, contact information, photo, categories and positions.
Updated 1 week ago
TL;DR
Let's Do It Together!
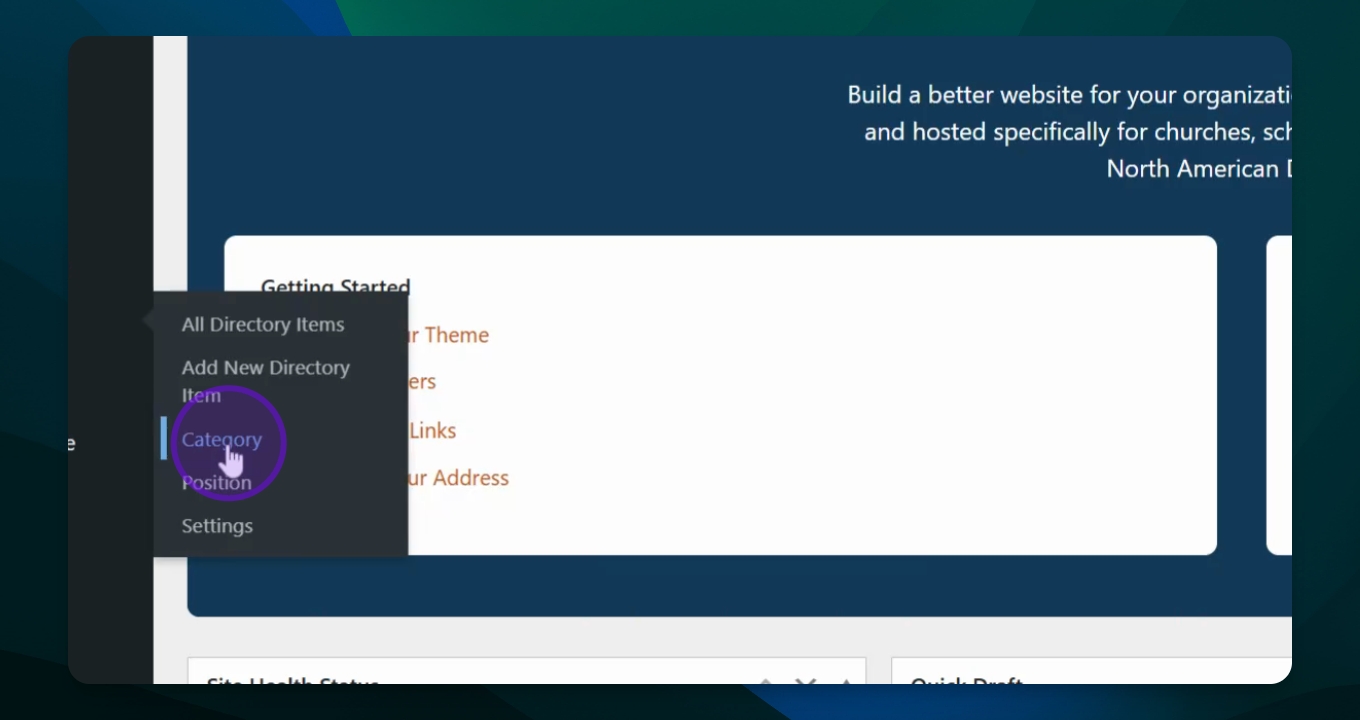
Step 1: Access the Directory
Go to your Dashboard.
Navigate to the Directory section.
You will see a menu pop up with options.
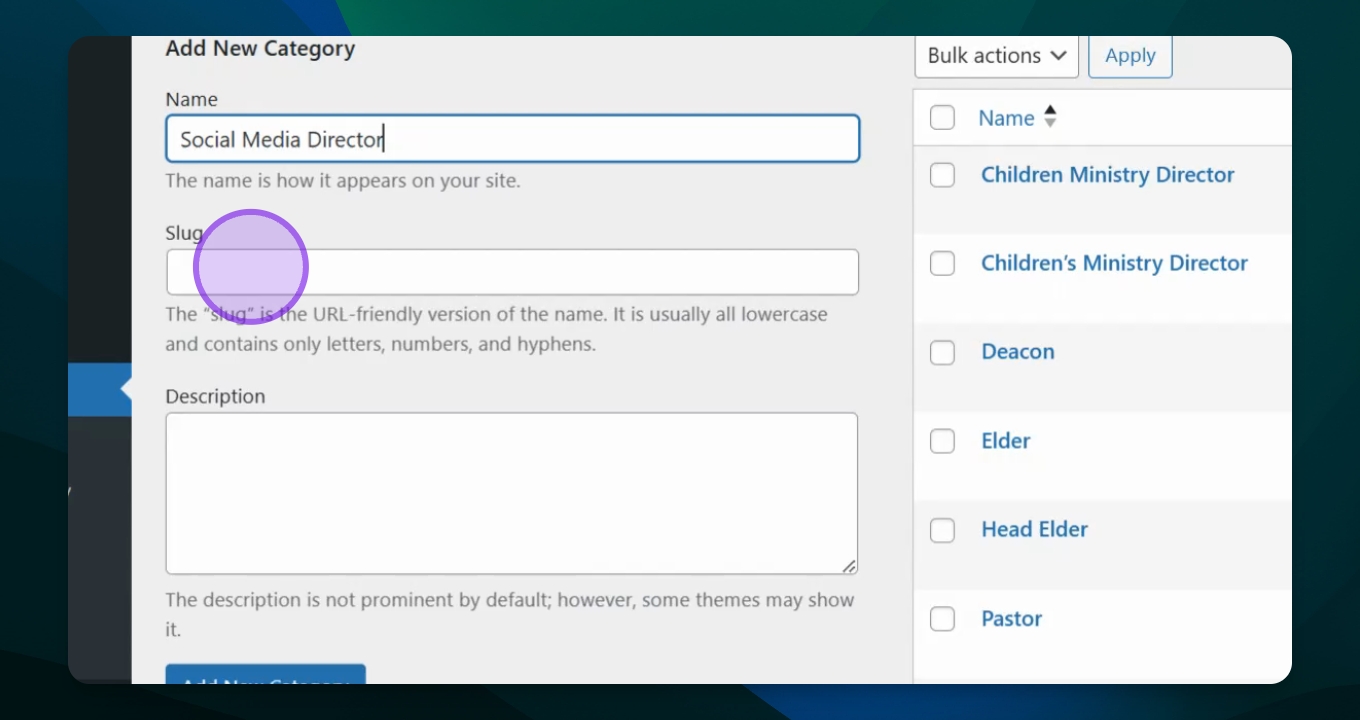
Step 2: Create a New Category
Select Add New to create a new category.
Enter the name as Social Media Director.
Optionally, add a slug like social.
Optionally, add a description.
Click on Add Category to save it.
You will see the new category listed in your categories.
Step 3: Add a New Directory Item
Go to All Directory Items and click Add New Directory Item.
Enter the name as James and fill in the contact information.
Optionally, add a photo for interest.
Select the category as Social Media Director.
Click Publish when ready.
The new directory item is now published and visible.
Step 4: Refresh and View Your Directory
To view your directory, refresh the screen using Control R for PCs or Command R on Mac.
You will see the newly added item in the directory.
Your directory is now set up and ready for use.