What are you looking for?
Get help straight from our team...
Content Management
Create Cover Slider Block
Add and customize a Cover Slider block with images.
Updated 3 weeks ago
TL;DR
Let's Do It Together!
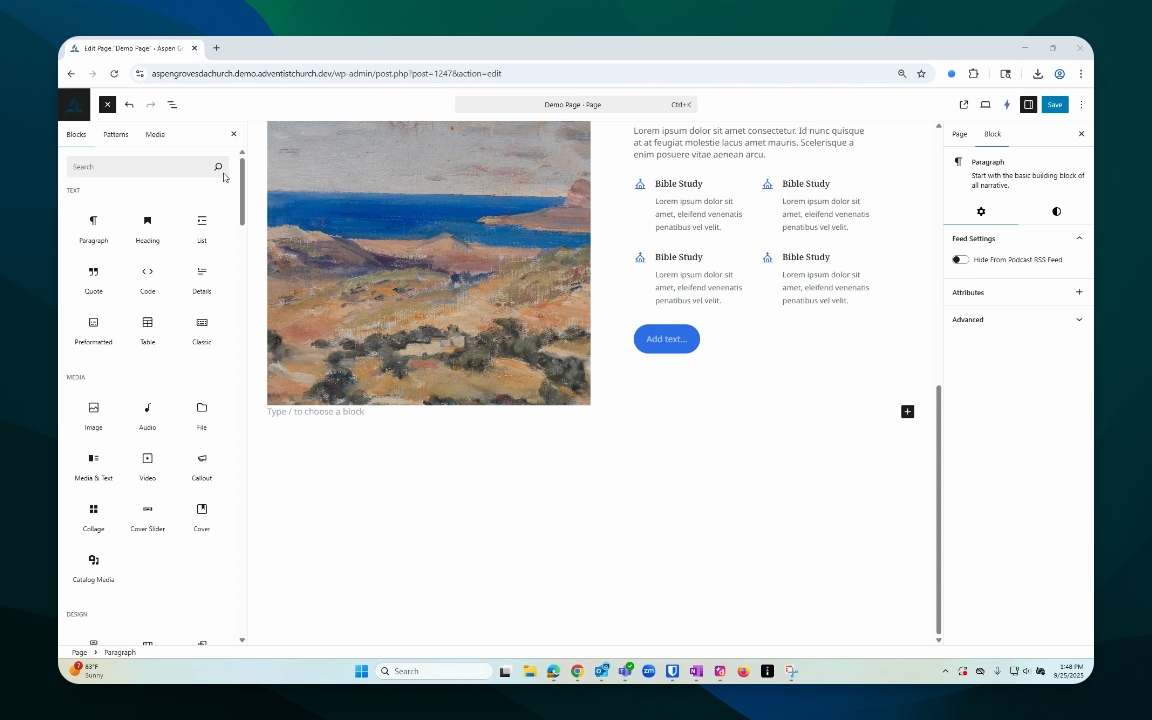
Step 1: Insert Cover Slider Block
Open the block inserter.
Type in Cover and select Cover Slider.
This adds a Cover Slider block with two initial options.
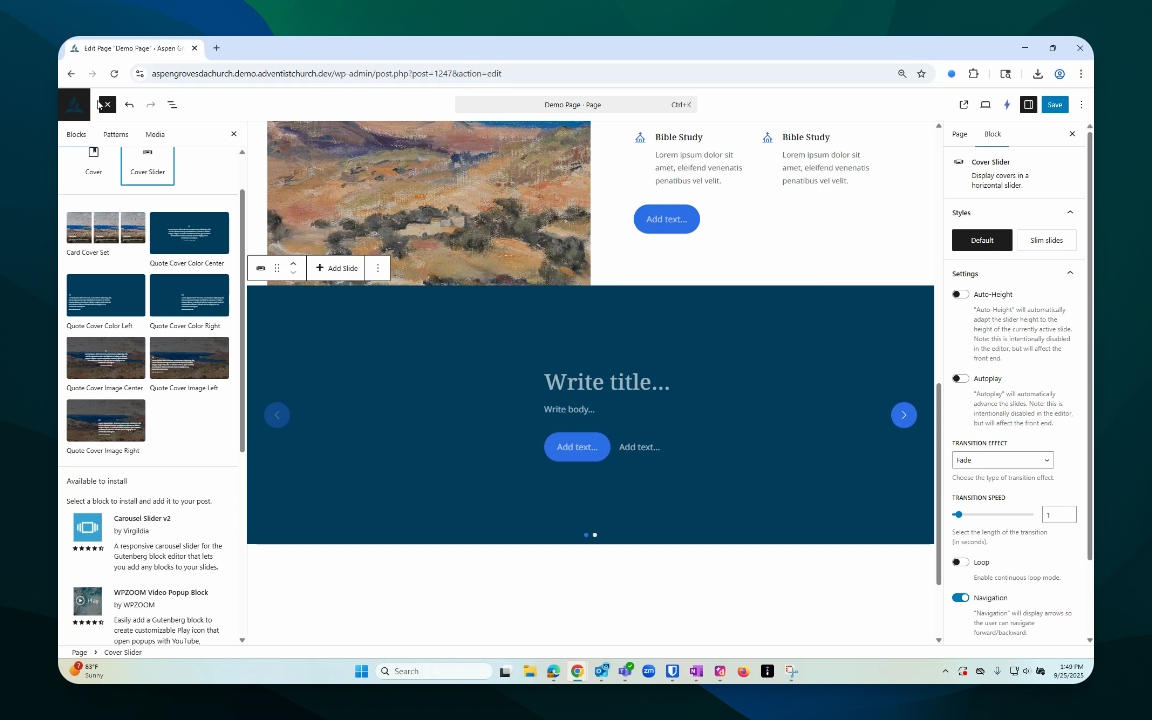
Step 2: Add More Covers
Go to your document overview.
Select the Cover Slider and toggle it down.
Select a slide, click on the options dots, and choose Duplicate to add more slides.
This adds additional Cover slides to your slider.
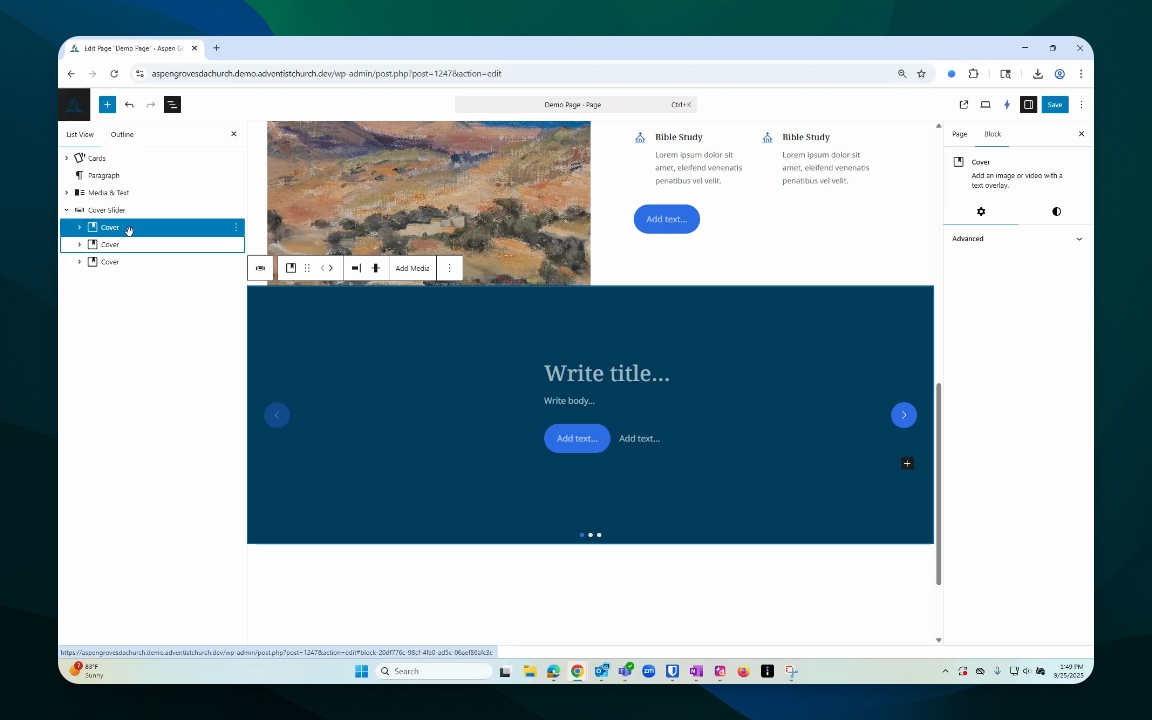
Step 3: Add Image to Slide
Select the block you want to edit.
Click Add media to open your media library.
Select an image, then click Select.
Your chosen image will be added to the first slide.
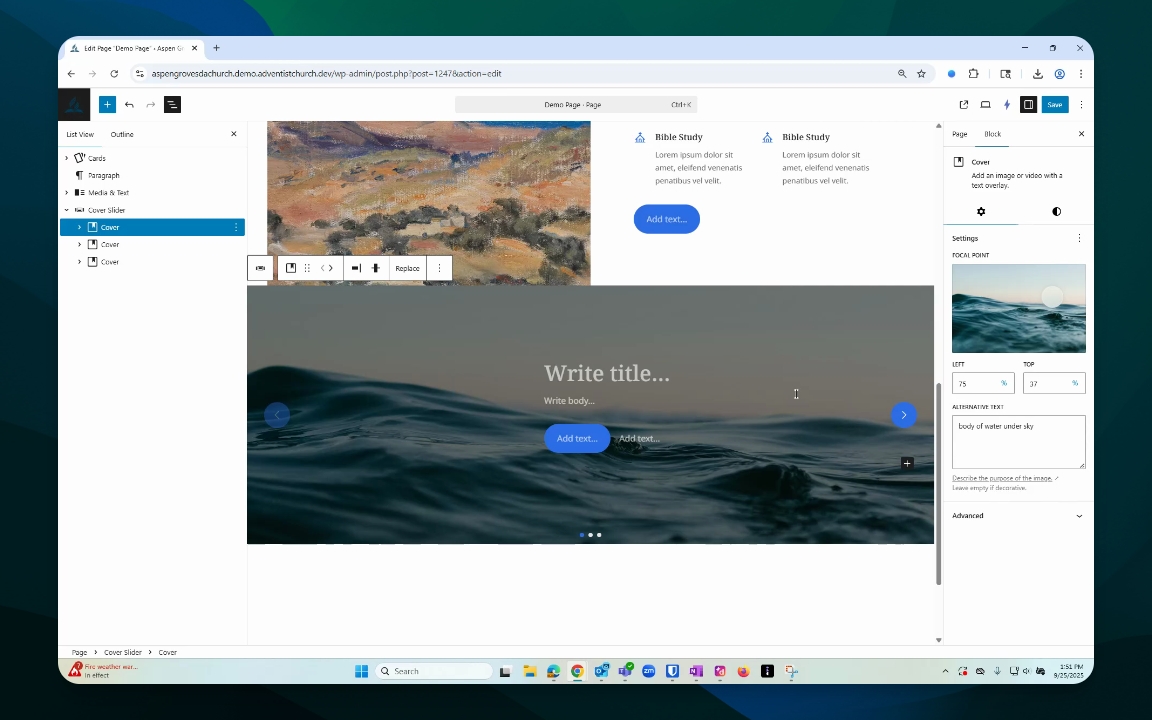
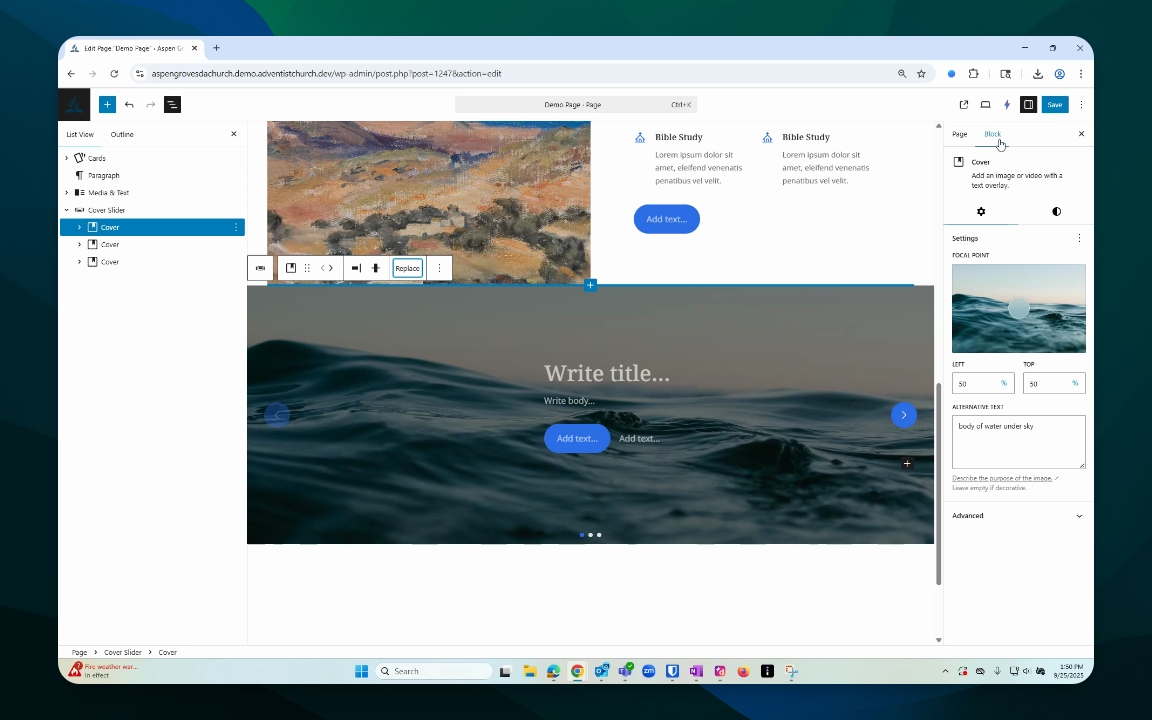
Step 4: Adjust Image Settings
Click on the settings gear icon to open Block settings.
Adjust the focal point by moving the dot on the image.
Modify the aspect ratio by changing the percentage values.
This allows you to customize the appearance of your image within the block.
Step 5: Edit or Replace Image
If unsatisfied, go back to replace the image from your media library.
Click Edit image to crop, rotate, or scale your image.
Save your changes when prompted.
This helps you refine your image to better fit your design.