What are you looking for?
Get help straight from our team...
Create Cover Slider
Build a cover slider for your website with images and text.
Updated 3 days ago
TL;DR
Let's Do It Together!
Step 1: Insert Cover Slider Block
Open your block inserter and type cover slider.
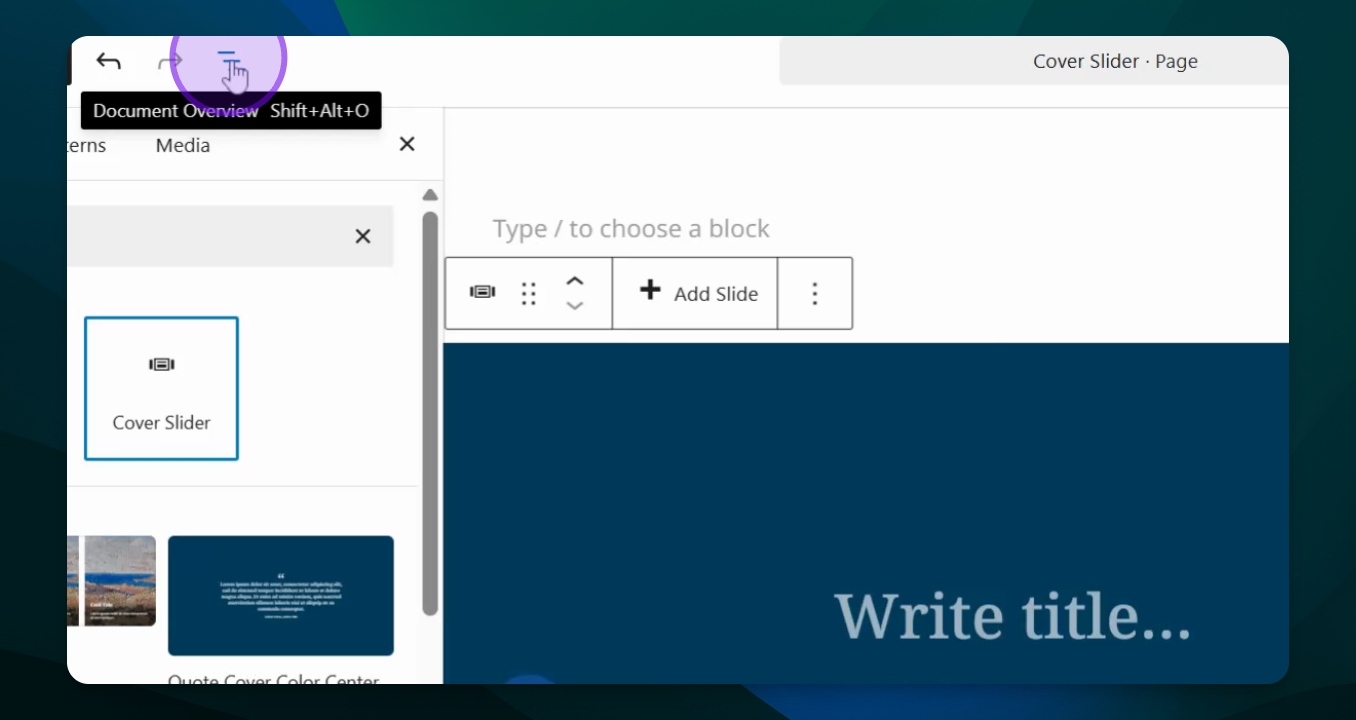
Add the cover slider block to your page.
You will see a solid blue box indicating the cover slider block is added.

Step 2: Customize Your Cover
Add text to the box, which can include a body, a button, or additional text.
Step 3: Manage Covers
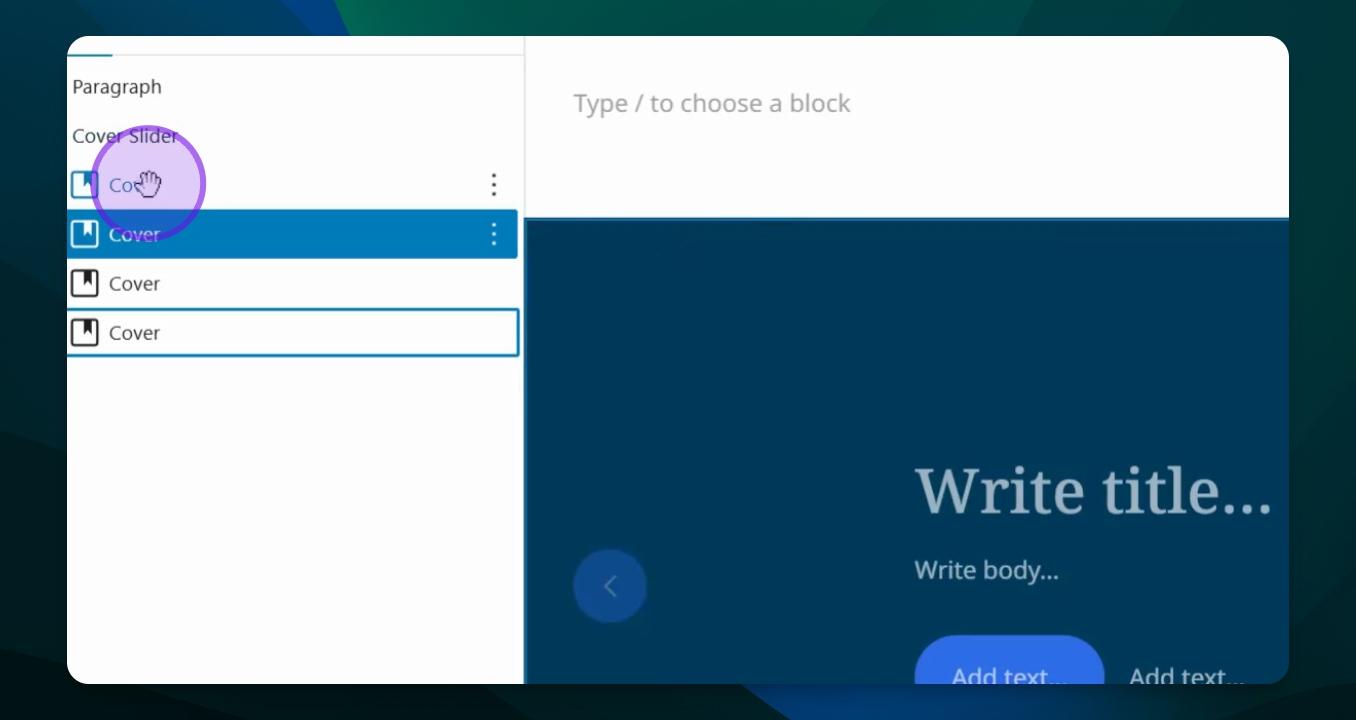
Go to your document overview to view the cover slider.
Each dot represents a cover; by default, two dots are placed automatically.
To add more covers, select duplicate in options.
You can now edit the new covers added to your slider.
Step 4: Edit a Cover
Choose a cover to edit by selecting the corresponding dot.
Add media by selecting a photo from your media library.
Set a title for the cover, such as mountains, or use a quote.
If you prefer not to have a button, delete it from the box.
Your cover is now set up with a title and photo.
Step 5: Finalize and View
Add any additional photos, headings, and paragraphs as needed.
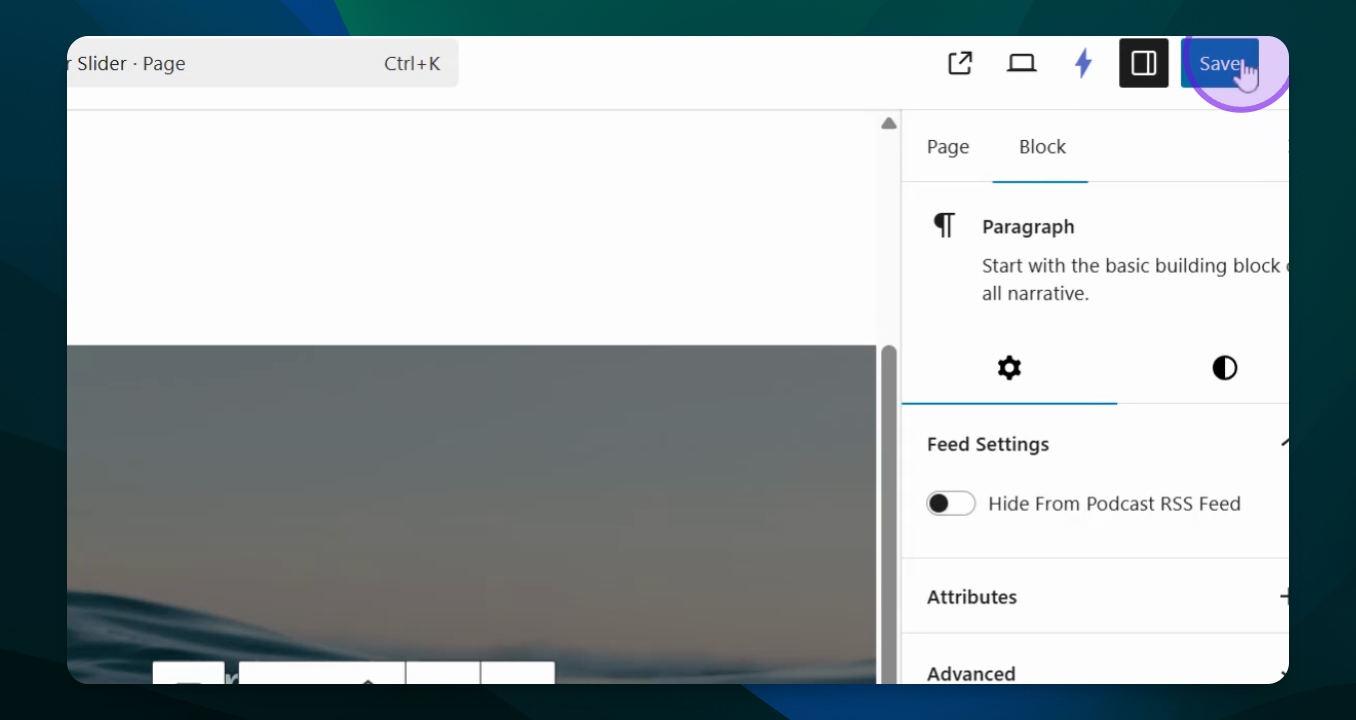
Once finished, click save and then view the page.
You will be able to navigate through your completed slider.