What are you looking for?
Get help straight from our team...
Creating and Styling Headings
Add and customize headings in your Frame site.
Updated 3 days ago
TL;DR
Let's Do It Together!
Step 1: Add a Heading
Press the black plus button and select heading.
Alternatively, use the blue block inserter to drag or click on heading.
For this tutorial, we'll use a slash command: type heading and press Enter.
Your heading is now added to the frame site.

Step 2: Customize the Heading
Choose the heading level: Heading 1, Heading 2, Heading 3, or Heading 4.
For this example, we will select Heading 2.
Align the text: choose left, center, or right alignment.
For now, we'll leave it aligned to the left.
Your heading is customized with the desired level and alignment.

Step 3: Style the Heading
Highlight the text to bold or italicize it.
You can transform text using the transform button to change it from a paragraph to a heading.
To style further, access the settings button on the right side of the screen.
Change text color and background color as needed.
Adjust typography using preset sizes or a custom pixel size.

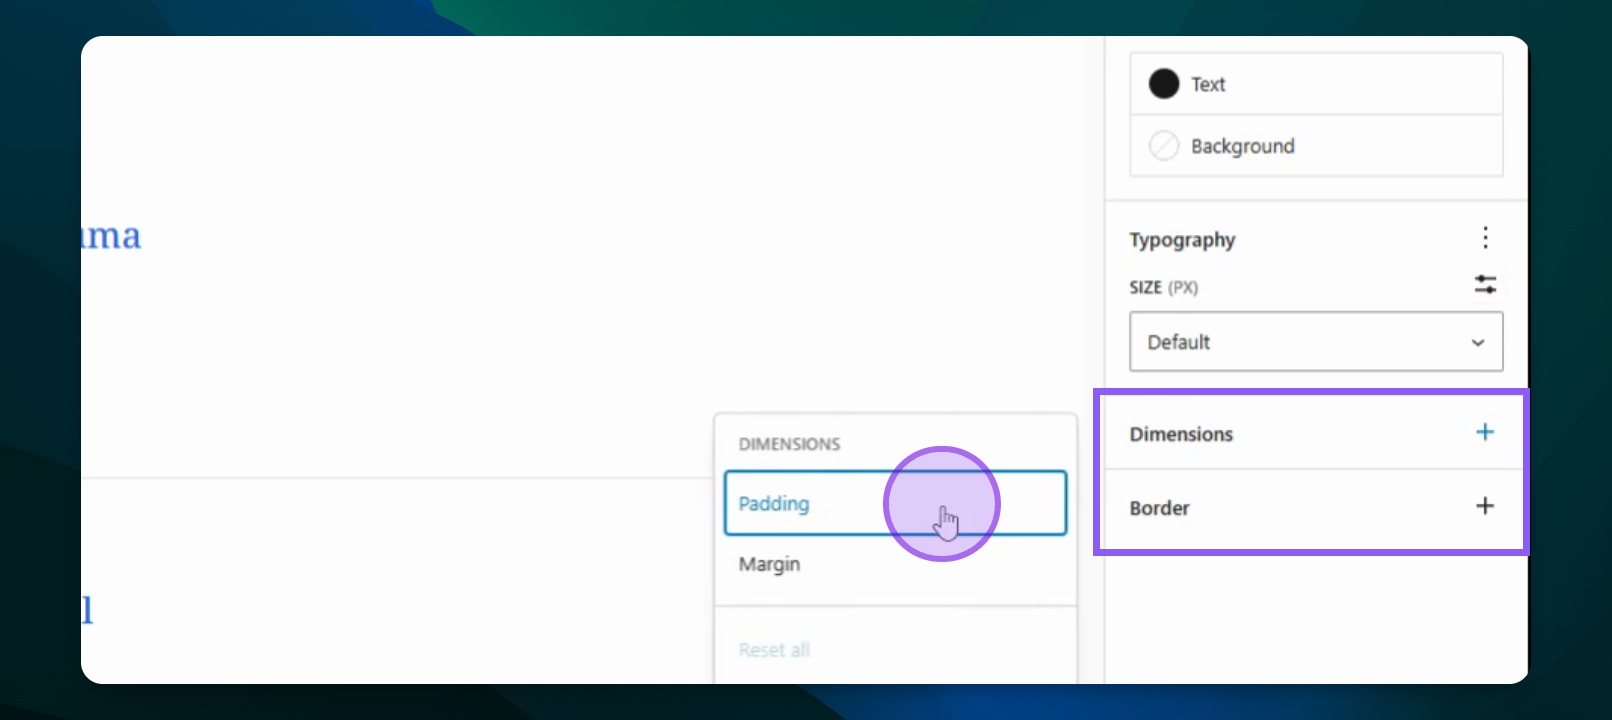
Step 4: Adjust Dimensions and Borders
Modify padding and margins under dimensions for more space.
Add a border and adjust the border radius for rounded corners.
Change the border color if desired.
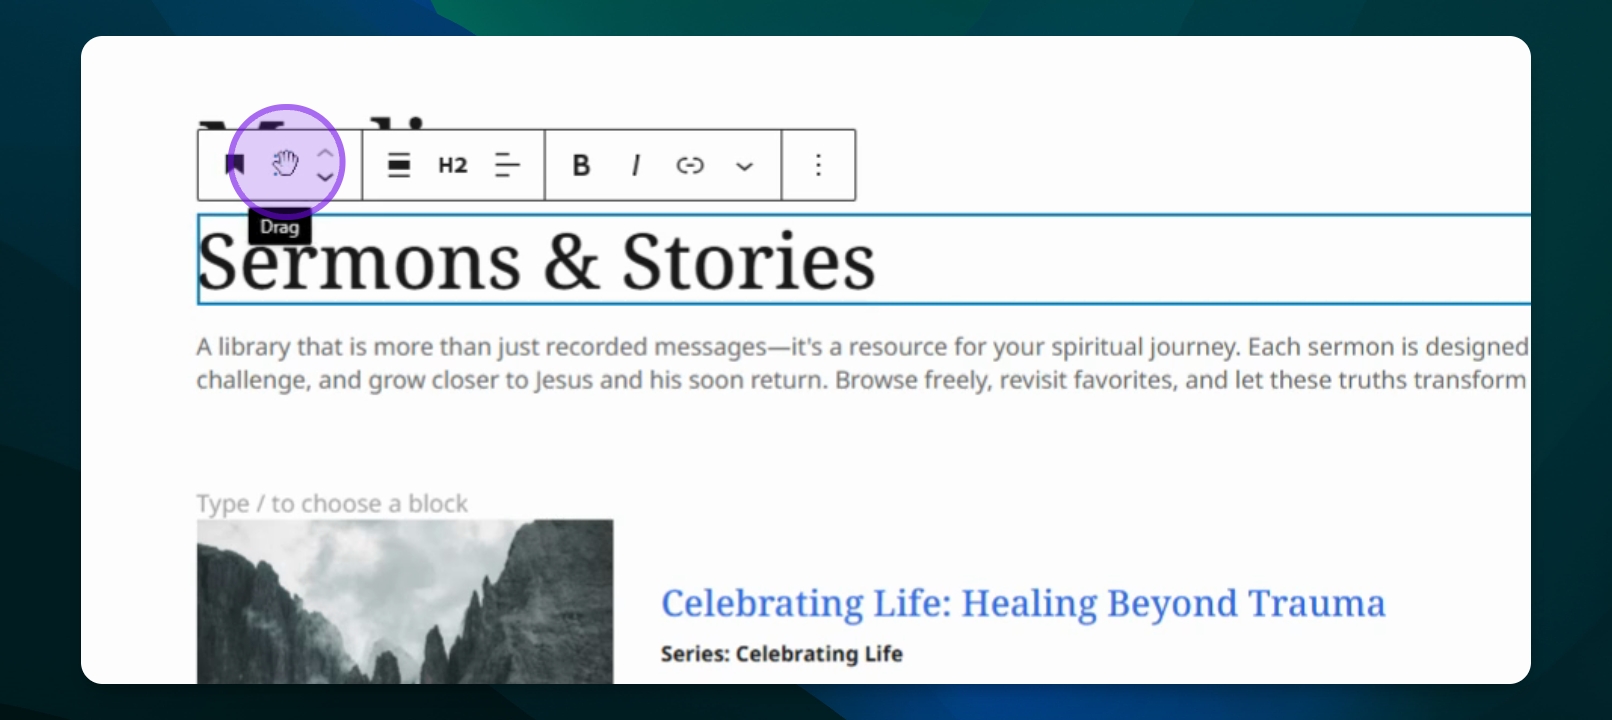
Step 5: Move and Link the Heading
Drag the heading to reposition it using the drag button.
Press Ctrl Z to undo any changes.
Highlight the text to add a link to make it clickable.
Your heading can now be moved and linked for navigation.
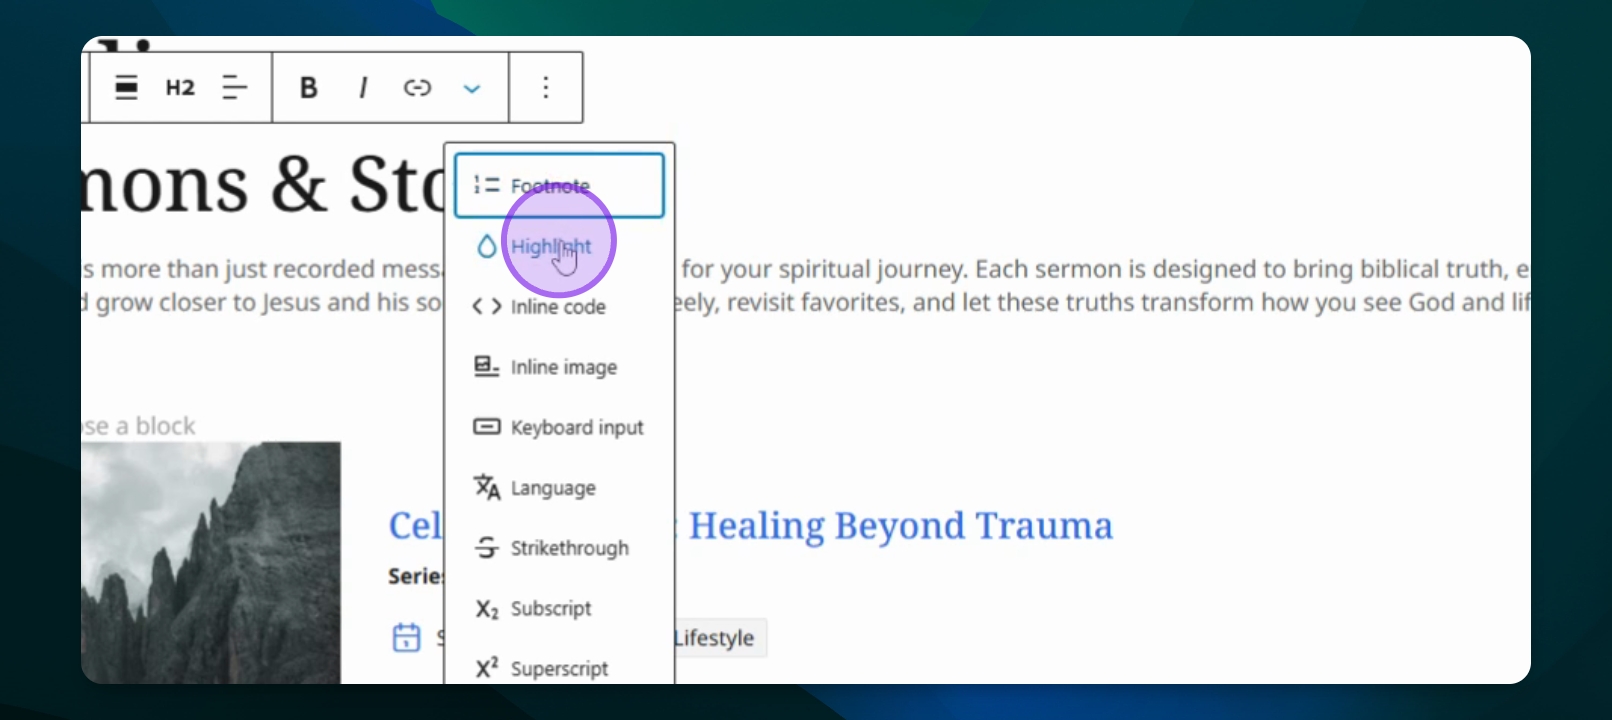
Step 6: Additional Options
Add footnotes or apply strike, subscript, or superscript formatting as needed.