What are you looking for?
Get help straight from our team...
Using the Catalog to Create a Page and Add Media Items
Do you have a YouTube or Vimeo Channel for your church or School? You can easily create a catalog to view each sermon, program, or event.In this example, we will demonstrate how to create a catalog page and add media items to it.
Updated 1 week ago
TL;DR
Let's Do It Together!
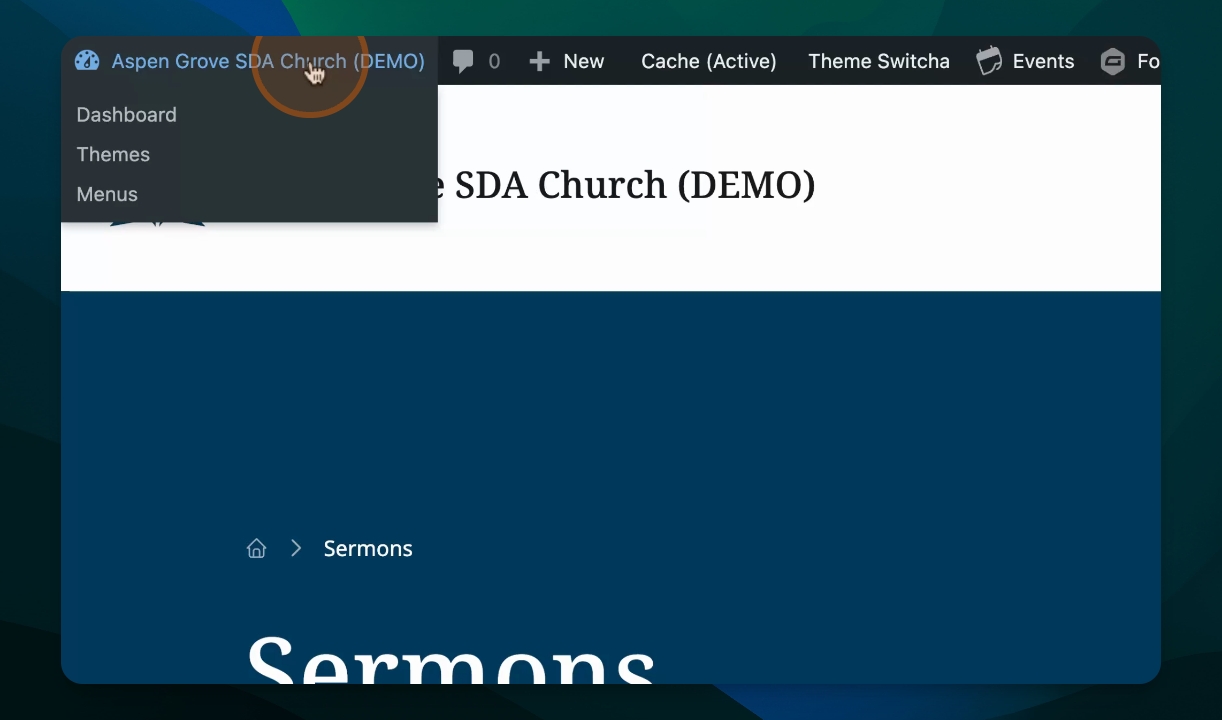
Step 1: Access Catalog Settings
Click on the site name in the corner.
Navigate to Media and select Catalog.
Click the Settings button to open catalog settings.
You are now on the catalog settings page where you can modify the catalog name and URL.
Step 2: Create New Media Item
Hover over the plus new icon at the top.
Scroll down and select Catalog Item.
You are now ready to enter information for the new catalog item.

Step 3: Enter Media Item Details
Input a title for the media item.
Provide body copy to describe the sermon.
Add a description under the title.
You have added the necessary details for the media item.

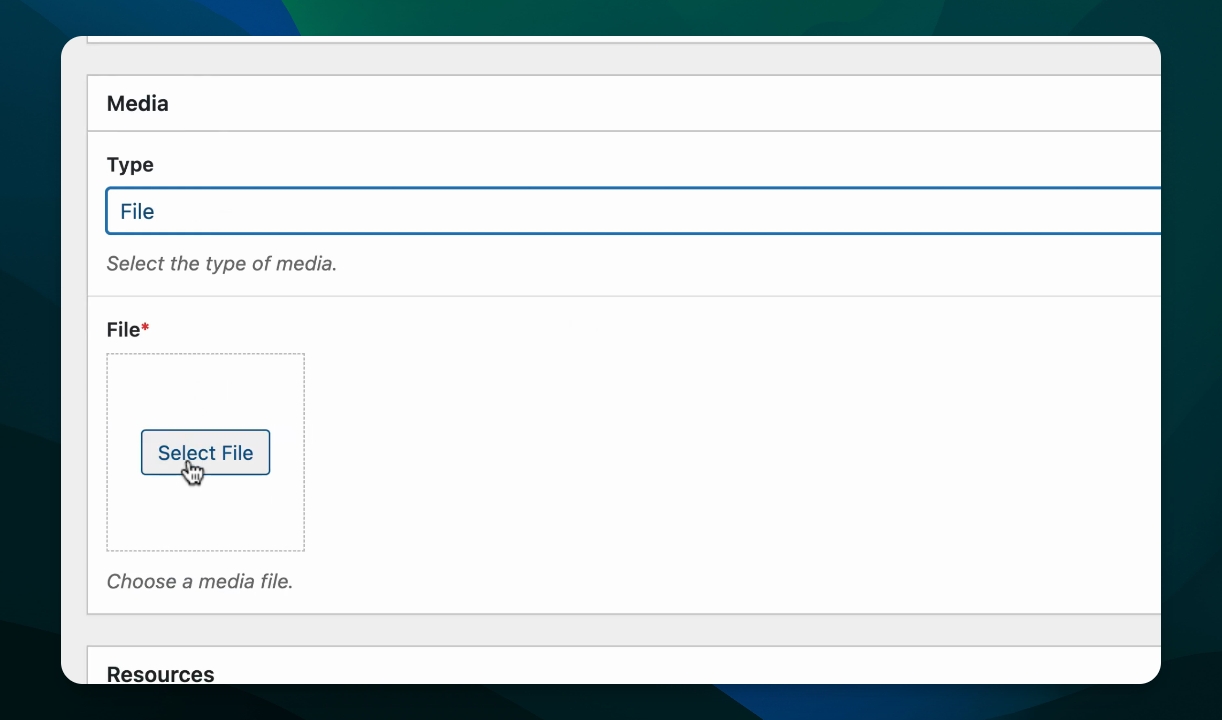
Step 4: Upload Media Files
Select the type of media you want to upload (YouTube, Vimeo, or file).
If using a file, choose upload files or select from the media library.
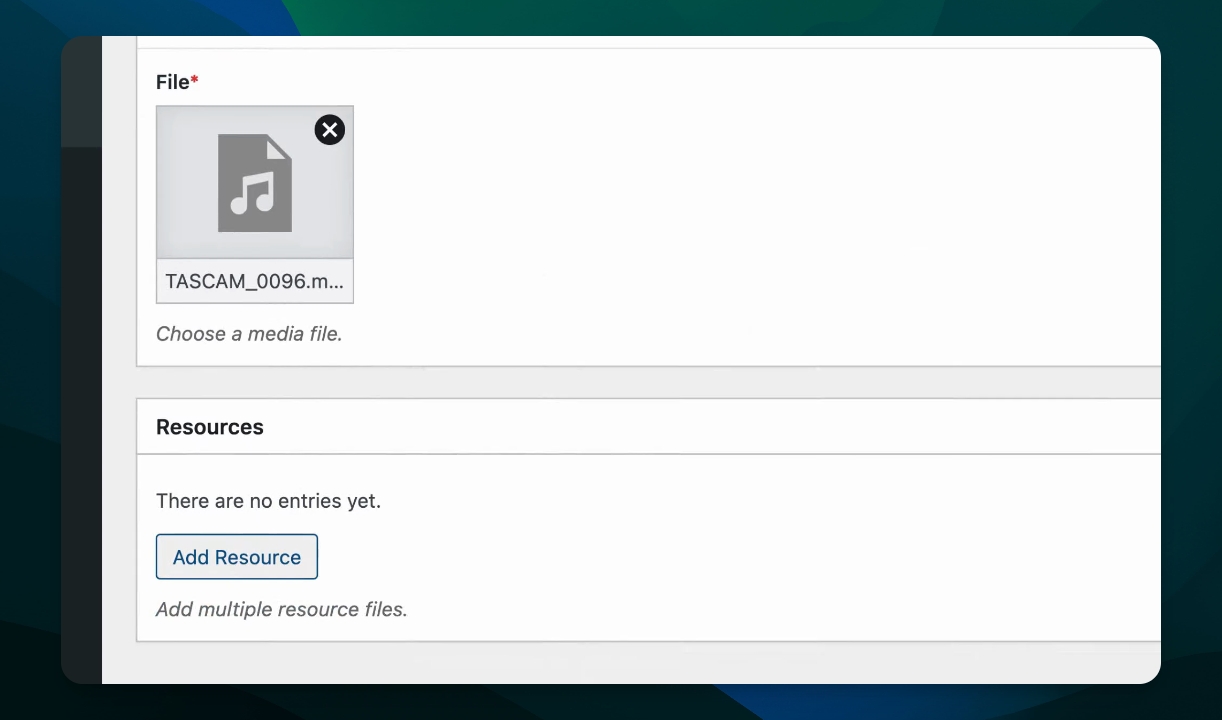
Choose your media file and click Use File.
The media file is now selected for your catalog item.
Step 5: Add Resources and Tags
Upload any relevant resources such as bulletins.
Add media tags to help categorize your content.
Resources and tags have been added to the media item.
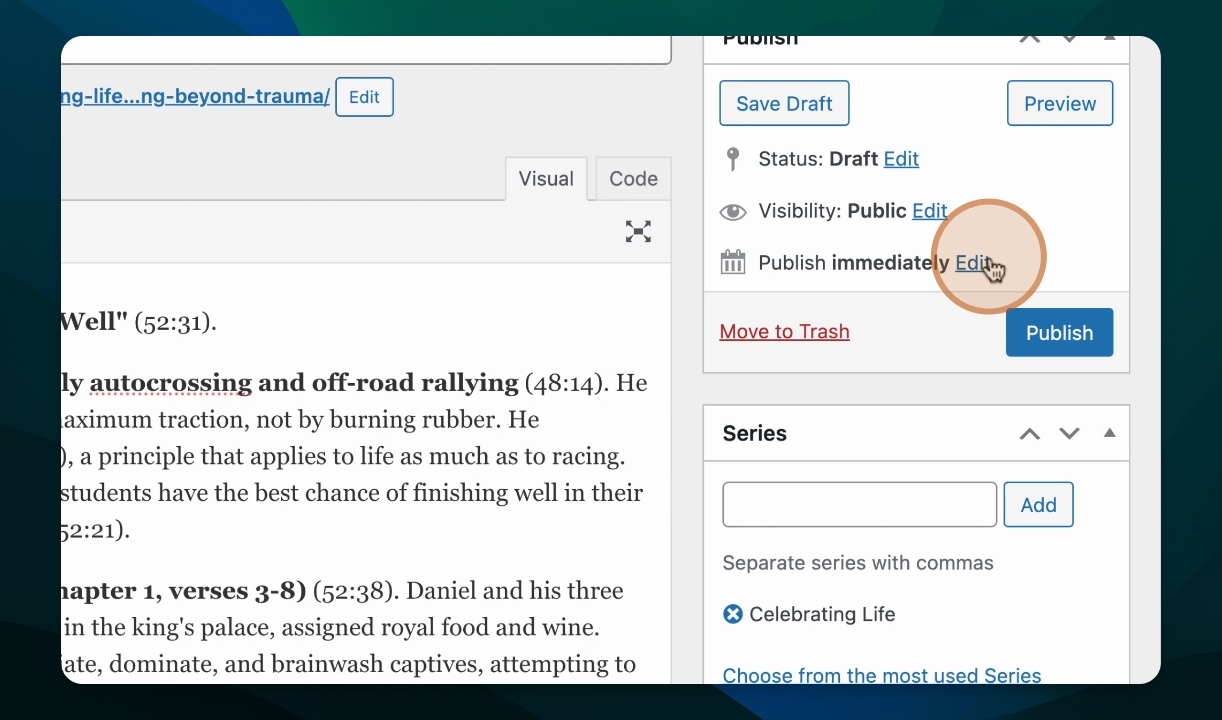
Step 6: Set Presentation Date and Publish
Set the presentation date to when it was made.
Click Publish to make the item live.
Your media item is now published and visible in the catalog.
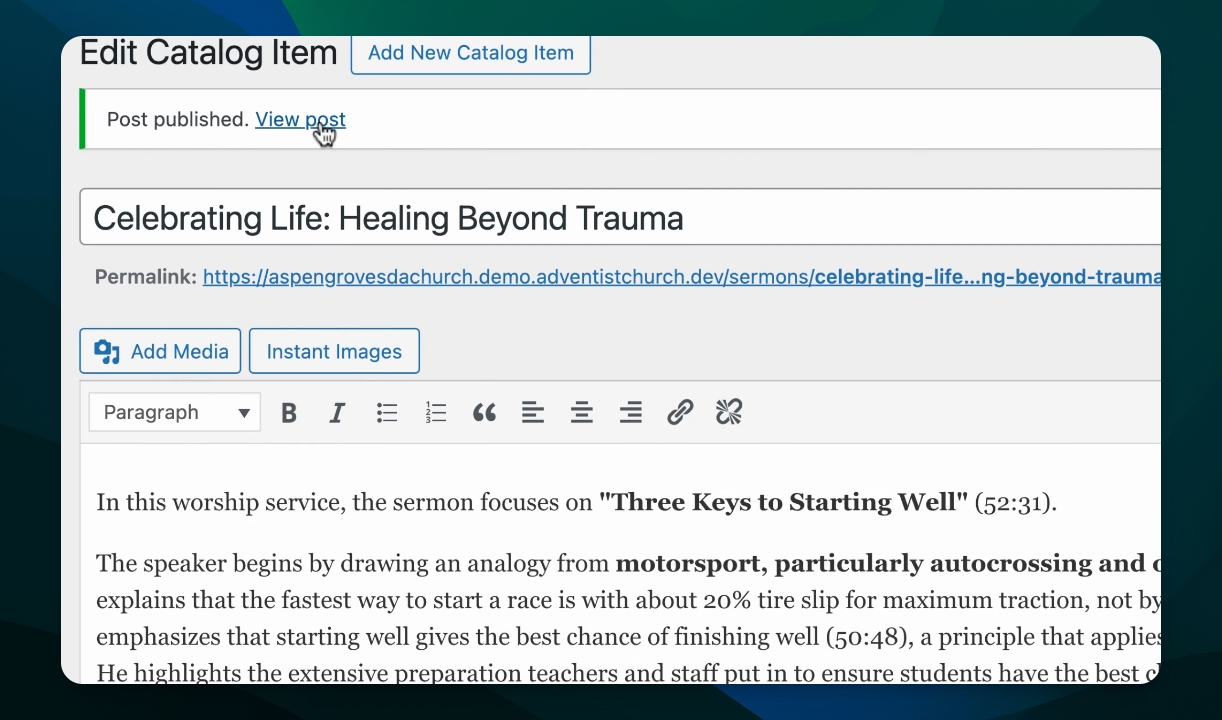
Step 7: View Your Media Item
Click on View Post to see the published item.
Check if all details, including the media and resources, are displayed correctly.
You can now see your newly created media item in the catalog.
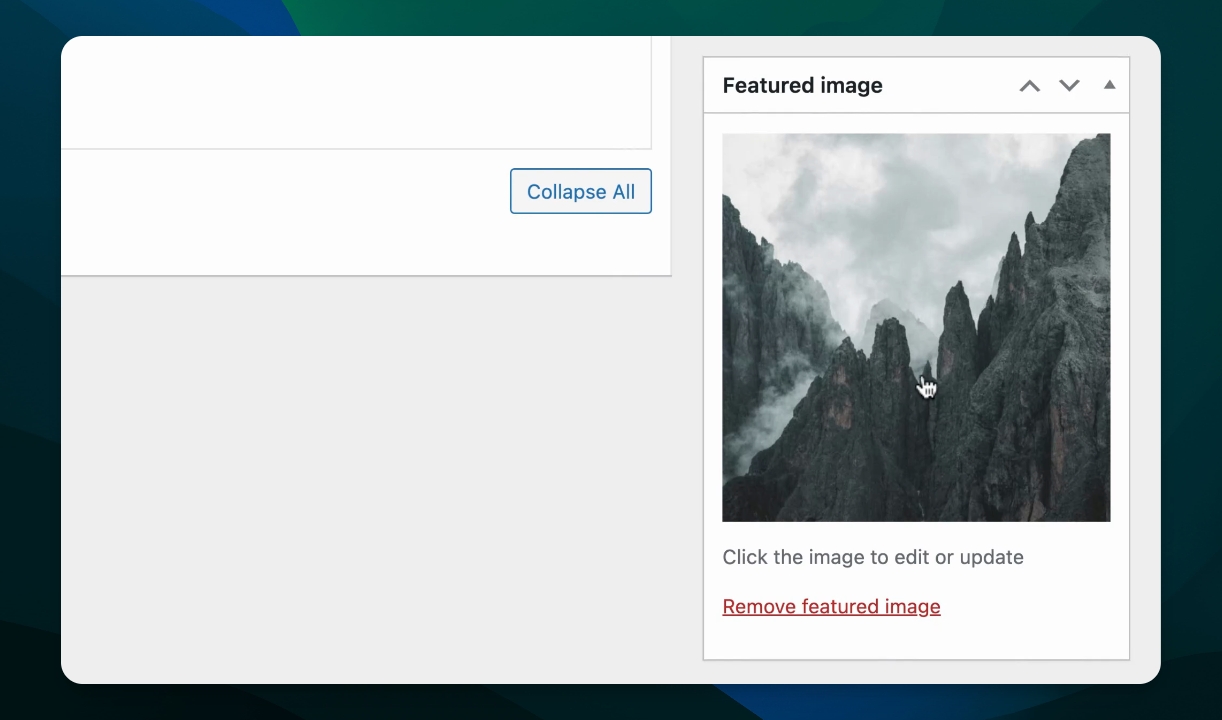
Step 8: Add Featured Image
Edit the catalog item and scroll to select a featured image.
Choose the most recent image and click Use.
Click Update to save changes.
The featured image is now set for your media item.