What are you looking for?
Get help straight from our team...

Site Management
Adding a Site Logo
Learn how to upload and set a custom site logo in within Frame, with options to choose from your device, media library, or instant image sources.
Updated 2 months ago
Adding a Site Logo in WordPress
To set up a site logo in WordPress, follow these steps:
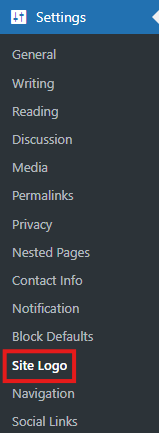
Navigate to the Site Logo Settings
Within the Frame dashboard, go to Settings in the left sidebar and click on Site Logo.
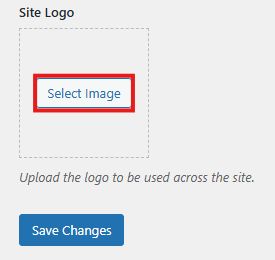
Select Your Image
On the Site Logo settings page, click the Select Image button. You will have three options to upload an image:Upload Your Own Files: Choose an image file from your computer to upload under Upload Files.
Instant Images: Browse images from Unsplash, Openverse, Pixabay, Pexels, or Giphy. After selecting an image, it will be automatically added to your Media Library.
Use Existing Media: Choose an image from your Media Library.
Edit Image Details
Once you've selected your image, you can provide additional details:Alt Text: Add a description to describe the purpose of the image.
Title: Name your image.
Caption: Add a short description to appear with the image (optional).
Description: Provide more detailed information about the image (optional).
File URL: Shows the File URL.
Upload and Save
After entering your image details, click the blue Use Image button located at the bottom right to upload it to your site.

⚠️ Note: To remove a custom uploaded image, simply delete it from the page and save your changes. The system will automatically revert to the Adventist Connect Frame logo.
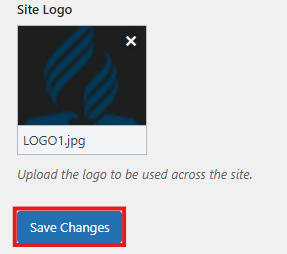
5. Save Changes
Don't forget to click the Save Changes button at the top of the page for your changes to take effect across the site.
Your logo is now set and ready to be displayed across your website!
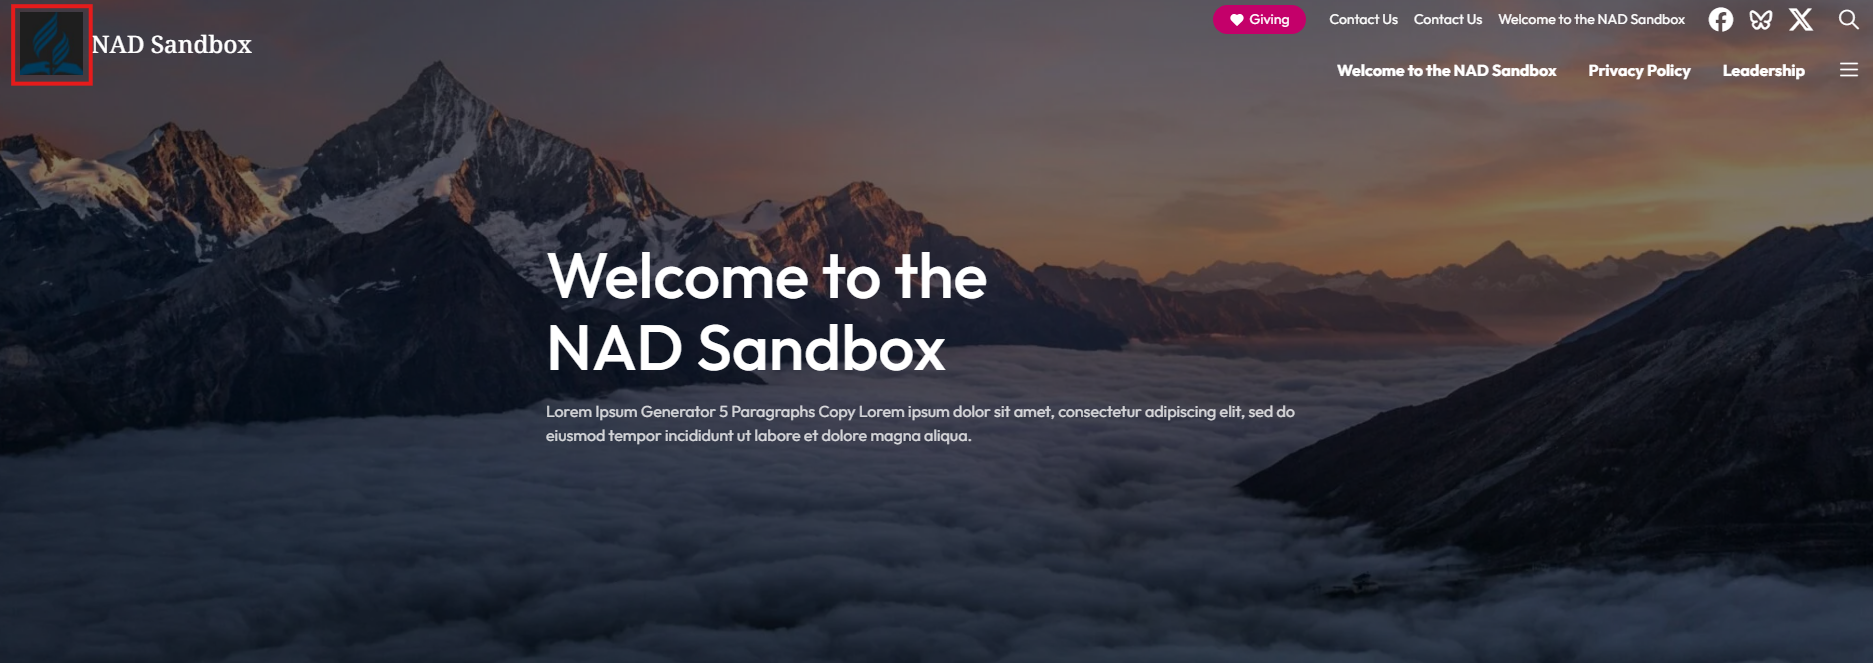
This is where your logo will appear: