TL;DR
Let's Do It Together!
Step 1: Log into Your Site
Log into your site to access the dashboard.
You will see the welcome message and dashboard options.
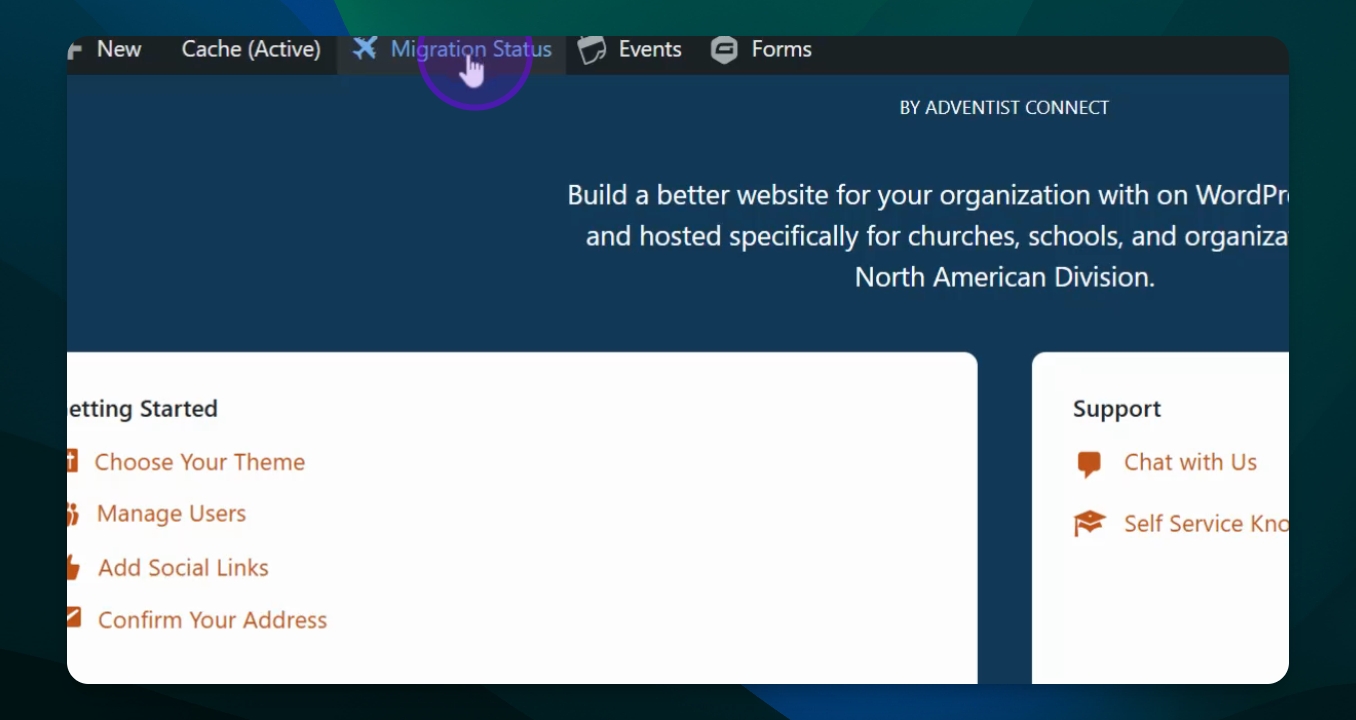
Step 2: Check Migration Status
Click on Migration Status in the upper menu or scroll down in the dashboard settings.
Click on Migration Status at the top of the page.
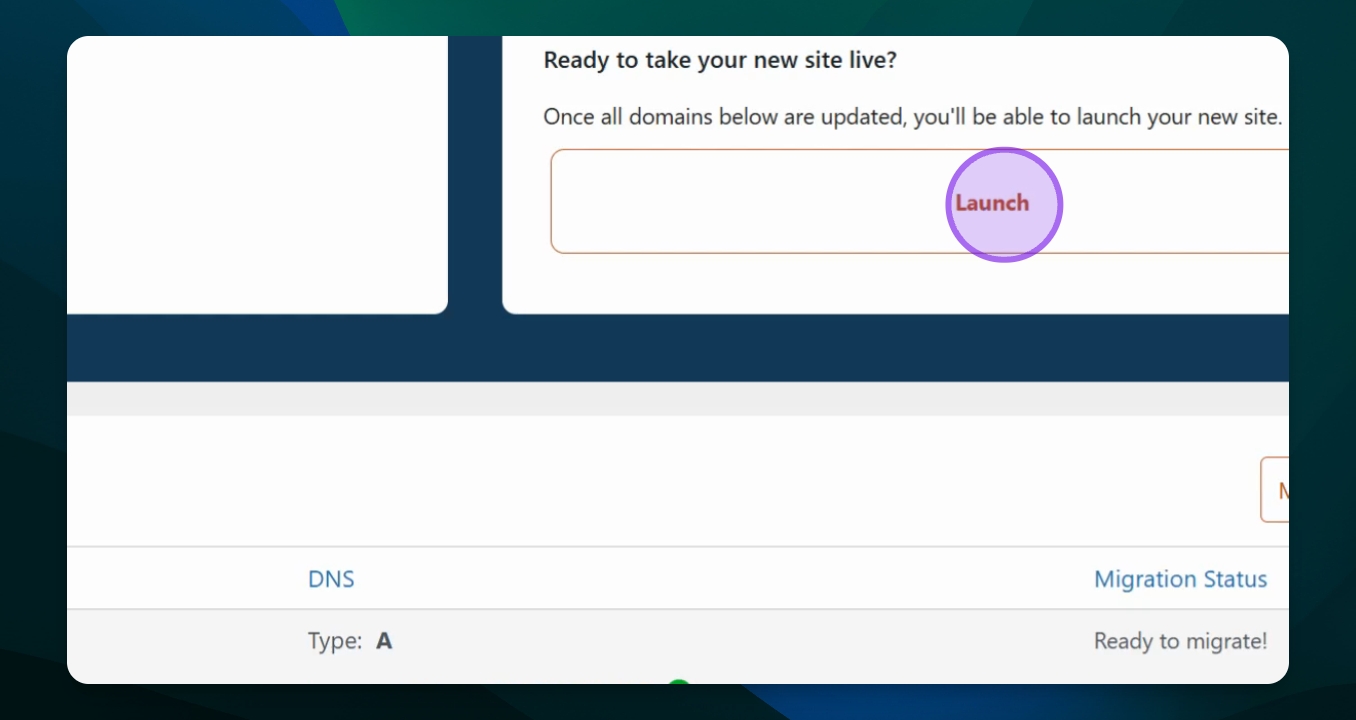
A window will appear showing your site's launch readiness and the launch button.
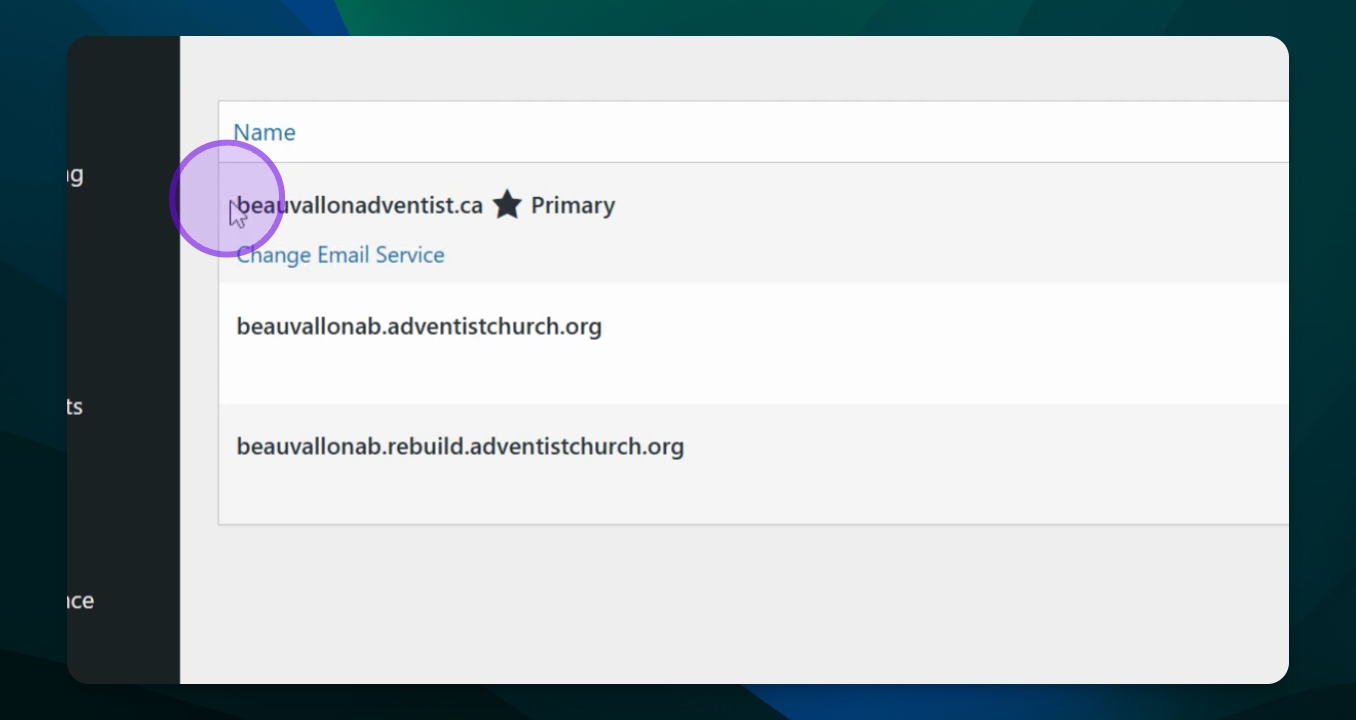
Step 3: Verify Domain Name
Ensure your domain name is set to primary.
If using a custom domain, confirm it is also marked as primary.
Step 4: Launch Your Site
Click the Launch button to confirm the launch.
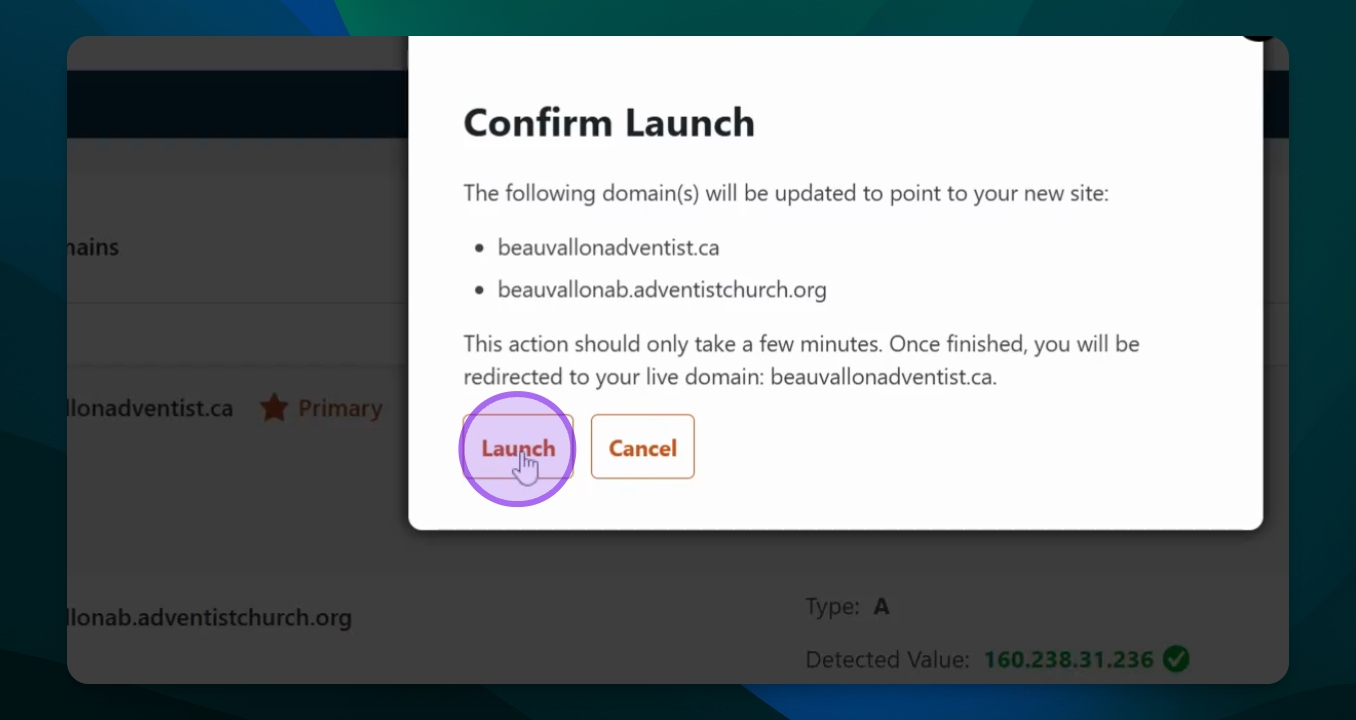
A window will show the domains that will be updated.
Review the original and new addresses listed.
Approve the changes and click on the Launch button to proceed.
Step 5: Wait for Launch Confirmation
Leave the confirmation window open while the launch process completes.
It may take a few minutes depending on your site's size.
Once finished, you will see a confirmation of your domains.
Step 6: View Your Live Site
Copy the live site address provided.
Open a new browser and paste the address to view your site.
Your brand new site will now be live and ready for visitors.