
The Events Calendar plugin allows you to create and manage events for your site. Here's how to get started:
Adding a New Event
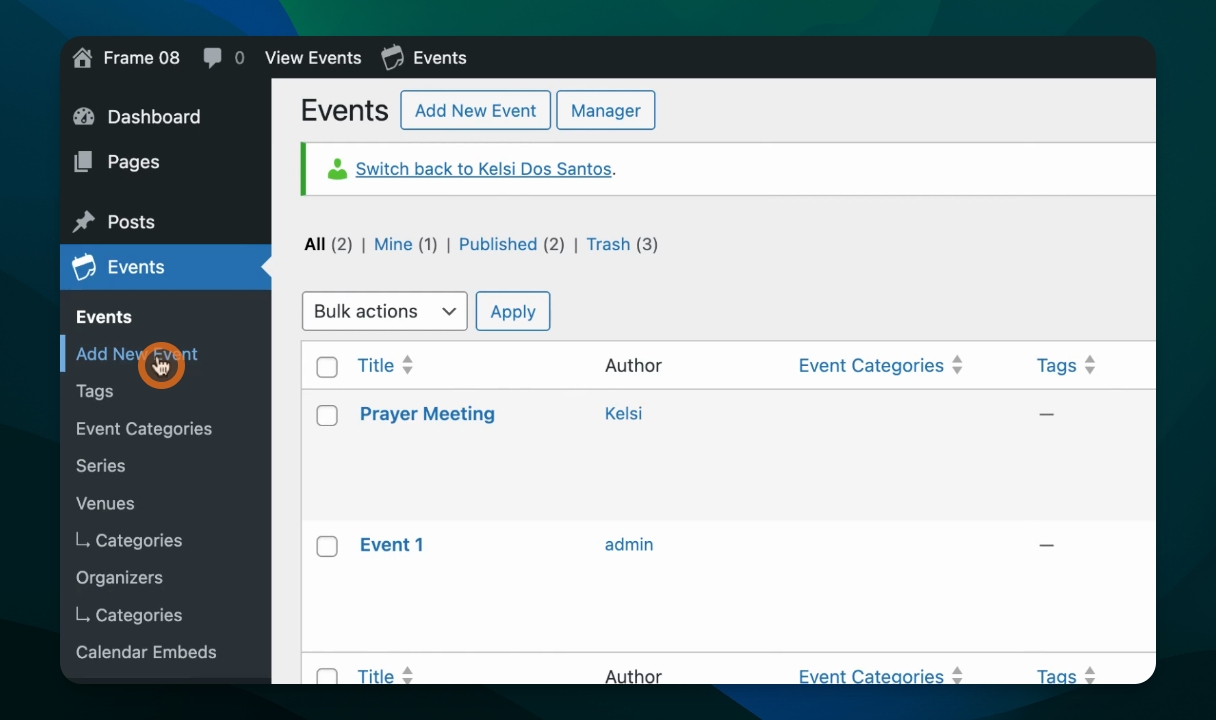
Navigate to the Events tab in the WordPress dashboard.
Click Add New Event to begin creating a new event.
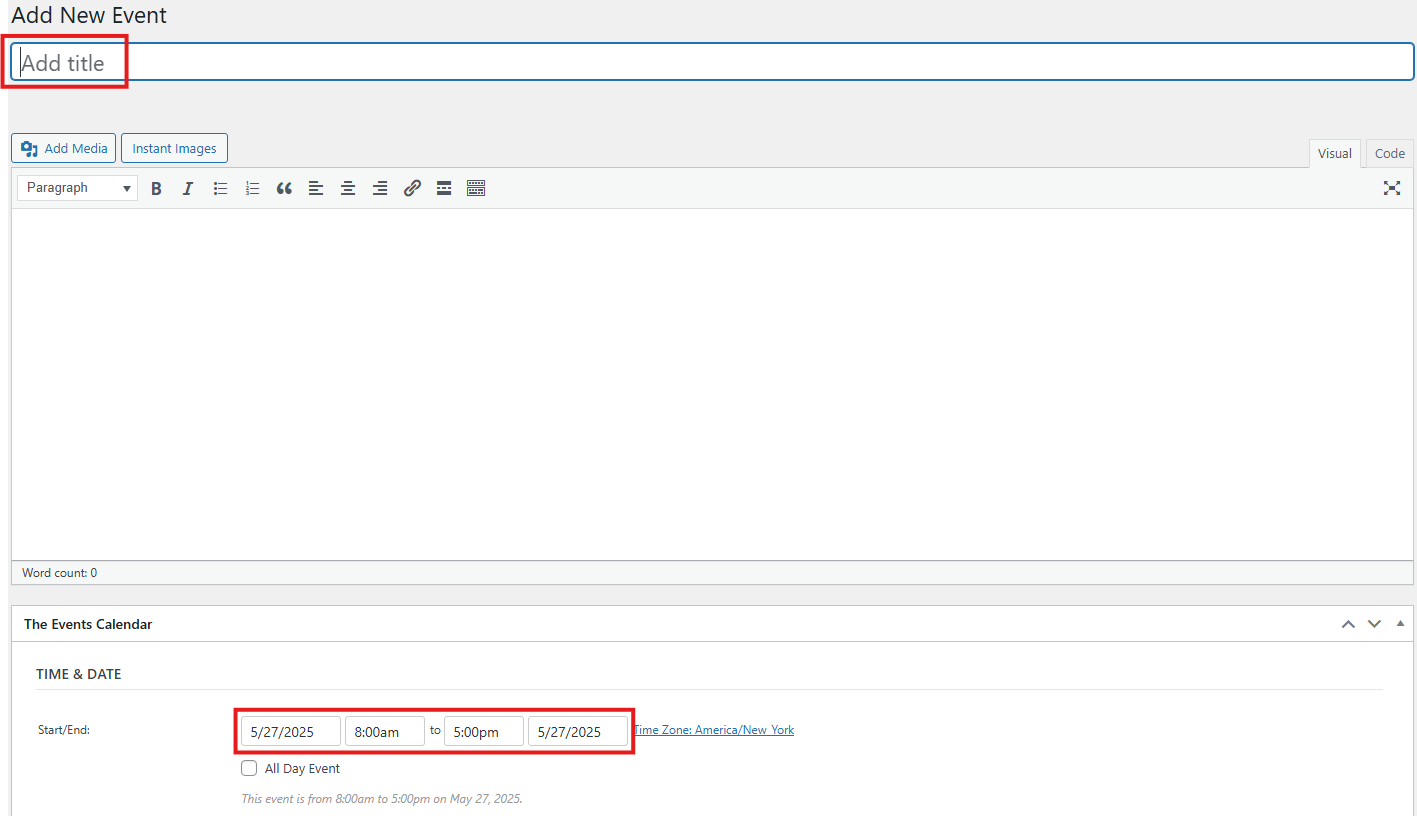
You can now enter:
Event Title and Description
Time & Date: Set a start and end time. Clicking the time fields opens a calendar for selecting dates. You can also check the box for All Day Event.
Virtual Event
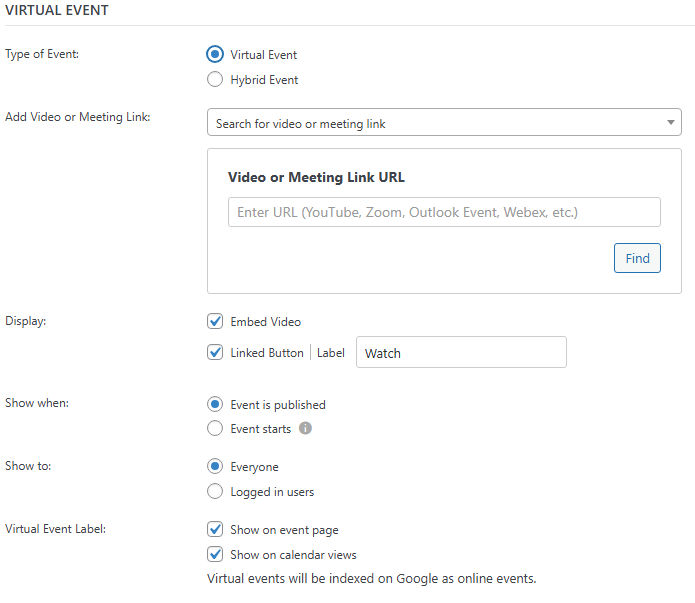
Add an event following the steps above, then under the Virtual Event section:
Click the "Configure Virtual Event" button, and the virtual event configuration will appear
Different options such as the type of event, meeting link, display, and visibility are different customizable option
Location
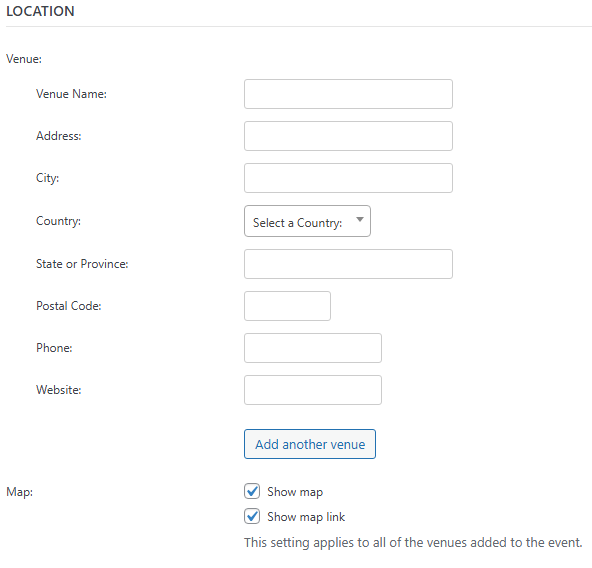
Under the Location section:
Add a new Venue or select an existing one
Check the boxes to display a Map or a Map Link
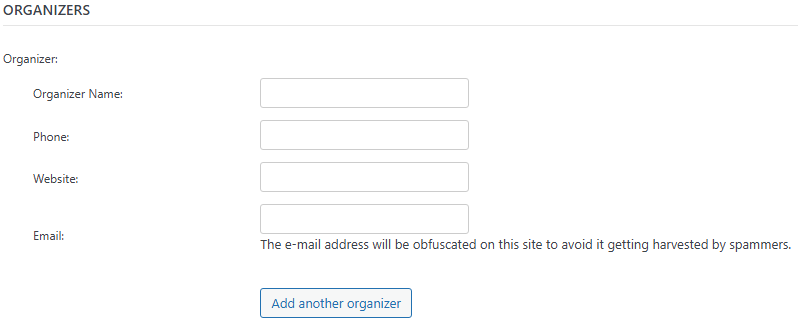
Organizers
In the Organizers section, you can:
Add a new organizer
Search for and reuse an existing one
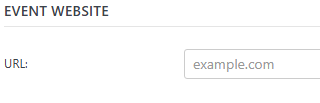
Event Website
Add a link to an external website if your event has one.
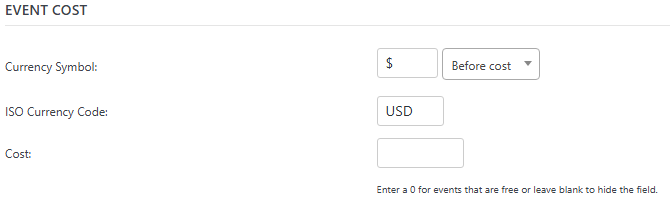
Event Cost
Specify the price of the event under Event Cost, or leave it blank for free events.
More Settings
On the right-hand side of the editor:
Event Category: Categorize your event for easier filtering
Event Options: Choose to hide the event from listings, make it sticky in month view, or mark it as featured
Featured Image: Upload or select an image from your Media Library
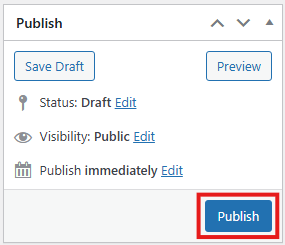
Publishing
When you're ready, click Publish. It is a blue button, located in the upper right corner of the page
Once the page is published, a popup will appear. Press View Event to preview the event.
To see it listed in the calendar:
Go to Events > View Events
To add another event:
Click Add New Event
Deleting an Event
To delete an event,
Log in to your WordPress dashboard.
Click Events in the left-hand menu.
You will see a list of all added events.
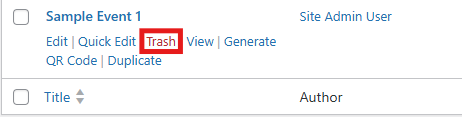
Hover your mouse over the event you want to remove.
Click Trash.
The event will be moved to the Trash.
The event is now removed from the live site.
Note: The Events Calendar is provided as the Licensed Pro version, and includes the Filter Bar add-on for enhanced filtering options on your calendar.
Displaying the Calendar
There are two main ways to display the event calendar.
Use the Events Calendar display
The Events Calendar automatically creates a calendar page using the slug /events. However, this page won't appear in your menu unless you add a link to it.
From the All Pages window, click Add Link
Choose Events, and then the Events (Archive) page. This is the automatically created calendar showing all your events.
Create a New Calendar Page
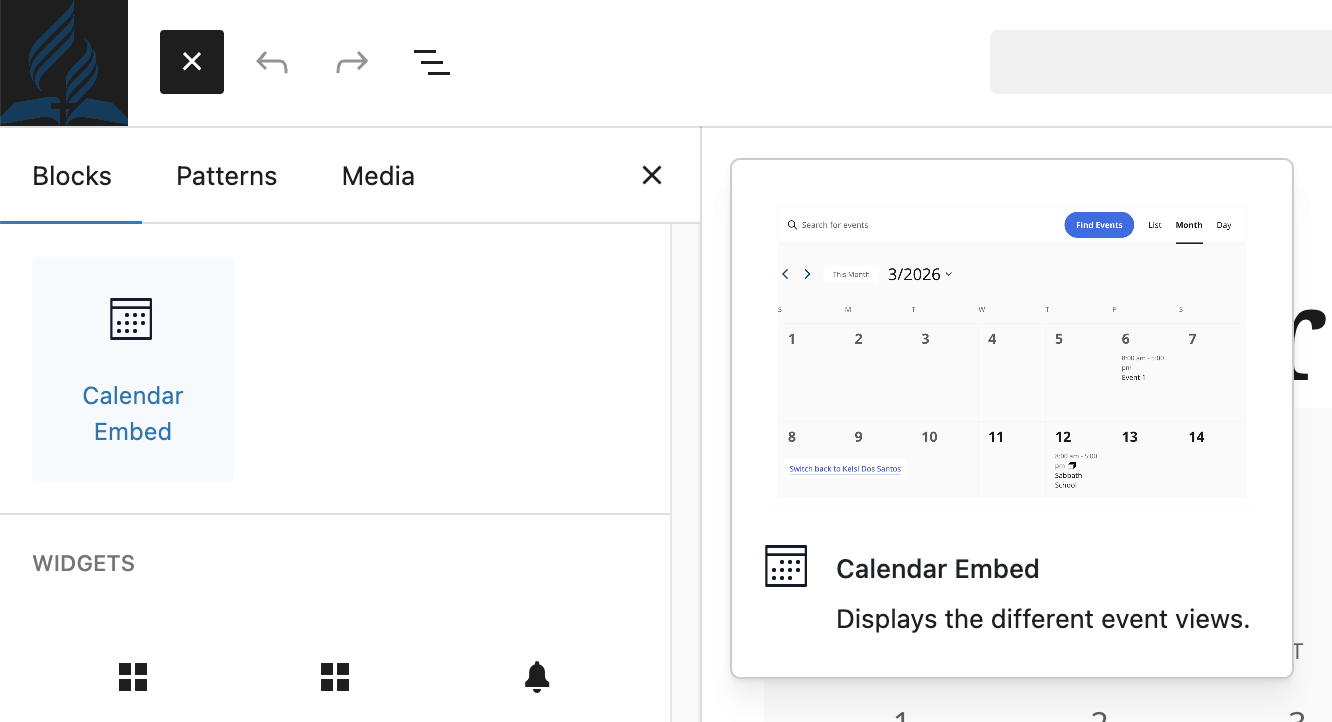
If you would like to host other content on your calendar page, beyond the calendar, you can add a Calendar Embed to any page.
From the All Pages window, click Add to add a new page.
Use the block inserter to add a Calendar Embed block.
Note that you must choose a page slug different from /events, since that identifies the automatically generated Events Calendar page.
You may wish to create a redirect from /events to your new page to ensure users find the calendar content you wish to display.