
The grid block in frame allows for a wide range of block arrangements making it easy to create complex layouts without needing extensive design knowledge and add interest to your page.
Here are a couple of examples:
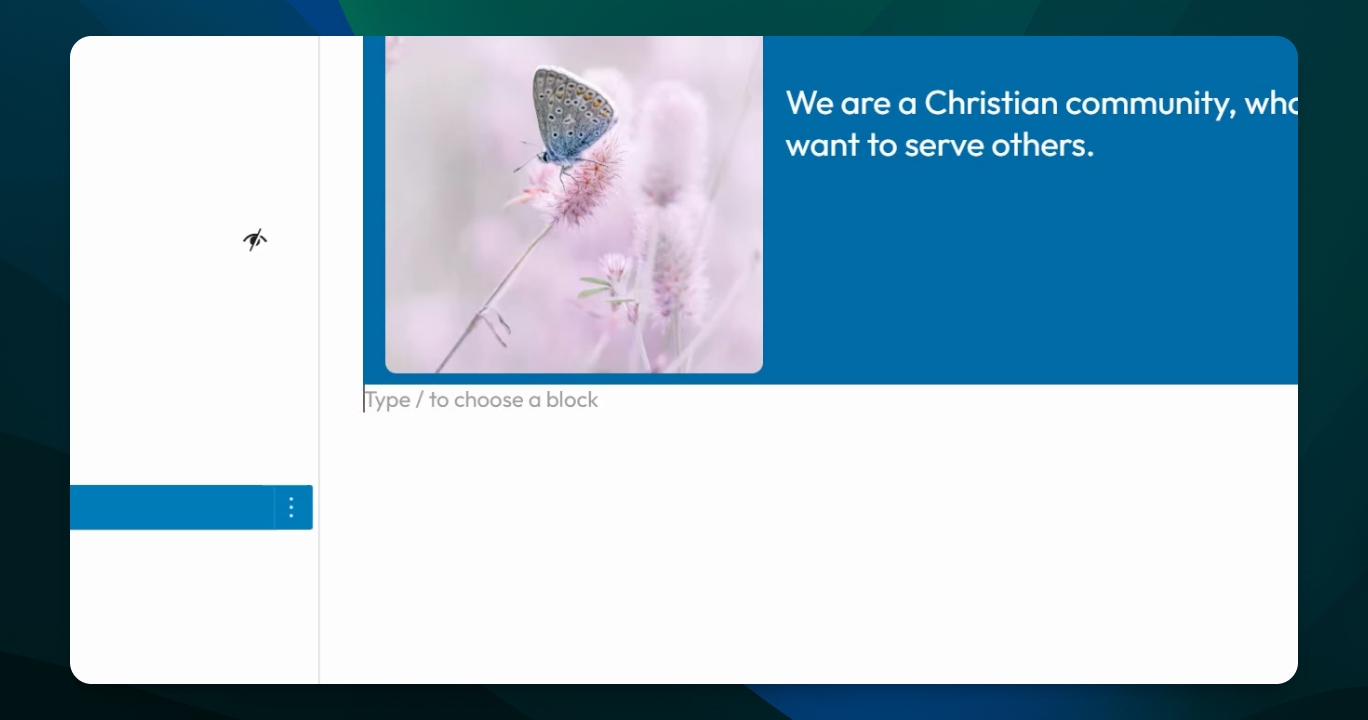
The first example has a photo on the left with text on the right.
The second example is the opposite with text on the left, photo on the right.
The third example of what you can do is have two rows, with a title expanding two columns with a photo and a photo with text on the right.
Let's get started.
Step 1: Add a Grid Block
Go here and add a block by typing in grid. You will see the block appears on your screen.
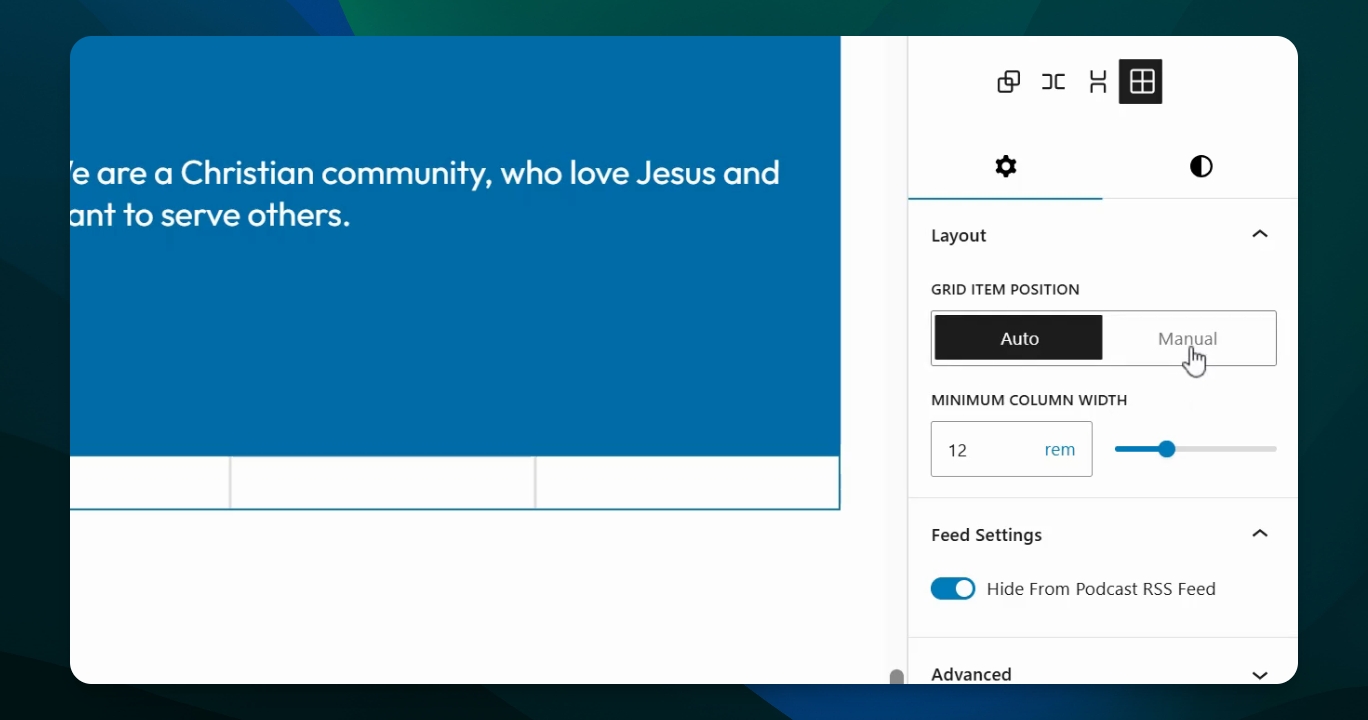
Step 2: Select Columns
Select how many columns are in your grid. On auto, you can adjust the width of the columns. Switch to manual to set three columns.
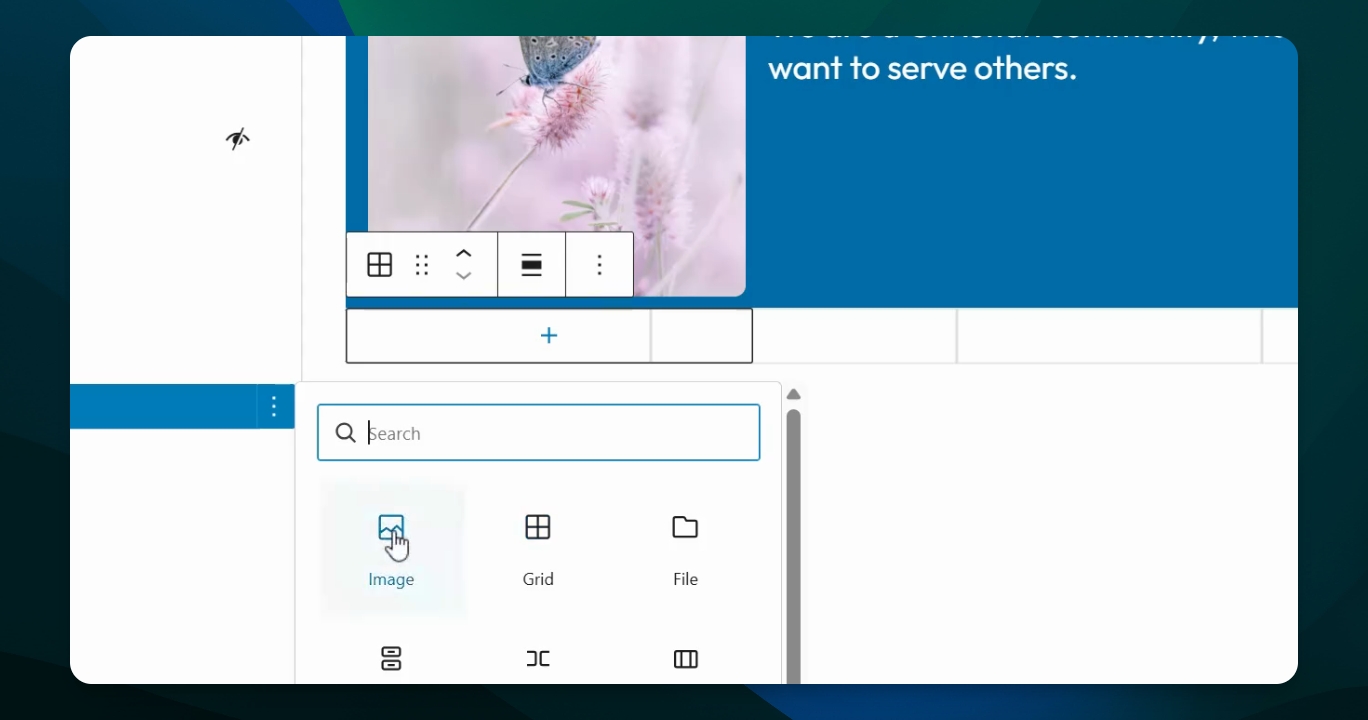
Step 3: Add Content
Choose an image for your first column. For the second and third columns, add text by going back to the plus sign and adding a paragraph.
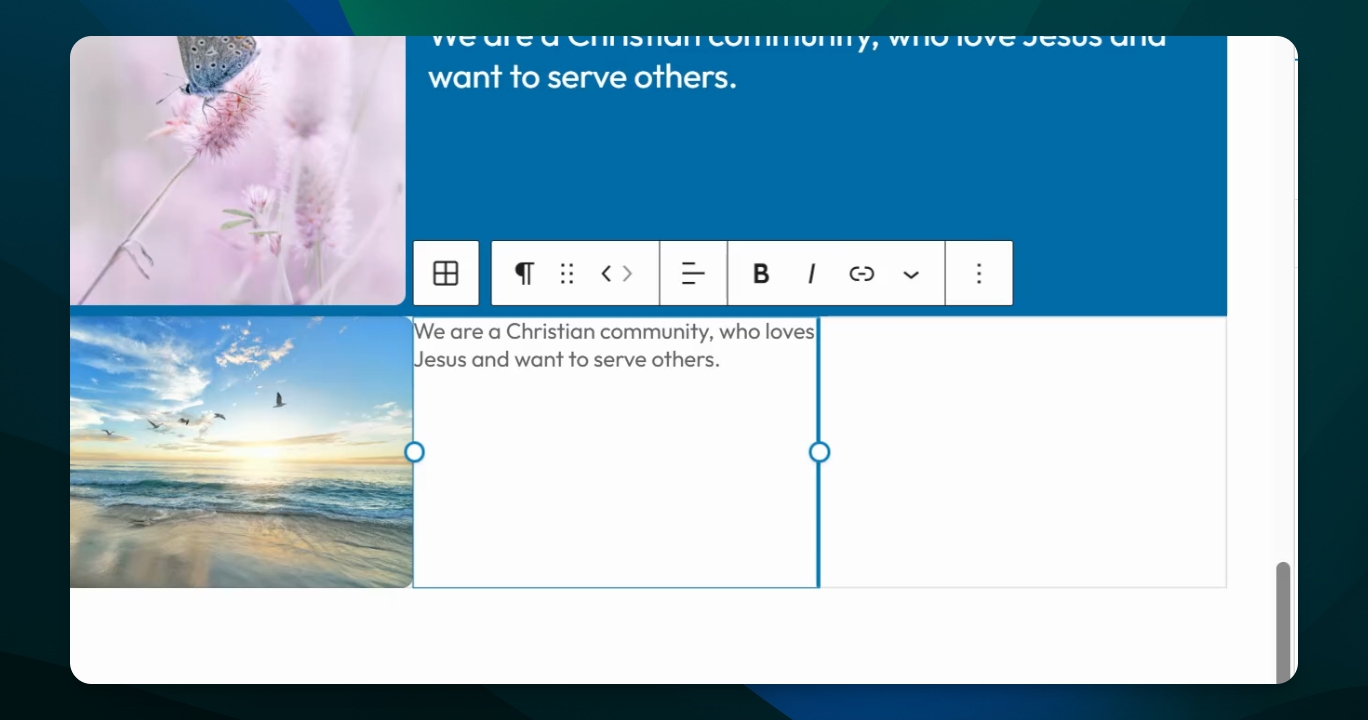
Step 4: Adjust Text Position
Drag the toggle points to create text across both columns within your grid. This will prevent the text from being right against the photo.
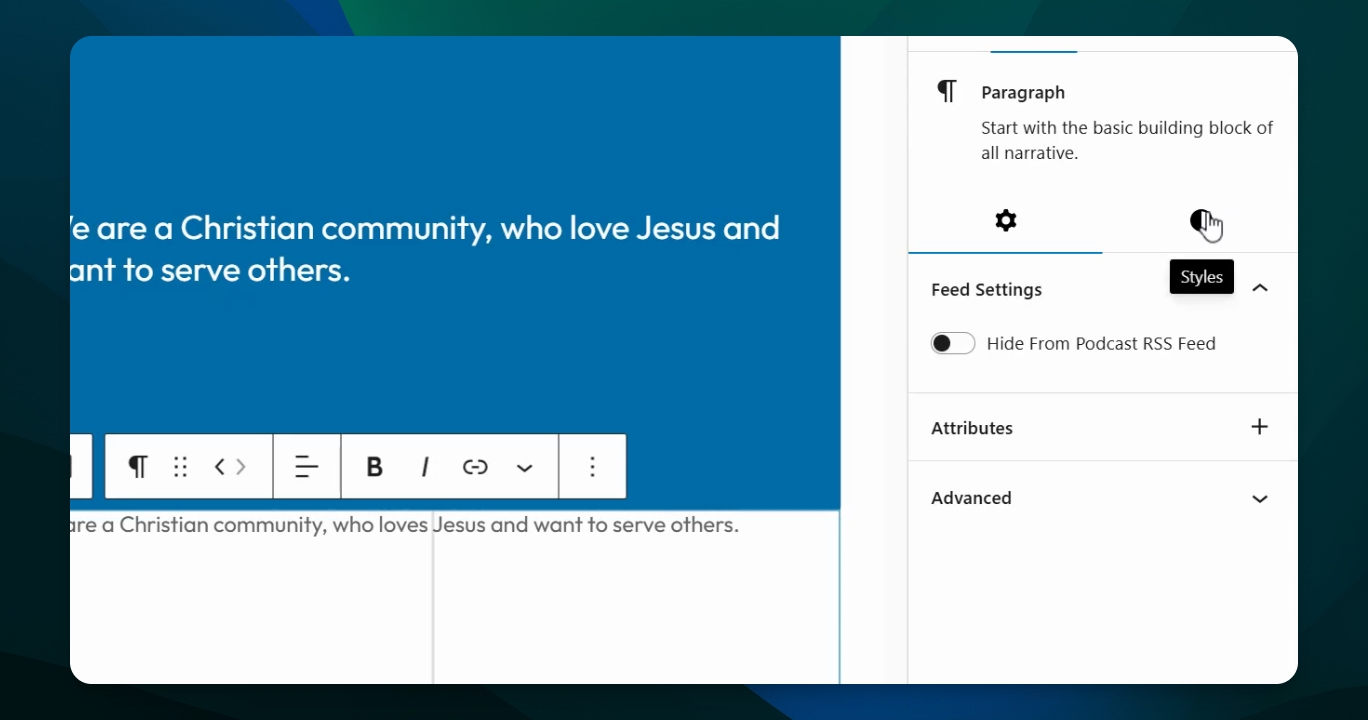
Step 5: Modify Text Settings
Go to your block settings to make the text bigger and adjust the dimensions. Add some padding to create space inside the block.
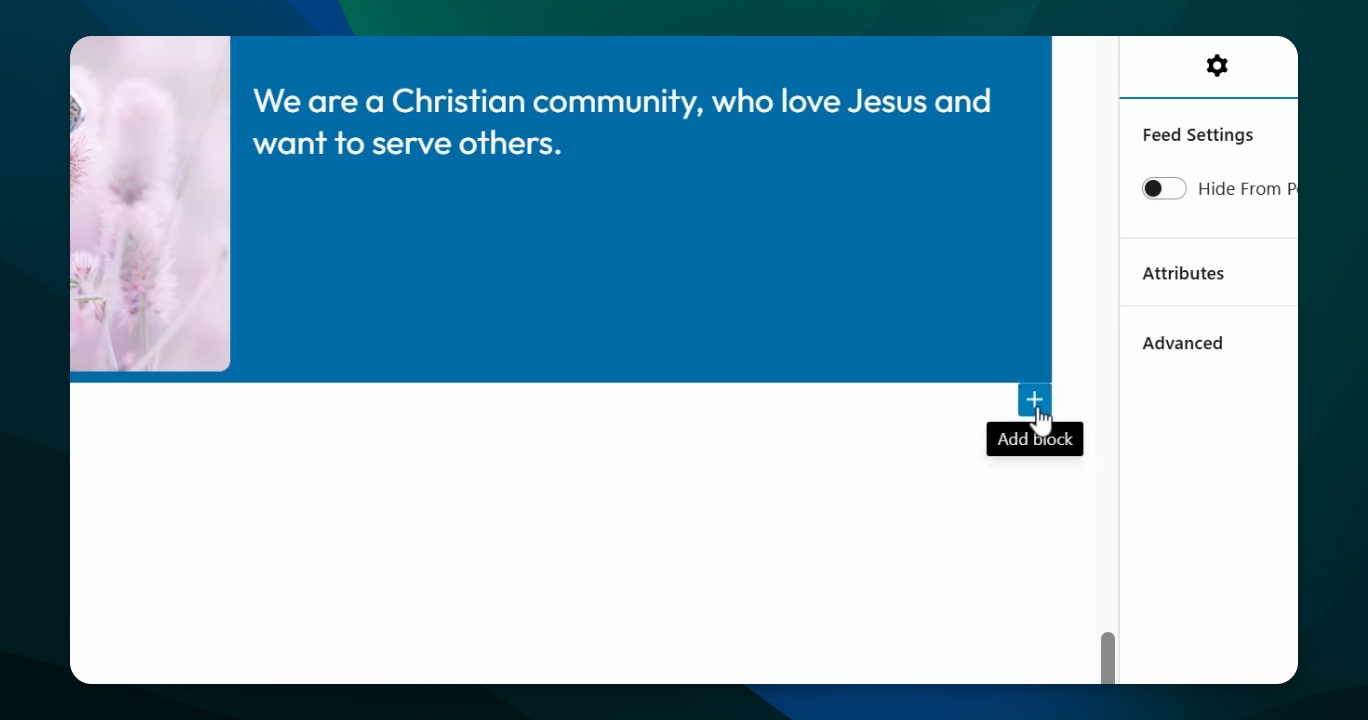
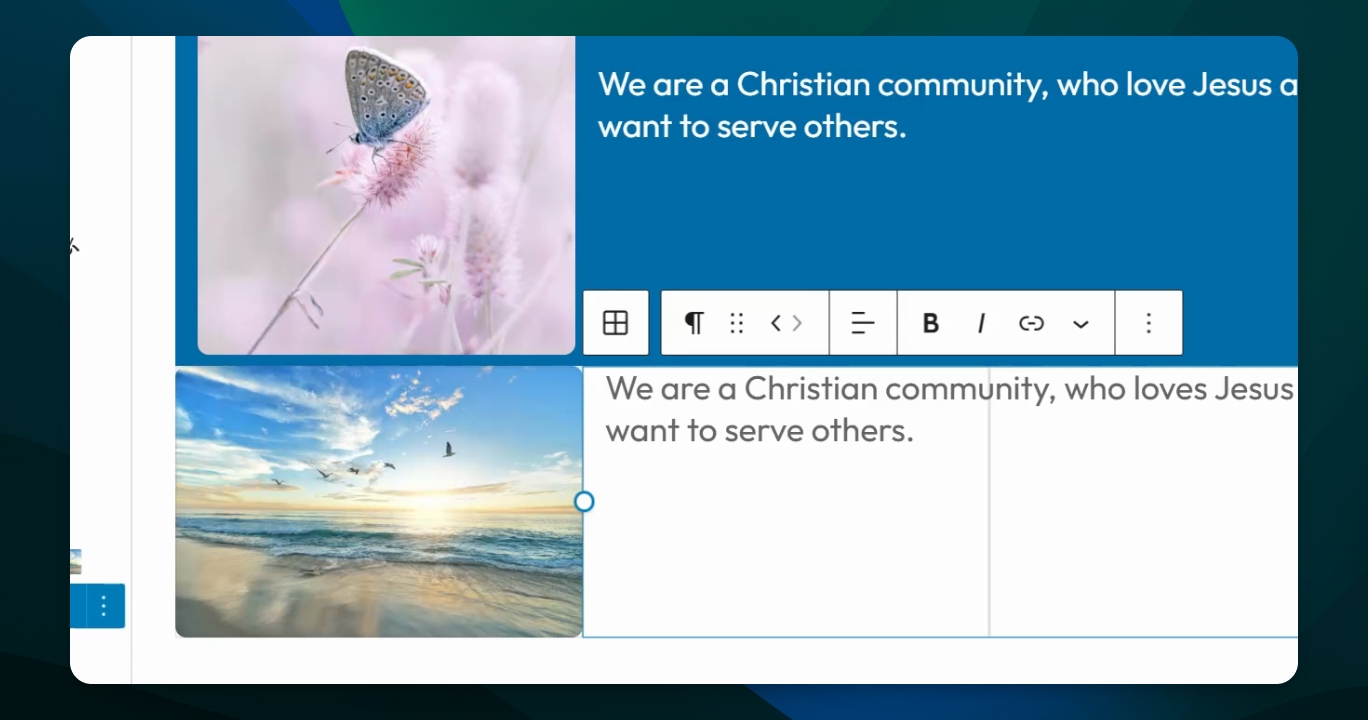
Step 6: Add More Blocks
You can add additional blocks by simply hitting return. If you move down, it will start a second row within your grid. You can add more text or another photo as needed.
Enjoy and have fun working with grids and adding interest to your site.