What are you looking for?
Get help straight from our team...

Site Logo Block
Site Logo Block
This article provides a clear, step-by-step guide on how to replace an existing site logo block, and how to add one to your site.
Updated 10 secs ago
Follow these steps to add or replace your site logo in WordPress:
Open the WordPress Dashboard.
Hover over the Appearance tab.
Click Editor.
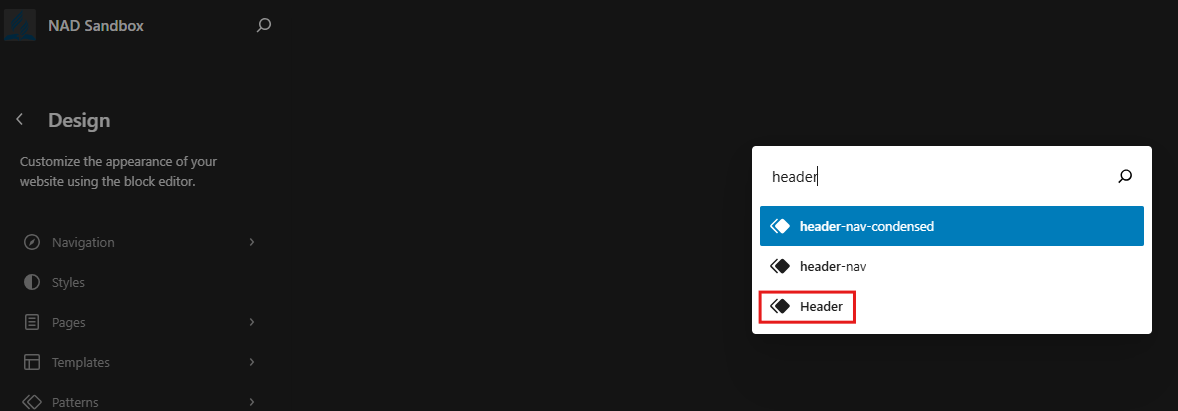
In the Site Editor, click the Search bar at the top.
Type "Header".
Select the result that is simply labeled Header.
You will now be inside the Header template.
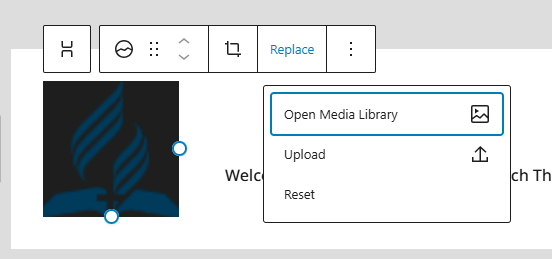
Replacing the Logo Image
Click on the existing logo.
Press Replace.
Choose one of the options:
Open Media Library (choose an existing image)
Upload (add a new image)
Reset (clear the logo)
To crop, press Crop.
To reposition or move the logo block, press the six-dot handle to drag it.
Saving Changes
Press the blue Save button in the upper right corner of the editor.

Adjusting Logo Settings
Click the Block Settings button in the upper-right corner.

Under the Settings tab:
Change the image width.
Toggle Link image to home.
Toggle Open in new tab.
Select Use as site icon to apply it as your favicon.
Under the Styles tab:
Change the appearance to Default or Rounded corners.

Adding the Site Logo Block (if it’s not already there)
1. Open the Header Template
Go to Appearance → Editor.
Use the search bar at the top and type “Header.”
Select the template labeled Header.
2. Open the Document Overview
In the top toolbar, click the Document Overview icon (the three stacked lines).

This shows a full outline of every block currently inside your header.
3. Insert a Stack for the Logo Area
In the left panel, find the section that contains your main navigation/menu bar.
Click the blue + button next to that area.
Drag a Stack block to the left of the main menu/navigation block.
This creates a new space on the left side of your header where your logo will go.
4. Add the Site Logo Block
With the new Stack selected, click the + inside it.
Search for “Site Logo.”
Click Site Logo to insert it.
Upload a new logo image or choose one from your media library.
Tips and Best Practices
Use an image optimized for web (under 200kb).
Maintain consistent branding across logo, favicon, and social media assets.
Ensure the logo is readable at small sizes.