What are you looking for?
Get help straight from our team...

Using the Group Block
Using the Group Block
Group and manage blocks within your WordPress posts.
Last updated on 24 Nov, 2025
TL;DR
Let's Do It Together!
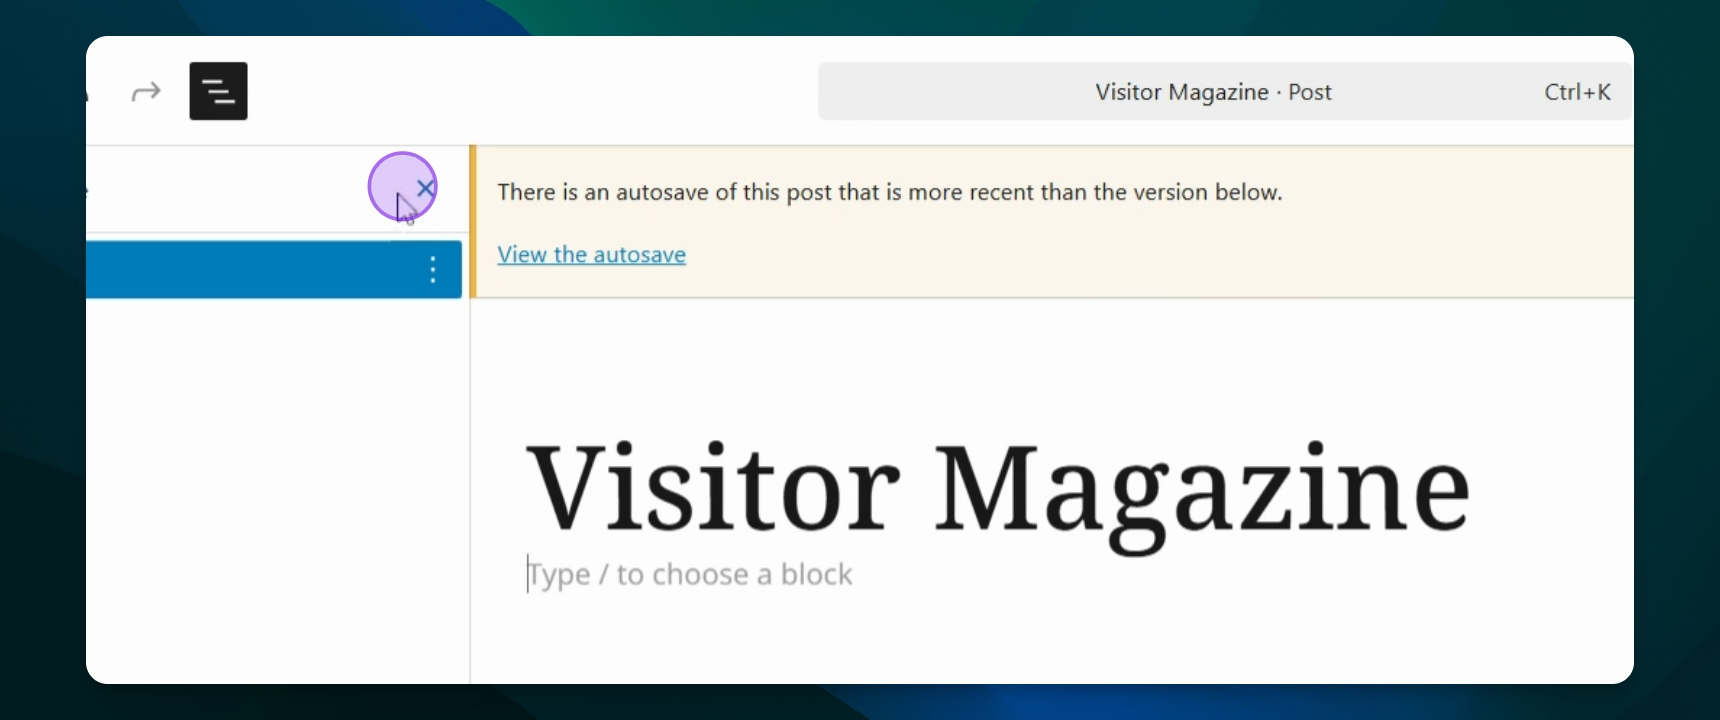
Step 1: Access Your Dashboard
Go to your WordPress dashboard and open the post or page you want to edit.
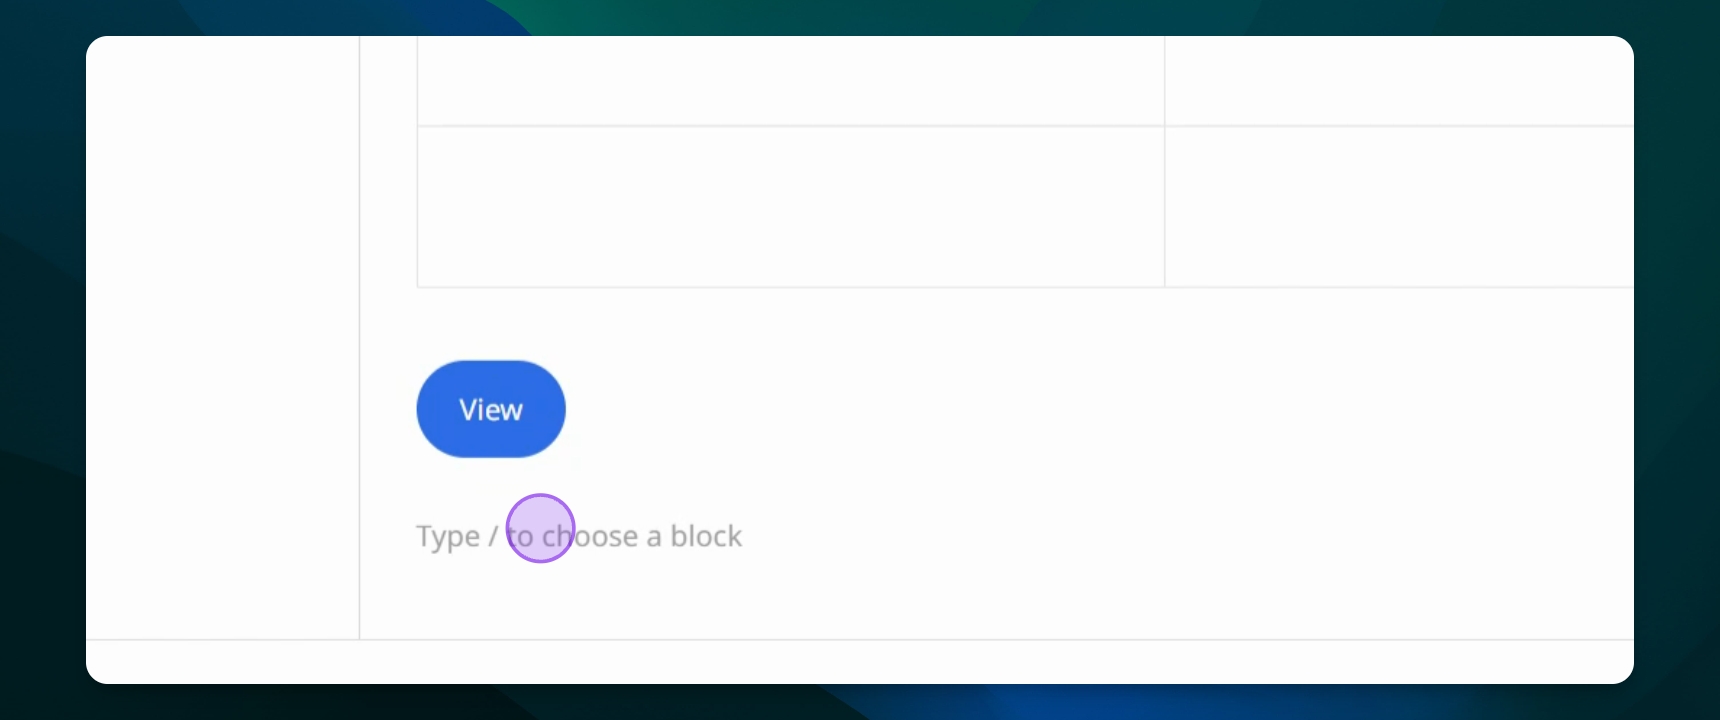
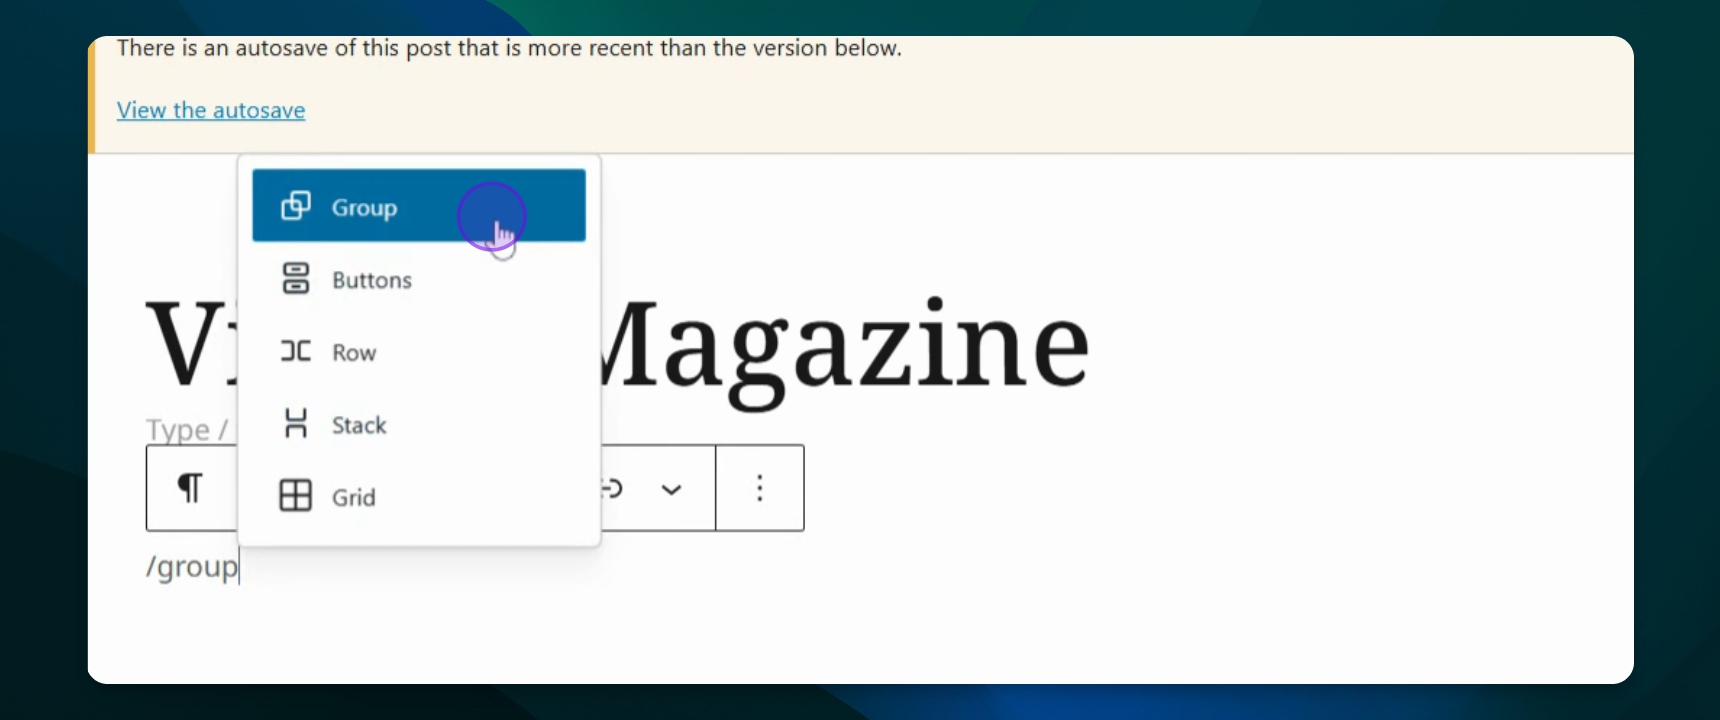
Step 2: Create a Group
Type /group to create a group that will contain different blocks.
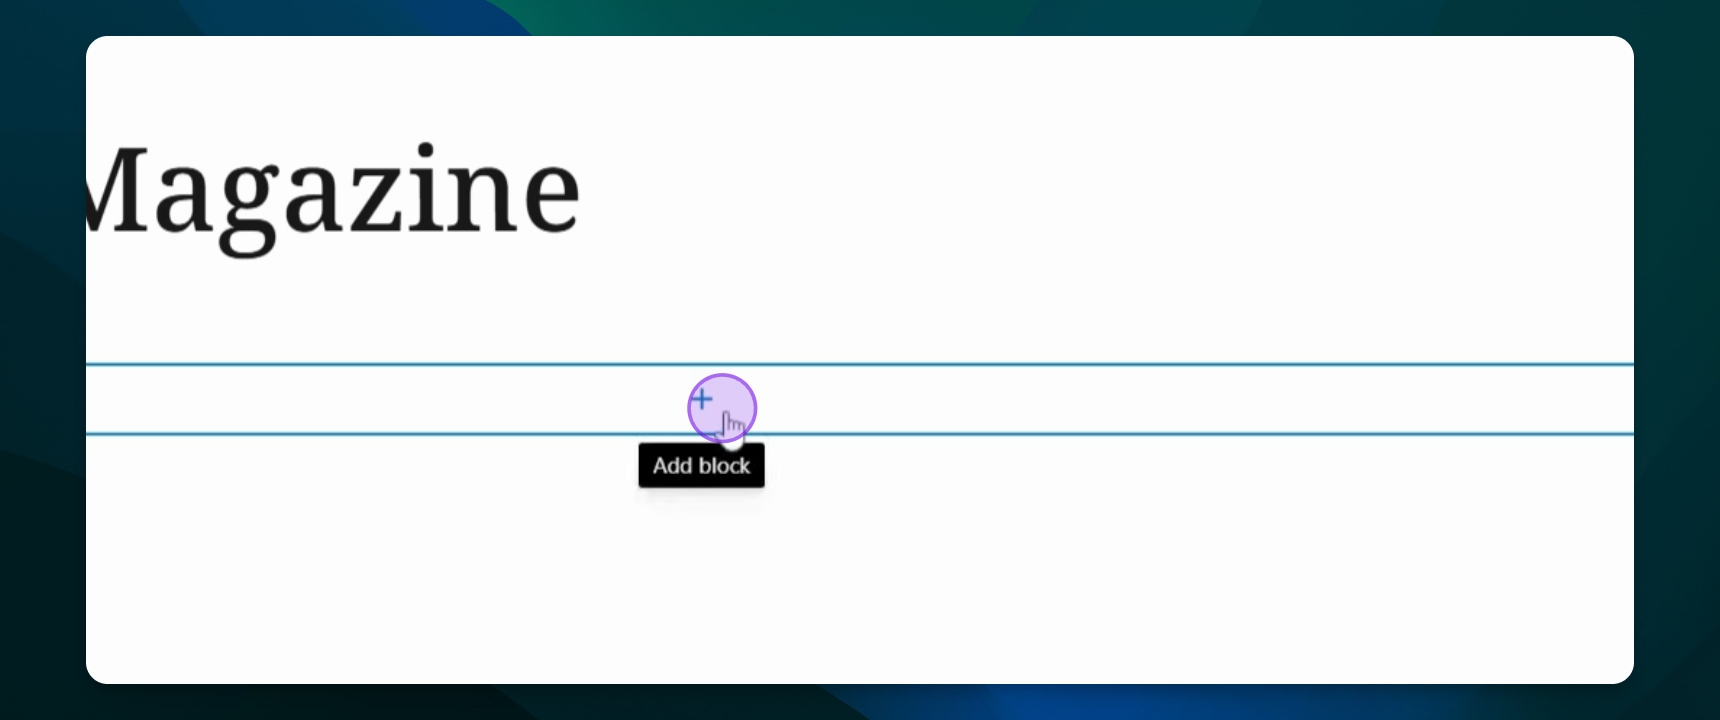
Step 3: Add Blocks to the Group
Click the plus button to add blocks like a table or button inside the group.
Now you have added blocks inside your group for better organization.
Step 4: View the Grouped Blocks
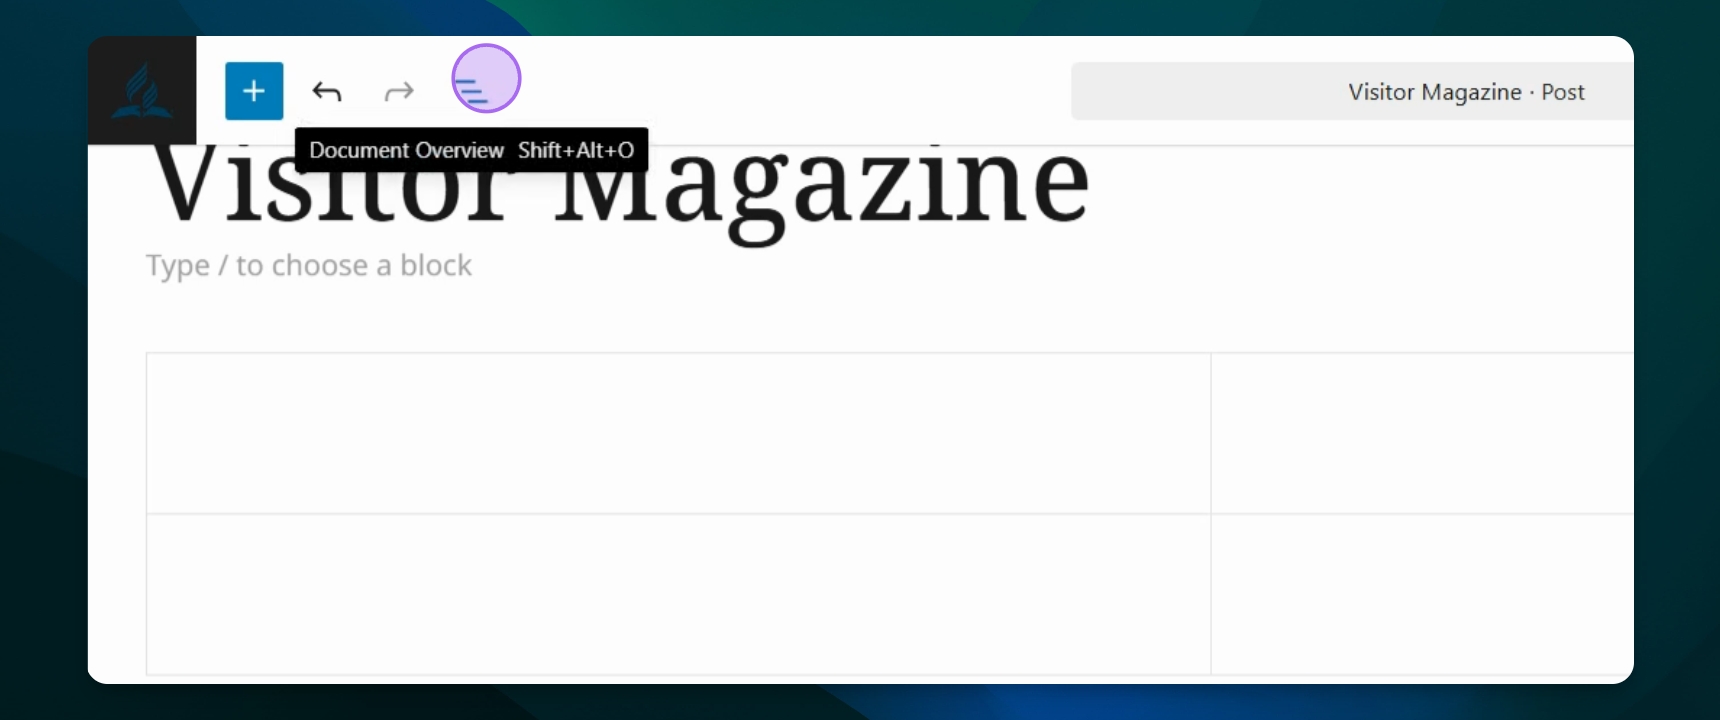
Click the document overview button to see all contents of your group.
You will see all blocks included in the group.
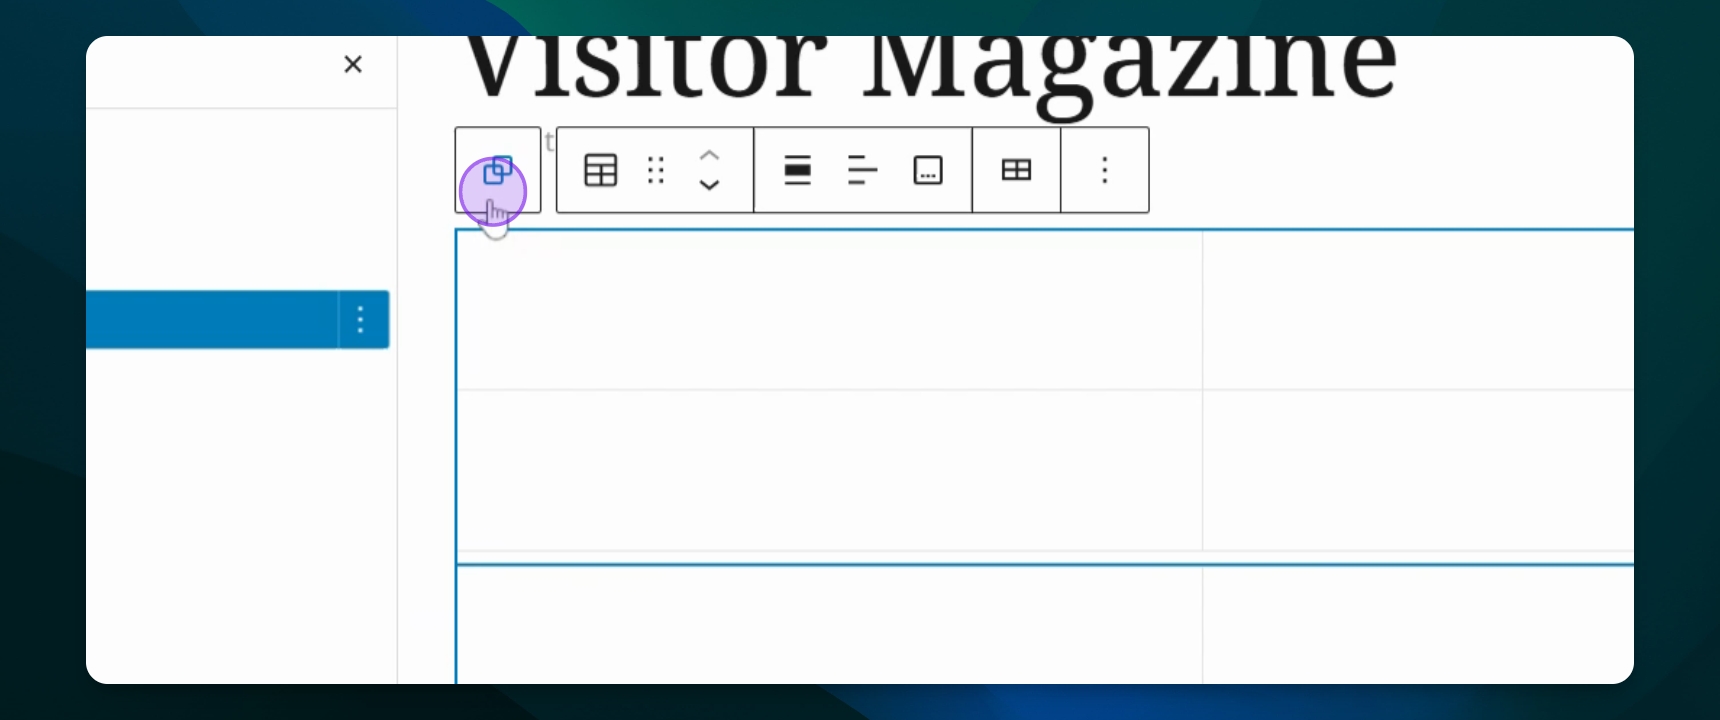
Step 5: Manage Group Settings
Select the parent group option to access settings like copy, cut, duplicate, or ungroup.
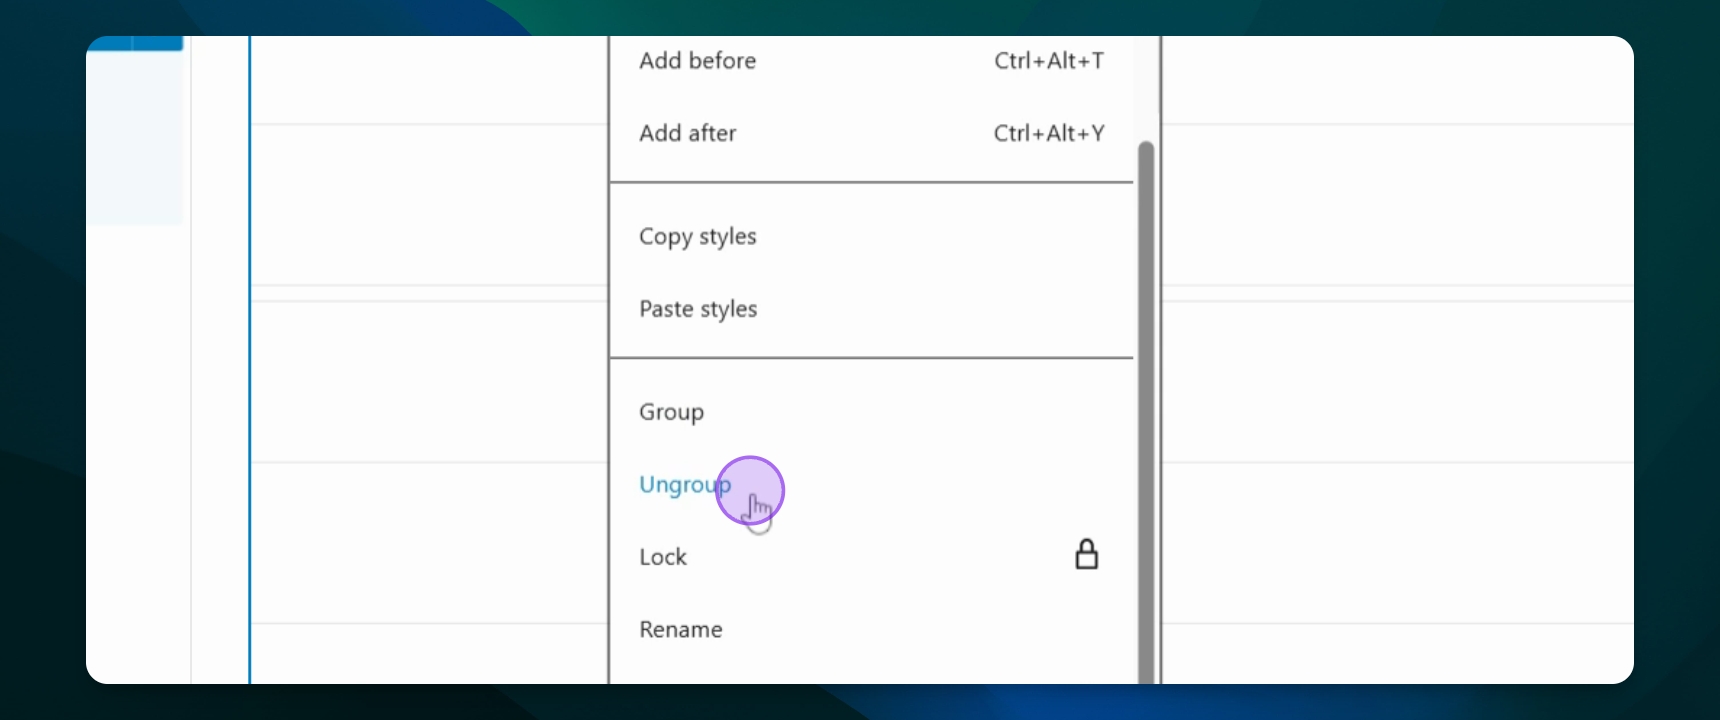
Step 6: Ungroup Blocks
If needed, press ungroup to separate the blocks.
Your blocks will no longer be in a group.
Step 7: Transform Multiple Blocks into a Group
Highlight the blocks you want to group and press the multiple box selected button to group them.
All selected blocks will now be grouped together.