What are you looking for?
Get help straight from our team...

The Events Calendar Plugin
Getting Started with The Events Calendar
Easily create and manage events using The Events Calendar plugin. Add event details, set dates and times, include locations and organizers, and customize your calendar’s appearance.
Updated 2 weeks ago
Note: Thgette Events Calendar is provided as the Licensed Pro version, and includes the Filter Bar add-on for enhanced filtering options on your calendar.
The Events Calendar plugin allows you to create and manage events for your site. Here's how to get started:
Adding a New Event
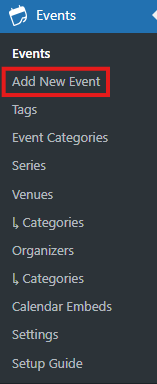
Navigate to the Events tab in the WordPress dashboard.
Click Add New Event to begin creating a new event.
You can now enter:
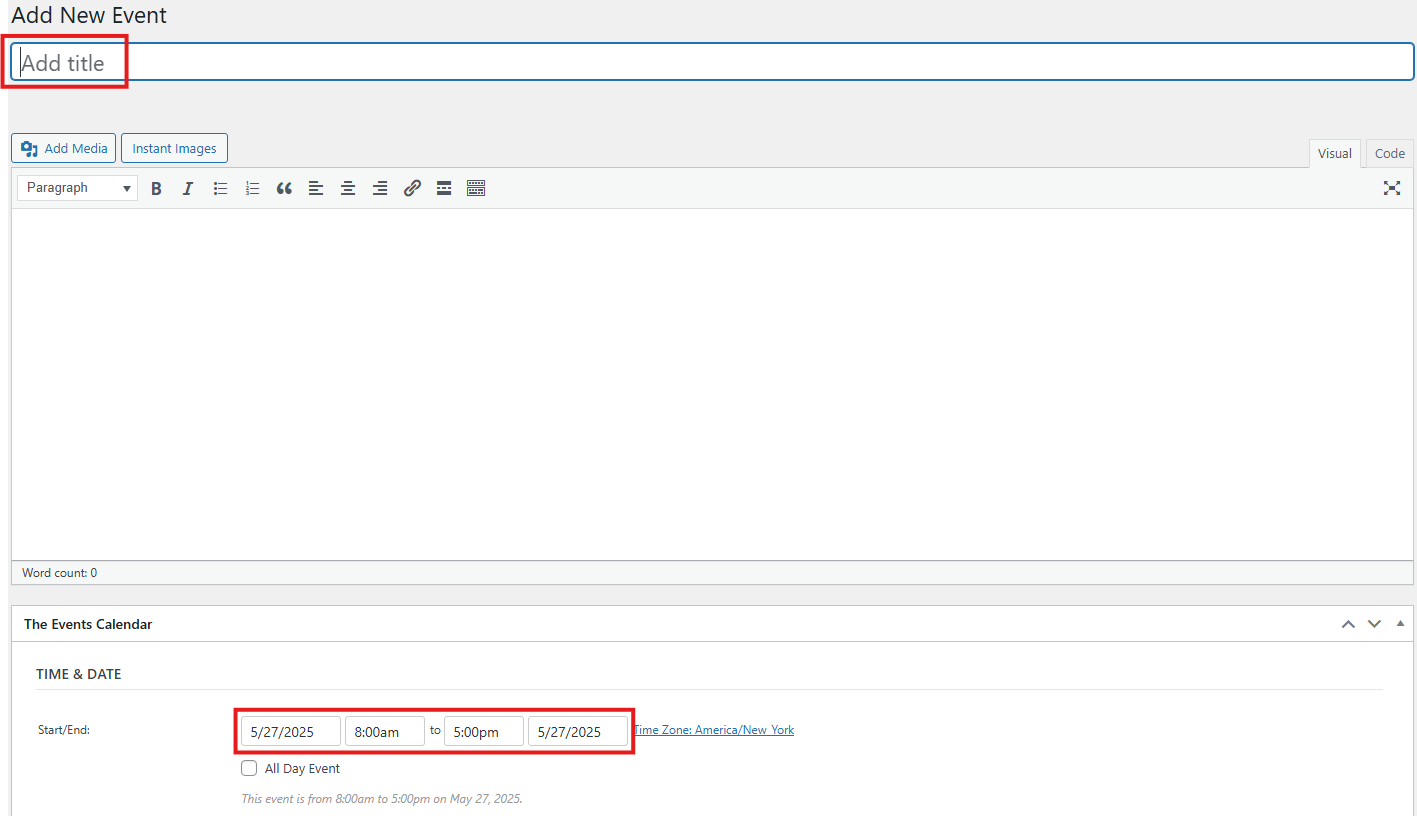
Event Title and Description
Time & Date: Set a start and end time. Clicking the time fields opens a calendar for selecting dates. You can also check the box for All Day Event.
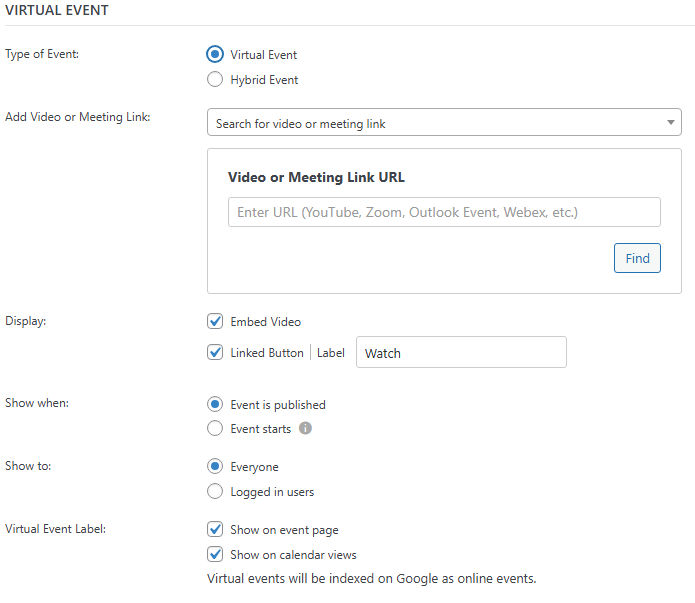
Virtual Event
Under the Virtual Event section:
Once the "Configure Virtual Event" button is pressed, the virtual event configuration will appear
Different options such as the type of event, meeting link, display, and visibility are different customizable option.
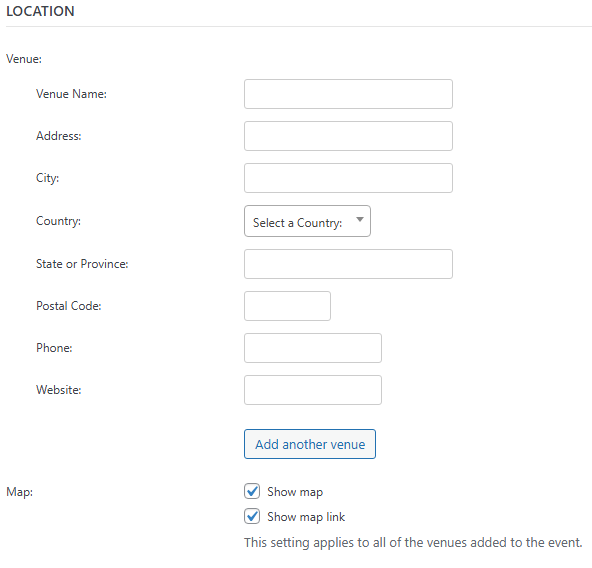
Location
Under the Location section:
Add a venue
Check the boxes to display a Map or a Map Link
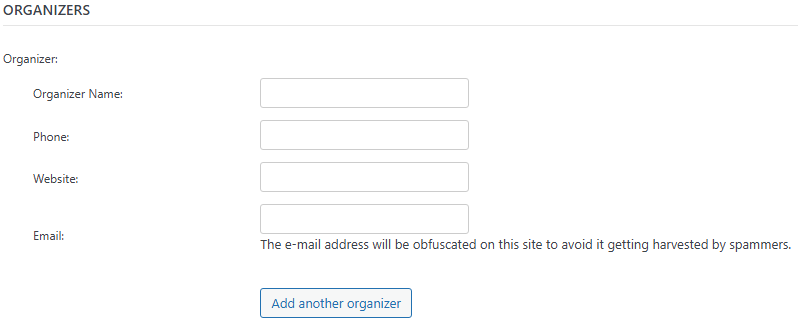
Organizers
In the Organizers section, you can:
Add a new organizer
Search for and reuse an existing one
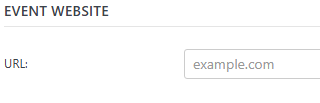
Event Website
Add a link to an external website if your event has one.
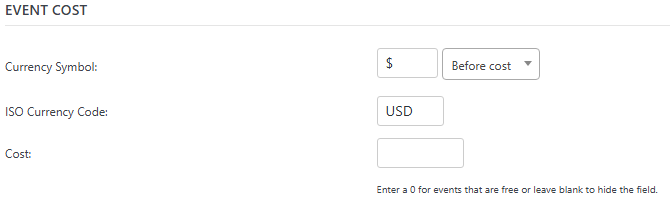
Event Cost
Specify the price of the event under Event Cost, or leave it blank for free events.
Event Settings
On the right-hand side of the editor:
Event Category: Categorize your event for easier filtering
Event Options: Choose to hide the event from listings, make it sticky in month view, or mark it as featured
Featured Image: Upload or select an image from your Media Library
Publishing
When you're ready, click Publish. It is a blue button, located in the upper right corner of the page
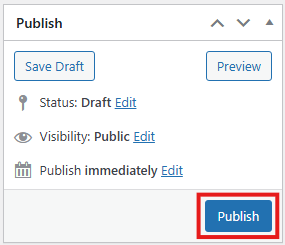
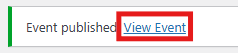
Once the page is published, a popup will appear. Press View Event to preview the event.
To see it listed in the calendar:
Go to Events > View Calendar