What are you looking for?
Get help straight from our team...

Content Management
Basic Photo Editing
Perform basic photo editing for images on your site.
Updated 3 hours ago
TL;DR
Let's Do It Together!
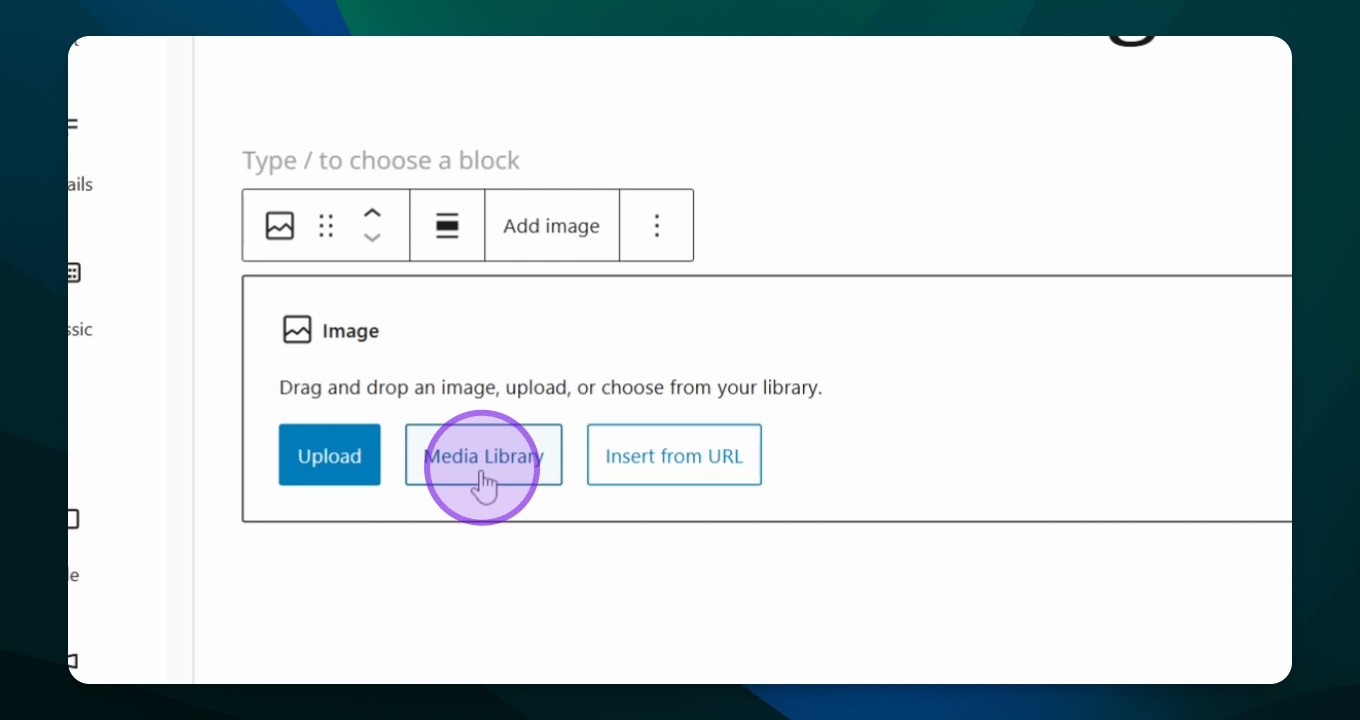
Step 1: Insert a Media Block
Navigate to the page where you want to insert the image.
Click to insert a media block.
Select add an image.

Step 2: Choose Your Photo
Access your media library.
Select the photo you wish to edit.
Click select to populate it onto your page.
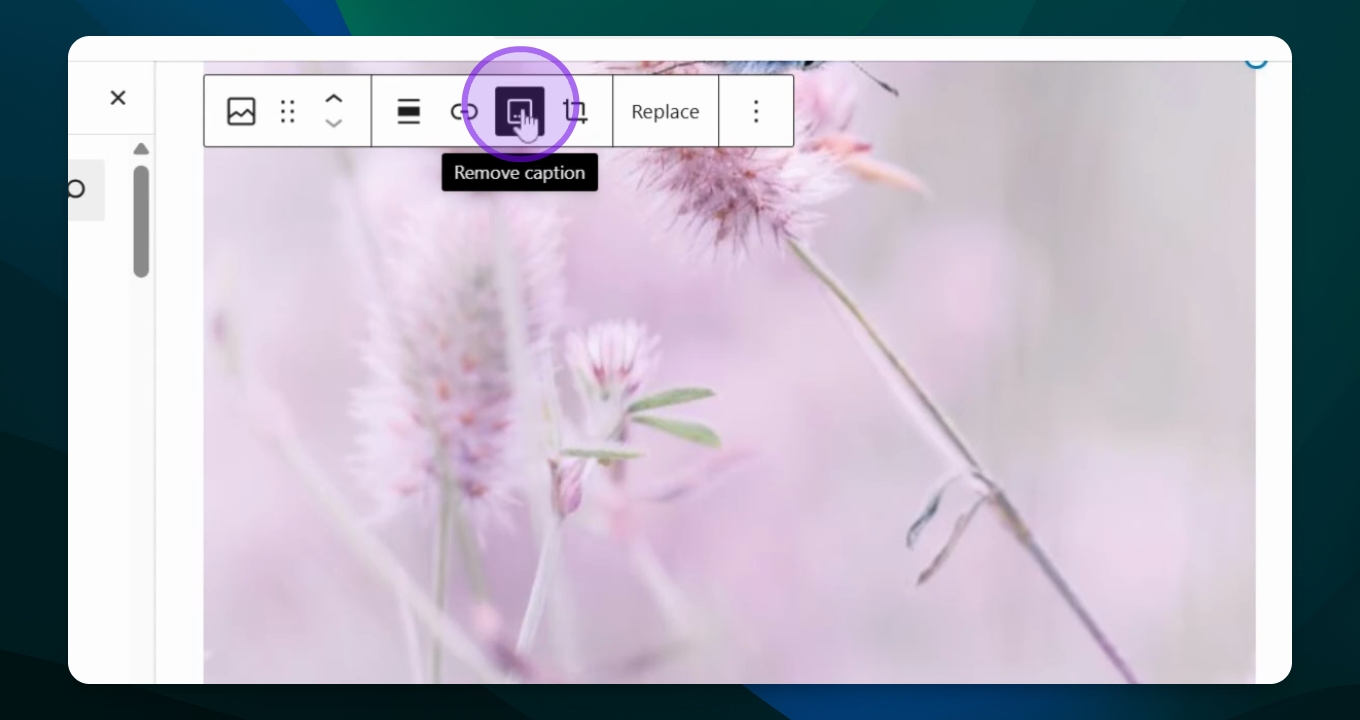
Your photo will now appear on the page.
Step 3: Edit the Caption
If a caption appears, you can choose to remove it.
Click remove caption to hide it.
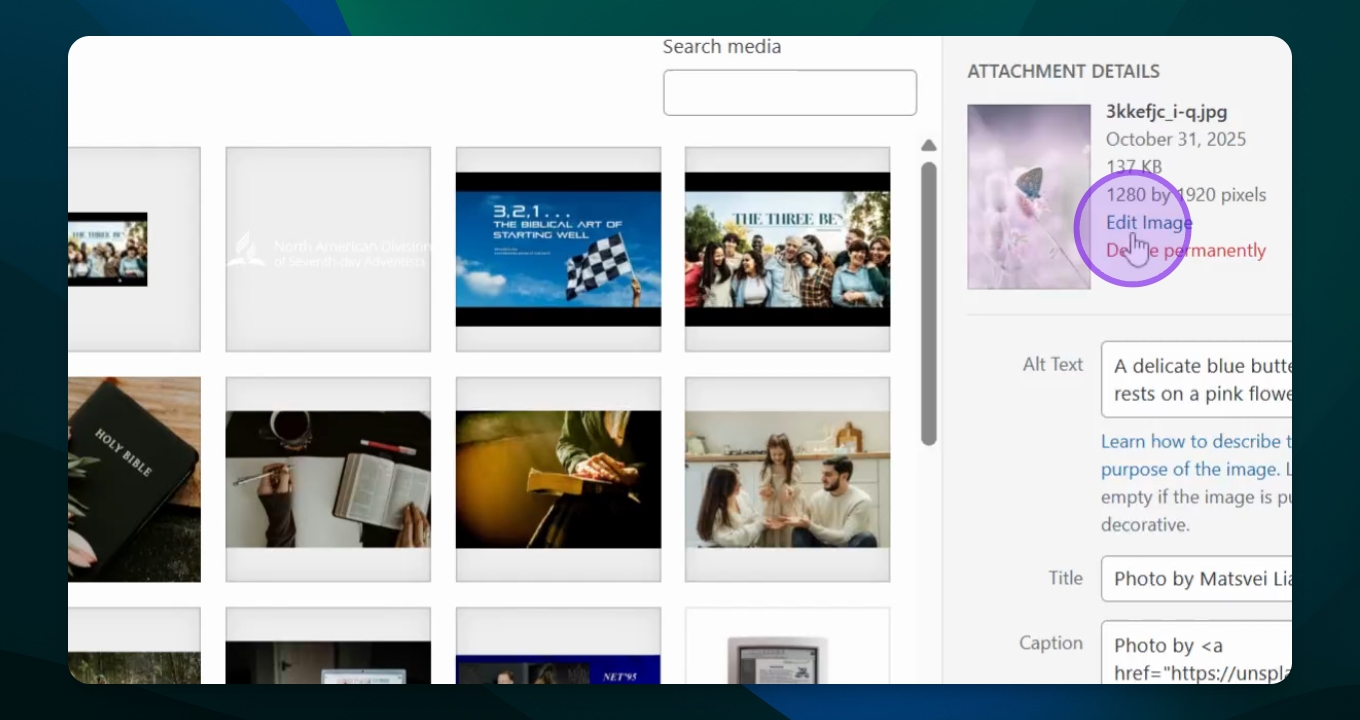
Step 4: Access Image Editing Options
In the right menu, click attachment details.
Find the Edit image option in blue.
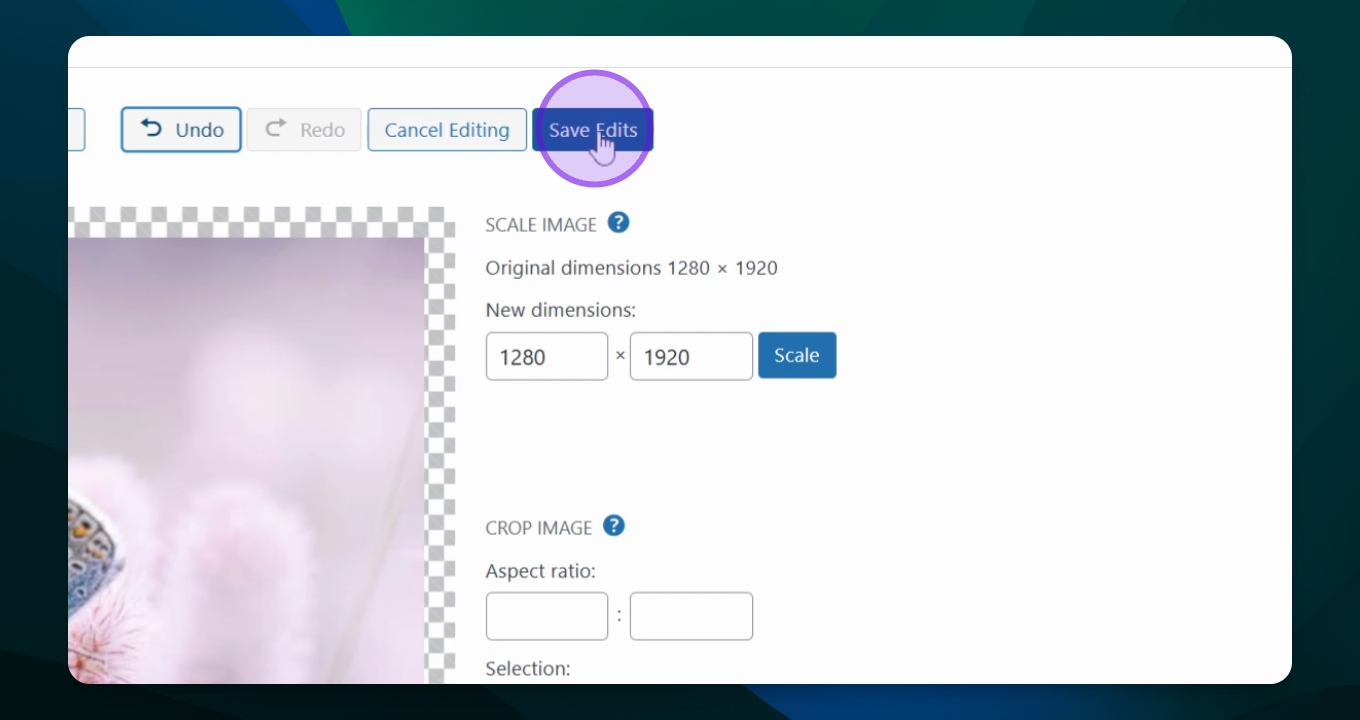
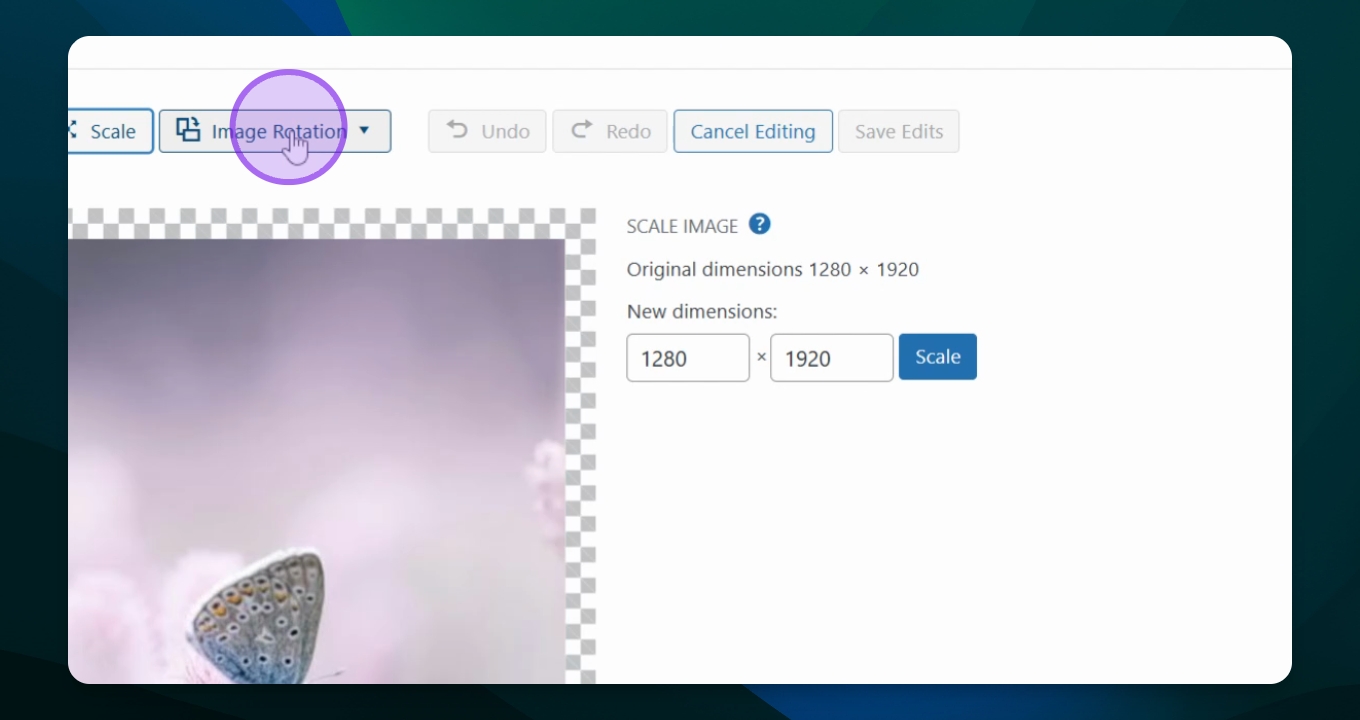
Step 5: Apply Edits
You can choose to crop, scale, rotate, or flip the image.
Click to flip horizontal to change the orientation.
If cropping, select the crop option and use the toggles to adjust.
Click apply crop when done.
Your image will now reflect the changes made.
Step 6: Save Your Changes
If satisfied, click save edit to finalize.
Ensure to save your page to view the changes.