What are you looking for?
Get help straight from our team...

User Management
Adding New Users
Create new user accounts for your WordPress site with specific roles and permissions. This guide explains how to quickly set up team members, contributors, or administrators with the appropriate access levels for your website.
Updated 2 months ago
To add new users to your site, navigate to the Users menu in your WordPress dashboard, then click the Add New button. The Add New Screen will then appear.
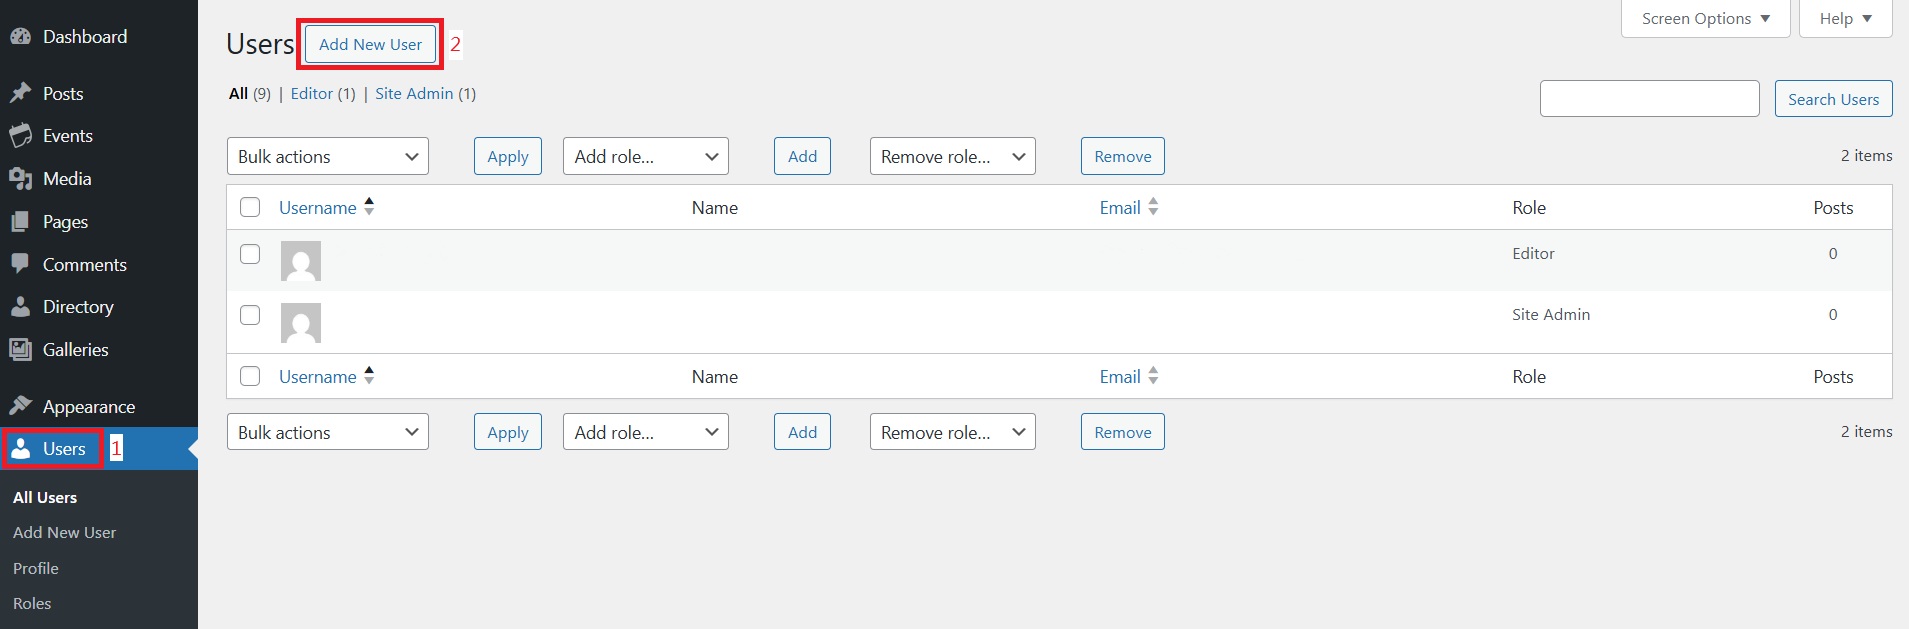
The Users Add New Screen provides all the tools you need to create new user accounts for your WordPress website. Add team members, authors, and administrators who can access your site with appropriate permissions.
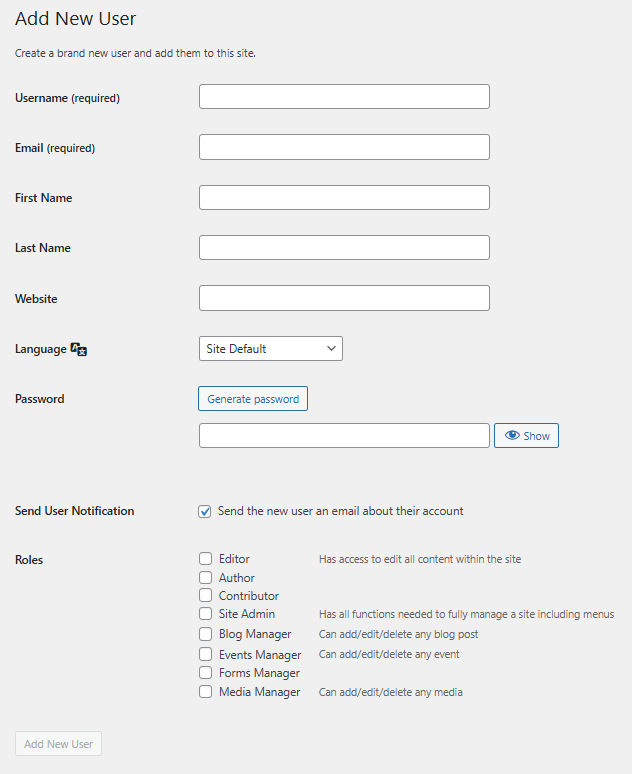
Add New User
In this screen, you can add new users to your WordPress site. If the Anyone can register option is enabled in Administration > Settings > General, users can register themselves, but you can still manually create new users here.
Username (required) – Enter the username for the new user. This will serve as their login name.
E-mail (required) – Enter a valid and unique email address. This address receives comment notifications on the user's content.
First Name – Enter the user's first name.
Last Name – Enter the user's last name (the display name defaults to first and last name).
Website – Enter the user's website URL if available.
Password – Enter a password in the text box for verification.
Strength Indicator – Shows if the password is Very Weak, Weak, Medium, or Strong. For better security, use at least seven characters with a mix of upper and lowercase letters, numbers, and symbols.
Send User Notification – Check this box to email the user about their new account
Roles – Select the appropriate permission level from the menu.
Add New User – Click this button to save the new user to your WordPress database. A confirmation message will appear once the user is added.